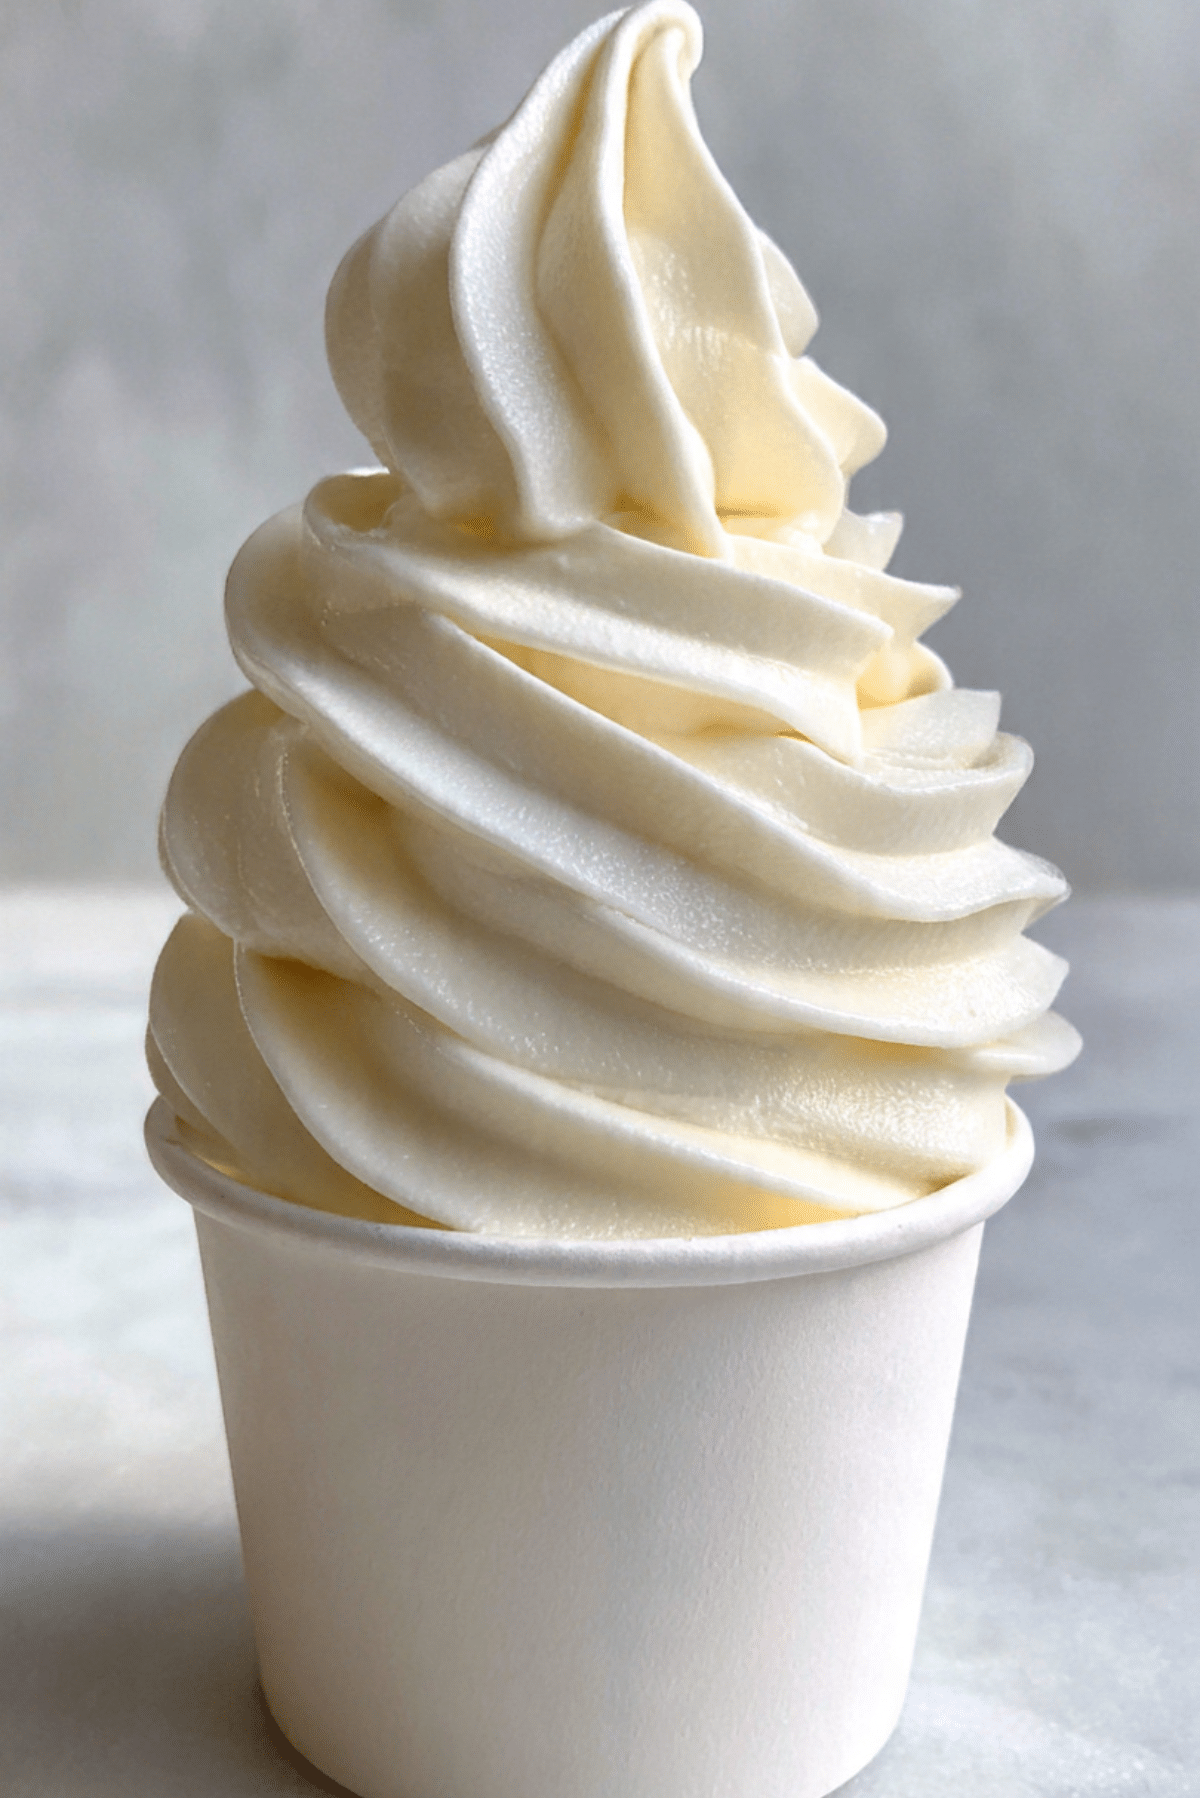
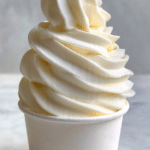
Vanilla Soft Serve Ice Cream
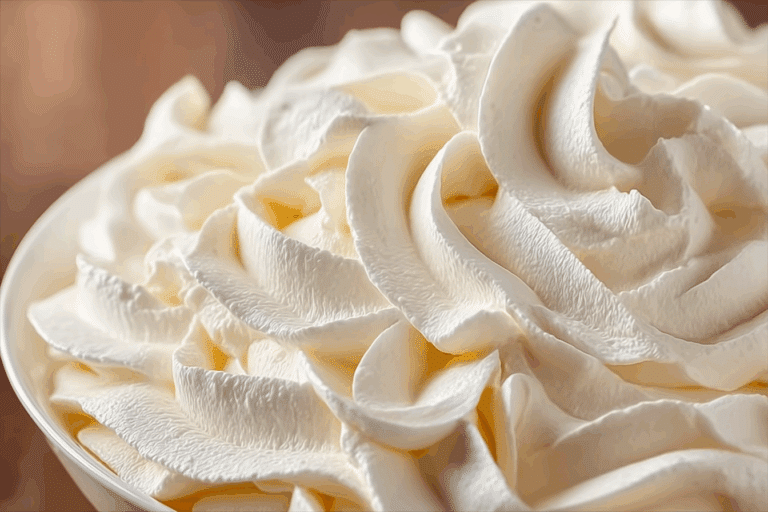
There is something magical about that first swirl of vanilla soft serve. It is light, creamy, and just sweet enough to feel indulgent without being heavy. The smooth spiral, the cool melt on your tongue, the simple vanilla aroma that instantly brings back childhood memories, it is pure comfort in a cup. Trust me, you are going to love this.
And now let’s dive into how you can recreate that dreamy texture right in your own kitchen.
The Creamiest Homemade Treat You Will Ever Make
This is not just frozen dessert, it is an experience. The texture is airy and silky, almost cloud like, yet rich enough to satisfy. Unlike dense scoopable ice cream, soft serve is whipped as it freezes, creating that signature lightness and those delicate ridges.
The best part is that you do not need a commercial machine. With the right technique and a little patience, you can create that smooth swirl at home.
A Sweet Classic with a Simple Story
Soft serve became popular in the early twentieth century when ice cream machines were designed to dispense frozen mixtures at slightly warmer temperatures. This created a softer texture that could be piped into cones and cups.
Vanilla quickly became the favorite flavor. Its subtle sweetness and floral warmth made it the perfect base. Over the years, it became a fairground staple and a summer icon. This homemade version keeps that nostalgic charm alive.
Why This Recipe Works Every Single Time
Before we get into the details, let me tell you why this one is worth making.
Versatile: Enjoy it plain, drizzle it with chocolate, or top with fresh fruit.
Budget-Friendly: Made with simple dairy and pantry staples.
Quick and Easy: Minimal ingredients and straightforward steps.
Customizable: Add mix ins or adjust sweetness easily.
Crowd-Pleasing: Loved by kids and adults alike.
Make-Ahead Friendly: Base can be prepared in advance.
Great for Leftovers: Freeze extra and re whip slightly before serving.
Now let’s make sure you get that ultra smooth finish.
Pro Tips for Ultra Smooth Texture
- Chill your mixture thoroughly before freezing to improve creaminess.
- Whisk well to incorporate air before freezing.
- Stir every 30 minutes during the initial freeze to prevent ice crystals.
- Serve slightly softened for the true soft serve experience.
These small steps make a huge difference.
Tools That Help You Get That Perfect Swirl
Mixing Bowl: For blending the base evenly.
Whisk or Hand Mixer: Adds air for lighter texture.
Freezer Safe Container: Allows even freezing.
Piping Bag with Star Tip: Creates that classic swirl presentation.
Now let’s look at what you need.
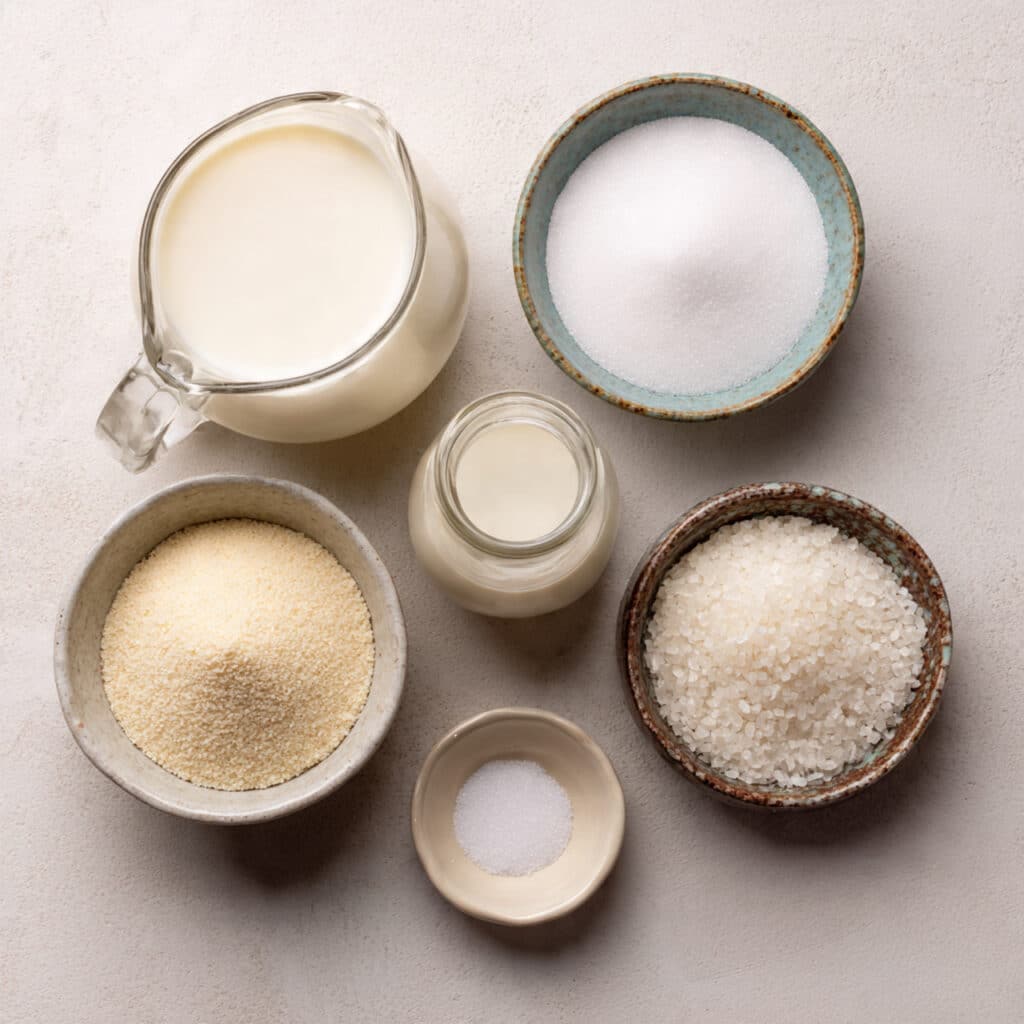
Ingredients You Will Need For Vanilla Soft Serve Ice Cream
Simple ingredients come together to create something special.
- Heavy Cream: 2 cups, cold. Provides richness and smooth texture.
- Whole Milk: 1 cup, cold. Balances richness and keeps it soft.
- Granulated Sugar: 3/4 cup. Sweetens and helps prevent ice crystals.
- Vanilla Extract: 1 tablespoon. Gives warm, aromatic flavor.
- Salt: 1/8 teaspoon. Enhances sweetness and depth.
Each ingredient plays a role in creating that signature creamy swirl.
Easy Substitutions If Needed
Heavy Cream: Use half and half for a lighter version.
Granulated Sugar: Substitute with fine caster sugar for smoother blending.
Vanilla Extract: Vanilla bean paste adds visible specks and deeper flavor.
Spotlight on the Star Ingredient
Vanilla Extract: Good quality vanilla transforms this dessert from basic to bakery level. Its floral and slightly caramel notes make every bite memorable.
Now let’s bring it all together.
Let’s Create That Dreamy Swirl
This is where the fun begins.
- Preheat Your Equipment: No heating required, but chill your mixing bowl in the refrigerator for 15 minutes.
- Combine Ingredients: In the chilled bowl, whisk heavy cream, whole milk, sugar, vanilla extract, and salt until sugar dissolves completely.
- Prepare Your Cooking Vessel: Pour the mixture into a freezer safe container.
- Assemble the Dish: Place the container in the freezer and freeze for 2 hours, stirring every 30 minutes to keep the texture smooth.
- Cook to Perfection: Continue freezing until thick but still soft, about 3 to 4 hours total.
- Finishing Touches: Transfer to a piping bag fitted with a star tip.
- Serve and Enjoy: Pipe into cups or cones and serve immediately.
Light, Airy, and Perfectly Sweet
As it freezes, the mixture thickens while staying smooth. The cream provides richness, the milk keeps it light, and the vanilla ties everything together. The result is cool, creamy, and delicately sweet. Let me tell you, it is worth every bite.
Helpful Tips and Tricks
- Use very cold dairy for smoother freezing.
- Do not skip stirring during the first freeze phase.
- Serve immediately after piping for best texture.
What to Avoid
- Do not over freeze, it will become too hard.
- Avoid reducing sugar too much, it affects texture.
- Do not skip chilling the base.
Nutrition Facts
Servings: 6
Calories per serving: 320
Note: These are approximate values.
Preparation Time
Prep Time: 15 minutes
Cook Time: 0 minutes
Total Time: 4 hours including freezing
Make Ahead and Storage Tips
Prepare the base a day ahead and store in the refrigerator before freezing. Once frozen, store tightly covered for up to two weeks. Let it soften slightly before serving for the best texture.
How to Serve
Serve in classic cones, paper cups, or alongside warm brownies for contrast. Fresh berries also pair beautifully.
Creative Leftover Transformations
Blend leftovers into milkshakes. Sandwich between cookies for ice cream sandwiches. Swirl into iced coffee for a creamy twist.
Additional Tips
For extra richness, add one tablespoon of milk powder to the base. Taste the mixture before freezing and adjust sweetness if needed.
Make It a Showstopper
Pipe tall elegant swirls. Add a light dusting of cocoa powder or colorful sprinkles for visual appeal.
Variations to Try
- Add crushed cookies for a cookies and cream twist.
- Stir in strawberry puree for a fruity version.
- Add a swirl of caramel before piping.
- Mix in mini chocolate chips for texture.
FAQ’s
Q1: Can I use an ice cream maker?
Yes, churn according to manufacturer instructions.
Q2: Why is my texture icy?
It may not have been stirred enough during freezing.
Q3: Can I make it lower fat?
Use more milk and less cream, texture will be lighter.
Q4: Can I use vanilla bean?
Yes, scrape one bean into the mixture.
Q5: How long does it last?
Up to two weeks properly stored.
Q6: Can I double the recipe?
Yes, ensure your container is large enough.
Q7: Is it overly sweet?
It is moderately sweet, adjust to preference.
Q8: Can I add flavors?
Absolutely, add extracts or mix ins.
Q9: Does it taste like store bought?
It is creamier and more natural tasting.
Q10: Can I make it dairy free?
Yes, use coconut cream and plant based milk.
Conclusion
Vanilla soft serve ice cream is simple, nostalgic, and endlessly satisfying. With just a few ingredients and a little patience, you can create that classic swirl at home. Give it a try and enjoy every cool, creamy spoonful.
PrintVanilla Soft Serve Ice Cream
Creamy homemade vanilla soft serve ice cream with a light, airy texture and classic sweet vanilla flavor, perfectly smooth and ready to swirl into cups or cones.
Ingredients
- 2 cups heavy cream, cold
- 1 cup whole milk, cold
- 3/4 cup granulated sugar
- 1 tablespoon vanilla extract
- 1/8 teaspoon salt
Instructions
- Chill a mixing bowl in the refrigerator for 15 minutes before starting.
- In the chilled bowl, whisk together heavy cream, whole milk, granulated sugar, vanilla extract, and salt until the sugar is fully dissolved.
- Pour the mixture into a freezer safe container.
- Place the container in the freezer and freeze for 2 hours, stirring every 30 minutes to keep the texture smooth.
- Continue freezing for a total of 3 to 4 hours, until thick but still soft.
- Transfer the soft ice cream into a piping bag fitted with a star tip.
- Pipe into cups or cones and serve immediately.
Notes
- Use very cold dairy for the smoothest texture.
- Do not skip stirring during the first freezing phase to prevent ice crystals.
- Serve slightly softened for the perfect soft serve consistency.