Quick Japanese Cheesecake
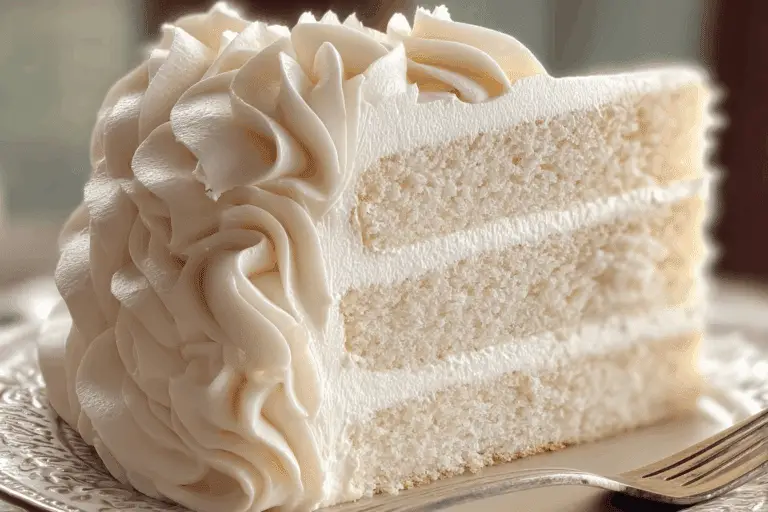
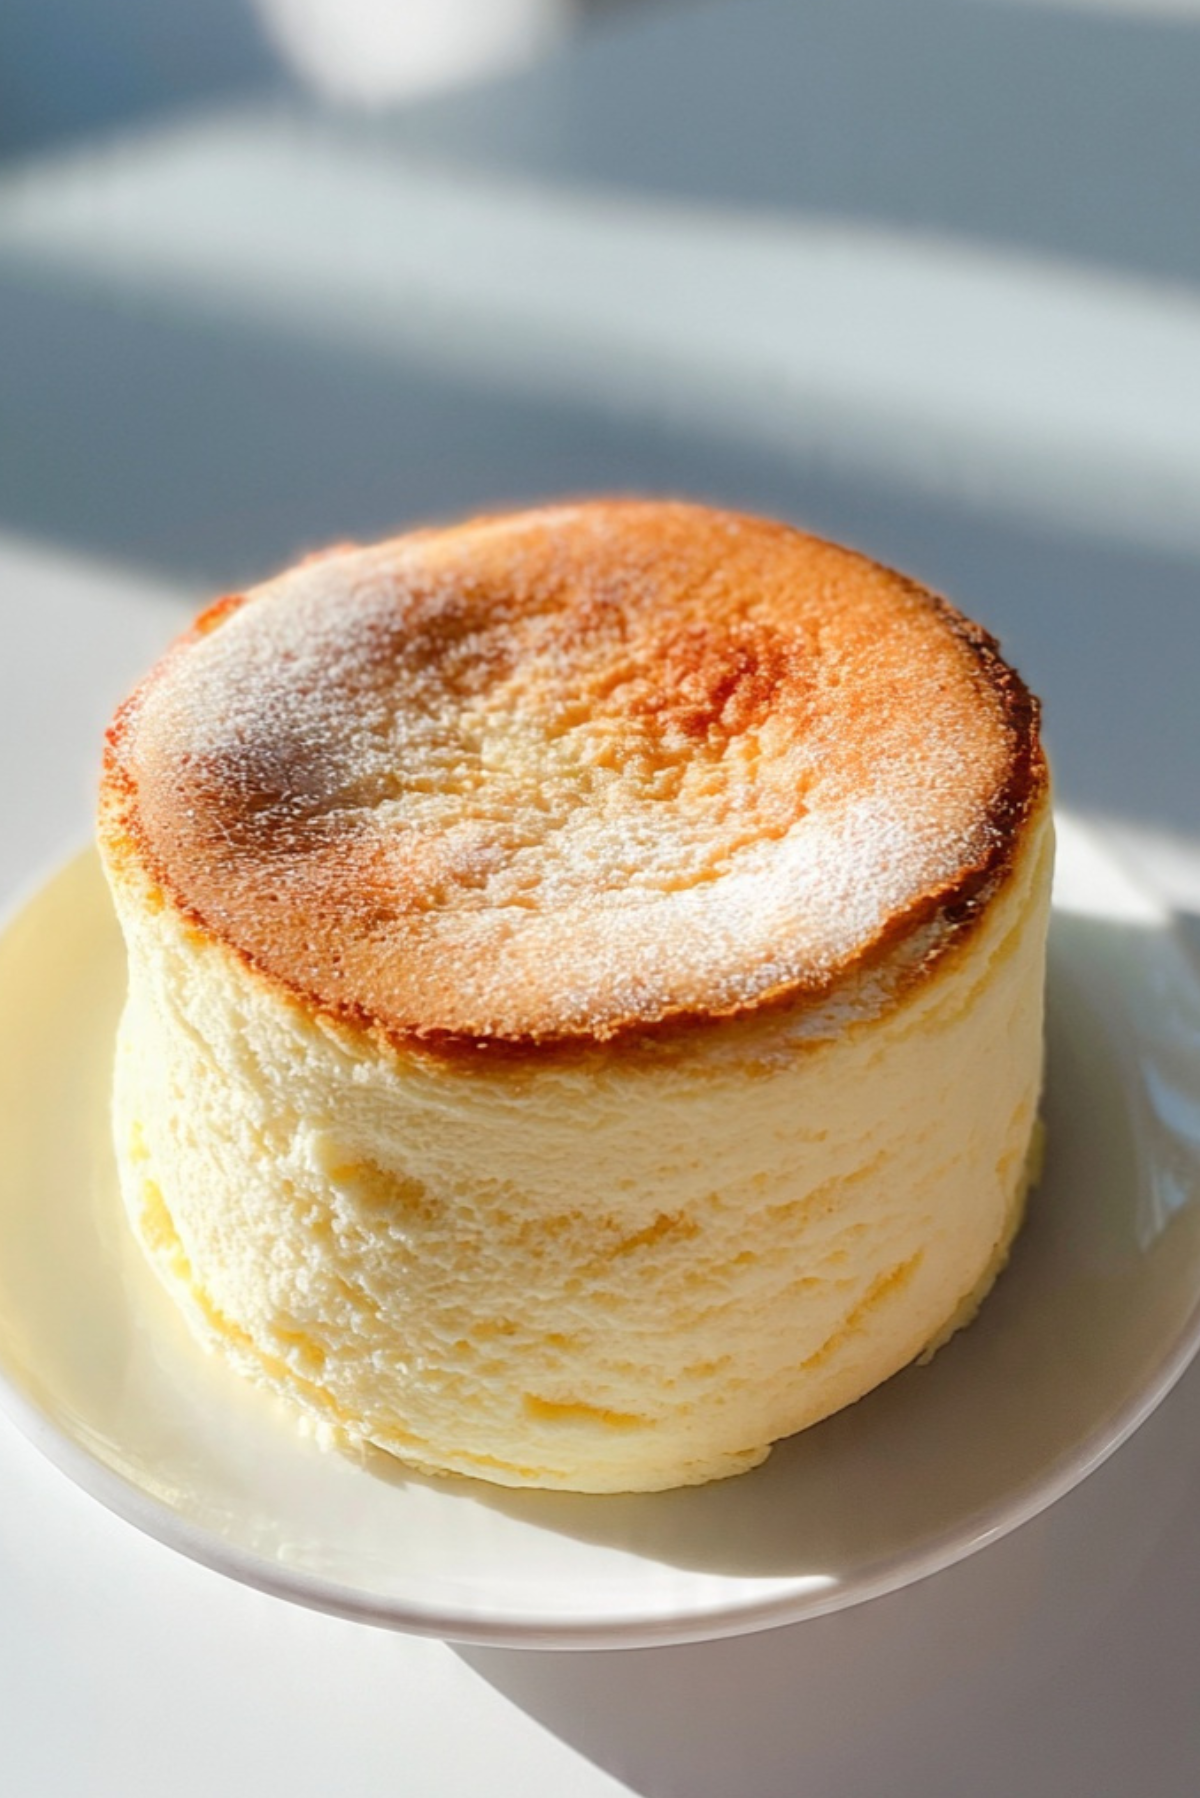
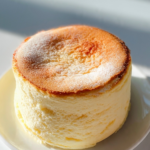
There is something almost magical about watching a Japanese cheesecake rise in the oven. It puffs up gently, turns lightly golden on top, and fills the kitchen with a soft, creamy aroma. When you slice into it, the texture is airy and delicate, almost like a cloud you can eat. Trust me, you’re going to love this.
This version keeps things simple and approachable, so you get that signature fluffy texture without complicated techniques. It is light, gently sweet, and feels elegant while still being totally doable at home. Let me tell you, it’s worth every bite.
The Fluffy Cheesecake That Feels Like a Dream
What makes this cake so special is its texture. Unlike dense traditional cheesecakes, this one is soft, airy, and slightly jiggly in the center. It melts on your tongue with a delicate sweetness that never feels heavy.
It is perfect when you want something sweet but not overly rich. One slice feels satisfying without overwhelming your palate.
A Sweet Classic with Japanese Influence
Japanese cheesecake, often called soufflé cheesecake, became popular for blending the richness of cream cheese with the airy lift of whipped egg whites. The technique creates a cake that feels lighter than classic cheesecake but still creamy and indulgent.
This style reflects a love for balanced desserts that are not too sweet, focusing instead on texture and subtle flavor. Over time, it gained worldwide popularity for its elegant simplicity and unique bounce.
Why This Recipe Works So Beautifully
Before we move into the kitchen, here is why this recipe is a keeper.
Versatile: Perfect for tea time, birthdays, or a light dessert after dinner.
Budget-Friendly: Uses simple ingredients you likely already have.
Quick and Easy: Streamlined steps without complicated water baths.
Customizable: Add citrus zest or a touch of vanilla for variation.
Crowd-Pleasing: Its soft texture wins over even those who do not love heavy cheesecake.
Make-Ahead Friendly: Tastes even better after chilling.
Great for Leftovers: Stores well and stays moist for days.
Expert Tips for That Signature Fluff
A few small details make a big difference.
- Make sure the cream cheese is fully softened for a smooth batter.
- Whip the egg whites until soft peaks form, not stiff and dry.
- Fold gently to preserve the airy structure.
- Bake at a moderate temperature to prevent cracking.
Kitchen Tools You Will Need
Keeping it simple makes everything easier.
Springform Pan or Round Cake Pan: Helps with easy removal.
Electric Mixer: Makes whipping egg whites effortless.
Mixing Bowls: For separating and combining components.
Spatula: Essential for gentle folding.
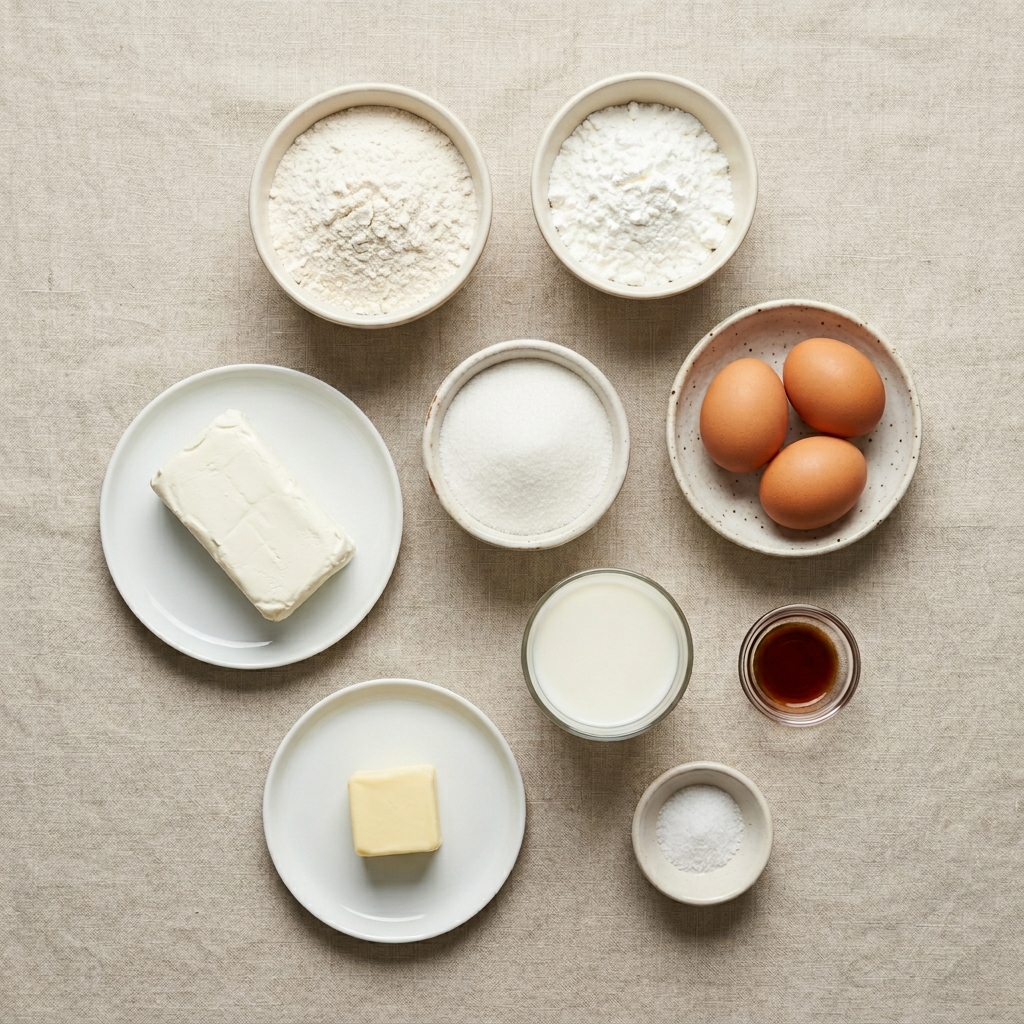
Ingredients That Create That Cloud Like Texture
Here is everything you will need.
- Cream Cheese: 8 ounces, softened, forms the creamy base.
- Granulated Sugar: 1 half cup, divided, for balanced sweetness.
- Large Eggs: 4, separated, provide structure and lift.
- Whole Milk: 1 half cup, adds moisture and smoothness.
- Unsalted Butter: 1 quarter cup, melted, enhances richness.
- All Purpose Flour: 1 half cup, gives light structure.
- Cornstarch: 1 tablespoon, helps create a tender crumb.
- Vanilla Extract: 1 teaspoon, adds gentle flavor.
- Salt: 1 pinch, balances sweetness.
Ingredient Swaps If Needed
Flexibility keeps baking stress free.
Whole Milk: Use 2 percent milk if preferred.
All Purpose Flour: Substitute with cake flour for even softer texture.
Vanilla Extract: Add lemon zest for a citrus note.
The Ingredients That Truly Matter
Egg Whites: They are the secret to the airy, soufflé like structure.
Cream Cheese: Provides that creamy backbone while staying light when whipped properly.
Let’s Bake This Beauty
And now let’s dive into the steps you are going to follow.
- Preheat Your Equipment: Preheat your oven to 325 degrees Fahrenheit and line the bottom of your pan with parchment paper.
- Combine Ingredients: In a large bowl, beat cream cheese and half of the sugar until smooth. Add egg yolks one at a time, then mix in milk, melted butter, vanilla extract, and salt. Sift in flour and cornstarch and mix until fully combined.
- Prepare Your Cooking Vessel: In a separate bowl, whip egg whites while gradually adding the remaining sugar until soft peaks form.
- Assemble the Dish: Gently fold the whipped egg whites into the cream cheese batter in three additions, being careful not to deflate the mixture. Pour the batter into the prepared pan and smooth the top.
- Cook to Perfection: Bake for 45 to 50 minutes, or until the top is lightly golden and the center jiggles slightly.
- Finishing Touches: Turn off the oven and let the cake cool inside with the door slightly open for 15 minutes before removing.
- Serve and Enjoy: Chill for at least 1 hour before slicing for clean cuts and the best texture.
The Texture and Flavor Journey
The top becomes lightly golden and delicate. Inside, the crumb is soft, airy, and slightly moist. The sweetness is gentle, balanced by cream cheese tang and a hint of vanilla. As it cools, the structure settles into that signature bounce, light yet creamy.
Each bite feels smooth, almost mousse like, yet stable enough to hold its shape.
Helpful Baking Tips
Keep these in mind for best results.
- Always fold gently to maintain volume.
- Do not overbake, the center should still jiggle slightly.
- Allow gradual cooling to prevent cracking.
What to Avoid for Perfect Results
Even simple cakes need attention.
- Overwhipping egg whites, which makes folding difficult.
- Skipping parchment paper, which can cause sticking.
- Cutting while warm, which may cause collapse.
Nutrition Facts at a Glance
Servings: 8
Calories per serving: 220
Note: These are approximate values.
Preparation Time Overview
Prep Time: 20 minutes
Cook Time: 50 minutes
Total Time: 1 hour 10 minutes plus chilling time
Make Ahead and Storage Tips
Store the cake in the refrigerator for up to 4 days in an airtight container. For best texture, let slices sit at room temperature for about 10 minutes before serving. Freezing is possible for up to 1 month, tightly wrapped.
How to Serve for Maximum Enjoyment
Dust lightly with powdered sugar for a simple finish. Serve with fresh berries for a bright contrast. Pair with green tea or coffee for a balanced dessert experience.
Creative Leftover Transformations
Cube leftover slices and layer into parfaits with whipped cream and fruit. Crumble into yogurt bowls for a sweet treat. Or toast slices lightly and serve with a drizzle of honey.
Additional Tips for Success
Use room temperature ingredients for a smoother batter. Tap the pan gently on the counter before baking to remove air bubbles. And always be patient while cooling, it makes a difference.
Make It a Showstopper
Top with a light dusting of powdered sugar and arrange fresh berries around the edges. Serve on a simple white cake stand to highlight its soft golden top and airy structure.
Variations to Try
- Add lemon zest for a bright citrus twist.
- Swirl in a small amount of raspberry puree before baking.
- Use matcha powder for a subtle green tea flavor.
- Add a thin layer of apricot glaze on top for shine.
FAQ’s
Q1: Why did my cheesecake crack?
It may have cooled too quickly or baked too long.
Q2: Can I skip separating the eggs?
No, separating is essential for the fluffy texture.
Q3: Why is it shrinking after baking?
Some shrinkage is normal as it cools.
Q4: Can I make it ahead?
Yes, it tastes even better the next day.
Q5: Does it need a water bath?
This simplified version does not require one.
Q6: How do I know it is done?
The center should jiggle slightly but not be liquid.
Q7: Can I use low fat cream cheese?
Yes, but the texture may be slightly less rich.
Q8: Why is my cake dense?
The egg whites may have deflated during folding.
Q9: Can I double the recipe?
Yes, use a larger pan and adjust baking time.
Q10: Should it be refrigerated?
Yes, store chilled for best texture and freshness.
Conclusion
Quick Japanese Cheesecake is soft, airy, and beautifully balanced. It feels elegant yet comforting, light yet satisfying. Once you master this fluffy classic, you will find yourself making it again and again.
PrintQuick Japanese Cheesecake
A light and airy Japanese style cheesecake with a soft, cloud like texture and delicate sweetness. This quick version delivers a fluffy, gently creamy dessert that melts in your mouth and feels elegant yet comforting.
Ingredients
- 8 ounces cream cheese, softened
- 1/2 cup granulated sugar, divided
- 4 large eggs, separated
- 1/2 cup whole milk
- 1/4 cup unsalted butter, melted
- 1/2 cup all purpose flour
- 1 tablespoon cornstarch
- 1 teaspoon vanilla extract
- 1 pinch salt
Instructions
- Preheat oven to 325 degrees Fahrenheit and line the bottom of a round cake pan with parchment paper.
- In a large bowl, beat cream cheese and half of the sugar until smooth. Add egg yolks one at a time, then mix in milk, melted butter, vanilla extract, and salt. Sift in flour and cornstarch and mix until fully combined.
- In a separate bowl, whip egg whites while gradually adding the remaining sugar until soft peaks form.
- Gently fold the whipped egg whites into the cream cheese batter in three additions, being careful not to deflate the mixture.
- Pour the batter into the prepared pan and smooth the top.
- Bake for 45 to 50 minutes, or until the top is lightly golden and the center jiggles slightly.
- Turn off the oven and let the cake cool inside with the door slightly open for 15 minutes. Chill for at least 1 hour before slicing and serving.
Notes
- Use room temperature ingredients for a smoother batter.
- Do not overwhip the egg whites to avoid deflating the batter.
- Allow gradual cooling to help prevent cracking.