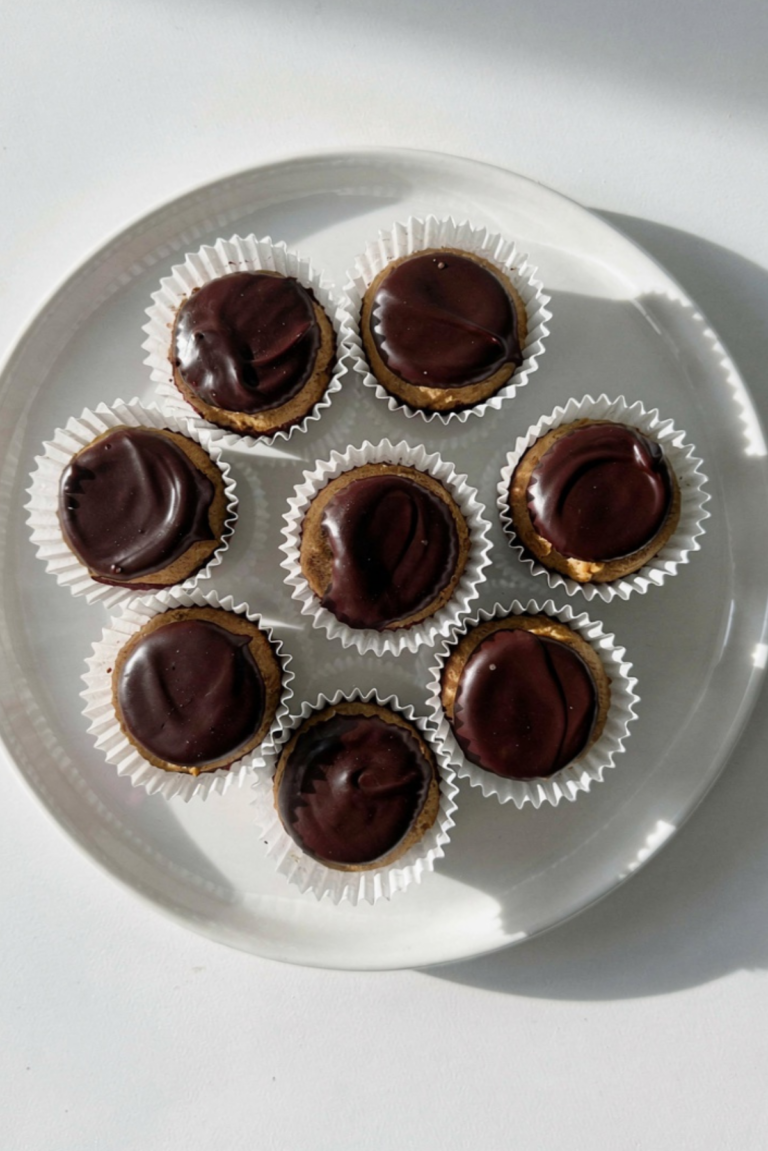
Chocolate-Covered Dates
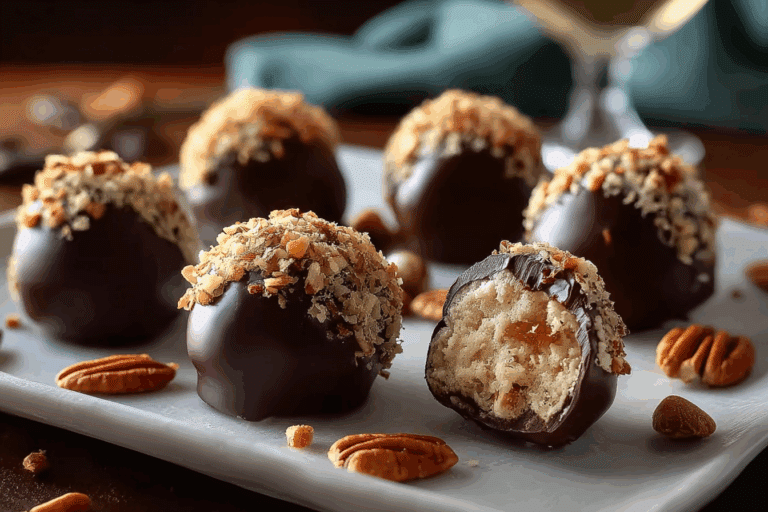
There is something magical about the moment you bite into a chocolate-covered date. First, you feel the gentle snap of the chocolate shell, then the soft, caramel-like sweetness of the date melts against your tongue. It is rich, naturally sweet, and surprisingly satisfying. Trust me, you’re going to love this. These chocolate-covered dates feel indulgent, yet they are made with just a handful of simple ingredients.
A Naturally Sweet Treat That Feels Luxurious
The beauty of this treat lies in its simplicity. Dates are already sweet and chewy, almost like nature’s caramel. When paired with silky melted chocolate, the result feels elegant without any complicated steps. This one’s a total game changer when you want something sweet but not overly processed.
A Timeless Combination with Middle Eastern Roots
Dates have been enjoyed for thousands of years, especially in Middle Eastern and Mediterranean cuisines. They are often served during celebrations and special gatherings. Pairing them with chocolate is a more modern twist, but it highlights their deep, honey-like sweetness beautifully. Let me tell you, it’s worth every bite.
Why You Will Keep Making These
Before we melt the chocolate, here is why this recipe stands out.
Versatile: Fill them with nuts or nut butter for extra texture.
Budget-Friendly: Only a few ingredients are needed.
Quick and Easy: No baking required and minimal prep time.
Customizable: Use dark, milk, or even white chocolate.
Crowd-Pleasing: They disappear quickly at parties.
Make-Ahead Friendly: Store well in the refrigerator for days.
Great for Leftovers: Perfect for snacking straight from the fridge.
Pro Tips for Perfect Chocolate Coating
A few simple tricks ensure smooth results.
- Use good quality chocolate for better melting and flavor.
- Make sure dates are dry before dipping.
- Let excess chocolate drip off before placing on parchment.
- Chill until fully set for a clean finish.
Simple Tools You Will Need
Keeping things minimal makes this even better.
Microwave Safe Bowl: For melting chocolate gently.
Fork or Dipping Tool: Helps coat dates evenly.
Parchment Paper: Prevents sticking while chocolate sets.
Small Spoon: Useful if adding fillings.
Ingredients You Will Need For Chocolate-Covered Dates
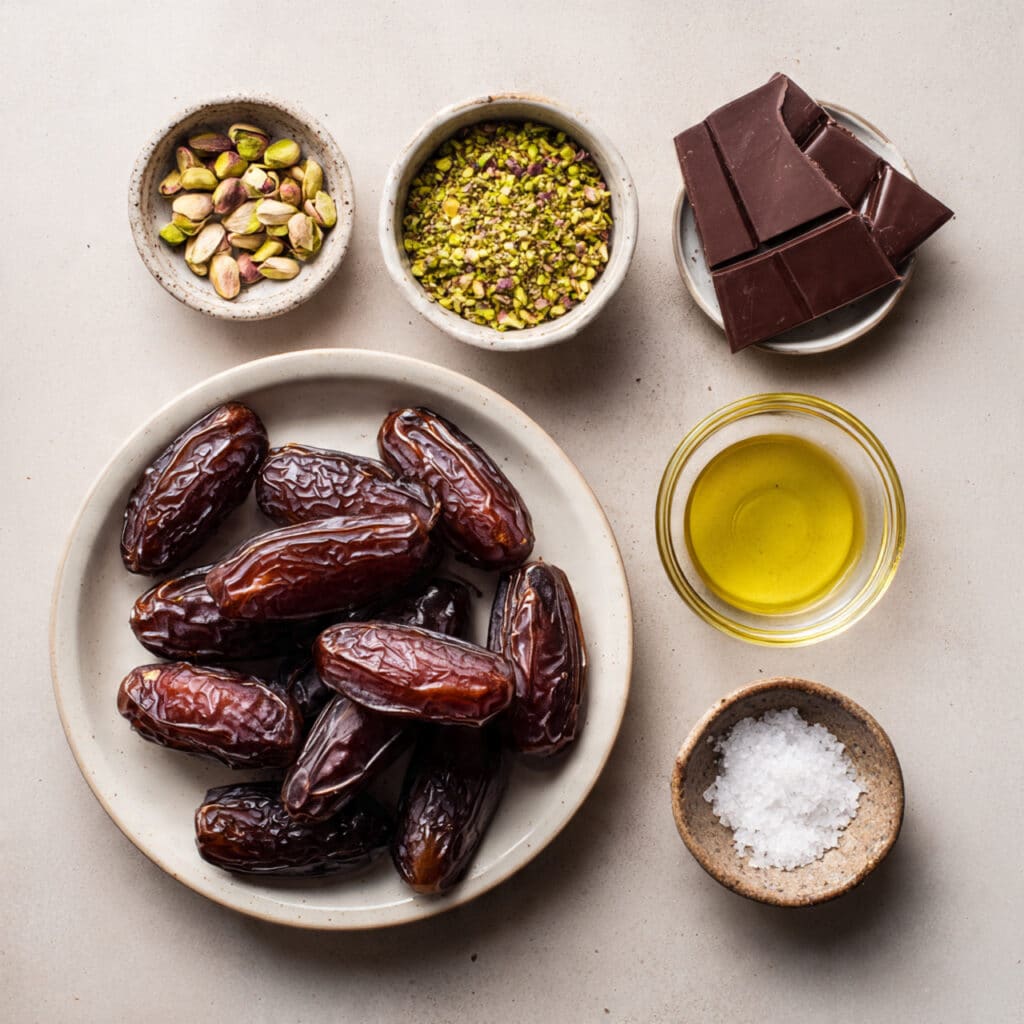
Each ingredient plays a delicious role.
- Medjool Dates: 20 large, pitted, soft and naturally sweet.
- Dark Chocolate: 200 grams, chopped, for a rich smooth coating.
- Coconut Oil: 1 tablespoon, helps thin the chocolate for easier dipping.
- Chopped Pistachios: ¼ cup, optional topping for crunch.
- Sea Salt: ½ teaspoon, optional sprinkle for contrast.
Ingredient Swaps If Needed
If you want to experiment, here are simple ideas.
Dark Chocolate: Substitute with milk or semi sweet chocolate.
Pistachios: Use almonds, walnuts, or shredded coconut.
Coconut Oil: Can be omitted, but chocolate may be slightly thicker.
Spotlight on the Star Ingredients
Medjool Dates: Soft, sticky, and caramel-like, they create the perfect sweet center.
Dark Chocolate: Slight bitterness balances the natural sweetness of the dates.
Let’s Make Them Step by Step
Now let dive into the simple process.
- Preheat Your Equipment: No oven needed, but line a tray with parchment paper and clear space in your refrigerator.
- Combine Ingredients: In a microwave safe bowl, melt dark chocolate with coconut oil in 30 second intervals, stirring until smooth.
- Prepare Your Cooking Vessel: Arrange pitted dates on the lined tray for easy dipping.
- Assemble the Dish: Dip each date into melted chocolate using a fork, ensuring it is fully coated. Let excess chocolate drip off before placing back on parchment.
- Cook to Perfection: There is no cooking required, but refrigerate for about 20 to 30 minutes until chocolate is firm.
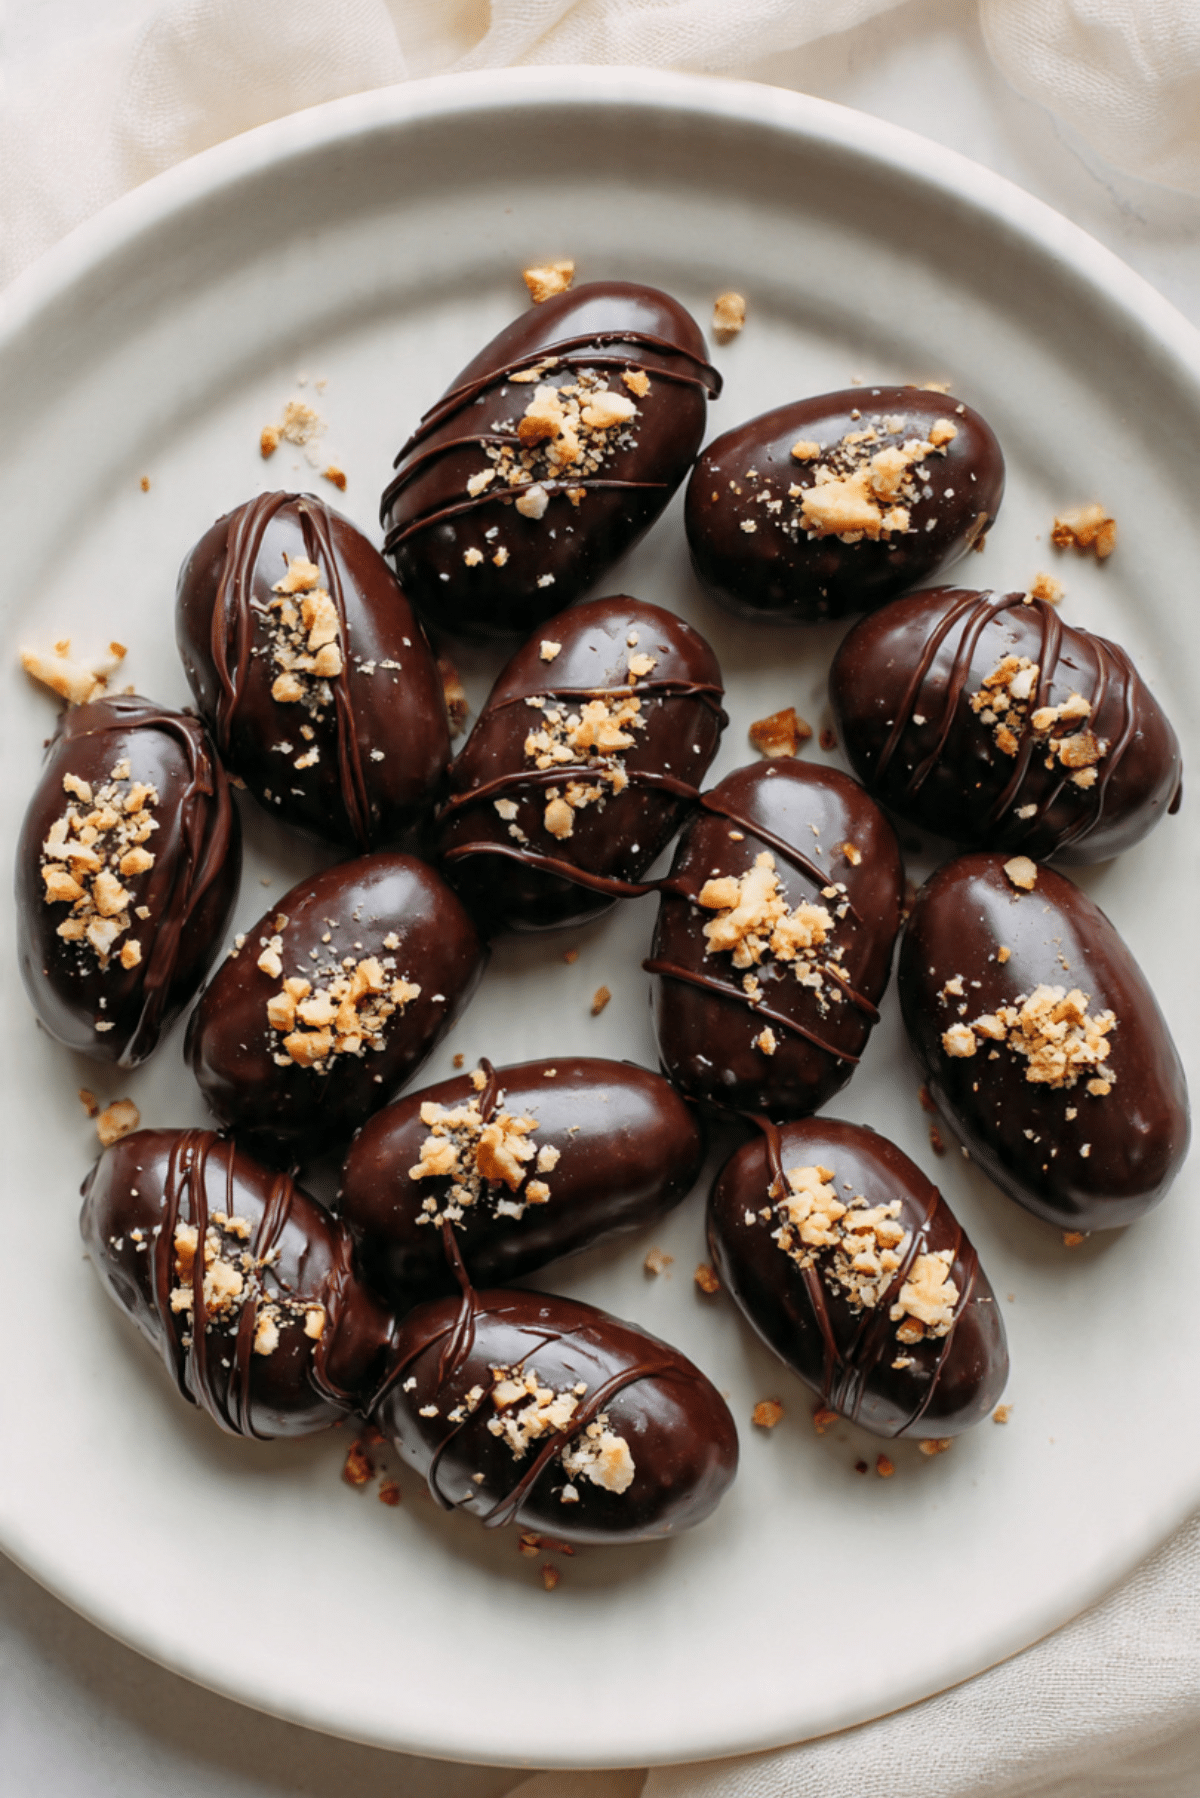
- Finishing Touches: Sprinkle chopped pistachios or a tiny pinch of sea salt on top before the chocolate fully sets.
- Serve and Enjoy: Serve chilled or at room temperature for the best texture contrast.
Texture and Flavor in Every Bite
The chocolate shell snaps gently, giving way to the soft, chewy date inside. The sweetness feels deep and natural, not overwhelming. If you add nuts, you get a pleasant crunch that makes each bite more exciting.
Helpful Tips and Tricks
- Work quickly while the chocolate is warm.
- Store in an airtight container to keep them fresh.
- Use a spoon to drizzle extra chocolate on top for decoration.
What to Avoid for Best Results
- Avoid overheating chocolate, it can seize.
- Do not skip lining the tray with parchment.
- Avoid wet dates, moisture affects chocolate coating.
Nutrition Facts Overview
Servings: 20 pieces
Calories per serving: 110
Note: These are approximate values.
Preparation Time Guide
Prep Time: 15 minutes
Cook Time: 0 minutes
Total Time: 45 minutes
Make Ahead and Storage Tips
Store chocolate-covered dates in an airtight container in the refrigerator for up to one week. For longer storage, freeze them for up to one month and thaw in the refrigerator before serving. They are best enjoyed slightly chilled for that perfect chocolate snap.
Serving Suggestions That Feel Special
Arrange them on a simple platter with fresh berries or alongside a cup of coffee or tea. They also make beautiful edible gifts when wrapped in small boxes.
Creative Leftover Ideas
Chop leftover dates and fold them into yogurt, oatmeal, or even homemade granola for added sweetness.
Additional Tips for Flavor and Ease
Try stuffing each date with a small spoon of almond butter before dipping for an extra creamy center. Always choose soft, plump dates for best results.
Make It a Showstopper
Drizzle contrasting chocolate over the top in thin lines once set. Sprinkle with finely chopped nuts for a bakery style finish.
Variations to Try
- Stuff with peanut butter before coating.
- Add a whole almond inside each date.
- Use white chocolate drizzle for decoration.
- Sprinkle with toasted coconut.
FAQ’s
Q1: Do I need to refrigerate them?
Yes, refrigeration helps the chocolate set and stay firm.
Q2: Can I use regular dates?
Yes, but Medjool dates are softer and sweeter.
Q3: How long do they last?
Up to one week in the refrigerator.
Q4: Can I skip coconut oil?
Yes, but the chocolate may be thicker when dipping.
Q5: Can I make them vegan?
Yes, just use dairy free dark chocolate.
Q6: Why is my chocolate dull?
It may have been overheated or cooled too quickly.
Q7: Can I freeze them?
Yes, freeze up to one month.
Q8: Are they very sweet?
They are sweet but balanced by dark chocolate.
Q9: Can I double the recipe?
Absolutely, just melt chocolate in batches if needed.
Q10: What is the best chocolate to use?
High quality dark chocolate melts smoothly and tastes best.
Conclusion
Chocolate-covered dates prove that simple ingredients can create something truly special. With their chewy center and glossy chocolate shell, they offer the perfect balance of natural sweetness and indulgence. Make a batch, share them with friends, and watch how quickly they disappear.
PrintChocolate-Covered Dates
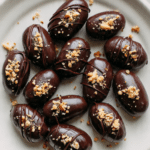
Sweet Medjool dates coated in smooth dark chocolate and topped with crunchy pistachios or a sprinkle of sea salt for a simple no bake treat.
Ingredients
- 20 large Medjool dates, pitted
- 200 grams dark chocolate, chopped
- 1 tablespoon coconut oil
- 1/4 cup chopped pistachios
- 1/2 teaspoon sea salt
Instructions
- Line a tray with parchment paper and set aside.
- Melt dark chocolate with coconut oil in 30 second intervals, stirring until smooth.
- Dip each date into melted chocolate using a fork, allowing excess to drip off.
- Place coated dates on parchment paper.
- Sprinkle with chopped pistachios or sea salt before chocolate sets.
- Refrigerate for 20 to 30 minutes until firm.
- Serve chilled or at room temperature.
Notes
- Ensure dates are dry before dipping.
- Store in an airtight container in the refrigerator for up to one week.
- Freeze up to one month if needed.