No-Churn Ice Cream Sandwiches
There is something nostalgic about biting into an ice cream sandwich on a warm day. The soft cookies, the creamy center, and that little bit of chocolate around the edges instantly take you back. The best part is you do not even need an ice cream maker for this version. Trust me, you’re going to love this. It is rich, creamy, and surprisingly easy to make at home.
Why These Frozen Treats Are Pure Summer Joy
This dessert combines the comfort of homemade cookies with the simplicity of no-churn ice cream. The filling is velvety and smooth, while the cookies stay soft enough to bite through straight from the freezer. This one’s a total game changer for summer gatherings, birthday parties, or just keeping a sweet stash in your freezer. And now let’s talk about where the idea of ice cream sandwiches first became popular.
A Sweet Treat with a Fun History
Ice cream sandwiches have been around since the early 1900s, originally sold by street vendors. They were affordable, handheld, and perfect for hot weather. Over time, they evolved into the classic chocolate wafer and vanilla ice cream combination we all know. Making them at home gives you full control over flavor and texture, and that is where the magic happens.
Why You Will Make These Again and Again
Before we start whipping cream, here is why this recipe deserves a spot in your dessert lineup.
Versatile: Switch up cookie flavors or mix-ins for endless combinations.
Budget-Friendly: Uses simple ingredients you likely already have.
Quick and Easy: No ice cream machine required.
Customizable: Add sprinkles, nuts, or different chocolate chips around the edges.
Crowd-Pleasing: Everyone loves a handheld frozen treat.
Make-Ahead Friendly: Perfect for preparing days in advance.
Great for Leftovers: They store beautifully in the freezer.
Pro Tips for Ultra Creamy Ice Cream
Small techniques make a big difference here.
- Use very cold heavy cream for better whipping.
- Fold gently to keep the mixture light and airy.
- Freeze the assembled sandwiches flat to keep the shape neat.
- Wrap individually for easy grab and go treats.
Kitchen Tools That Make It Simple
Let’s gather what you need.
Mixing Bowl: For whipping the cream.
Hand Mixer: To achieve stiff peaks quickly.
Spatula: For gentle folding.
Baking Sheet: To assemble and freeze the sandwiches evenly.
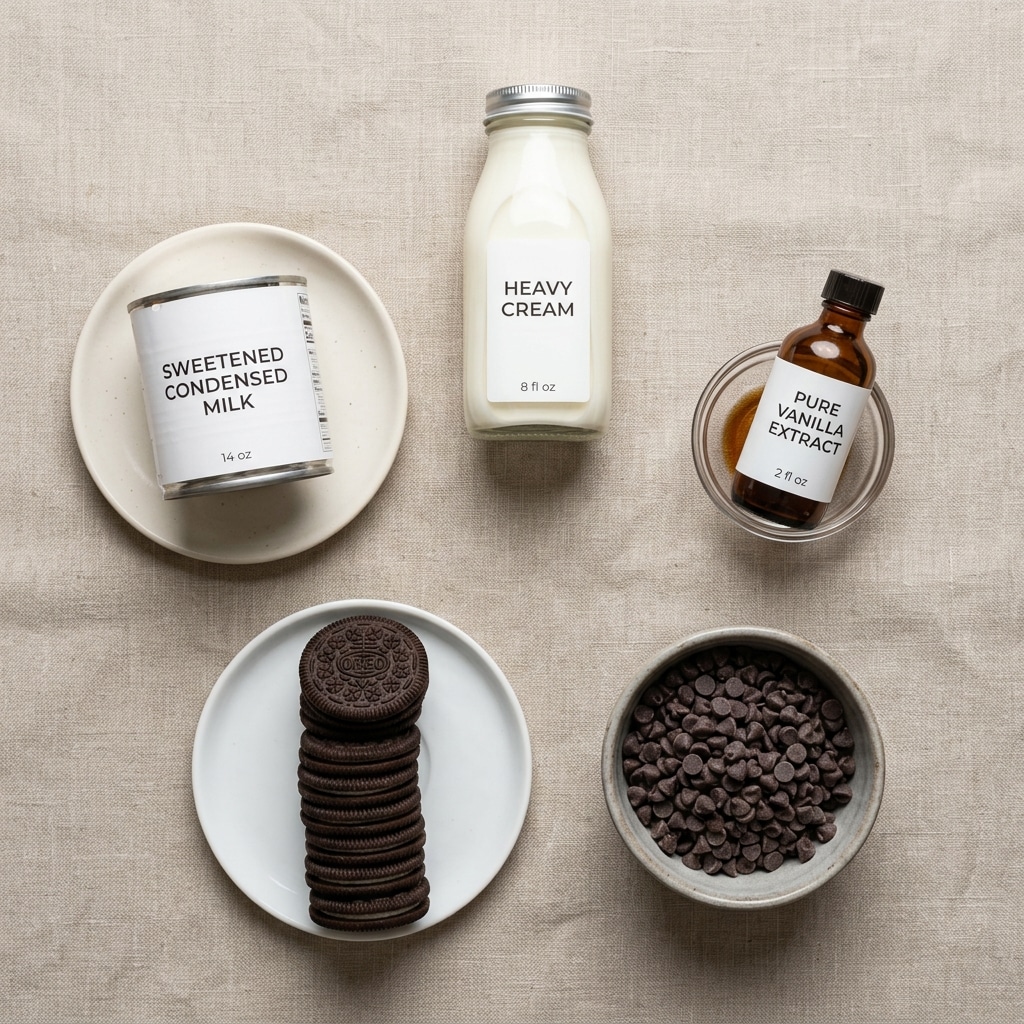
Ingredients You Will Need For These Creamy Sandwiches
These ingredients create the perfect balance of sweetness and texture.
- Heavy Cream: 2 cups, about 480 milliliters, very cold for whipping.
- Sweetened Condensed Milk: 1 can, 397 grams, for sweetness and smooth texture.
- Vanilla Extract: 2 teaspoons, for classic flavor.
- Chocolate Sandwich Cookies or Soft Chocolate Cookies: 24 cookies, similar size for even layering.
- Mini Chocolate Chips: 1 cup, about 170 grams, for coating the edges.
Easy Ingredient Swaps
Feel free to experiment.
Vanilla Extract: Almond extract for a slightly nutty twist.
Mini Chocolate Chips: Crushed nuts or colorful sprinkles.
Chocolate Cookies: Oatmeal cookies or sugar cookies for variety.
The Key Ingredients That Make It Special
Let’s highlight the stars.
Heavy Cream: Creates that airy, scoopable texture without a machine.
Sweetened Condensed Milk: Adds sweetness and keeps the ice cream smooth.
Let’s Make These Frozen Treats
Ready to create some magic? Let’s do it step by step.
- Preheat Your Equipment: There is no baking required, but line a baking sheet with parchment paper.
- Combine Ingredients: In a large bowl, whip heavy cream until stiff peaks form. Gently fold in sweetened condensed milk and vanilla extract until fully combined.
- Prepare Your Cooking Vessel: Lay half of the cookies flat on the prepared baking sheet.
- Assemble the Dish: Spoon or pipe a generous layer of ice cream mixture onto each cookie. Top with remaining cookies and gently press down to spread evenly.
- Cook to Perfection: There is no cooking required, but freeze the sandwiches for at least 4 hours until firm.
- Finishing Touches: Roll the edges of each sandwich in mini chocolate chips, pressing lightly so they stick.
- Serve and Enjoy: Serve straight from the freezer and enjoy that creamy bite.
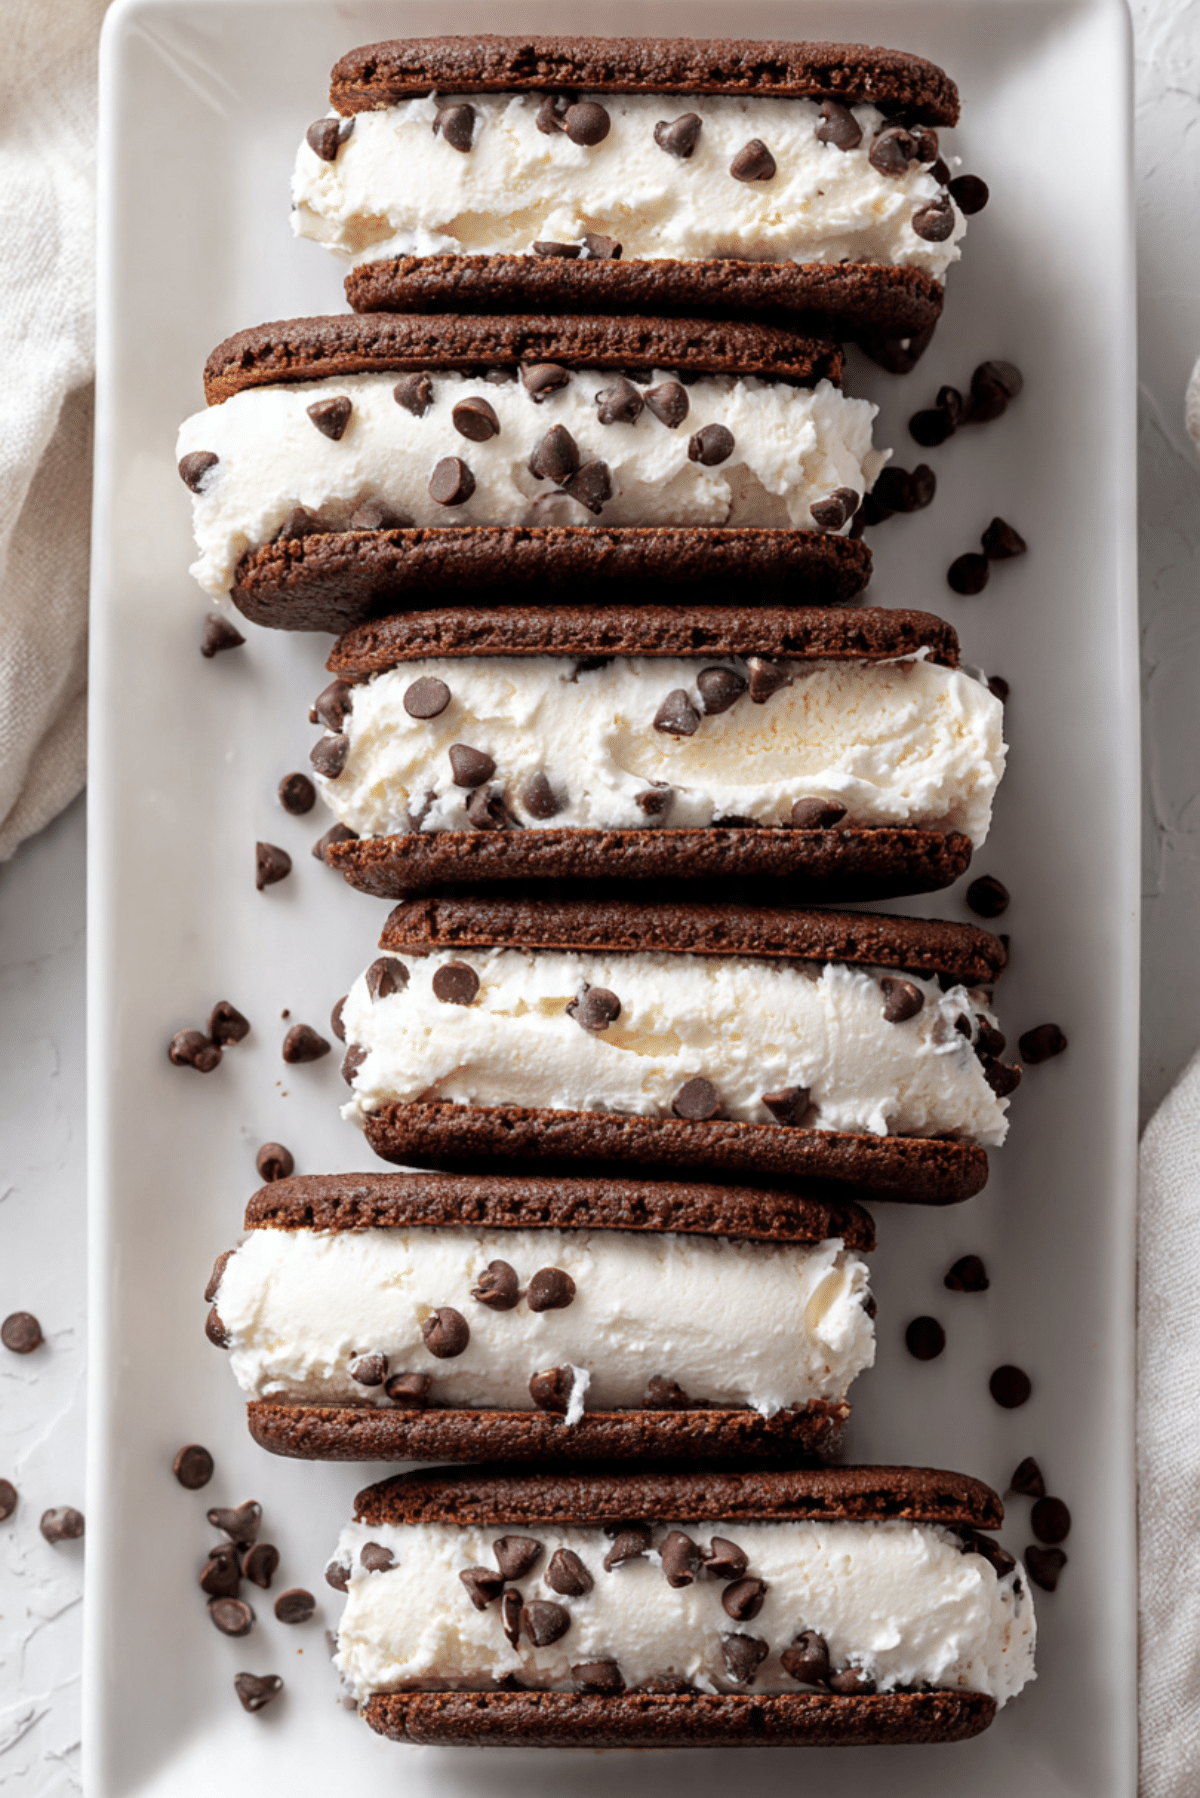
The Texture and Flavor Experience
The first bite is soft yet firm, with creamy vanilla filling melting against tender chocolate cookies. The mini chocolate chips add a slight crunch around the edges, giving you texture in every mouthful. It is sweet, smooth, and completely satisfying.
Helpful Tips for Best Results
- Do not overmix after adding condensed milk.
- Freeze flat to maintain even layers.
- Wrap tightly to prevent freezer burn.
What to Avoid for Perfect Sandwiches
- Using warm cream will prevent proper whipping.
- Skipping full freezing time can cause messy sandwiches.
- Pressing too hard may squeeze out the filling.
Nutrition Overview
Servings: 12 sandwiches
Calories per serving: 390
Note: These are approximate values.
Time Breakdown for Easy Planning
Prep Time: 20 minutes
Cook Time: 0 minutes
Total Time: 20 minutes plus freezing time
Make-Ahead and Storage Tips
Store sandwiches individually wrapped in plastic wrap or parchment inside an airtight container for up to 2 weeks. Keep them flat while freezing to maintain shape.
How to Serve for Maximum Fun
Serve on a chilled platter on a warm day. Add fresh berries on the side for a bright contrast.
Creative Leftover Ideas
Chop one up and use it as a topping for a milkshake. Break into pieces and layer into a quick ice cream trifle.
Extra Tips for Flavor and Ease
Drizzle melted chocolate over the tops before freezing for a decorative touch. Add a pinch of sea salt to the filling if you love sweet and salty combinations.
Make It a Showstopper
Roll the edges in colorful sprinkles for parties. Arrange neatly on a white platter for that clean, inviting look.
Variations to Try
- Add crushed cookies into the ice cream mixture.
- Use chocolate ice cream instead of vanilla.
- Swirl in caramel sauce before freezing.
- Add chopped nuts for extra crunch.
FAQ’s
Q1: Do I need an ice cream machine?
No, this recipe is completely no churn.
Q2: How long do they need to freeze?
At least 4 hours until firm.
Q3: Can I make them smaller?
Yes, use smaller cookies for mini versions.
Q4: Can I use store bought ice cream?
Yes, soften slightly before assembling.
Q5: How long do they last?
Up to 2 weeks in the freezer.
Q6: Can I use dark chocolate chips?
Absolutely.
Q7: Why is my filling too soft?
It may need more freezing time.
Q8: Can I double the recipe?
Yes, just ensure enough freezer space.
Q9: Can I make them dairy free?
Use dairy free cream and condensed milk alternatives.
Q10: Are they good for parties?
They are perfect for gatherings and easy to serve.
Conclusion
These no churn ice cream sandwiches bring together creamy vanilla filling and soft chocolate cookies in the most comforting way. They are simple, nostalgic, and absolutely satisfying. Make a batch, tuck them into your freezer, and enjoy a sweet frozen treat anytime.
PrintNo-Churn Ice Cream Sandwiches
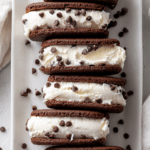
Soft chocolate cookies filled with creamy no churn vanilla ice cream and rolled in mini chocolate chips. These easy homemade ice cream sandwiches are rich, smooth, and perfect for summer treats or make ahead desserts.
Ingredients
- 2 cups heavy cream, about 480 milliliters, very cold
- 1 can sweetened condensed milk, 397 grams
- 2 teaspoons vanilla extract
- 24 chocolate sandwich cookies or soft chocolate cookies
- 1 cup mini chocolate chips, about 170 grams
Instructions
- Line a baking sheet with parchment paper.
- In a large mixing bowl, whip the cold heavy cream until stiff peaks form.
- Gently fold in the sweetened condensed milk and vanilla extract until fully combined and smooth.
- Lay 12 cookies flat on the prepared baking sheet.
- Spoon or pipe a generous layer of the ice cream mixture onto each cookie.
- Top with the remaining cookies and gently press down to spread the filling evenly.
- Freeze for at least 4 hours until firm.
- Once firm, roll the edges of each sandwich in mini chocolate chips, pressing lightly so they stick.
- Serve directly from the freezer.
Notes
- Use very cold cream for best whipping results.
- Do not overmix after adding condensed milk to keep the texture light.
- Wrap individually to prevent freezer burn.
- Freeze flat to maintain even layers.