Mango Shaved Ice
There is something instantly refreshing about a bowl of mango shaved ice. The moment that icy spoonful touches your lips, it melts softly, releasing sweet tropical mango flavor that feels like sunshine in every bite. It is light, fruity, and incredibly cooling, especially on warm days. Trust me, you are going to love this because it feels indulgent while staying wonderfully simple.
A Tropical Dessert That Feels Like a Mini Vacation
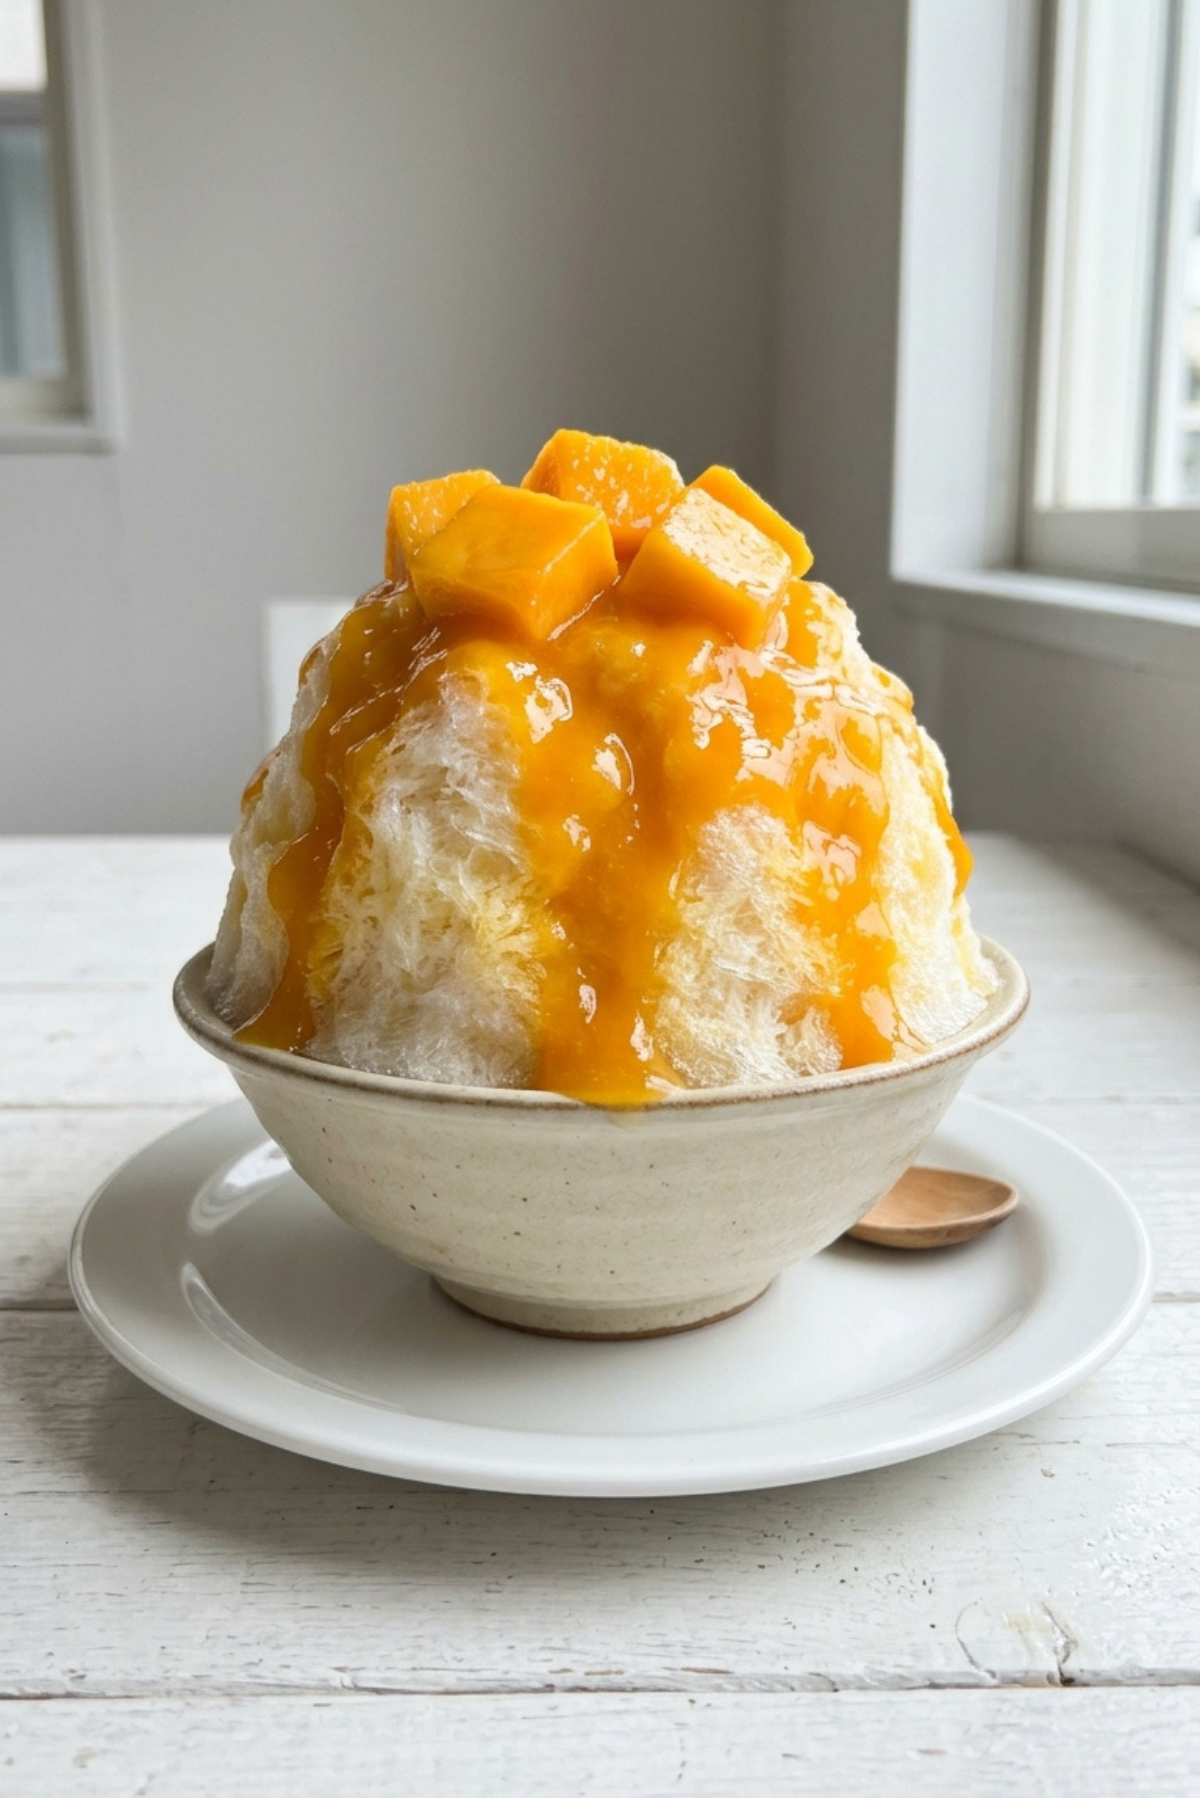
What makes this dessert so special is its texture. The ice is shaved so finely that it feels almost fluffy, like delicate snow. Then you add vibrant mango cubes and silky mango puree, and suddenly you have layers of sweetness and freshness in one chilled bowl. It is not heavy, not overly sweet, just bright and refreshing. This one is a total game changer when you want something cool but full of flavor.
A Sweet Treat with Asian Roots
Shaved ice desserts are popular across many Asian countries, each with its own twist. In places like Taiwan and Korea, finely shaved ice is topped with fruit, syrups, or condensed milk. Mango versions became especially popular in tropical regions where the fruit is abundant and naturally sweet. This version keeps things simple and lets the mango shine as the true star.
Why You Will Keep Making This All Summer
Before we get into the details, let me tell you why this deserves a spot in your warm weather routine.
Versatile: Perfect as an afternoon refresher or a light dessert after dinner.
Budget-Friendly: Made with just a few fresh ingredients.
Quick and Easy: Blend, shave, assemble, and serve.
Customizable: Adjust sweetness or add extra toppings if desired.
Crowd-Pleasing: Kids and adults both love the sweet icy texture.
Make-Ahead Friendly: Mango puree can be prepared in advance.
Great for Leftovers: Extra puree can be used in smoothies.
Pro Tips for Perfect Fluffy Ice
A few small tricks make all the difference.
- Use very cold ice cubes for the best texture.
- Pulse the blender or ice shaver in short bursts.
- Chill serving bowls beforehand to slow melting.
- Use ripe mangoes for maximum sweetness.
Essential Tools You Will Need
Keep it simple and practical.
Blender or Ice Shaver: To create finely crushed ice.
Sharp Knife: For clean mango cubes.
Serving Bowls: Preferably chilled for best presentation.
Spoon: For layering and serving.
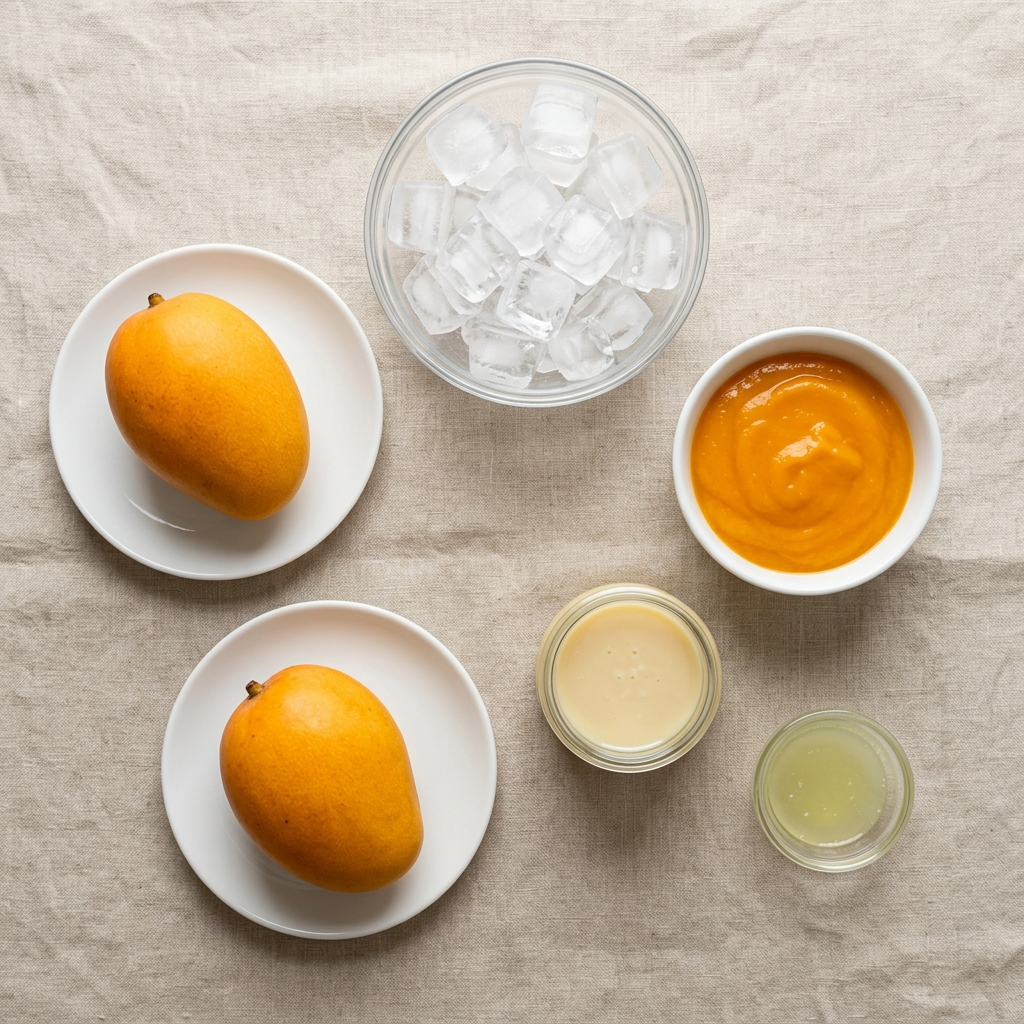
Ingredients You Will Need For This Refreshing Creation
Each ingredient plays a role in building that tropical flavor.
- Ice Cubes: 4 cups, the fluffy frozen base of the dessert.
- Fresh Mangoes: 2 large ripe mangoes, peeled and diced, for topping.
- Mango Puree: 1 cup, blended from fresh mango for smooth sweetness.
- Sweetened Condensed Milk: 2 tablespoons, optional for added creaminess.
- Fresh Lime Juice: 1 teaspoon, brightens and balances the sweetness.
Easy Ingredient Swaps
If you want flexibility, here are a few ideas.
Sweetened Condensed Milk: Substitute with coconut milk for a lighter touch.
Lime Juice: Use lemon juice for a similar bright note.
Fresh Mango: Frozen mango can work if thawed properly.
Spotlight on the Star Ingredient
Mango: Sweet, juicy, and fragrant, it brings tropical warmth and vibrant color to every spoonful.
Let Us Build This Frozen Delight
Now comes the fun part, bringing it all together.
- Preheat Your Equipment: Chill your serving bowls in the freezer for 10 minutes.
- Combine Ingredients: Blend 1 cup diced mango until smooth to create the puree.
- Prepare Your Cooking Vessel: Add ice cubes to a blender or ice shaver.
- Assemble the Dish: Pulse until the ice becomes finely shaved and fluffy.
- Cook to Perfection: Spoon shaved ice into chilled bowls immediately.
- Finishing Touches: Top with mango cubes, drizzle with mango puree, and add condensed milk if using. Finish with a light squeeze of lime juice.
- Serve and Enjoy: Serve right away before the ice begins to melt.
The Magic of Texture and Flavor
The ice melts delicately on your tongue, while juicy mango pieces add natural sweetness and gentle chew. The puree seeps into the shaved layers, creating pockets of flavor throughout. A touch of lime wakes everything up and keeps it from tasting overly sweet. Let me tell you, it is worth every chilly spoonful.
Helpful Tips for Success
- Work quickly once the ice is shaved to prevent melting.
- Taste your mango before blending to adjust sweetness.
- Keep ingredients cold for the best structure.
What to Avoid
- Using underripe mango can make the dessert bland.
- Over blending the ice can turn it slushy.
- Adding too much liquid can cause rapid melting.
Nutrition Snapshot
Servings: 4
Calories per serving: 190
Note: These are approximate values.
Time Overview
Prep Time: 15 minutes
Cook Time: 0 minutes
Total Time: 15 minutes
Make-Ahead and Storage Tips
Prepare mango puree up to one day in advance and store in the refrigerator. Dice mango ahead of time and keep chilled. Shave ice only when ready to serve, as it melts quickly. This dessert is best enjoyed immediately.
Serving Suggestions
Serve in wide bowls to showcase the bright yellow topping. Pair with fresh mint leaves for added freshness. It also works beautifully as a light finish after a rich meal.
Creative Leftover Ideas
Use leftover mango puree in smoothies. Freeze it into ice cubes for tropical drinks. Stir into yogurt for a fruity snack.
Extra Tips for Better Flavor
A tiny pinch of salt enhances sweetness. Add shredded coconut for texture if desired. Always use ripe fruit for the best aroma.
Make It a Showstopper
Layer shaved ice and mango cubes for a beautiful contrast. Drizzle puree slowly so it cascades naturally. Keep presentation clean and simple to highlight the vibrant color.
Variations to Try
- Add coconut milk drizzle for creaminess.
- Mix in small tapioca pearls for extra texture.
- Top with fresh berries for color contrast.
- Add a scoop of vanilla ice cream for indulgence.
FAQ’s
Q1: Can I use frozen mango?
Yes, thaw slightly before dicing.
Q2: Do I need a special ice shaver?
A strong blender works well.
Q3: How do I keep it from melting?
Chill bowls and serve immediately.
Q4: Can I reduce sweetness?
Skip condensed milk and adjust lime.
Q5: Is it dairy free?
It is dairy free if you skip condensed milk.
Q6: Can I prepare it ahead?
Prepare toppings ahead, shave ice just before serving.
Q7: What type of mango works best?
Ripe, sweet varieties with bright orange flesh.
Q8: Can I add other fruits?
Yes, strawberries or kiwi work well.
Q9: Is this kid friendly?
Absolutely, it is fruity and refreshing.
Q10: Can I double the recipe?
Yes, just work in batches when shaving ice.
Conclusion
Mango Shaved Ice is bright, refreshing, and beautifully simple. It captures the sweetness of ripe mango and the lightness of fluffy ice in one joyful bowl. Make it on a warm afternoon and let each spoonful cool you down while delivering pure tropical flavor.
PrintMango Shaved Ice
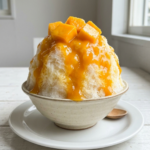
Light, fluffy mango shaved ice topped with fresh mango cubes and silky mango puree for a bright, tropical dessert that melts gently with every refreshing spoonful.
Ingredients
- 4 cups ice cubes
- 2 large ripe mangoes, peeled and diced
- 1 cup mango puree (blended from fresh mango)
- 2 tablespoons sweetened condensed milk (optional)
- 1 teaspoon fresh lime juice
Instructions
- Chill serving bowls in the freezer for 10 minutes.
- Blend 1 cup diced mango until smooth to create the mango puree.
- Add ice cubes to a blender or ice shaver.
- Pulse in short bursts until the ice becomes finely shaved and fluffy.
- Spoon shaved ice into chilled bowls immediately.
- Top with remaining diced mango.
- Drizzle mango puree evenly over the ice.
- Add sweetened condensed milk if using.
- Finish with a light squeeze of fresh lime juice.
- Serve immediately before melting.
Notes
- Use very ripe mangoes for maximum sweetness and aroma.
- Work quickly after shaving the ice to maintain texture.
- Chill bowls to slow down melting.
- Adjust condensed milk to control sweetness.