Fried Garlic Bread
There is something irresistible about the smell of garlic sizzling in butter. The moment it hits the pan, your kitchen fills with warmth and comfort. Now imagine thick slices of bread turning golden and crispy in that garlicky butter, edges crackling slightly while the inside stays soft and tender. That is exactly what fried garlic bread delivers. Trust me, you are going to love this. It is simple, bold, and completely satisfying.
The Crispy, Buttery Side That Elevates Any Meal
Fried garlic bread is one of those sides that quietly steals attention. It has crunch, richness, and that deep savory flavor that makes you reach for another slice without even thinking.
The outside turns beautifully crisp, while the inside remains soft and slightly chewy. It pairs with almost everything, from soups to salads to pasta, and sometimes it does not even need a main dish beside it.
A Timeless Combination Loved Around the World
Bread and garlic have been paired together for centuries. Across many cultures, garlic has been used to enhance simple dishes, bringing depth and aroma to everyday ingredients. When combined with butter and toasted bread, it transforms into something comforting and unforgettable.
Over time, garlic bread evolved into many versions, baked, grilled, and fried. This stovetop method gives you maximum crispiness in minimal time.
Why This Recipe Is a Must Save
Before we heat the pan, here is why this one deserves a permanent place in your kitchen.
Versatile: Serve it as a side, appetizer, or snack.
Budget-Friendly: Bread, butter, and garlic are simple pantry staples.
Quick and Easy: Ready in under 15 minutes.
Customizable: Add cheese, herbs, or a sprinkle of chili flakes.
Crowd-Pleasing: Crispy, buttery bread is always a hit.
Make-Ahead Friendly: Mix the garlic butter in advance.
Great for Leftovers: Reheat in a pan to bring back crispiness.
Chef Secrets for Perfect Crispiness
- Use medium heat to avoid burning the garlic.
- Spread the garlic butter evenly across the bread.
- Press lightly with a spatula while frying for better browning.
- Flip once the bottom is deeply golden.
Tools You Will Need
Skillet or Frying Pan: A heavy pan helps achieve even browning.
Spatula: For flipping without tearing the bread.
Small Bowl: To mix the garlic butter.
Knife and Cutting Board: For mincing garlic and slicing bread.
Ingredients You Will Need For Fried Garlic Bread
Each ingredient plays a simple but important role in building flavor.
- French Bread or Italian Bread: 8 slices, about 1 inch thick, sturdy enough for frying.
- Unsalted Butter: 4 tablespoons, softened, provides richness.
- Garlic: 3 cloves, finely minced, delivers bold flavor.
- Salt: 1/4 teaspoon, enhances overall taste.
- Black Pepper: 1/4 teaspoon, adds gentle warmth.
- Fresh Parsley: 2 tablespoons, finely chopped, adds brightness and color.
Easy Ingredient Substitutions
French Bread: Use sourdough for extra flavor.
Unsalted Butter: Use salted butter and reduce added salt.
Parsley: Try fresh basil for a different herb note.
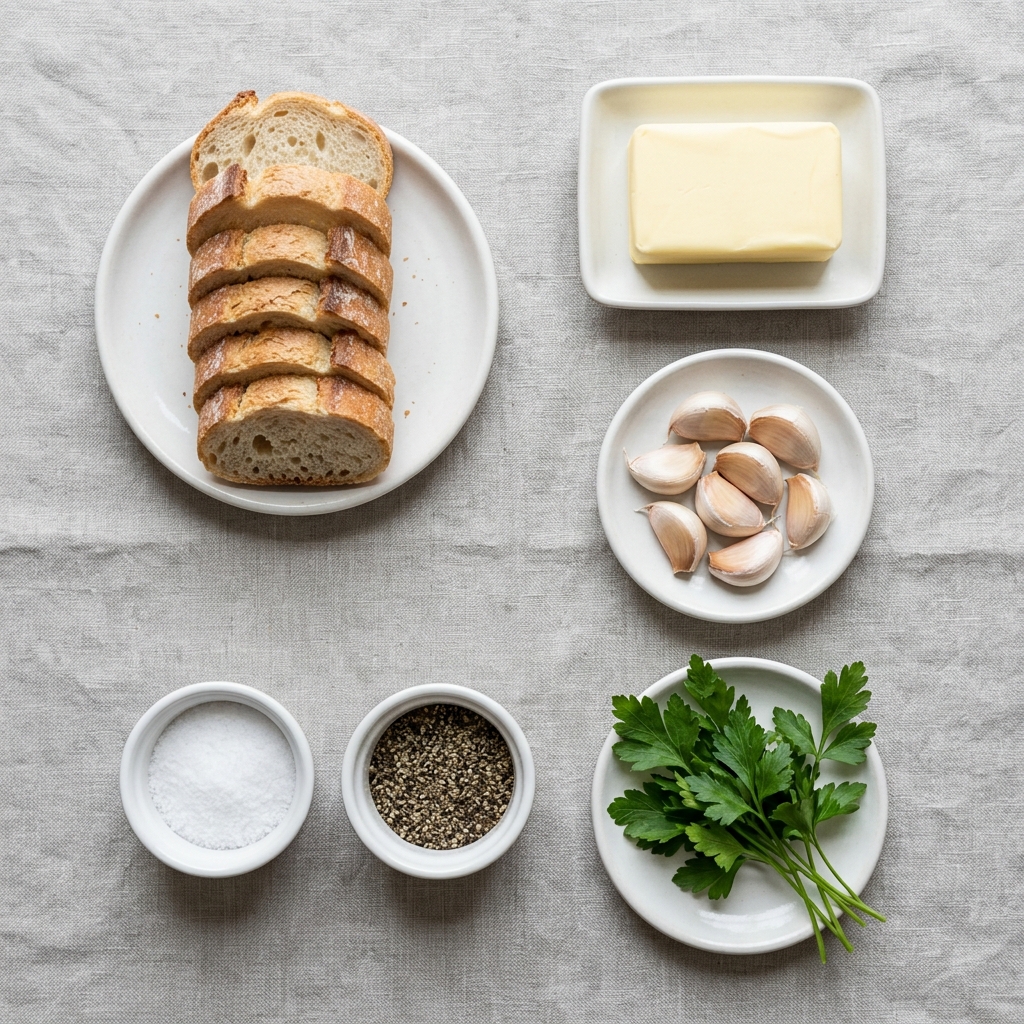
Spotlight on the Star Ingredients
Garlic: Fresh garlic gives strong aroma and deep savory flavor when gently cooked.
Butter: It crisps the bread while adding that rich, golden finish.
Let’s Cook Step by Step
Here are the steps you are going to follow.
- Preheat Your Equipment: Place a skillet over medium heat.
- Combine Ingredients: In a small bowl, mix softened butter, minced garlic, salt, black pepper, and chopped parsley until well combined.
- Prepare Your Cooking Vessel: Allow the skillet to heat evenly before adding bread.
- Assemble the Dish: Spread the garlic butter mixture evenly over one side of each bread slice.
- Cook to Perfection: Place bread butter side down in the skillet and cook for 3 to 4 minutes until golden and crispy. Flip and cook the other side for 2 to 3 minutes until lightly crisp.
- Finishing Touches: Remove from heat and let rest briefly so the crust sets.
- Serve and Enjoy: Serve warm while edges are crisp and centers are soft.
Texture and Flavor That Make It Irresistible
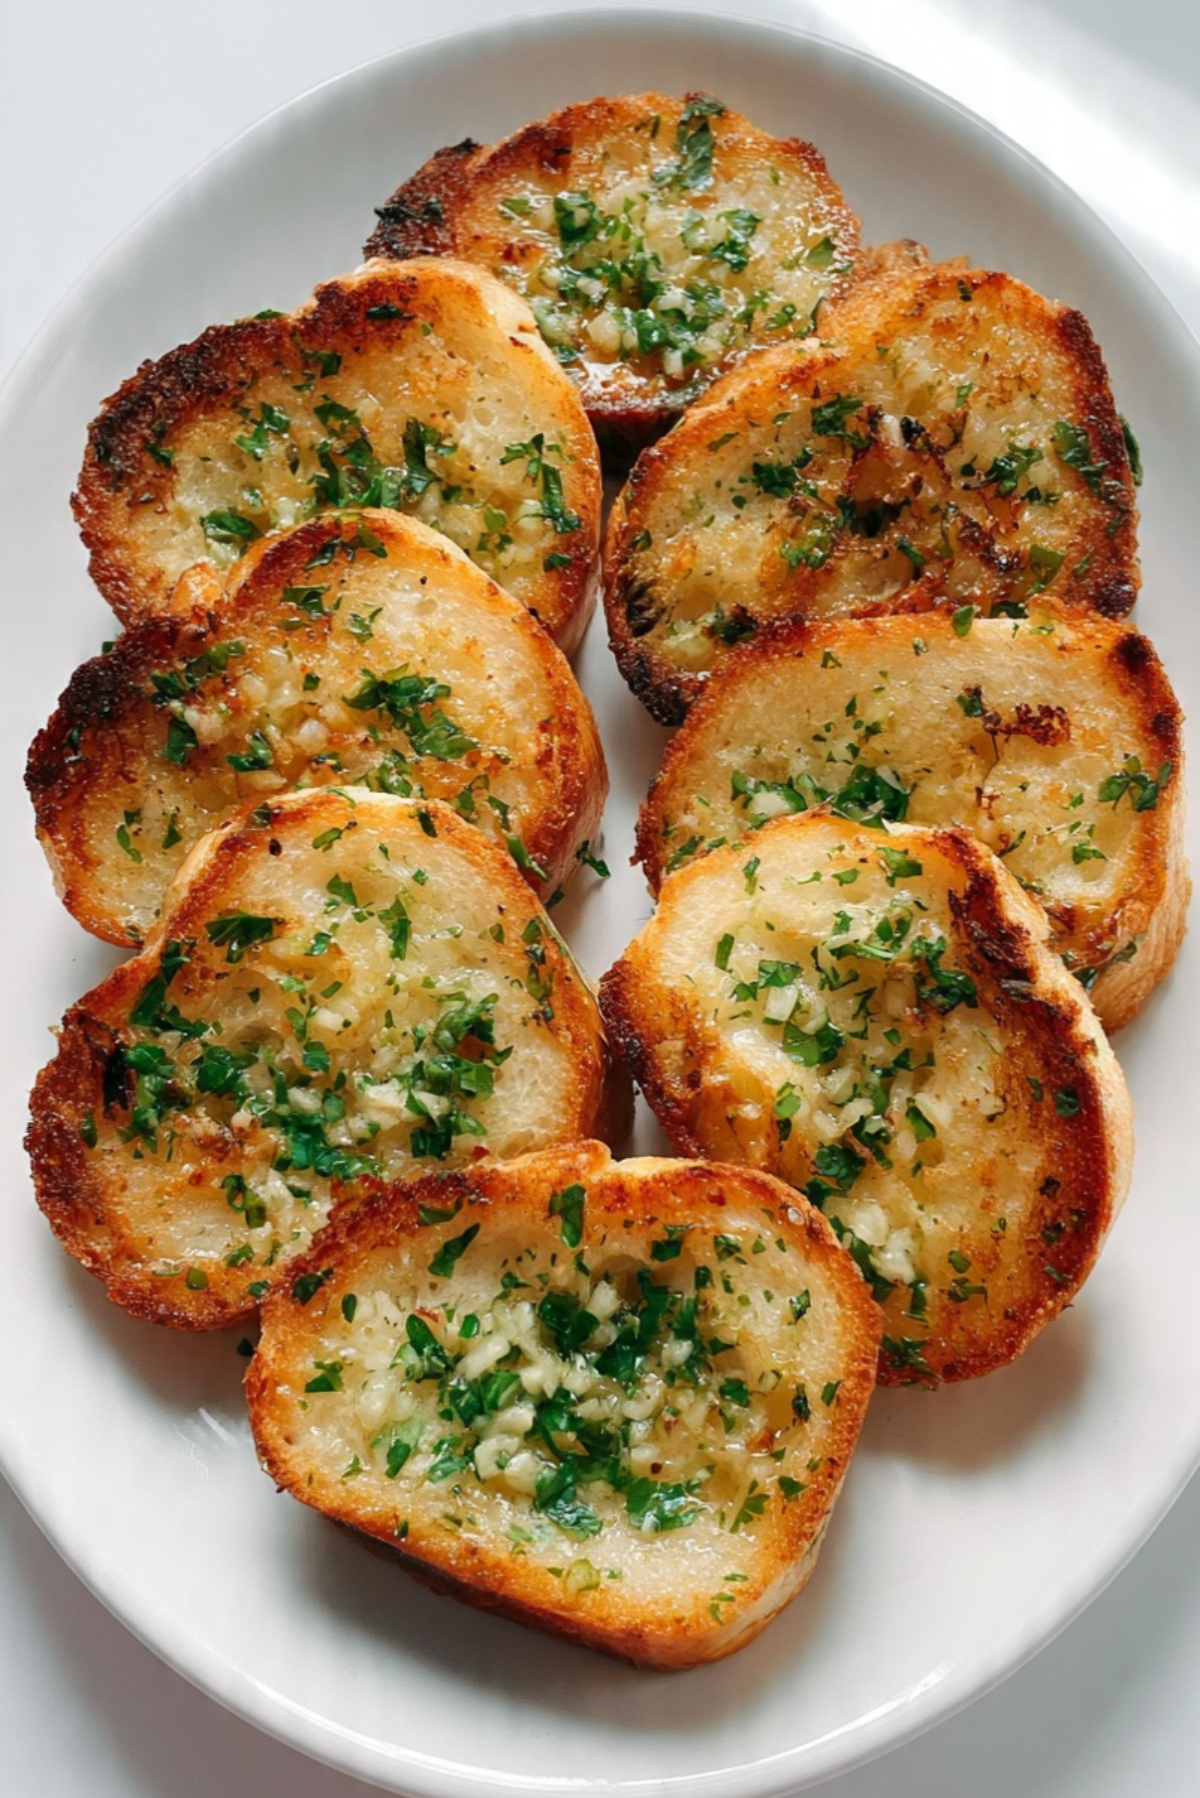
The first bite gives you a satisfying crunch, followed by soft, buttery bread that melts slightly in your mouth. The garlic flavor is bold but balanced, and the parsley adds a fresh finish. It is rich without being heavy, and every slice feels comforting.
Helpful Cooking Tips
- Keep heat moderate to prevent garlic from burning.
- Do not overcrowd the pan.
- Serve immediately for best texture.
What to Avoid
- Burning the garlic, which creates bitterness.
- Using bread that is too thin, it may dry out.
- Skipping seasoning, which balances richness.
Nutrition Facts
Servings: 4
Calories per serving: 260
Note: These values are approximate.
Preparation Time
Prep Time: 5 minutes
Cook Time: 8 minutes
Total Time: 13 minutes
Make Ahead and Storage Tips
You can prepare the garlic butter mixture up to 2 days in advance and refrigerate it. Cooked bread is best enjoyed fresh, but leftovers can be stored for 1 day and reheated in a skillet to restore crispiness.
How to Serve
Serve alongside soups, salads, or pasta. It also works beautifully as a base for toppings like diced tomatoes or melted cheese.
Creative Leftover Transformations
Cut into cubes and turn into croutons. Use as a base for mini sandwiches. Chop and add to a savory bread salad.
Additional Tips
Use high quality butter for best flavor. Add a pinch of grated parmesan after cooking for extra richness.
Make It a Showstopper
Sprinkle extra fresh parsley and a light dusting of black pepper before serving. Arrange slices neatly on a white plate to highlight the golden crust.
Variations to Try
- Add shredded mozzarella on top while frying.
- Sprinkle chili flakes for heat.
- Mix in a little grated parmesan with the butter.
- Add a squeeze of lemon juice after cooking.
FAQ’s
Q1: Can I use olive oil instead of butter?
Yes, but the flavor will be slightly different.
Q2: How do I prevent garlic from burning?
Cook over medium heat and watch closely.
Q3: Can I make it in advance?
Prepare the garlic butter ahead, but fry just before serving.
Q4: What bread works best?
French or Italian bread with a sturdy crust.
Q5: Can I bake instead of fry?
Yes, but frying gives a crispier crust.
Q6: Can I freeze garlic butter?
Yes, freeze in small portions.
Q7: How do I reheat leftovers?
Warm in a skillet for best crispiness.
Q8: Can I add cheese?
Yes, mozzarella or parmesan works well.
Q9: Is dried parsley okay?
Fresh parsley gives better flavor and color.
Q10: How thick should the slices be?
About 1 inch thick for the best balance of crisp and soft.
Conclusion
Fried garlic bread is simple, bold, and completely satisfying. With its crispy edges, buttery richness, and fragrant garlic flavor, it turns everyday bread into something special. Let me tell you, it is worth every bite. Once you make it this way, you may never go back.
PrintFried Garlic Bread
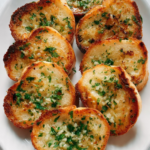
Fried garlic bread is crispy on the outside, soft on the inside, and packed with rich buttery garlic flavor. This quick stovetop method delivers perfectly golden slices in minutes, making it the ultimate easy side dish or snack.
Ingredients
- 8 slices French bread or Italian bread, about 1 inch thick
- 4 tablespoons unsalted butter, softened
- 3 cloves garlic, finely minced
- 1/4 teaspoon salt
- 1/4 teaspoon black pepper
- 2 tablespoons fresh parsley, finely chopped
Instructions
- Place a skillet over medium heat and allow it to warm evenly.
- In a small bowl, mix softened butter, minced garlic, salt, black pepper, and chopped parsley until well combined.
- Spread the garlic butter mixture evenly over one side of each bread slice.
- Place the bread butter side down into the heated skillet.
- Cook for 3 to 4 minutes until the bottom is golden brown and crispy.
- Flip the slices carefully and cook the other side for 2 to 3 minutes until lightly crisp.
- Remove from the skillet and let rest briefly before serving.
- Serve warm for the best texture and flavor.
Notes
- Keep the heat moderate to prevent burning the garlic.
- Do not overcrowd the pan to ensure even browning.
- Serve immediately for maximum crispiness.
- Leftovers can be reheated in a skillet to restore crunch.