Crispy Chili Oil Fried Eggs
There is something wildly satisfying about the sound of an egg hitting a hot pan. That gentle sizzle quickly turns into a crackling chorus as the edges bubble and crisp. Now imagine that moment finished with a glossy drizzle of deep red chili oil that seeps into every little crevice. Crispy Chili Oil Fried Eggs are bold, simple, and absolutely addictive. Trust me, you’re going to love this.
The Five Minute Breakfast That Feels Bold
Some mornings need more than plain eggs. They need texture, heat, and flavor that wakes you up instantly. These eggs deliver crispy, golden edges with soft yolks that stay rich and silky. The chili oil adds warmth and depth without overpowering the egg itself.
It is fast, dramatic, and surprisingly easy.
A Modern Twist on a Classic Staple
Fried eggs have existed in nearly every cuisine around the world. From simple farmhouse breakfasts to vibrant street food plates, eggs are universal comfort. The addition of chili oil is inspired by Asian cooking traditions where chili oil is used to add heat, aroma, and richness to everything from noodles to dumplings.
Bringing those two together creates something that feels both familiar and exciting.
Why This Dish Is a Total Game Changer
Before we heat the pan, here is why this one is worth repeating.
Versatile: Serve over toast, rice, noodles, or even avocado.
Budget-Friendly: Eggs and oil are simple and affordable ingredients.
Quick and Easy: Ready in under 10 minutes.
Customizable: Adjust the heat level by adding more or less chili oil.
Crowd-Pleasing: Crispy edges and runny yolks always impress.
Make-Ahead Friendly: Chili oil can be prepared in advance.
Great for Leftovers: Top leftovers like roasted vegetables or grain bowls.
Pro Tips for Extra Crispy Edges
A few small details make all the difference.
- Use a generous amount of oil so the edges fry instead of steam.
- Let the oil heat fully before cracking in the eggs.
- Spoon hot oil gently over the whites to help them crisp evenly.
- Add chili oil after the eggs are cooked to preserve its aroma.
Tools You Will Need
You only need a few basics.
Nonstick or Cast Iron Skillet: For even heat and crisp edges.
Spatula: To lift the eggs gently without breaking the yolk.
Small Spoon: For drizzling chili oil evenly.
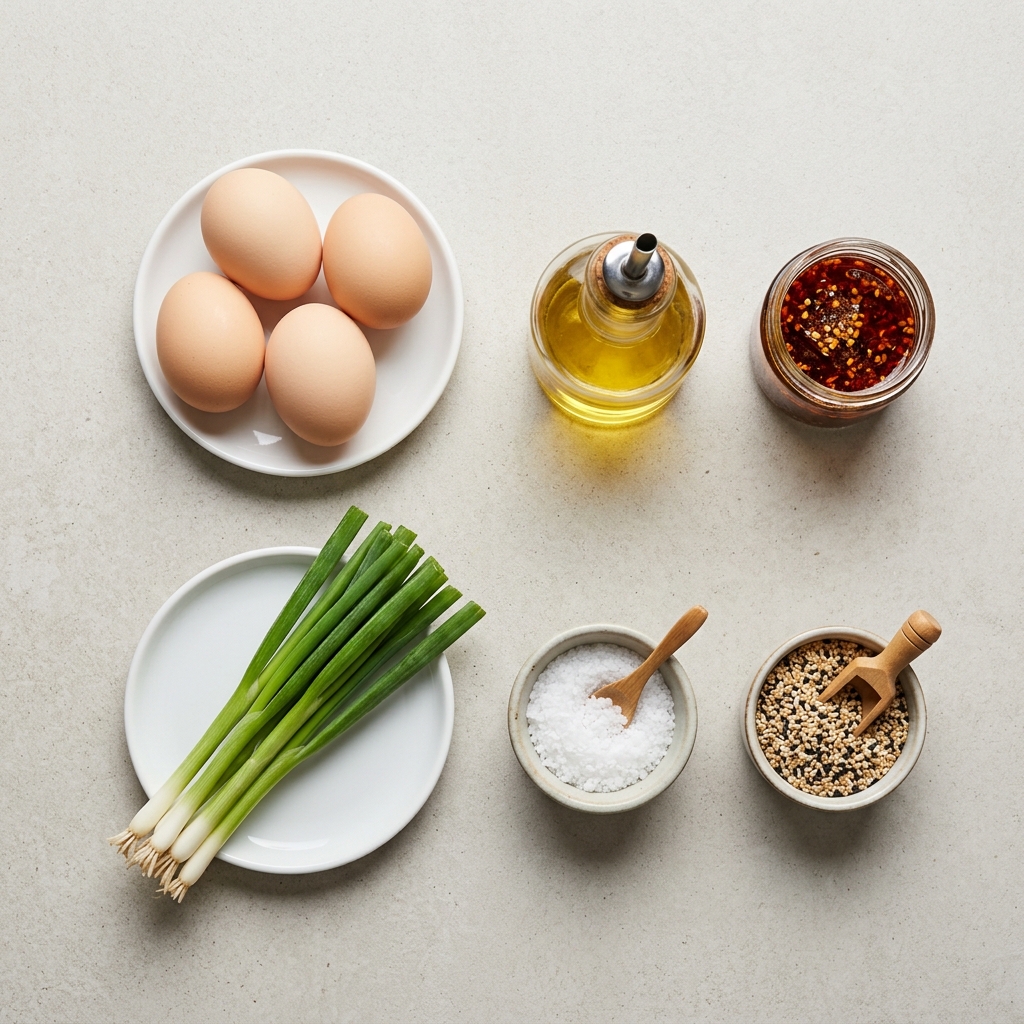
Ingredients You Will Need For These Fiery Eggs
Each ingredient plays a simple but important role.
- Large Eggs: 4, fresh and at room temperature for best results.
- Neutral Oil: 3 tablespoons, such as vegetable oil, for frying.
- Chili Oil: 2 tablespoons, adds spice and rich flavor.
- Salt: 1/4 teaspoon, enhances natural egg flavor.
- Sesame Seeds: 1 teaspoon, optional for crunch.
- Green Onions: 1 tablespoon, finely chopped, for freshness.
Easy Ingredient Swaps
Flexibility keeps things interesting.
Neutral Oil: Olive oil can be used, though flavor will change slightly.
Chili Oil: Chili flakes in warm oil can work in a pinch.
Green Onions: Fresh herbs like cilantro can substitute.
Spotlight on Chili Oil
Chili Oil: This is the star. It brings heat, color, and a fragrant depth that transforms a simple fried egg into something unforgettable.
Let’s Fry Them Up
Now that your skillet is ready and you can almost hear that sizzle, let’s dive in.
- Preheat Your Equipment: Place a skillet over medium high heat and allow it to warm thoroughly.
- Combine Ingredients: Crack the eggs into small bowls individually to make pouring easier and prevent shell fragments.
- Prepare Your Cooking Vessel: Add neutral oil to the hot skillet and heat until shimmering but not smoking.
- Assemble the Dish: Carefully slide the eggs into the oil. The edges should begin bubbling immediately.
- Cook to Perfection: Fry for 2 to 3 minutes until the whites are crisp and golden at the edges while the yolks remain soft. Spoon a little hot oil over the whites if needed.
- Finishing Touches: Sprinkle salt, drizzle chili oil over each egg, and add sesame seeds and green onions.
- Serve and Enjoy: Transfer gently to a plate and serve immediately.
Texture and Flavor Explosion
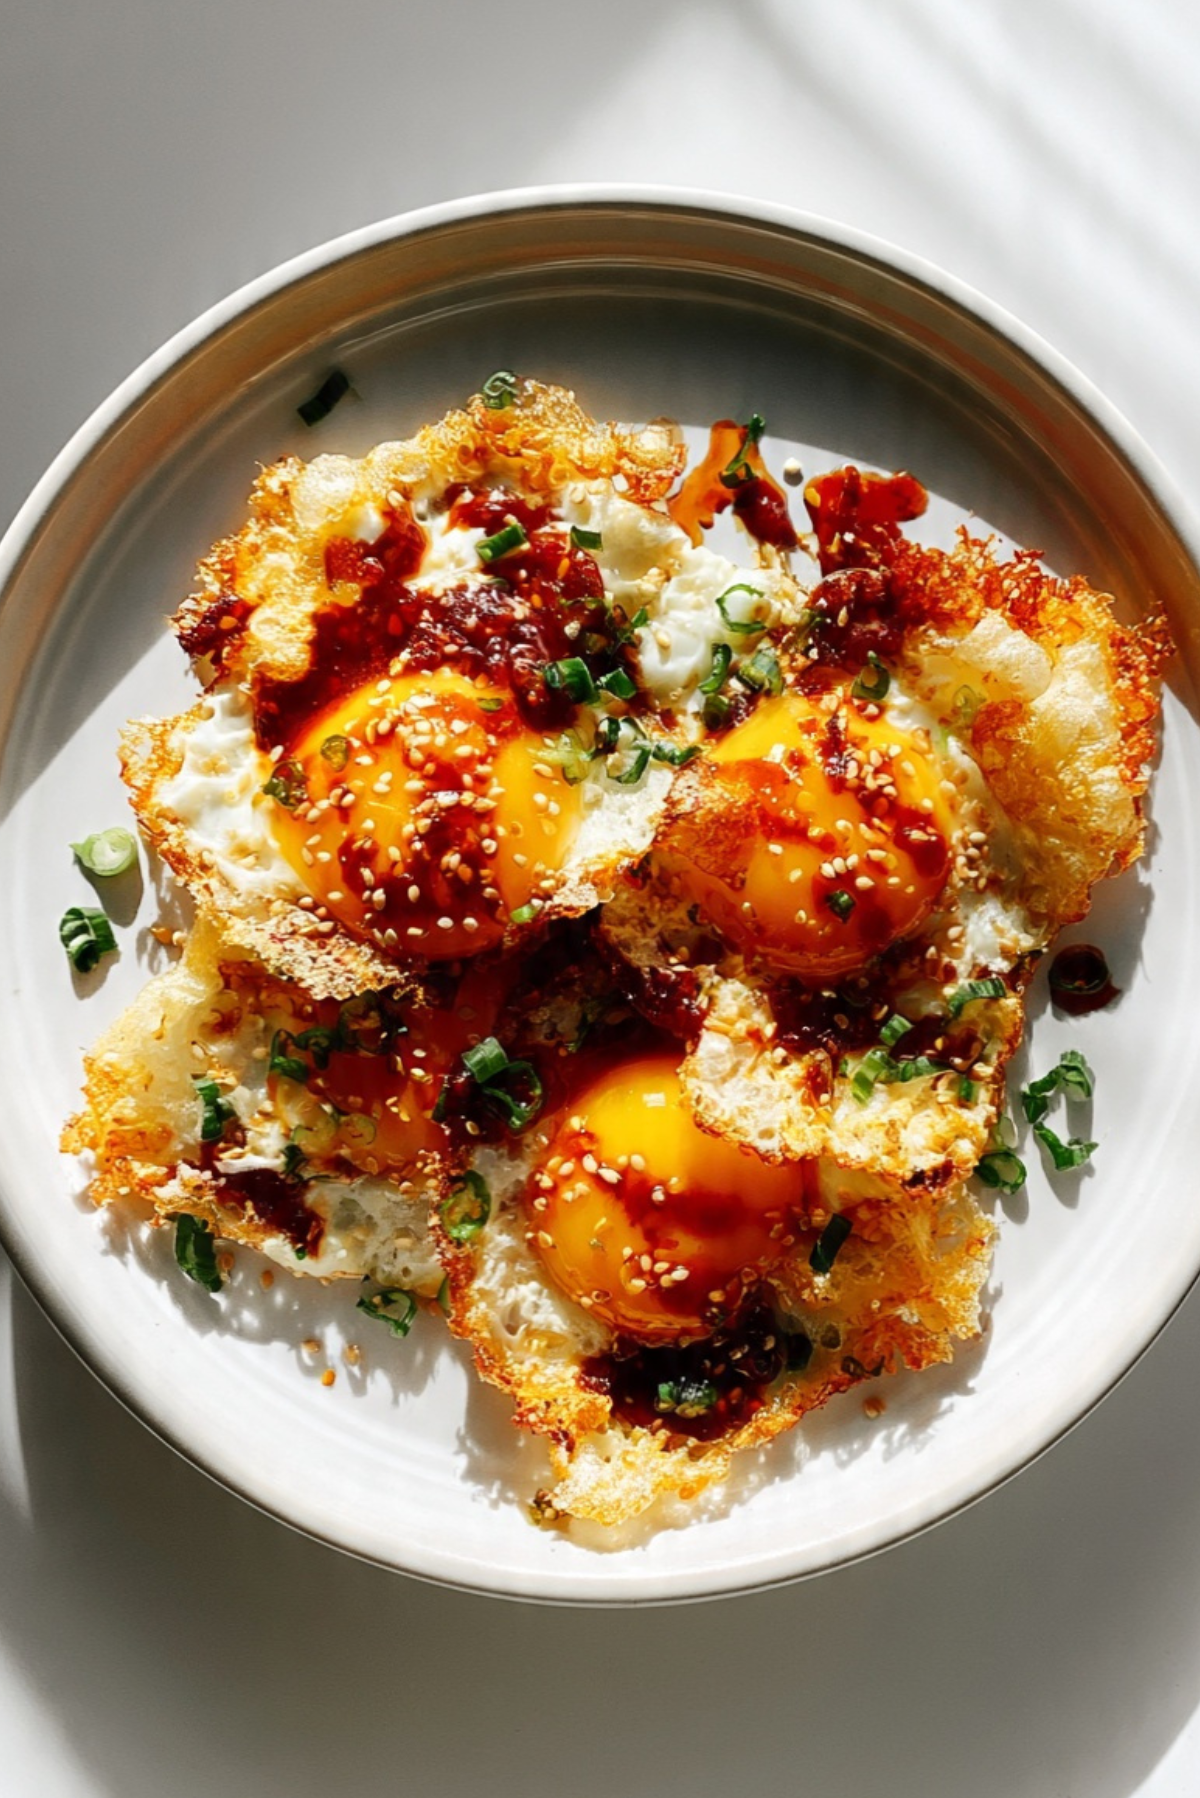
The edges are lacy and crisp, almost crackly, while the center remains tender and silky. When the yolk breaks, it mixes with the chili oil, creating a rich sauce that coats every bite. It is spicy, savory, and deeply satisfying.
Helpful Tips for Success
Keep these in mind.
- Use fresh eggs for better structure.
- Do not overcrowd the pan.
- Adjust heat if the oil begins smoking.
What to Avoid
Even quick recipes have pitfalls.
- Using too little oil, which prevents crisping.
- Cooking on low heat, which leads to rubbery whites.
- Adding chili oil too early, which can burn.
Nutrition Facts
Servings: 4
Calories per serving: 210
Note: These are approximate values.
Preparation Time
Prep Time: 5 minutes
Cook Time: 5 minutes
Total Time: 10 minutes
Make Ahead and Storage Tips
These eggs are best enjoyed fresh and hot. However, chili oil can be stored in a sealed container at room temperature for up to one week. Reheat eggs gently if needed, though texture is best immediately after cooking.
How to Serve
Serve over toasted bread, steamed rice, or even alongside sautéed greens. It also pairs beautifully with avocado slices or roasted potatoes.
Creative Leftover Transformations
Top leftover rice or noodles with a reheated egg and extra chili oil. You can also chop the eggs and fold them into a warm grain bowl.
Additional Tips
Add a splash of soy sauce for extra depth. For more heat, sprinkle red pepper flakes before serving.
Make It a Showstopper
Serve on a clean white plate and drizzle chili oil in a circular motion for visual contrast. Sprinkle sesame seeds evenly for texture and finish with bright green onions. This one’s a total game changer for brunch.
Variations to Try
- Add a squeeze of lime for brightness.
- Sprinkle crispy garlic chips on top.
- Serve over yogurt for a creamy contrast.
- Add thinly sliced red chili for extra heat.
FAQ’s
Q1: Can I cook the yolks fully?
Yes, simply cook an extra minute or two.
Q2: Is this very spicy?
It depends on your chili oil. Adjust quantity to taste.
Q3: Can I use butter instead of oil?
You can, but edges will not be as crispy.
Q4: What pan works best?
A cast iron skillet gives excellent crisp texture.
Q5: Can I make just one egg?
Yes, reduce oil proportionally.
Q6: How do I keep yolks runny?
Avoid flipping and monitor cooking time closely.
Q7: Can I add cheese?
Yes, sprinkle lightly after cooking.
Q8: What type of chili oil works best?
Use one with visible chili flakes for texture.
Q9: Are these good for brunch?
Absolutely, they make a bold brunch centerpiece.
Q10: Can I pair this with vegetables?
Yes, sautéed spinach or roasted tomatoes work beautifully.
Conclusion
Crispy Chili Oil Fried Eggs prove that even the simplest ingredients can become something exciting. With crackly edges, silky yolks, and a bold drizzle of chili oil, this dish brings flavor and texture together in just minutes. Once you try it, plain fried eggs might never feel quite the same again.
PrintCrispy Chili Oil Fried Eggs
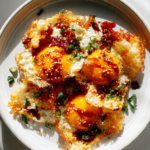
Crispy edged fried eggs drizzled with bold chili oil and topped with sesame seeds and green onions. A quick, flavor-packed breakfast ready in minutes.
Ingredients
- 4 large eggs
- 3 tablespoons neutral oil
- 2 tablespoons chili oil
- 1/4 teaspoon salt
- 1 teaspoon sesame seeds
- 1 tablespoon green onions, finely chopped
Instructions
- Heat a nonstick or cast iron skillet over medium high heat.
- Add neutral oil and heat until shimmering but not smoking.
- Crack the eggs into small bowls individually, then carefully slide them into the hot oil.
- Fry for 2 to 3 minutes until the whites are crispy and golden at the edges while the yolks remain soft.
- Spoon a little hot oil over the whites if needed to help them cook evenly.
- Sprinkle salt over the eggs.
- Drizzle chili oil evenly on top.
- Finish with sesame seeds and chopped green onions, then serve immediately.
Notes
- Use enough oil to allow the edges to crisp properly.
- Add chili oil after cooking to preserve its flavor.
- Do not overcrowd the pan for best texture.
- Serve immediately for optimal crispiness.