Whole Wheat Seed Bread
There is something incredibly grounding about baking your own bread. The scent of warm whole wheat flour and toasted seeds slowly filling the kitchen makes everything feel calm and intentional. This Whole Wheat Seed Bread is hearty, nutty, and deeply satisfying. It has that rustic bakery feel, but you made it yourself. Trust me, you’re going to love this.
Why This Hearty Loaf Feels So Nourishing
This bread is not light and airy like white sandwich bread. It is sturdy, wholesome, and full of texture. Every slice carries a gentle chew from the whole wheat flour and a subtle crunch from the seeds. It tastes rich and slightly nutty, with a comforting depth that pairs beautifully with both sweet and savory toppings.
A Tradition Rooted in Simple Grains
Whole grain breads have been staples in many cultures for centuries. Before refined flour became widely available, breads were dense, hearty, and packed with natural nutrients from the entire grain. Adding seeds is another traditional touch, bringing flavor, texture, and extra nourishment. This loaf honors that rustic tradition while fitting perfectly into a modern kitchen.
Why You Will Keep Baking This Again
Before we start mixing, let me tell you why this one’s a total game-changer.
Versatile: Perfect for sandwiches, toast, or alongside soups.
Budget-Friendly: Made from simple pantry staples.
Quick and Easy: Straightforward steps without complicated techniques.
Customizable: Swap or add different seeds to suit your taste.
Crowd-Pleasing: The nutty flavor appeals to both adults and kids.
Make-Ahead Friendly: Bake once and enjoy throughout the week.
Great for Leftovers: Toast slices for breakfast or turn into croutons.
Pro Tips for a Perfect Rise
A few small details will help you get bakery level results.
- Use warm water, not hot, to activate the yeast properly.
- Let the dough rise in a warm, draft free space.
- Do not rush the second rise, as it improves texture.
- Score the top lightly before baking to control expansion.
Tools That Make It Easier
Gather these basics before starting.
Large Mixing Bowl: For combining and kneading the dough.
Measuring Cups and Spoons: For accurate proportions.
Loaf Pan: 9×5 inch pan works perfectly.
Kitchen Towel: To cover dough during rising.
Bread Knife: For clean slicing after baking.
Ingredients That Build This Rustic Loaf
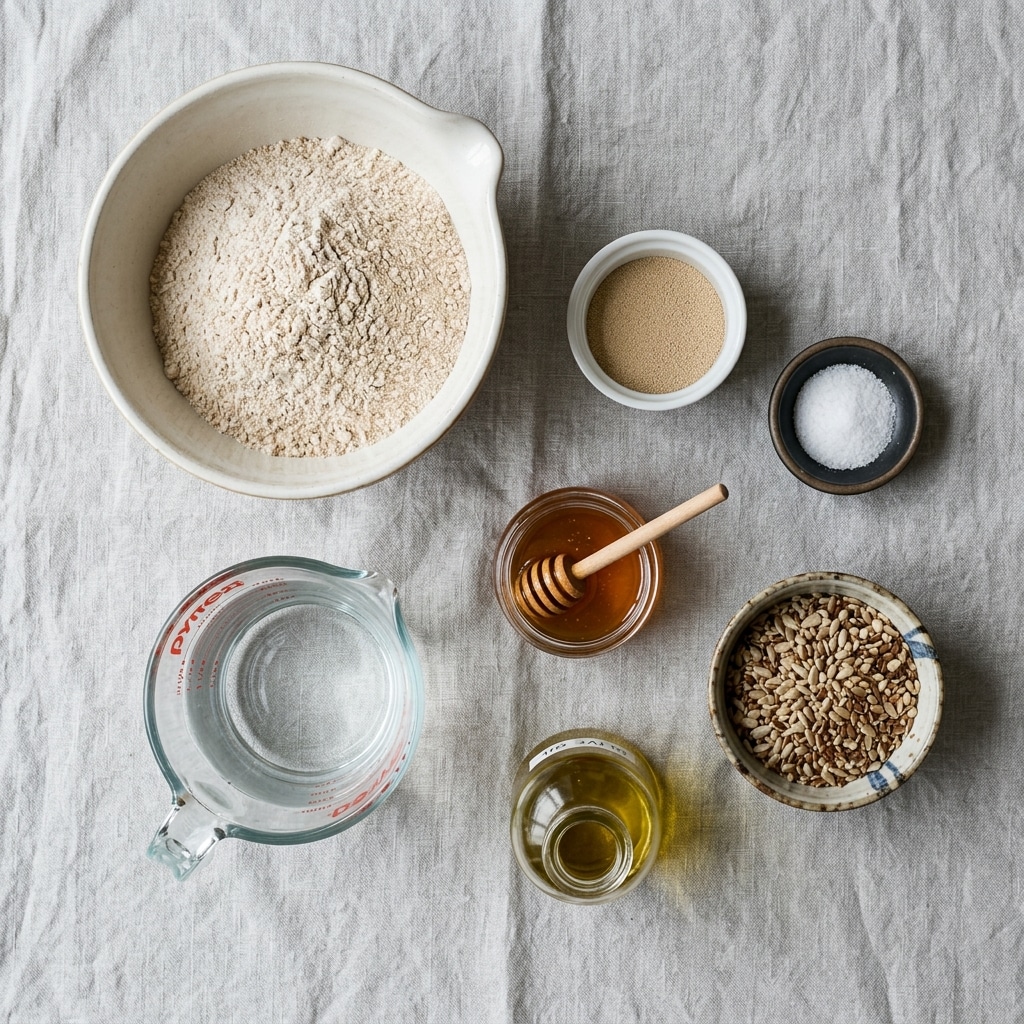
Each ingredient plays an important role in structure and flavor.
- Whole Wheat Flour: 3 cups. Forms the hearty base with nutty flavor.
- Warm Water: 1 1/4 cups. Activates yeast and hydrates flour.
- Active Dry Yeast: 2 1/4 teaspoons. Helps the bread rise.
- Honey: 2 tablespoons. Feeds the yeast and adds subtle sweetness.
- Olive Oil: 2 tablespoons. Keeps the crumb soft.
- Salt: 1 1/2 teaspoons. Enhances flavor.
- Mixed Seeds: 1/2 cup, such as sunflower, flax, and sesame. Add crunch and nutrition.
Easy Ingredient Swaps
Feel free to adapt based on what you have.
Honey: Maple syrup works well too.
Mixed Seeds: Use only sunflower seeds if preferred.
Olive Oil: Melted butter can be substituted.
Spotlight on Key Ingredients
Whole Wheat Flour: Provides fiber and a rich, earthy taste.
Mixed Seeds: Add texture, flavor, and visual appeal.
Let’s Bake This Beautiful Loaf
And now let’s dive into the baking process.
- Preheat Your Equipment: Preheat your oven to 375 degrees Fahrenheit.
- Combine Ingredients: In a large bowl, mix warm water, yeast, and honey. Let sit for 5 minutes until slightly foamy. Stir in olive oil, salt, whole wheat flour, and mixed seeds until a dough forms.
- Prepare Your Cooking Vessel: Lightly grease a 9×5 inch loaf pan.
- Assemble the Dish: Knead the dough on a lightly floured surface for about 8 minutes until smooth. Place in a bowl, cover, and let rise for 1 hour. Shape into a loaf and place into the prepared pan. Let rise again for 30 minutes.
- Cook to Perfection: Bake for 30 to 35 minutes until golden brown and the loaf sounds hollow when tapped.
- Finishing Touches: Remove from pan and let cool completely on a wire rack.
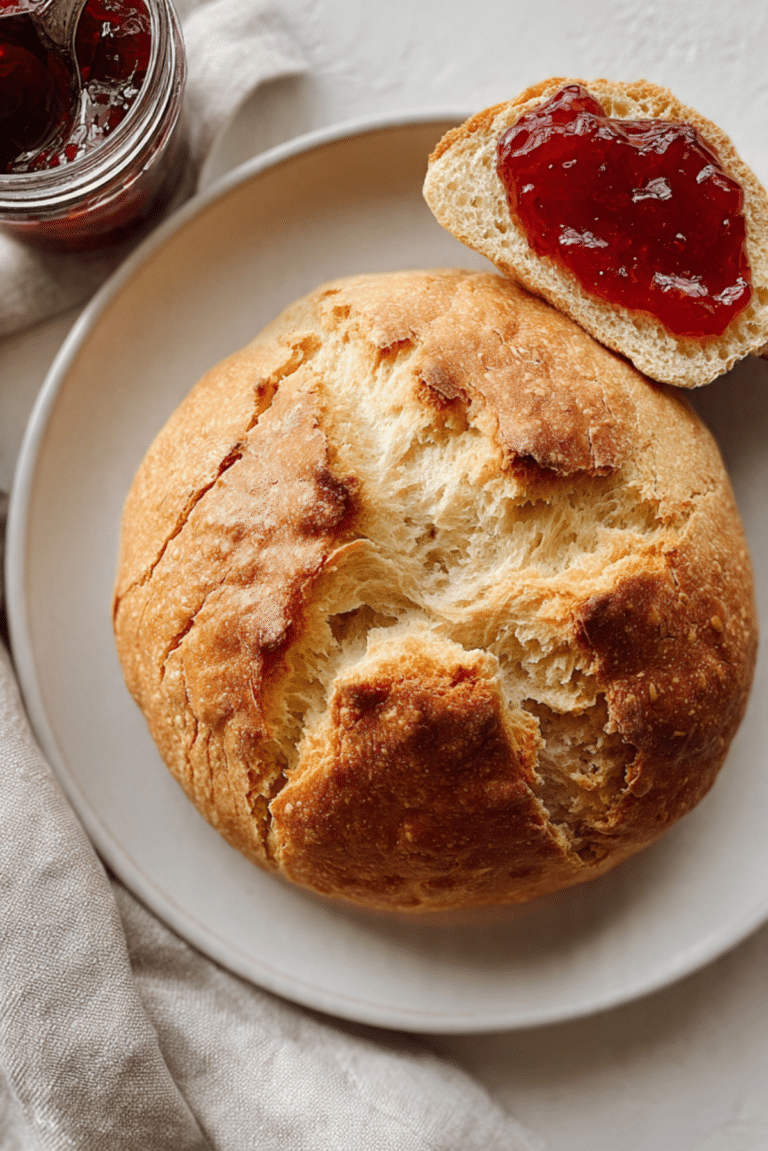
- Serve and Enjoy: Slice with a bread knife and enjoy with butter, jam, or your favorite spread.
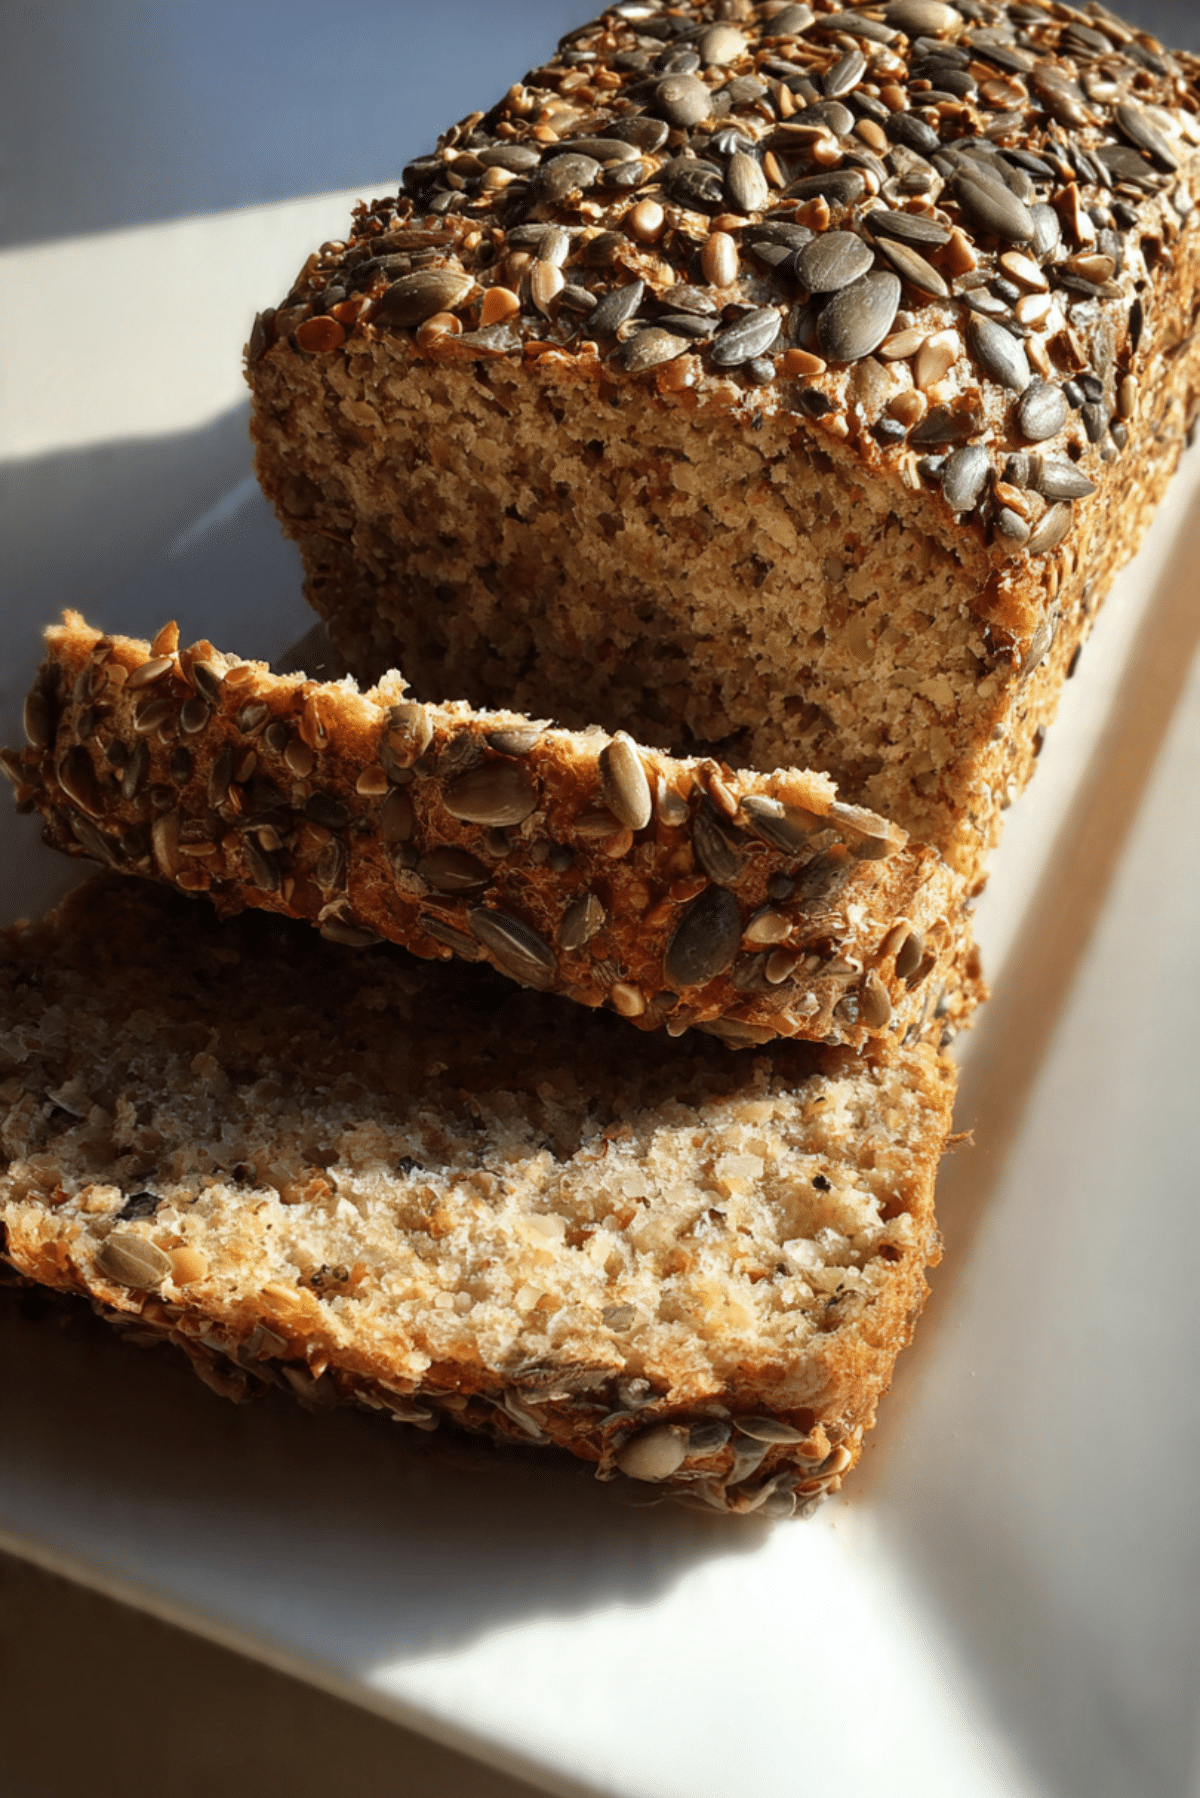
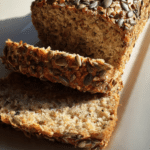
Texture and Flavor in Every Slice
The crust is golden and slightly crisp, while the inside remains soft yet hearty. Seeds add little bursts of crunch, and the whole wheat flour brings a satisfying depth that makes each bite feel substantial.
Helpful Baking Tips
- Do not slice while hot, as it can affect texture.
- If the top browns too quickly, tent loosely with foil.
- Store in a bread box or airtight container.
Common Mistakes to Avoid
- Using water that is too hot and killing the yeast.
- Skipping kneading, which affects structure.
- Not allowing enough rise time.
Nutrition Overview
Servings: 12 slices
Calories per serving: 160
Note: These are approximate values.
Time Breakdown
Prep Time: 15 minutes
Cook Time: 35 minutes
Total Time: 50 minutes plus 1 hour 30 minutes rising
Make Ahead and Storage Tips
Store at room temperature for up to 3 days in an airtight container. For longer storage, slice and freeze for up to 2 months. Toast directly from frozen when needed.
How to Serve This Bread
Use for hearty sandwiches, avocado toast, or alongside soups and stews. It also makes wonderful morning toast with a drizzle of honey.
Creative Leftover Ideas
Turn stale slices into homemade croutons. Blend into breadcrumbs for coating vegetables. Or make a savory bread pudding.
Extra Tips for Even Better Bread
Sprinkle extra seeds on top before baking for added crunch. Brush lightly with water to help seeds stick.
Make It a Showstopper
Score a simple line down the center before baking for a rustic bakery look. Present on a wooden board for a beautiful table display.
Variations to Try
- Add chopped walnuts for extra crunch.
- Mix in dried cranberries for sweetness.
- Add rolled oats on top for texture.
- Incorporate a tablespoon of ground flax for added nutrition.
FAQ’s
Q1: Can I use instant yeast?
Yes, you can mix it directly with dry ingredients.
Q2: Why is my bread dense?
It may need more kneading or rising time.
Q3: Can I make it gluten free?
This specific recipe relies on wheat flour for structure.
Q4: How do I know it is done?
It should sound hollow when tapped.
Q5: Can I add more seeds?
Yes, adjust to your preference.
Q6: Can I double the recipe?
Yes, use two loaf pans.
Q7: Should I refrigerate it?
Room temperature storage is best.
Q8: Can I make it sweeter?
Add an extra tablespoon of honey if desired.
Q9: Why did it not rise?
Your yeast may be inactive.
Q10: Can I shape it differently?
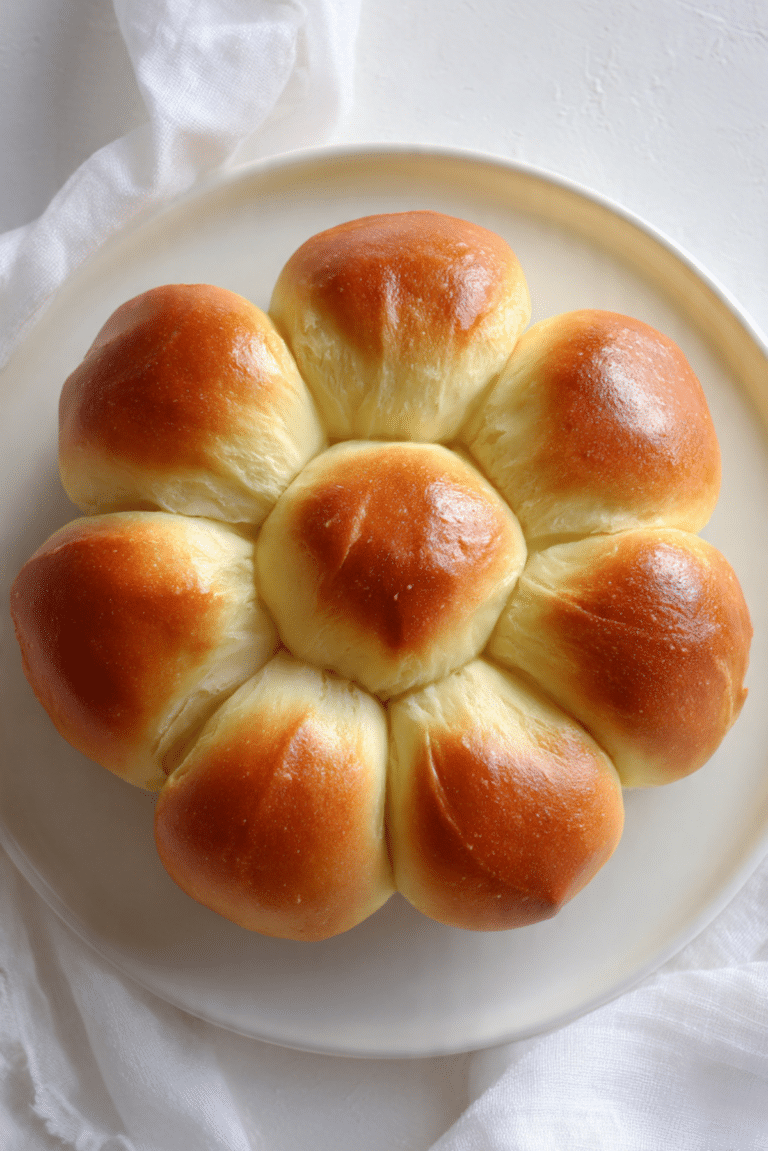
Yes, you can form it into a round loaf and bake on a sheet pan.
Conclusion
This Whole Wheat Seed Bread is simple, nourishing, and deeply satisfying. Baking it fills your kitchen with warmth and gives you a loaf that feels both rustic and wholesome. Once you slice into that hearty crumb and taste the nutty seeds, you will understand why homemade bread is always worth the effort. Let me tell you, it is worth every slice.
PrintWhole Wheat Seed Bread
A hearty homemade whole wheat seed bread made with whole wheat flour, honey, olive oil, and mixed seeds. Nutty, wholesome, and perfect for sandwiches or toast.
Ingredients
- 3 cups whole wheat flour
- 1 1/4 cups warm water
- 2 1/4 teaspoons active dry yeast
- 2 tablespoons honey
- 2 tablespoons olive oil
- 1 1/2 teaspoons salt
- 1/2 cup mixed seeds such as sunflower, flax, and sesame
Instructions
- Preheat the oven to 375 degrees Fahrenheit.
- In a large bowl, combine warm water, active dry yeast, and honey. Let sit for 5 minutes until slightly foamy.
- Stir in olive oil and salt.
- Add whole wheat flour and mixed seeds, mixing until a dough forms.
- Knead the dough on a lightly floured surface for about 8 minutes until smooth.
- Place the dough in a bowl, cover, and let rise for 1 hour until doubled in size.
- Shape the dough into a loaf and place it into a lightly greased 9×5 inch loaf pan. Let rise again for 30 minutes.
- Bake for 30 to 35 minutes until golden brown and the loaf sounds hollow when tapped.
- Remove from the pan and allow to cool completely on a wire rack before slicing.
Notes
- Use warm, not hot water to properly activate the yeast.
- Allow full rise time for best texture.
- Cool completely before slicing to maintain structure.