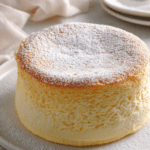
Japanese Yogurt Cheesecake
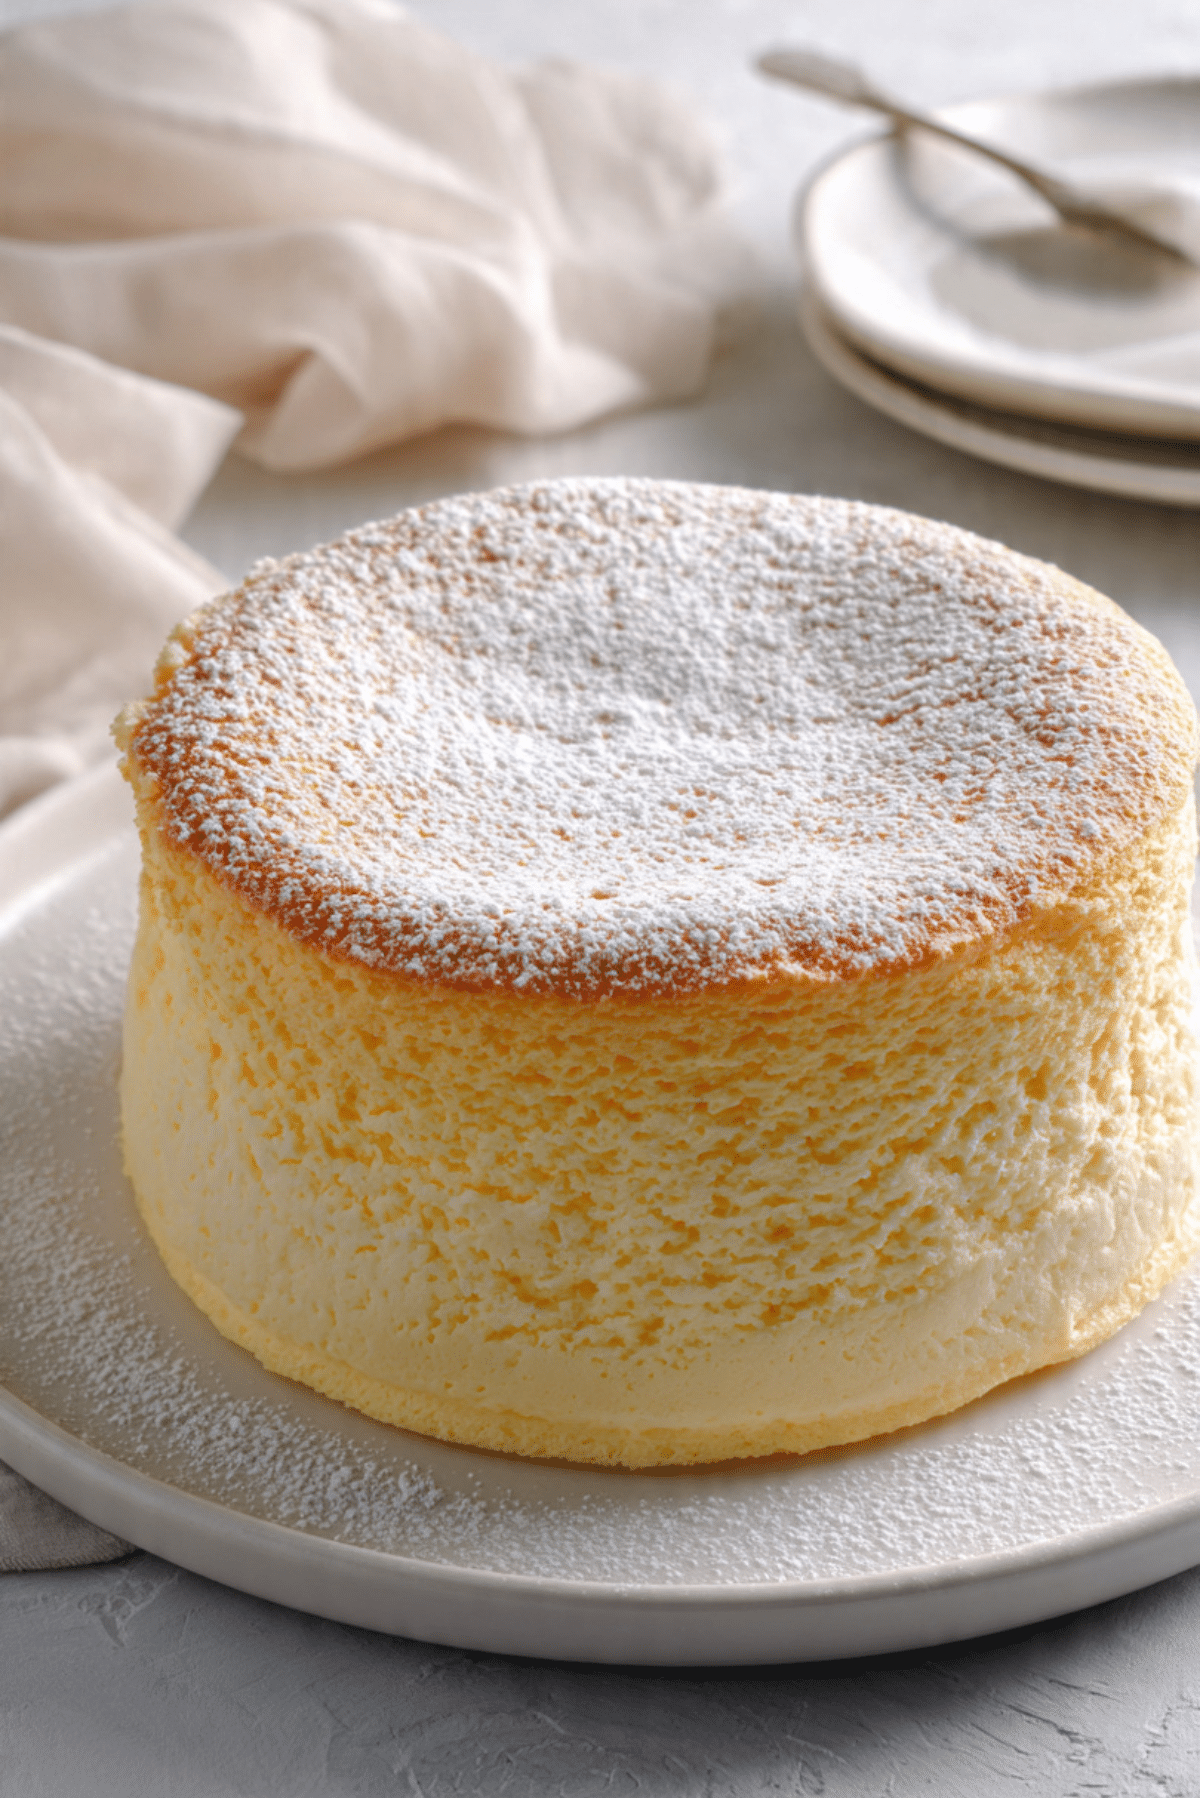
There is something almost magical about cutting into a Japanese Yogurt Cheesecake. The knife glides through like it is slicing a cloud, and the inside reveals that soft, airy, melt in your mouth texture that feels lighter than traditional cheesecake. It is gently sweet, slightly tangy, and incredibly delicate. Trust me, you are going to love this.
Unlike dense New York style versions, this cake feels like a cross between a soufflé and a sponge. It is elegant, comforting, and surprisingly simple once you understand the technique. And now let us dive into what makes it so special.
The Cloud Like Cheesecake That Melts on Your Tongue
What sets this cheesecake apart is its airy structure. It rises beautifully in the oven, creating a tall, fluffy cake with a soft golden top. The yogurt adds a subtle tang that balances the sweetness, while the whipped egg whites give it that signature light texture.
Each bite feels soft and barely sweet, with a gentle richness that never feels heavy.
A Beloved Classic from Japan’s Baking Culture
Japanese cheesecake became popular in the 1990s and quickly earned a reputation for its delicate texture. Inspired by both European cheesecakes and French soufflés, it blends techniques to create something uniquely light.
The addition of yogurt enhances moisture and gives it a slightly refreshing flavor profile, making it perfect for those who prefer desserts that are not overly sweet.
Why This Cheesecake Is So Reliable
Before we begin, here is why this one deserves your attention.
Versatile: Serve it plain, with fruit, or with a light dusting of powdered sugar.
Budget-Friendly: Simple ingredients you likely already have.
Quick and Easy: The method is straightforward once you follow the steps carefully.
Customizable: Add lemon zest or vanilla for extra flavor.
Crowd-Pleasing: Its soft texture appeals to almost everyone.
Make-Ahead Friendly: It tastes even better once fully cooled.
Great for Leftovers: Keeps its texture beautifully in the fridge.
Pro Tips for That Perfect Rise
A few key details make all the difference.
- Use room temperature cream cheese and eggs.
- Gently fold whipped egg whites to keep the batter airy.
- Bake in a water bath for even cooking.
- Let the cake cool slowly inside the oven to prevent cracking.
Essential Tools You Will Need
Preparation is everything.
Springform Pan: Allows easy removal without damaging the cake.
Mixing Bowls: For separating wet and dry components.
Electric Mixer: Helps whip egg whites to stiff peaks.
Large Baking Dish: For creating the water bath.
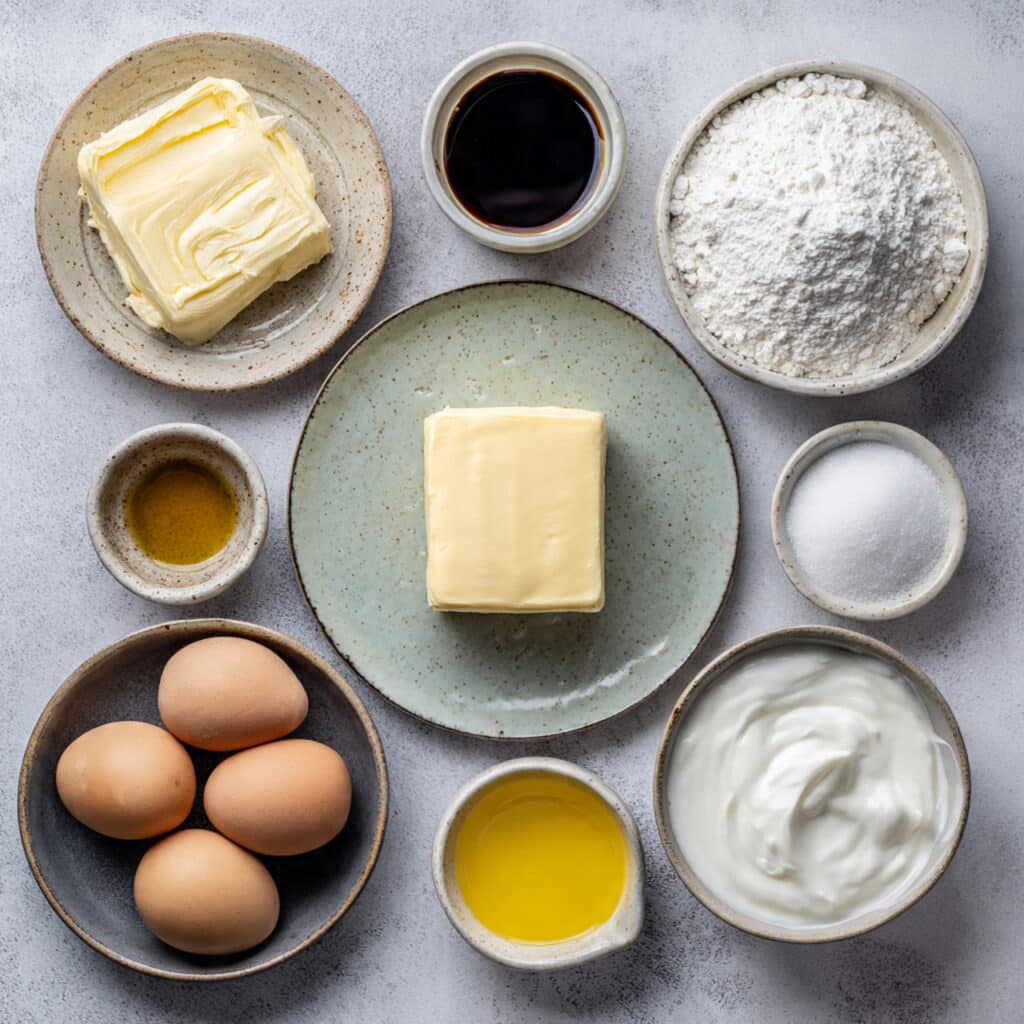
Ingredients You Will Need For This Light Cheesecake
Each ingredient plays a specific role in creating that signature fluffiness.
- Cream Cheese: 8 ounces, softened, provides creamy richness.
- Plain Yogurt: 1 cup, adds moisture and gentle tang.
- Granulated Sugar: 3 quarters cup, sweetens the cake lightly.
- Eggs: 4 large, separated, create structure and lift.
- Unsalted Butter: 2 tablespoons, melted, adds smooth texture.
- All Purpose Flour: 1 half cup, gives light structure.
- Cornstarch: 2 tablespoons, helps stabilize the batter.
- Vanilla Extract: 1 teaspoon, enhances flavor.
- Lemon Juice: 1 tablespoon, brightens the taste.
- Powdered Sugar: 1 tablespoon, optional for dusting.
Easy Ingredient Swaps
Plain Yogurt: Greek yogurt for a slightly thicker texture.
Vanilla Extract: Lemon zest for extra citrus aroma.
Granulated Sugar: Reduce slightly for a less sweet cake.
Spotlight on the Star Ingredients
Plain Yogurt: Keeps the cake moist and adds that subtle tang that makes each bite refreshing.
Whipped Egg Whites: They create the airy, soufflé like structure that defines this cheesecake.
Let Us Bake Together
This is where the transformation happens.
- Preheat Your Equipment: Preheat oven to 320 degrees Fahrenheit. Line the bottom of a 7 inch springform pan with parchment paper and wrap the outside with foil.
- Combine Ingredients: In a bowl, beat cream cheese and sugar until smooth. Add yogurt, melted butter, egg yolks, vanilla extract, and lemon juice. Mix until creamy.
- Prepare Your Cooking Vessel: Sift flour and cornstarch into the mixture and stir gently until combined.
- Assemble the Dish: In a separate bowl, beat egg whites until stiff peaks form. Gently fold into the batter in three additions, being careful not to deflate.
- Cook to Perfection: Pour batter into prepared pan. Place pan into a larger baking dish and fill with hot water halfway up the sides. Bake for 60 minutes.
- Finishing Touches: Turn off oven and leave cake inside with door slightly open for 15 minutes. Remove and cool completely.
- Serve and Enjoy: Dust with powdered sugar and slice gently.
Texture and Flavor Experience
The top is lightly golden and delicate, while the inside is airy and tender. It feels almost like a sweet cloud with a subtle tang from the yogurt and lemon. The sweetness is balanced and never overwhelming.
Helpful Tips and Tricks
- Do not overmix once egg whites are added.
- Tap the pan gently to remove air bubbles before baking.
- Chill before slicing for cleaner cuts.
What to Avoid
- Skipping the water bath, which prevents cracks.
- Opening the oven door too early.
- Overbaking, which can dry out the cake.
Nutrition Facts
Servings: 8 slices
Calories per serving: 210
Note: These are approximate values.
Preparation Time
Prep Time: 20 minutes
Cook Time: 60 minutes
Total Time: 1 hour 20 minutes
Make-Ahead and Storage Tips
Store covered in the refrigerator for up to 4 days. Serve chilled or at room temperature.
How to Serve
Serve with fresh berries or a light fruit sauce for an elegant presentation.
Creative Leftover Transformations
Cube leftovers and layer into parfait glasses with whipped cream and fruit.
Additional Tips
Use a hot knife to slice for clean edges.
Make It a Showstopper
Lightly dust powdered sugar evenly and garnish with a few fresh berries for contrast.
Variations to Try
- Add matcha powder for a green tea version.
- Swirl in raspberry puree before baking.
- Add orange zest for a citrus twist.
FAQ’s
Q1: Why did my cake crack?
It may have cooled too quickly or lacked a proper water bath.
Q2: Can I use low fat cream cheese?
Yes, but texture may be slightly less rich.
Q3: How do I know it is done?
The center should jiggle slightly but not look wet.
Q4: Can I freeze it?
Yes, wrap tightly and freeze for up to 1 month.
Q5: Why is it dense?
Egg whites may have been overmixed.
Q6: Can I make it without lemon juice?
Yes, but it adds brightness.
Q7: Do I have to separate eggs?
Yes, it is essential for the airy texture.
Q8: Can I double the recipe?
Yes, use a larger pan and adjust baking time.
Q9: Should I refrigerate overnight?
It helps develop flavor and structure.
Q10: Is it very sweet?
No, it is lightly sweet and balanced.
Conclusion
Japanese Yogurt Cheesecake is soft, airy, and beautifully balanced with gentle sweetness and a hint of tang. It feels elegant yet comforting at the same time. Let me tell you, it is worth every bite.
PrintJapanese Yogurt Cheesecake
A light and airy Japanese Yogurt Cheesecake with a delicate soufflé texture, gently sweet flavor, and subtle tang from yogurt and lemon. Soft, fluffy, and perfectly balanced for an elegant yet comforting dessert.
Ingredients
- 8 ounces cream cheese, softened
- 1 cup plain yogurt
- 3/4 cup granulated sugar
- 4 large eggs, separated
- 2 tablespoons unsalted butter, melted
- 1/2 cup all purpose flour
- 2 tablespoons cornstarch
- 1 teaspoon vanilla extract
- 1 tablespoon lemon juice
- 1 tablespoon powdered sugar, optional for dusting
Instructions
- Preheat oven to 320 degrees Fahrenheit. Line the bottom of a 7 inch springform pan with parchment paper and wrap the outside with foil.
- In a mixing bowl, beat softened cream cheese and granulated sugar until smooth and creamy.
- Add plain yogurt, melted butter, egg yolks, vanilla extract, and lemon juice. Mix until fully combined.
- Sift in all purpose flour and cornstarch, then stir gently until incorporated.
- In a separate clean bowl, beat egg whites until stiff peaks form.
- Gently fold the whipped egg whites into the batter in three additions, being careful not to deflate the mixture.
- Pour the batter into the prepared springform pan and tap lightly to release air bubbles.
- Place the pan into a larger baking dish and fill with hot water halfway up the sides of the pan to create a water bath.
- Bake for 60 minutes until the center jiggles slightly but is set.
- Turn off the oven and leave the cake inside with the door slightly open for 15 minutes.
- Remove from oven and cool completely before dusting with powdered sugar and slicing.
Notes
- Use room temperature ingredients for a smoother batter.
- Do not overmix once egg whites are folded in to maintain an airy texture.
- Bake in a water bath to prevent cracking and ensure even cooking.
- Chill before slicing for clean, neat cuts.