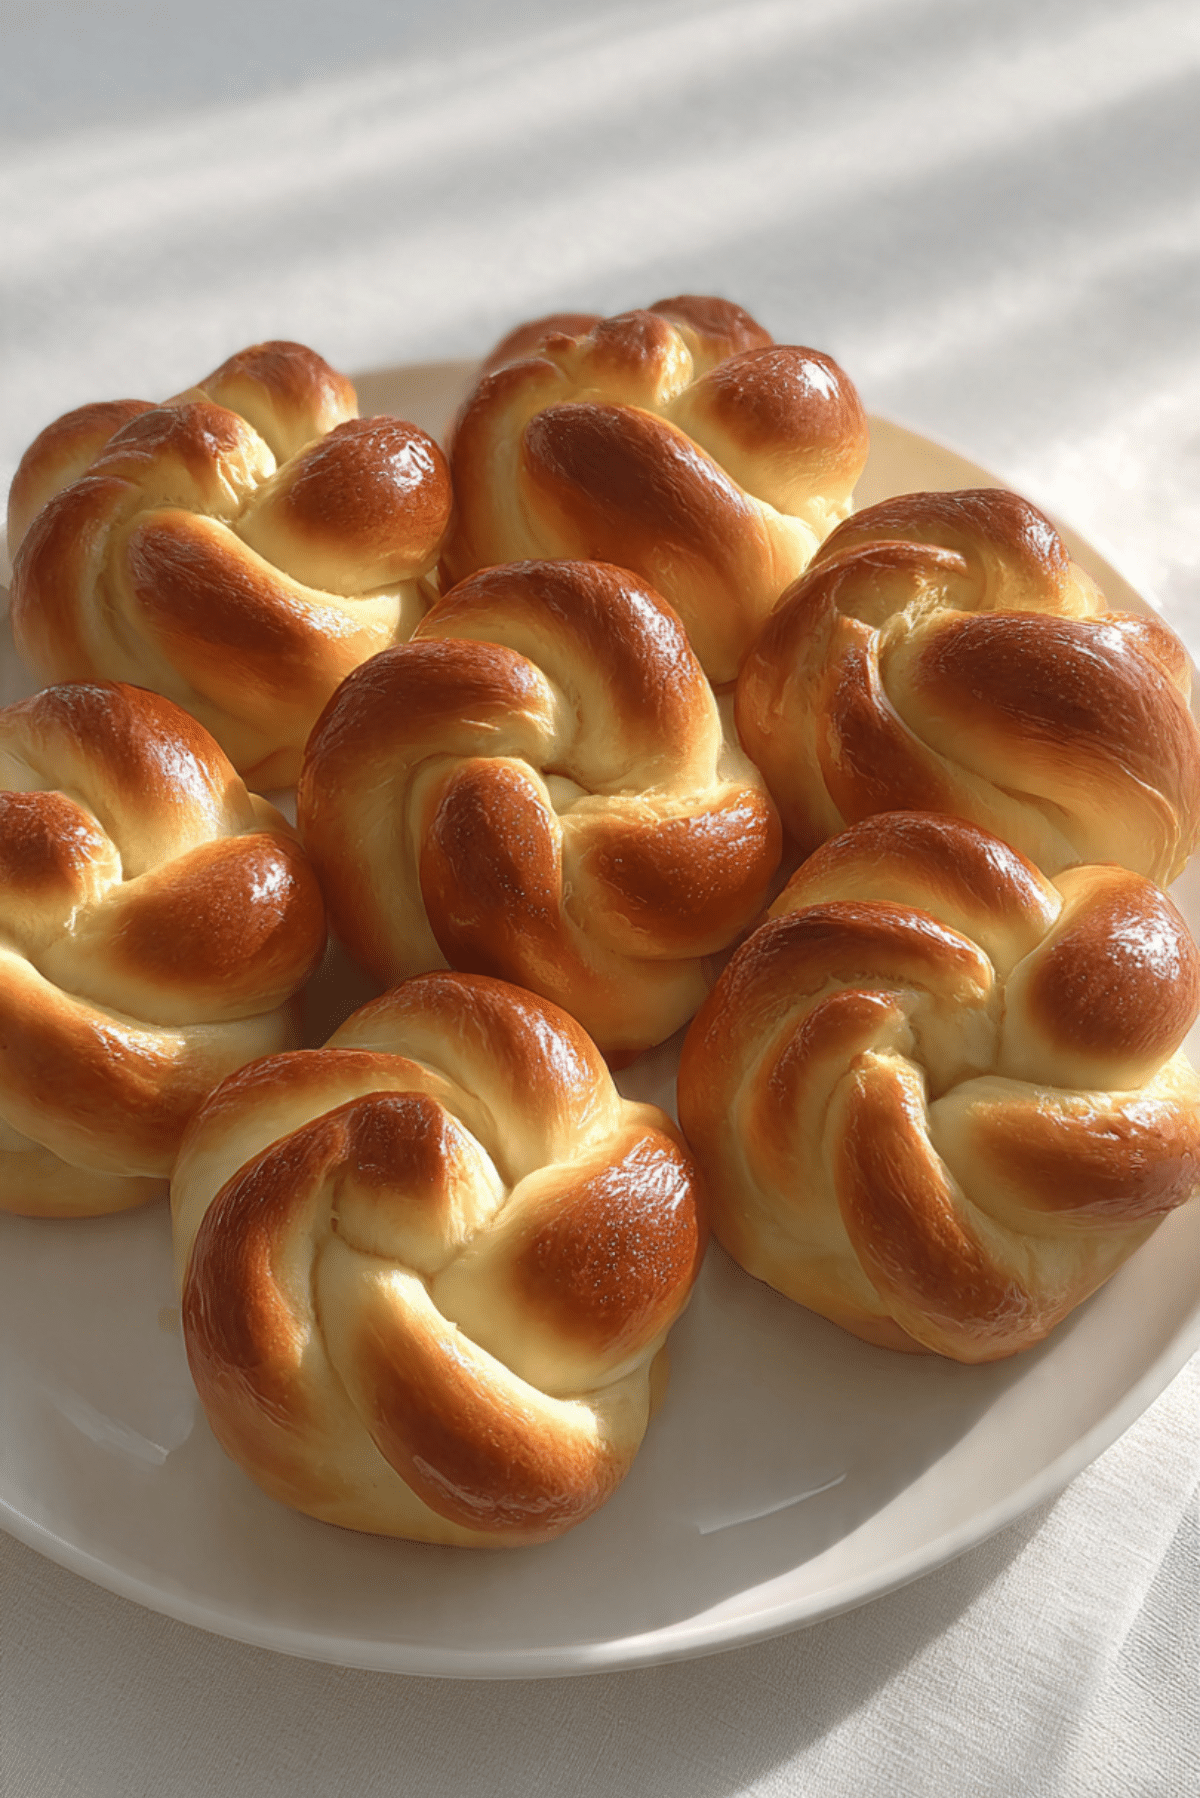
Flower Twist Milk Bread Rings
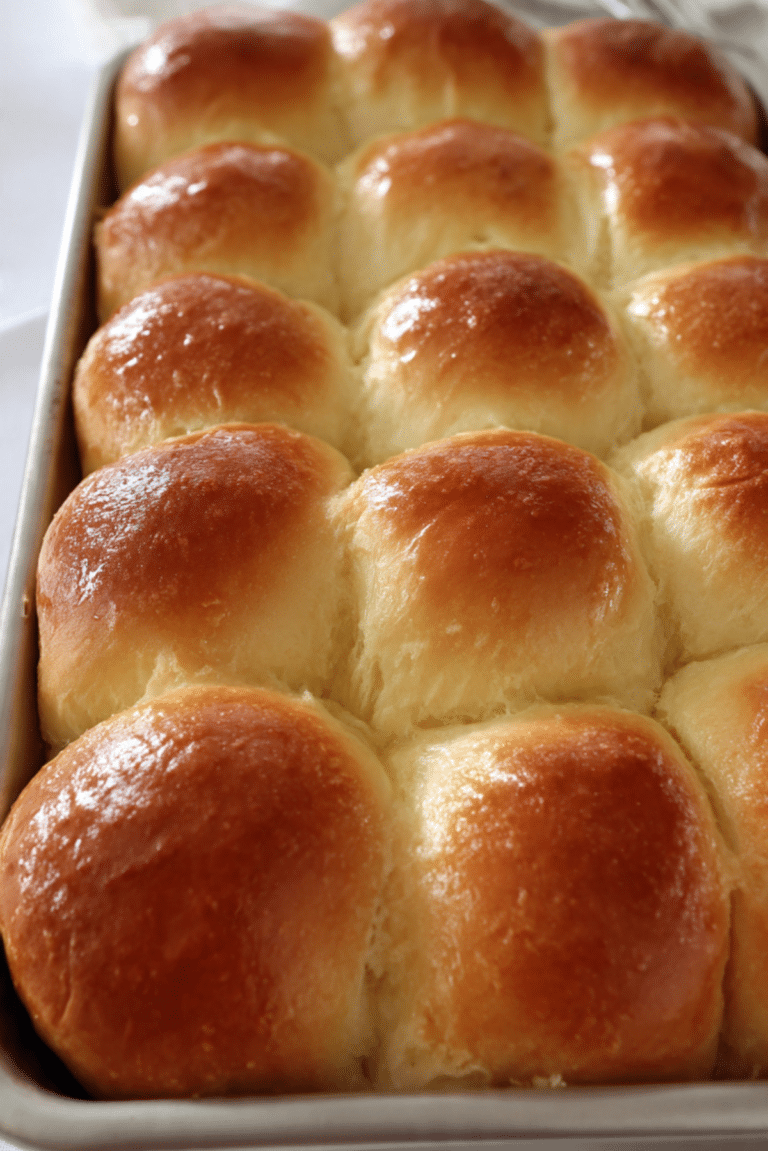
There is something deeply comforting about the smell of freshly baked milk bread drifting through the kitchen. Soft, slightly sweet, and tender to the touch, these flower twist milk bread rings feel like little edible bouquets. When you pull one apart, the fluffy layers stretch gently, warm and inviting. Trust me, you’re going to love this. They are soft, golden, and just sweet enough to enjoy on their own or with a spread of butter.
A Bakery Style Bread That Feels Special Yet Simple
These bread rings are not just beautiful, they are incredibly soft thanks to the milk enriched dough. The twisting technique creates delicate layers that bake into a flower shape, giving them that eye catching bakery look. Yet the process itself is surprisingly simple. This one’s a total game-changer when you want homemade bread that looks impressive without being complicated.
The Inspiration Behind Milk Enriched Dough
Milk bread has roots in various cultures, especially in Asian baking traditions where enriched dough creates ultra soft, cloud like textures. The addition of milk and a bit of fat makes the crumb tender and slightly sweet. Shaping the dough into twisted rings gives a decorative touch often seen in festive breads around the world.
Why These Bread Rings Deserve a Spot on Your Table
Before we begin kneading, let me tell you why this recipe is worth your time.
Versatile: Perfect for breakfast, brunch, or as a side for soups and salads.
Budget-Friendly: Made with simple pantry ingredients.
Quick and Easy: Straightforward steps with no complicated techniques.
Customizable: Add fillings like cinnamon sugar or a light glaze.
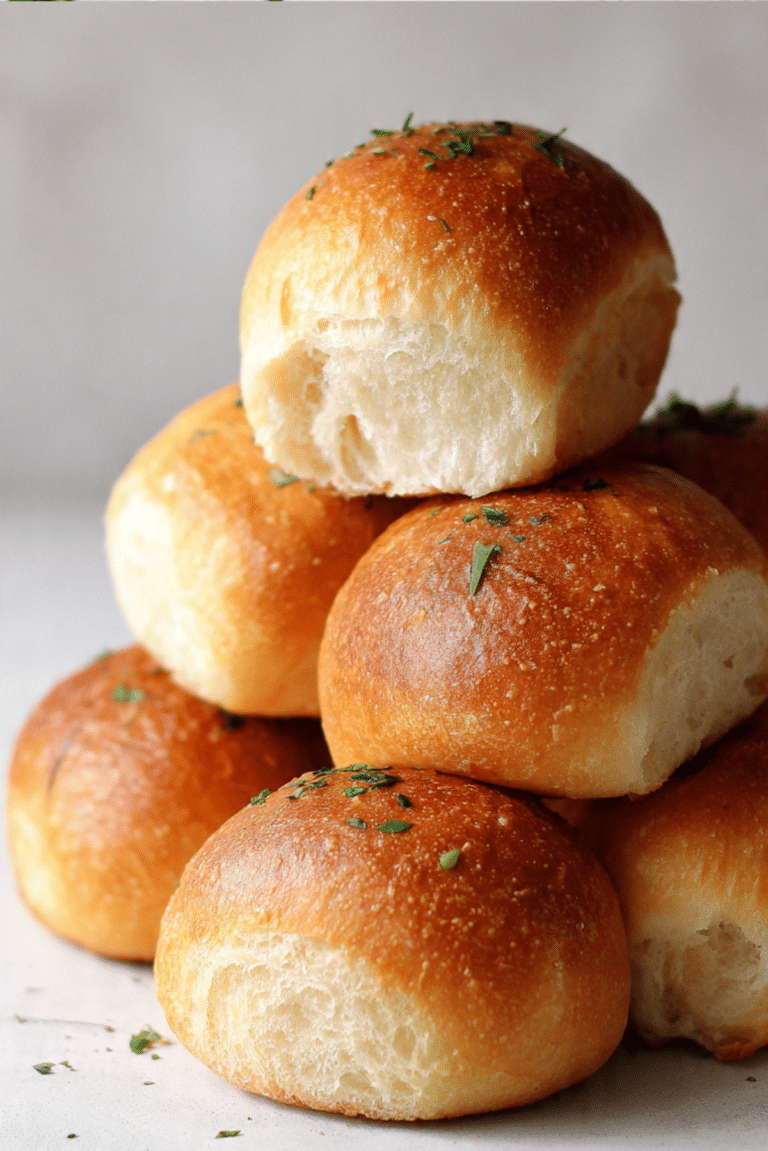
Crowd-Pleasing: Their flower shape makes them instantly appealing.
Make-Ahead Friendly: Dough can be prepared and refrigerated overnight.
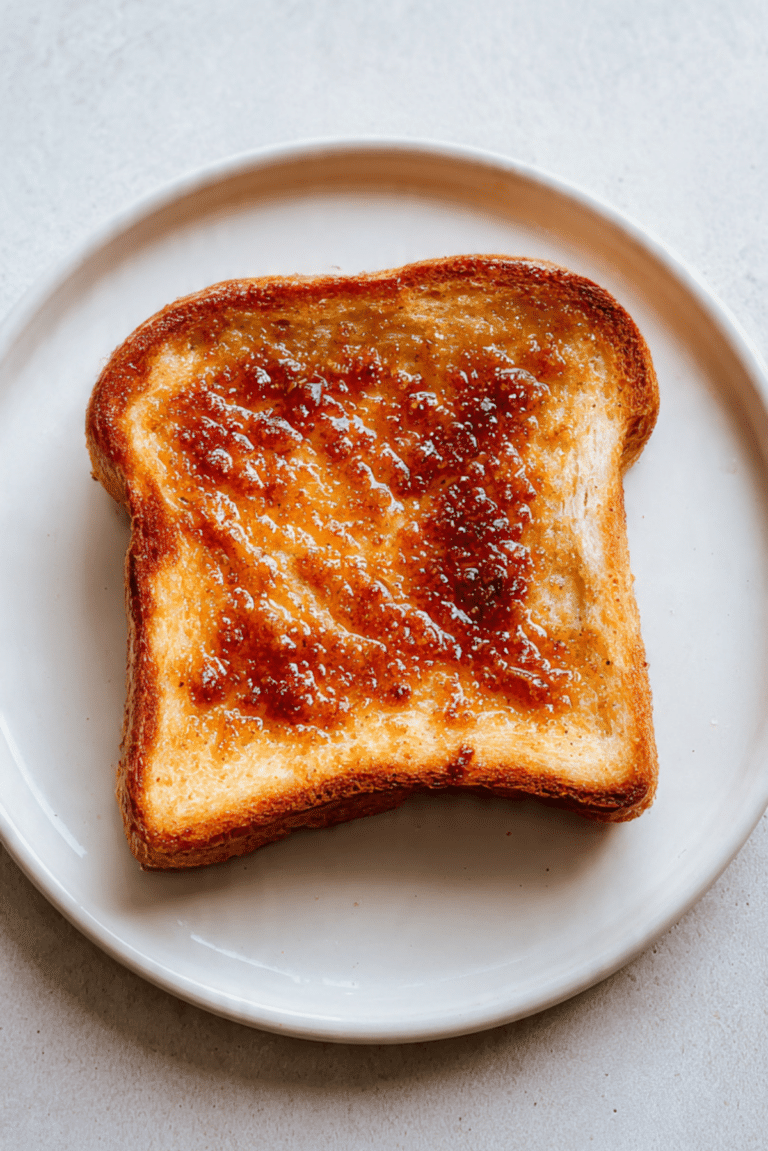
Great for Leftovers: They toast beautifully the next day.
Pro Tips for Ultra Soft Bread
A few small steps will make all the difference.
- Use warm milk, not hot, to properly activate the yeast.
- Knead until the dough is smooth and elastic.
- Allow full rising time for maximum fluffiness.
- Brush with milk before baking for a soft glossy finish.
Essential Tools for Perfect Results
You only need a few basic tools.
Mixing Bowl: For combining and proofing the dough.
Stand Mixer or Hands: To knead until smooth and elastic.
Baking Sheet: Lined with parchment for even baking.
Pastry Brush: For brushing milk on top before baking.
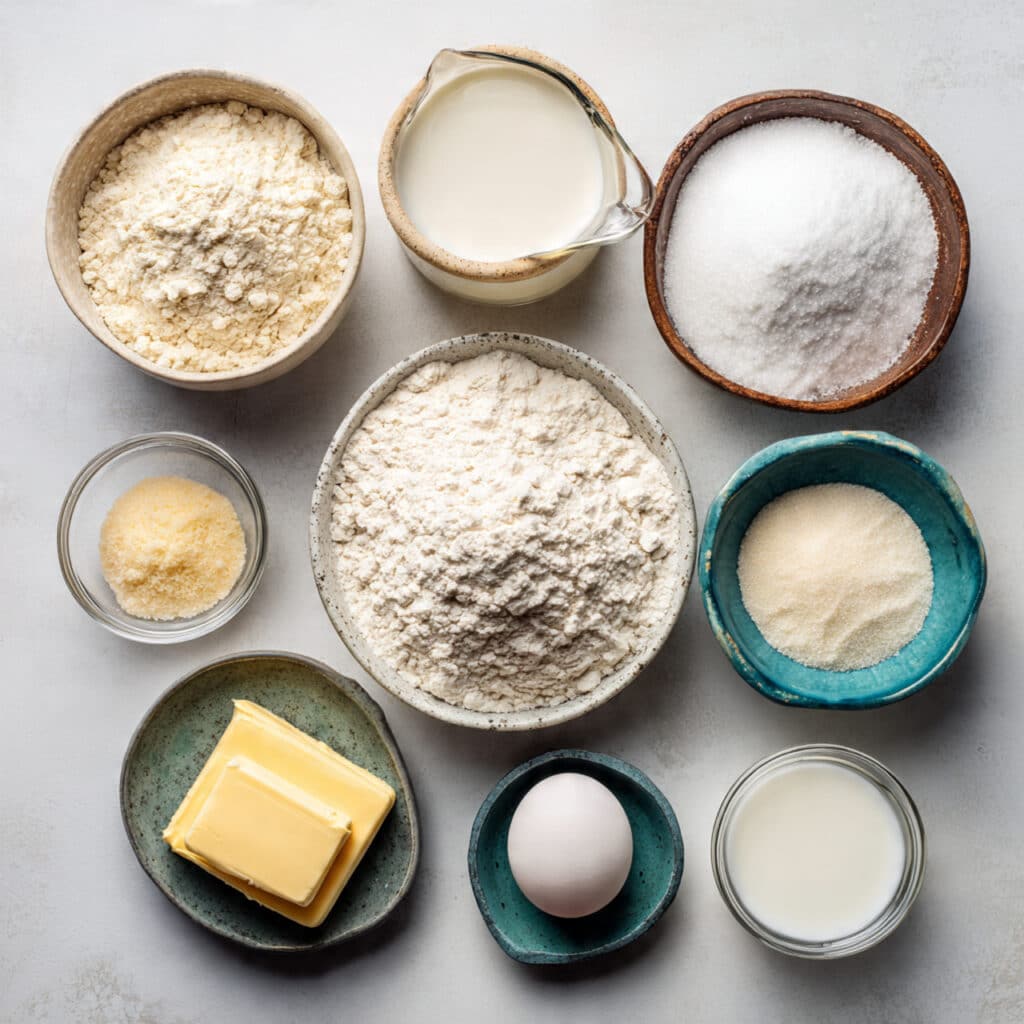
Ingredients That Create That Soft Texture
Each ingredient contributes to the tender crumb and light sweetness.
- All Purpose Flour: 3 1/2 cups, for structure and softness.
- Warm Milk: 1 cup, warmed to about 38 C, to enrich and hydrate the dough.
- Granulated Sugar: 1/4 cup, for subtle sweetness.
- Active Dry Yeast: 2 1/4 teaspoons, to help the dough rise.
- Unsalted Butter: 1/4 cup, softened, for richness and tenderness.
- Egg: 1 large, at room temperature, for structure and softness.
- Salt: 1 teaspoon, to balance flavor.
- Extra Milk: 2 tablespoons, for brushing before baking.
Easy Substitutions
You can adjust based on what you have.
All Purpose Flour: Use bread flour for slightly chewier texture.
Butter: Substitute with neutral oil for a softer crumb.
Granulated Sugar: Replace with honey for a mild floral sweetness.
Spotlight on the Key Ingredient
Warm Milk: The milk not only activates the yeast but also gives the bread its tender, pillowy texture that makes it so irresistible.
Let’s Shape and Bake Together
Here are the steps you are going to follow, and it is easier than it looks.
- Preheat Your Equipment: Preheat your oven to 180 C and line a baking sheet with parchment paper.
- Combine Ingredients: In a large bowl, mix warm milk, sugar, and yeast. Let sit for 5 to 10 minutes until foamy. Add flour, egg, butter, and salt. Mix until a shaggy dough forms.
- Prepare Your Cooking Vessel: Knead the dough for 8 to 10 minutes until smooth and elastic. Place it in a lightly greased bowl, cover, and let rise for about 1 hour or until doubled in size.
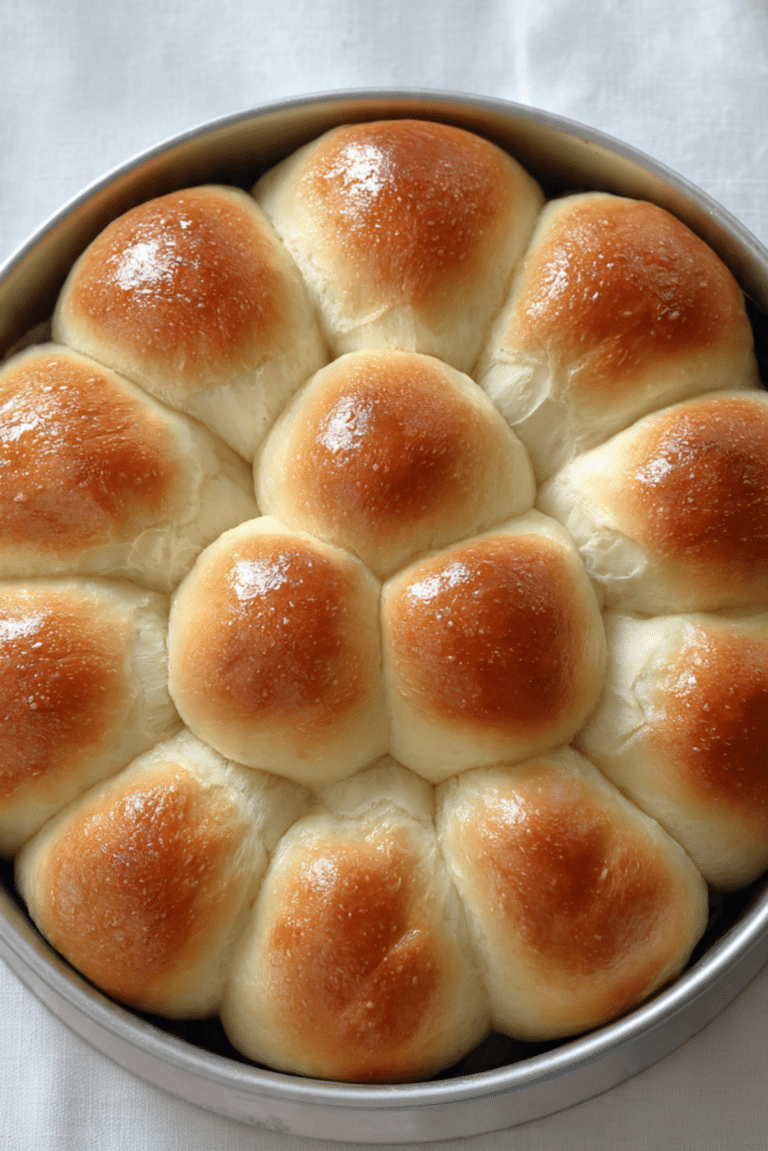
- Assemble the Dish: Divide the dough into 8 equal portions. Roll each portion into a rope about 25 cm long. Twist the rope gently and shape into a ring, pinching the ends together. Arrange on the baking sheet.
- Cook to Perfection: Cover loosely and let rise again for 30 minutes. Brush the tops with milk. Bake for 18 to 22 minutes until golden brown.
- Finishing Touches: Remove from the oven and let cool slightly on a wire rack.
- Serve and Enjoy: Serve warm and enjoy the soft, fluffy layers. Let me tell you, it’s worth every bite.
Texture and Flavor You Will Notice Immediately
The exterior is lightly golden and soft, not crusty. Inside, the crumb is airy and delicate, with a mild sweetness that pairs beautifully with butter or jam. The twisted layers create a satisfying pull when you tear into one.
Helpful Baking Tips
Keep these in mind for best results.
- Do not rush the rising time.
- If the dough feels sticky, add a tablespoon of flour at a time.
- Bake until just golden to keep the interior soft.
What to Watch Out For
Even simple bread can have small challenges.
- Using milk that is too hot, which can kill the yeast.
- Overbaking, which can dry out the bread.
- Not sealing the ring ends tightly, causing them to open during baking.
Nutrition Overview
Servings: 8 bread rings
Calories per serving: Approximately 220
Note: Values are approximate and may vary slightly.
Preparation Time Overview
Prep Time: 20 minutes
Cook Time: 20 minutes
Total Time: 1 hour 40 minutes including rising time
Make-Ahead and Storage Tips
You can prepare the dough the night before and refrigerate after the first rise. Let it come to room temperature before shaping. Store baked bread in an airtight container for up to 2 days. Reheat gently in the oven for best texture.
How to Serve These Beautiful Rings
Serve warm with butter, fruit jam, or a drizzle of honey. They also pair wonderfully with soups or as part of a brunch spread.
Creative Leftover Ideas
Slice and toast them the next day for breakfast. You can also turn them into sweet bread pudding cubes if they start to dry out.
Additional Tips for Bakery Quality Results
For an extra glossy finish, brush lightly with melted butter right after baking. A sprinkle of coarse sugar before baking adds a gentle crunch.
Make It a Showstopper
Arrange the baked rings in a circular pattern on a large platter to resemble a blooming flower. A light dusting of powdered sugar can make them look festive and elegant.
Variations to Try
- Add cinnamon sugar inside before twisting for a sweet swirl.
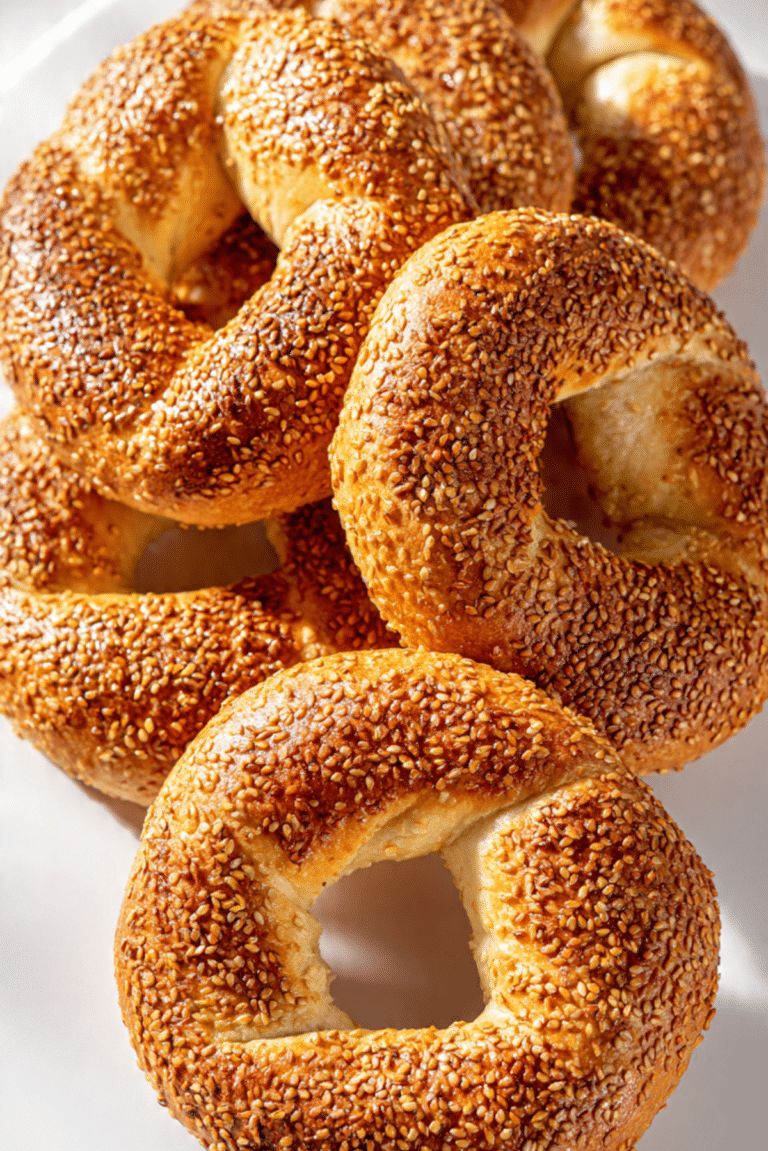
- Sprinkle sesame seeds on top before baking for a savory twist.
- Fill with sweetened cream cheese before shaping.
- Add a light vanilla glaze once cooled for extra sweetness.
FAQ’s
Q1: Can I use instant yeast?
Yes, you can mix it directly with the dry ingredients.
Q2: Can I freeze the dough?
Yes, after the first rise, freeze and thaw before shaping.
Q3: Can I make them smaller?
Yes, divide into more portions and reduce baking time slightly.
Q4: Why is my dough dense?
It may not have risen long enough.
Q5: Can I skip the egg?
You can, but texture will be slightly less rich.
Q6: Can I use plant milk?
Yes, though texture may vary slightly.
Q7: How do I know they are done?
They should be lightly golden on top and sound hollow when tapped.
Q8: Can I add raisins?
Yes, knead them into the dough before the first rise.
Q9: How do I keep them soft?
Store in an airtight container once cooled.
Q10: Can I double the recipe?
Yes, simply double all ingredient quantities evenly.
Conclusion
Flower twist milk bread rings are soft, beautiful, and surprisingly simple to make. They bring warmth to your table and a sense of accomplishment to your kitchen. Once you try them, you will see how easily they become a favorite. Go ahead and bake a batch, your kitchen will thank you.
PrintFlower Twist Milk Bread Rings
Soft and fluffy flower twist milk bread rings made with enriched milk dough. Lightly sweet, golden, and perfect for breakfast or brunch.
Ingredients
- 3 1/2 cups all purpose flour
- 1 cup warm milk (about 38 C)
- 1/4 cup granulated sugar
- 2 1/4 teaspoons active dry yeast
- 1/4 cup unsalted butter, softened
- 1 large egg, room temperature
- 1 teaspoon salt
- 2 tablespoons extra milk for brushing
Instructions
- Preheat oven to 180 C and line a baking sheet with parchment paper.
- Mix warm milk, sugar, and yeast. Let sit until foamy.
- Add flour, egg, butter, and salt. Mix to form dough.
- Knead for 8 to 10 minutes until smooth and elastic. Let rise 1 hour.
- Divide into 8 portions, roll into ropes, twist, and shape into rings.
- Let rise 30 minutes. Brush with milk.
- Bake 18 to 22 minutes until golden brown. Cool slightly and serve.
Notes
- Do not use milk that is too hot.
- Allow full rising time for best texture.
- Store in airtight container to keep soft.