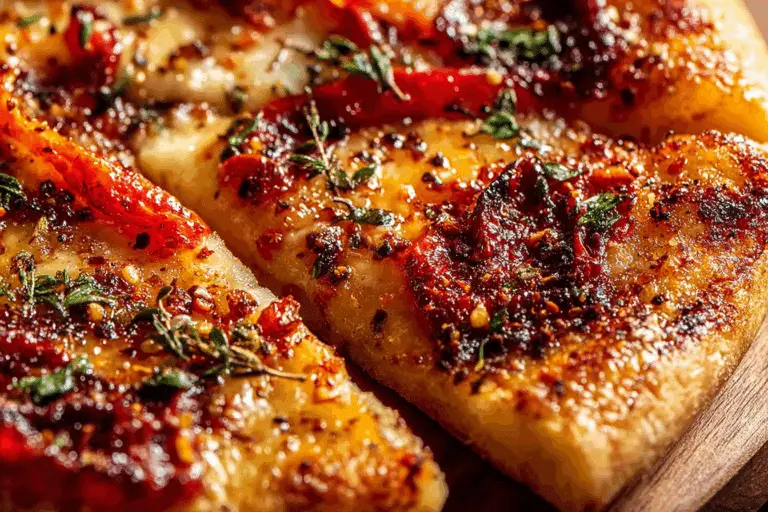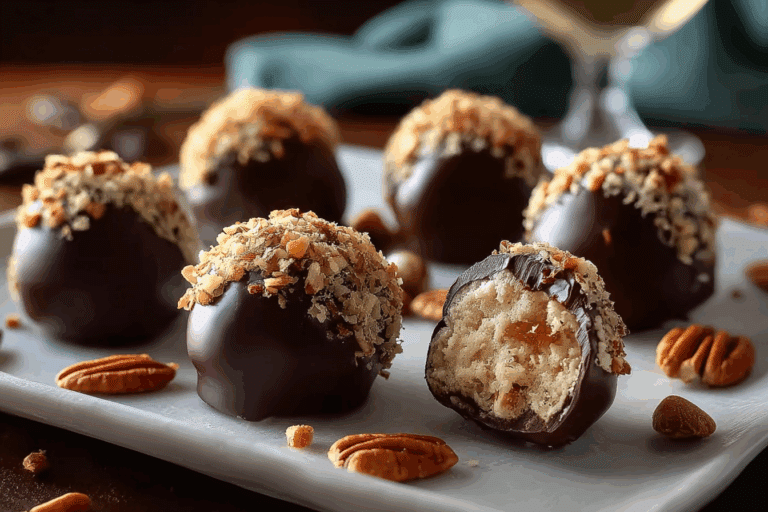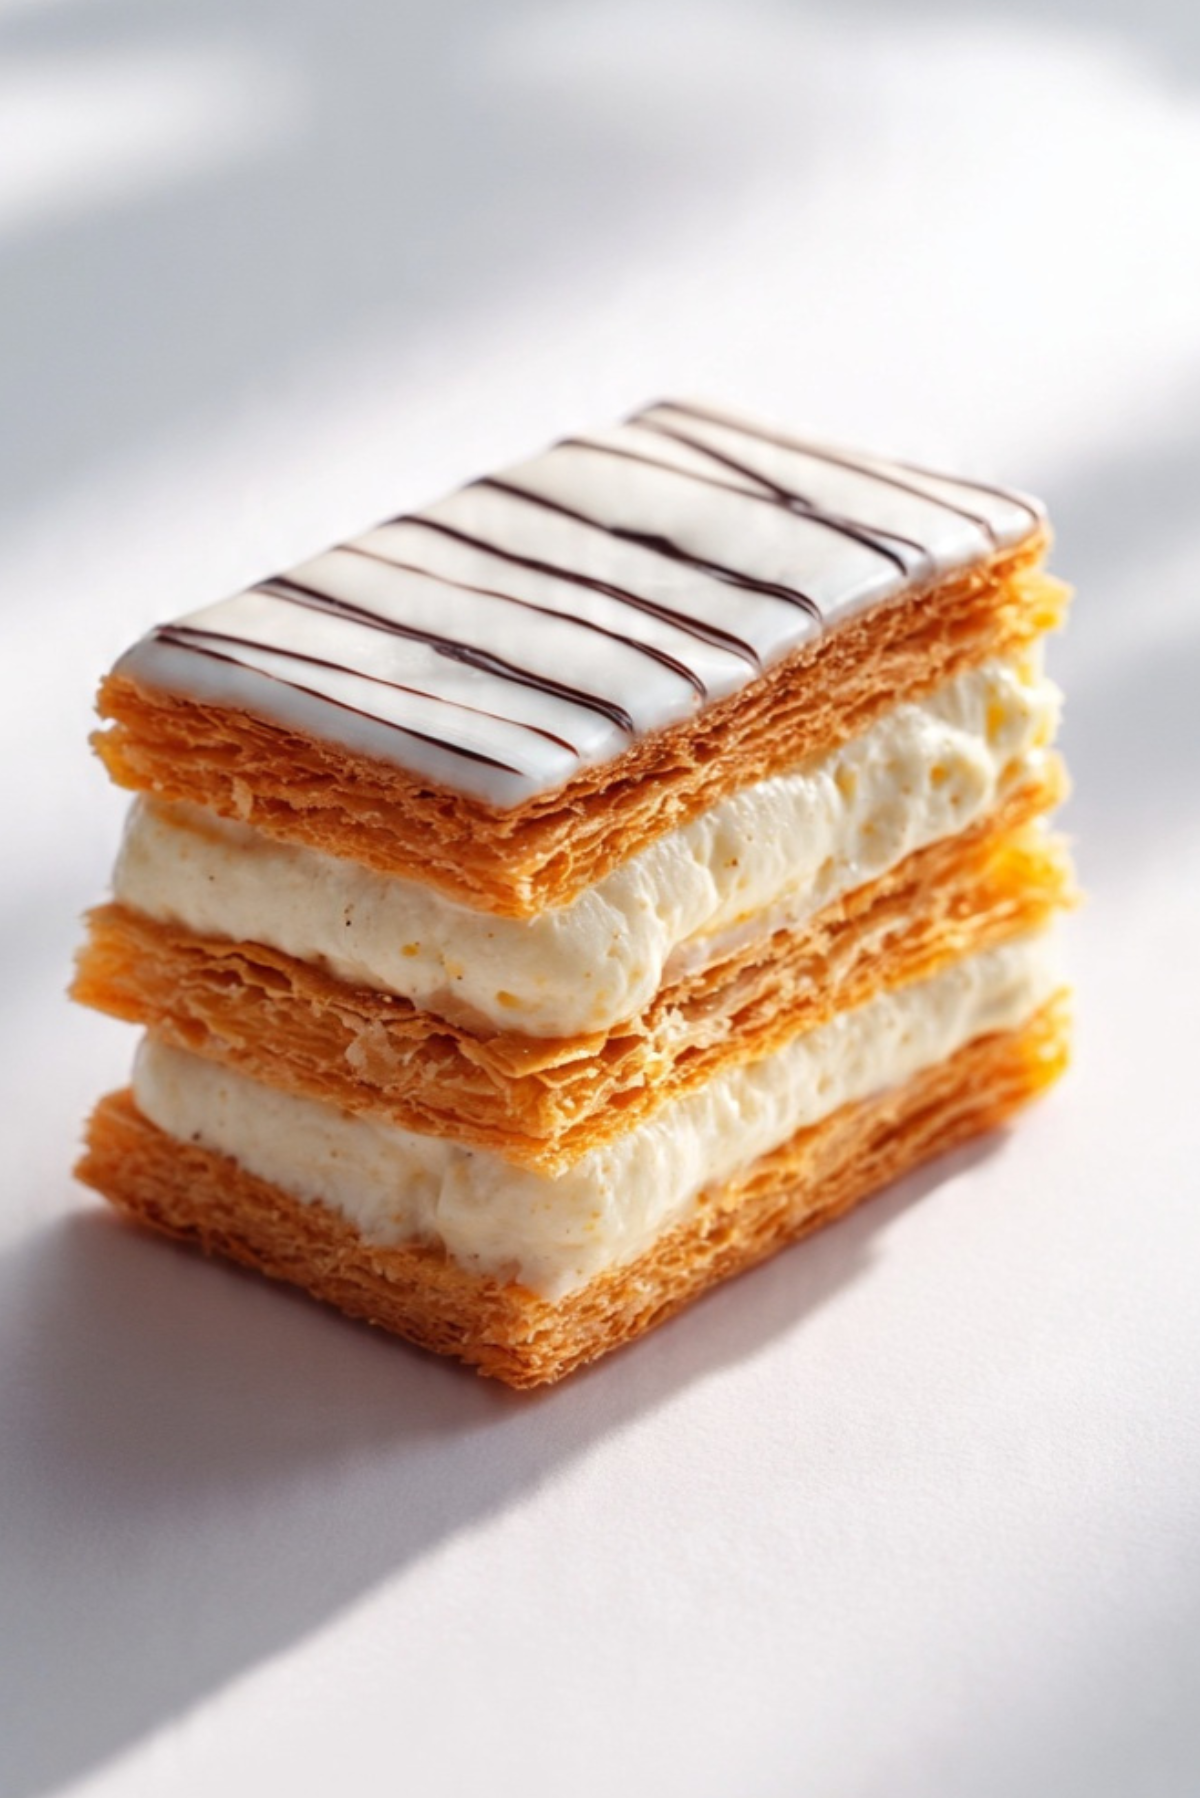
Classic Vanilla Mille-Feuille
There is something undeniably elegant about a perfectly layered mille-feuille. The crisp snap of golden pastry, the soft cloud of vanilla cream tucked between delicate sheets, and that glossy icing on top that almost looks too pretty to cut. Trust me, you are going to love this. It feels like something straight out of a Parisian bakery window, yet when you break it down step by step, it becomes surprisingly achievable in your own kitchen.
And now let us gently peel back the layers and discover why this timeless dessert continues to steal hearts.
The Irresistible Charm of Crisp Layers and Silky Cream
What makes this dessert unforgettable is the contrast. You bite through shatteringly crisp puff pastry, and instantly you meet that smooth, velvety vanilla pastry cream. It is light yet rich, structured yet soft.
The icing on top adds just enough sweetness to balance everything, while the thin chocolate lines give it that signature bakery look. Every forkful feels balanced, delicate, and completely satisfying.
A French Pastry Icon with Centuries of History
Mille-feuille, which translates to a thousand layers, has roots in classic French patisserie. It became popular in the 17th and 18th centuries as puff pastry techniques evolved and pastry chefs began stacking layers with custard and icing.
Over time, it became a symbol of refined baking, often served in elegant cafés and pâtisseries. Today, it remains one of the most beloved French desserts, known for its beauty and texture.
Why This Recipe Is Worth Every Layer
Before we roll out any pastry, here is why this version truly delivers.
Versatile: It works beautifully for birthdays, dinner parties, or a luxurious weekend bake.
Budget-Friendly: Store-bought puff pastry keeps it accessible without compromising flavor.
Quick and Easy: Breaking it into clear steps makes the process manageable.
Customizable: You can flavor the cream with citrus zest or even a hint of coffee.
Crowd-Pleasing: Crisp pastry and vanilla cream rarely disappoint anyone.
Make-Ahead Friendly: Components can be prepared in advance and assembled later.
Great for Leftovers: It tastes wonderful chilled the next day when the layers slightly soften.
Professional Secrets for Bakery-Style Results
Let me share a few insider tips that make a big difference.
- Bake the puff pastry between two trays to keep it flat and evenly crisp.
- Chill the pastry cream thoroughly before assembling to maintain structure.
- Use a serrated knife when slicing to preserve clean layers.
- Assemble shortly before serving for maximum crispness.
Essential Tools for Flawless Layers
You do not need a full pastry kitchen, just a few reliable tools.
Baking Tray: For evenly baking the puff pastry sheets.
Parchment Paper: Prevents sticking and ensures even browning.
Saucepan: For preparing the pastry cream smoothly.
Whisk: Keeps the custard lump-free.
Offset Spatula: Helps spread cream evenly between layers.
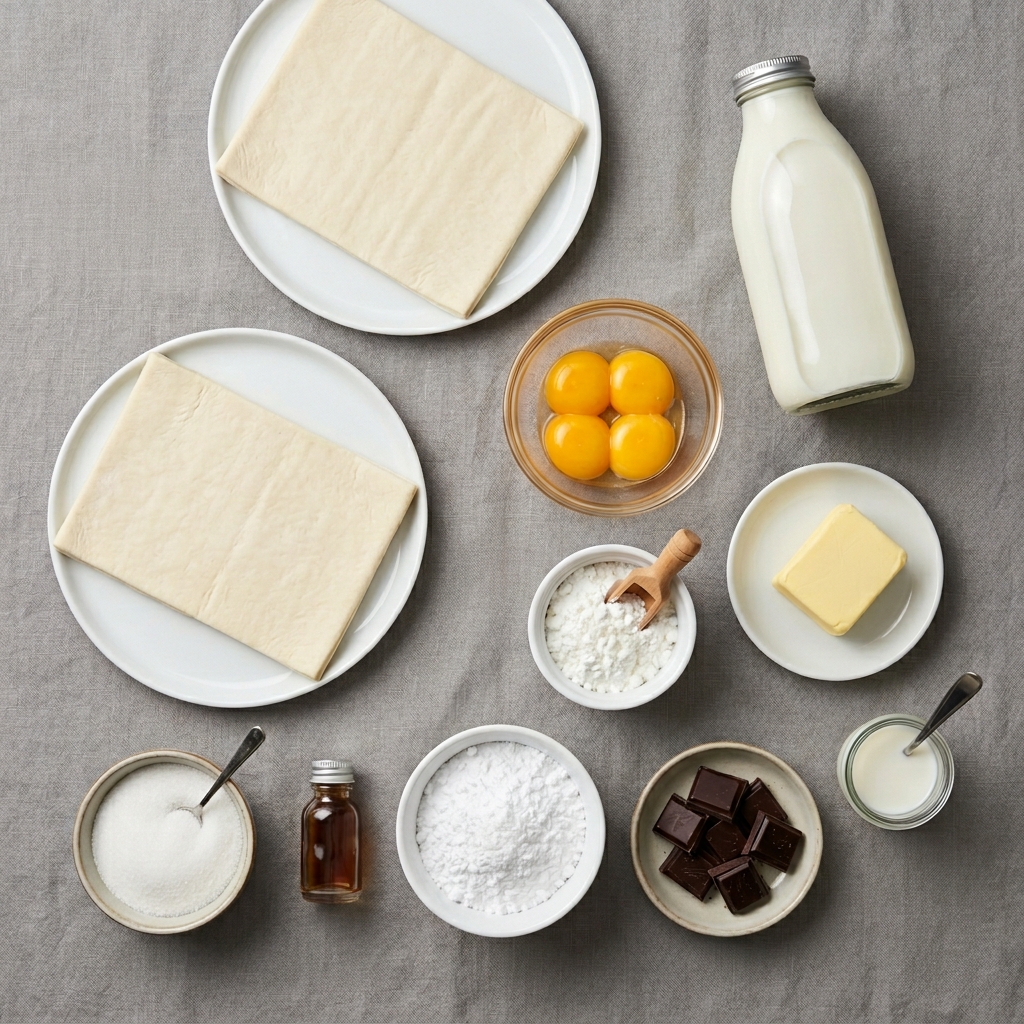
Ingredients You Will Need For This Elegant Creation
Each component works together to create that iconic texture and flavor.
- Puff Pastry Sheets: 2 sheets, about 500 grams total, thawed. Provide the crisp, flaky structure.
- Whole Milk: 500 milliliters. Forms the base of the pastry cream.
- Granulated Sugar: 150 grams, divided. Sweetens both cream and icing.
- Egg Yolks: 4 large yolks. Thicken and enrich the custard.
- Cornstarch: 40 grams. Stabilizes the pastry cream.
- Unsalted Butter: 30 grams. Adds silkiness to the cream.
- Vanilla Extract: 2 teaspoons. Gives the cream its classic aroma.
- Powdered Sugar: 120 grams. Forms the smooth icing layer.
- Milk for Icing: 2 to 3 tablespoons. Adjusts icing consistency.
- Dark Chocolate: 30 grams, melted. Creates decorative lines on top.
Simple Ingredient Substitutions
If you need flexibility, here are options.
Whole Milk: You can use half milk and half light cream for richer filling.
Cornstarch: Arrowroot powder can work as an alternative thickener.
Dark Chocolate: Milk chocolate may be used for a softer flavor.
Spotlight on the Heart of the Dessert
Vanilla Extract: This is what transforms simple custard into something fragrant and comforting. A good quality extract makes all the difference.
Puff Pastry: When baked properly, it creates those beautifully crisp layers that define the entire dessert.
Let Us Build Those Layers Together
Take your time here, this is where the magic happens.
- Preheat Your Equipment: Preheat your oven to 200 degrees Celsius and line a baking tray with parchment paper.
- Combine Ingredients: Roll out the 2 puff pastry sheets slightly if needed and place them on the tray. Cover with parchment and another tray on top to keep them flat.
- Prepare Your Cooking Vessel: Bake for about 20 minutes until golden and crisp. Remove and let cool completely.
- Assemble the Dish: In a saucepan, heat 500 milliliters whole milk until warm. In a bowl, whisk 4 egg yolks, 100 grams of the granulated sugar, and 40 grams cornstarch until smooth. Slowly add warm milk while whisking, then return to the saucepan and cook until thickened. Stir in 30 grams unsalted butter and 2 teaspoons vanilla extract. Chill until fully set.
- Cook to Perfection: Once cooled, spread a thick layer of pastry cream over one pastry sheet. Top with the second sheet and repeat. Finish with the final pastry layer.
- Finishing Touches: Mix 120 grams powdered sugar with 2 to 3 tablespoons milk and the remaining 50 grams granulated sugar if needed for sweetness, then spread icing on top. Pipe thin lines of melted 30 grams dark chocolate and drag a toothpick across to create a pattern.
- Serve and Enjoy: Chill briefly to set, then slice carefully with a serrated knife and serve. Let me tell you, it is worth every bite.
The Texture and Flavor Experience
When you take a bite, you first hear the gentle crackle of pastry. Then comes the cool, creamy vanilla filling that melts softly. The sweetness is balanced, the texture is layered, and every element feels intentional.
Helpful Baking Tips
- Always chill the cream completely before assembling.
- Use even pressure when spreading cream for neat layers.
- Slice with gentle sawing motions.
What to Avoid for Perfect Results
- Overbaking pastry, which makes it too dark and bitter.
- Skipping the chilling step for pastry cream.
- Assembling while pastry is still warm.
Nutrition Overview
Servings: 8
Calories per serving: 420
Note: These are approximate values.
Preparation Time Overview
Prep Time: 30 minutes
Cook Time: 20 minutes
Total Time: 50 minutes plus chilling time
Make-Ahead and Storage Tips
Prepare pastry cream one day in advance and store covered in the refrigerator. Assemble the dessert a few hours before serving for best texture. Store leftovers chilled for up to two days.
Serving Suggestions That Elevate It
Dust lightly with extra powdered sugar before serving. Pair with fresh berries or a cup of strong coffee for contrast.
Creative Leftover Transformations
Cut into smaller cubes for mini pastry bites. You can also layer broken pieces into a trifle with whipped cream and fruit.
Additional Tips for Flawless Layers
Work on a cool surface to keep pastry crisp. Clean your knife between slices for sharp presentation.
Make It a True Showstopper
Pipe extra chocolate patterns or add a delicate dusting of cocoa powder for visual drama.
Variations to Try
- Add fresh raspberries between layers.
- Flavor the cream with a hint of lemon zest.
- Add a thin layer of strawberry jam.
- Use white chocolate drizzle instead of dark chocolate.
FAQ’s
Q1: Can I use homemade puff pastry?
Yes, if you have the time, it works beautifully.
Q2: How do I keep layers crisp?
Assemble close to serving time.
Q3: Can I freeze it?
Freezing is not recommended as texture may suffer.
Q4: How long does it last?
Up to two days refrigerated.
Q5: Can I make it gluten-free?
Use gluten-free puff pastry if available.
Q6: Why is my cream runny?
It may not have cooked long enough to thicken.
Q7: Can I reduce sugar?
Yes, slightly, but balance is important.
Q8: Can I flavor the icing?
A touch of vanilla or almond extract works well.
Q9: How do I cut clean slices?
Use a serrated knife and gentle pressure.
Q10: Is it overly sweet?
No, the layers balance sweetness nicely.
Conclusion
Classic Vanilla Mille-Feuille is a celebration of texture and elegance. Crisp, creamy, and beautifully layered, it brings a touch of French charm to your table. Once you slice into those golden layers and taste that smooth vanilla cream, you will see exactly why this dessert has stood the test of time.
PrintClassic Vanilla Mille-Feuille
A classic French mille-feuille made with crisp golden puff pastry layers, silky vanilla pastry cream, and a smooth white icing topped with delicate chocolate lines. Elegant, creamy, and beautifully layered for a true bakery-style dessert.
Ingredients
- 2 puff pastry sheets, about 500 grams total, thawed
- 500 milliliters whole milk
- 150 grams granulated sugar, divided
- 4 large egg yolks
- 40 grams cornstarch
- 30 grams unsalted butter
- 2 teaspoons vanilla extract
- 120 grams powdered sugar
- 2 to 3 tablespoons milk for icing
- 30 grams dark chocolate, melted
Instructions
- Preheat oven to 200 degrees Celsius and line a baking tray with parchment paper.
- Place the 2 puff pastry sheets on the tray, cover with parchment paper and a second tray to keep them flat.
- Bake for about 20 minutes until golden and crisp. Remove and allow to cool completely.
- In a saucepan, heat 500 milliliters whole milk until warm but not boiling.
- In a bowl, whisk 4 large egg yolks, 100 grams of the granulated sugar, and 40 grams cornstarch until smooth.
- Slowly pour the warm milk into the egg mixture while whisking, then return to the saucepan and cook over medium heat, stirring constantly, until thickened.
- Remove from heat and stir in 30 grams unsalted butter and 2 teaspoons vanilla extract. Chill completely until firm.
- Spread a thick layer of pastry cream over one cooled pastry sheet, top with the second sheet and repeat. Finish with the final pastry layer.
- Mix 120 grams powdered sugar with 2 to 3 tablespoons milk until smooth to form the icing, then spread evenly over the top layer.
- Drizzle 30 grams melted dark chocolate in thin lines over the icing and use a toothpick to create a decorative pattern.
- Chill briefly to set, then slice carefully with a serrated knife and serve.
Notes
- Bake puff pastry between two trays to keep it flat and evenly crisp.
- Chill the pastry cream completely before assembling for clean layers.
- Use a serrated knife and gentle sawing motion when slicing.
- Assemble close to serving time for maximum crispness.