Vanilla Milkshake
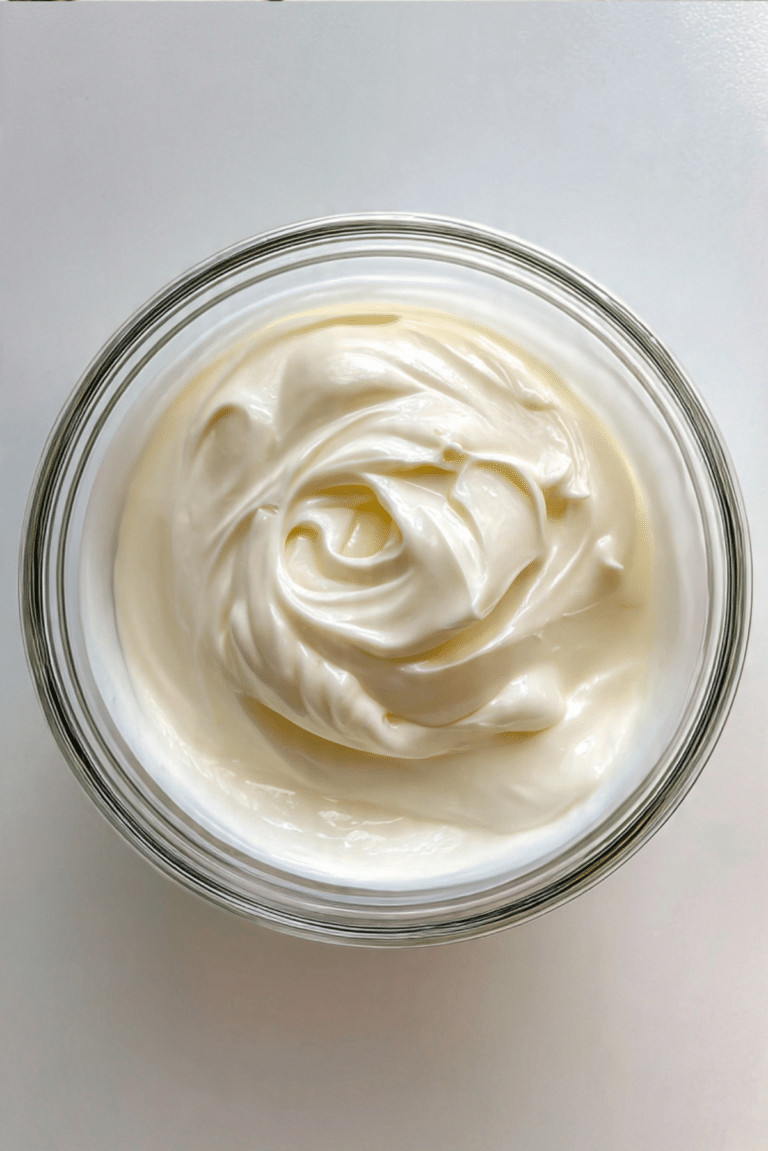
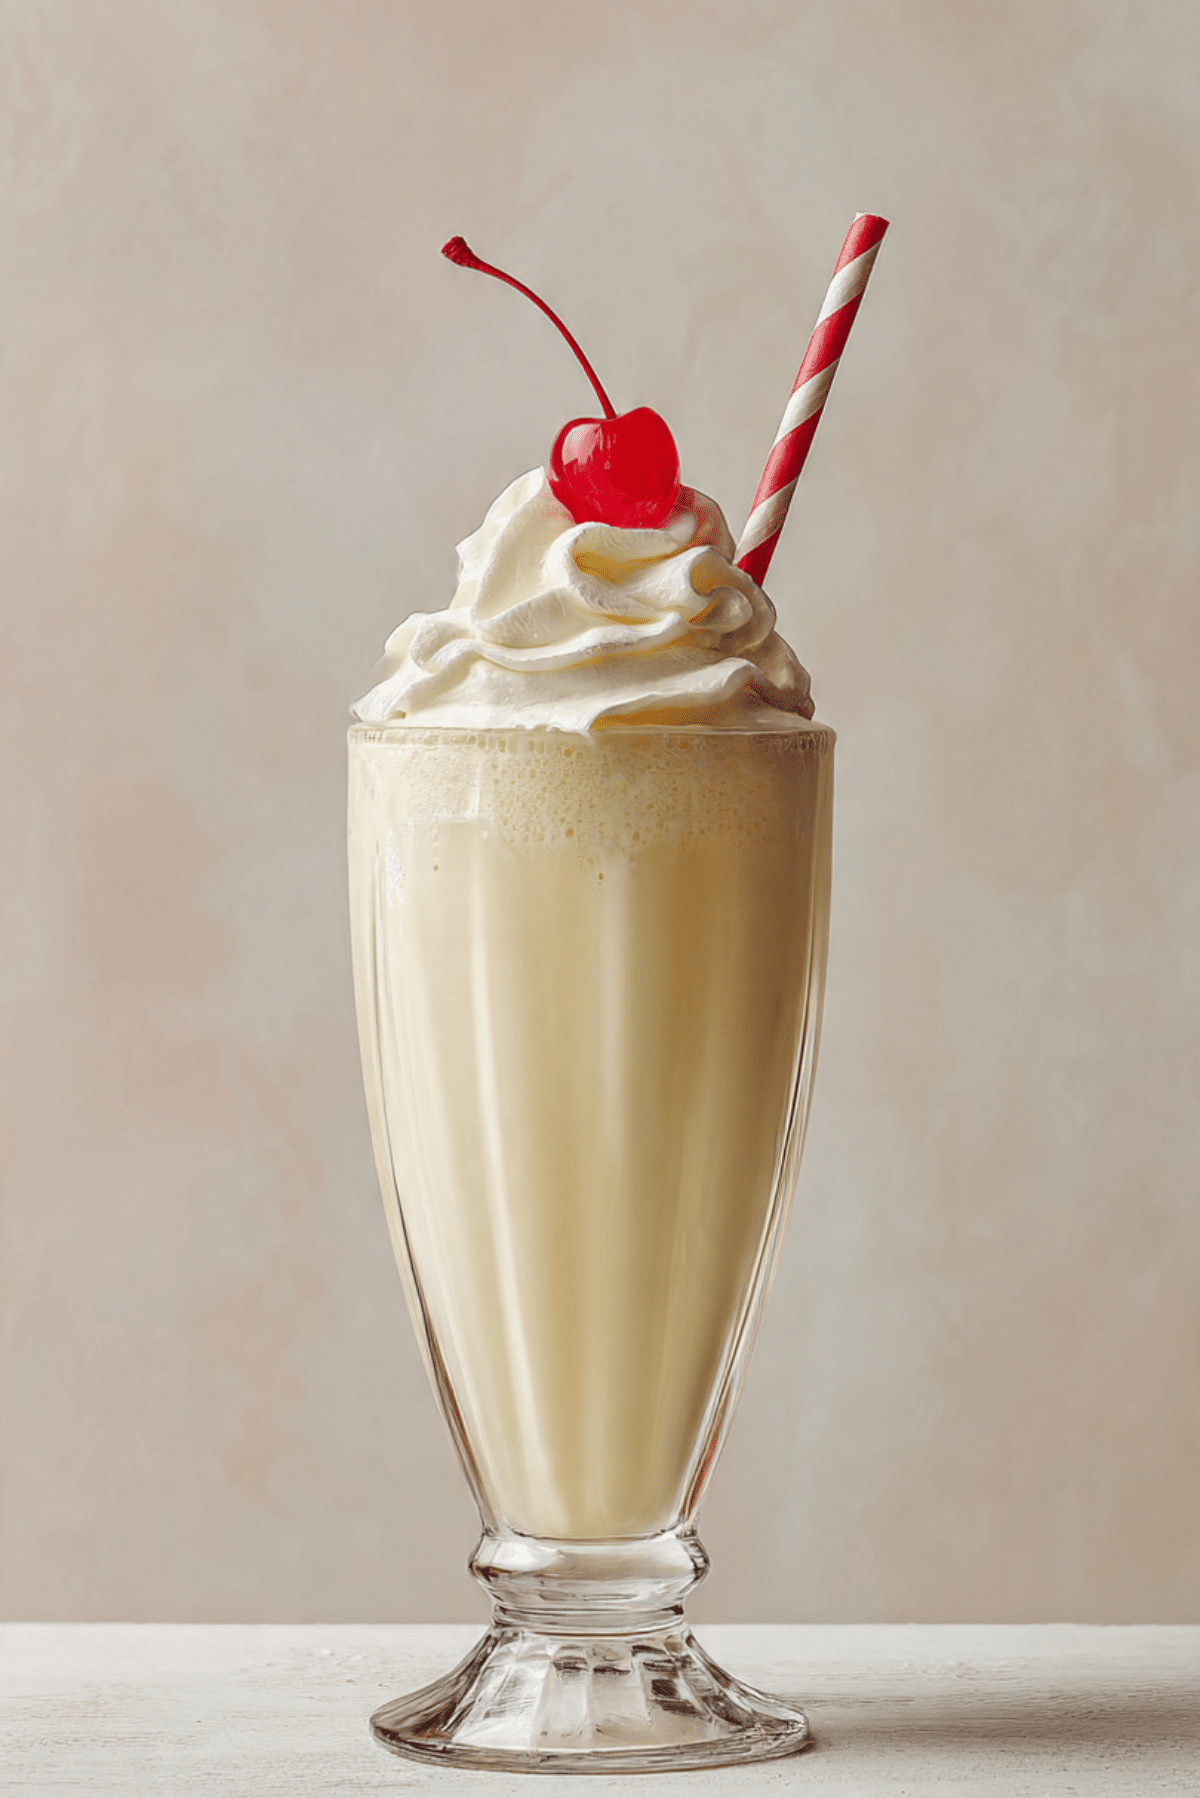
There’s something undeniably nostalgic about a cold, creamy vanilla milkshake. The way it swirls in a tall glass, crowned with a generous cloud of whipped cream and that signature cherry on top it’s comfort in liquid form. Every sip is a smooth, sweet blend of classic flavor that takes you right back to carefree summer days and cozy diner booths.
Behind the Recipe
This vanilla milkshake is inspired by my childhood visits to a small corner ice cream parlor, where the owner would whip up thick shakes right in front of us with an old-school blender. I remember watching the ice cream dance around with milk, the sound of the blender buzzing, and the excitement of that first frosty sip. That memory has become my gold standard for how a vanilla milkshake should taste.
Recipe Origin or Trivia
The milkshake first made waves in the early 1900s, originally served as a boozy eggnog-style drink. But by the 1920s, thanks to the rise of soda fountains and the invention of the electric blender, the milkshake we know today became a staple in American diners. Vanilla, being one of the original ice cream flavors, naturally became a go-to base classic, simple, and loved by all.
Why You’ll Love Vanilla Milkshake
A timeless treat like this comes with plenty of reasons to fall in love:
Versatile: You can dress it up with syrups, toppings, or even blend in fruits or cookies.
Budget-Friendly: Just a few simple ingredients and you’ve got a decadent dessert.
Quick and Easy: Ready in under 5 minutes with no fancy equipment needed.
Customizable: Adjust the thickness, sweetness, or flavor twist to suit your taste.
Crowd-Pleasing: Everyone, from kids to grownups, lights up at the sight of a milkshake.
Make-Ahead Friendly: Prep your ingredients and keep them chilled until blending time.
Great for Leftovers: If you’ve got melted ice cream, just add milk and blend—instant shake.
Chef’s Pro Tips for Perfect Results
Want your shake to taste just like the ones from your favorite diner? Here’s how:
- Use premium ice cream for a rich, velvety base.
- Chill your glass beforehand for a frosty finish that lasts longer.
- Don’t over-blend or the shake may turn too thin.
- Adjust milk slowly for the perfect consistency.
- Top just before serving to keep the whipped cream fresh and perky.
Kitchen Tools You’ll Need
You don’t need much to whip this up, just a few basics:
Blender: Essential for getting that smooth, creamy texture.
Tall Glass: To serve it in classic diner-style.
Ice Cream Scoop: Makes portioning easy and mess-free.
Straw & Spoon: Because you’ll want to sip and scoop every bit.
Ingredients in Vanilla Milkshake
The magic of a great milkshake lies in the simplicity of its ingredients. Here’s what you’ll need:
- Vanilla Ice Cream: 2 cups. This is the creamy, sweet base of your shake.
- Whole Milk: 1/2 cup. Adds richness and helps blend everything smoothly.
- Vanilla Extract: 1 teaspoon. Enhances the vanilla flavor, giving it that classic depth.
- Whipped Cream: For topping. Light, fluffy, and the perfect finishing touch.
- Maraschino Cherry: 1 per shake. A sweet pop of color and flavor on top.
- Sprinkles (optional): For extra fun and color.
Ingredient Substitutions
Whether you’re out of an item or looking to tweak things up, here are some easy swaps:
Vanilla Ice Cream: Use frozen yogurt or dairy-free vanilla ice cream.
Whole Milk: Substitute with almond, oat, or soy milk for a lighter version.
Vanilla Extract: Try almond extract for a twist, but use less—it’s stronger.
Whipped Cream: Use coconut whipped cream for a dairy-free option.
Ingredient Spotlight
Vanilla Ice Cream: The heart of this recipe. Creamy and sweet, it gives the shake its signature flavor and texture.
Vanilla Extract: Though used in small amounts, this ingredient deepens and rounds out the flavor, making the vanilla shine.

Instructions for Making Vanilla Milkshake
Making this milkshake is quick and fun. Whether it’s a treat for yourself or a sweet surprise for someone else, here’s how to get it just right:
- Preheat Your Equipment:
If desired, place your glass in the freezer for a few minutes to chill while you prep. - Combine Ingredients:
In a blender, add 2 cups of vanilla ice cream, 1/2 cup of whole milk, and 1 teaspoon of vanilla extract. - Prepare Your Cooking Vessel:
(In this case, your blender is the star. No cooking needed.) - Assemble the Dish:
Blend on medium until smooth and creamy, scraping down the sides if needed. Stop and check for thickness. - Cook to Perfection:
No actual cooking, but here’s the key if the shake is too thick, add a splash more milk and blend again briefly. - Finishing Touches:
Pour into the chilled glass. Top with whipped cream, a cherry, and sprinkles if using. - Serve and Enjoy:
Add a straw and enjoy immediately while it’s thick and cold.
Texture & Flavor Secrets
This milkshake hits that dreamy middle ground between rich and refreshing. The ice cream gives it a luxurious texture, while the milk keeps it drinkable. The vanilla extract adds warmth and depth, and the whipped cream on top adds a light, airy contrast to the creamy shake below.
Cooking Tips & Tricks
Here are a few more little tips to elevate your shake game:
- Use slightly softened ice cream for easier blending.
- Add crushed cookies or fruit for mix-ins.
- Rinse your blender immediately to avoid sticky cleanup.
What to Avoid
Let’s avoid common mistakes so your shake turns out perfect:
- Don’t add too much milk too soon—it’s easier to thin than to thicken.
- Avoid using low-quality ice cream. It makes a big difference.
- Don’t skip the vanilla extract. It brings everything together.
Nutrition Facts
Servings: 2
Calories per serving: 320
Note: These are approximate values.
Preparation Time
Prep Time: 5 minutes
Cook Time: 0 minutes
Total Time: 5 minutes
Make-Ahead and Storage Tips
If you’re planning ahead, scoop the ice cream into the blender and pre-measure the milk and extract. Cover and refrigerate the milk and extract. When ready, just blend. Leftovers can be stored in the freezer, then re-blended with a bit of milk to bring it back to shake form.
How to Serve Vanilla Milkshake
Go all out and serve it diner-style in a tall glass with a colorful straw. Add a drizzle of caramel or chocolate sauce inside the glass for a swirl effect. Serve alongside a cookie, slice of pie, or even a burger for that ultimate classic combo.
Creative Leftover Transformations
If you’ve got extra shake:
- Pour into popsicle molds and freeze for milkshake pops.
- Freeze in an ice cube tray and blend again later for a quick treat.
- Use as a base for an ice cream float with club soda or cream soda.
Additional Tips
- For a frothier texture, pulse the blender at the end for 10 seconds.
- Add a pinch of sea salt to enhance the vanilla flavor.
- Use clear glasses to show off the creamy layers and toppings.
Make It a Showstopper
Garnish the rim of your glass with sprinkles or crushed cookies. Serve with a matching spoon and striped straw. Layer in a drizzle of chocolate or caramel for extra flair. A chilled glass makes it sparkle and elevates the whole experience.
Variations to Try
- Strawberry Vanilla Swirl: Add a few frozen strawberries before blending.
- Cookies and Cream: Toss in a few crushed chocolate sandwich cookies.
- Salted Caramel: Add a tablespoon of caramel sauce and a pinch of salt.
- Espresso Kick: Blend in a shot of cooled espresso for a caffeinated twist.
- Coconut Dream: Use coconut milk and top with toasted coconut flakes.
FAQ’s
Q1: Can I make this without a blender?
Yes, you can use a handheld mixer or mash and stir vigorously, though the texture may not be as smooth.
Q2: How do I make it thicker?
Use less milk or freeze your ice cream scoops for 10 minutes before blending.
Q3: Can I make it dairy-free?
Absolutely. Use non-dairy ice cream and milk alternatives like oat, soy, or almond.
Q4: What’s the best vanilla extract to use?
Pure vanilla extract gives the richest flavor, but you can use imitation in a pinch.
Q5: How long can I store leftovers?
Freeze them in a container for up to 2 days. Blend again before serving.
Q6: Can I add protein powder?
Yes, just blend it in with the other ingredients. Choose a flavor that complements vanilla.
Q7: Is this recipe gluten-free?
Yes, as long as your ice cream and toppings are certified gluten-free.
Q8: How do I make it less sweet?
Use a low-sugar or unsweetened ice cream and skip the whipped cream or sprinkles.
Q9: What kind of milk works best?
Whole milk gives the richest texture, but you can use any milk you like.
Q10: Can I double the recipe?
Yes, just scale the ingredients and make sure your blender can handle the volume.
Conclusion
This Vanilla Milkshake recipe is pure simplicity and joy in a glass. Whether you’re sipping it solo, serving it up to guests, or using it as a nostalgic pick-me-up, it’s bound to be a favorite. Trust me, you’re going to love this one.
PrintVanilla Milkshake
A classic, creamy vanilla milkshake made with real ice cream and a hint of vanilla, topped with whipped cream and a cherry. Quick to make and endlessly satisfying.
Ingredients
- 2 cups vanilla ice cream
- 1/2 cup whole milk
- 1 teaspoon vanilla extract
- Whipped cream, for topping
- 1 maraschino cherry, for topping
- Sprinkles (optional)
Instructions
- Place a tall glass in the freezer to chill.
- Add vanilla ice cream, whole milk, and vanilla extract to a blender.
- Blend until smooth and creamy.
- Check the consistency. Add more milk if needed and blend again briefly.
- Pour the milkshake into the chilled glass.
- Top with whipped cream, a cherry, and sprinkles if using.
- Serve immediately with a straw or spoon.
Notes
- Use high-quality ice cream for the best flavor.
- Chilling the glass helps the milkshake stay cold longer.
- Add mix-ins like fruit, cookies, or caramel for variation.