Turkish Cheese Pide
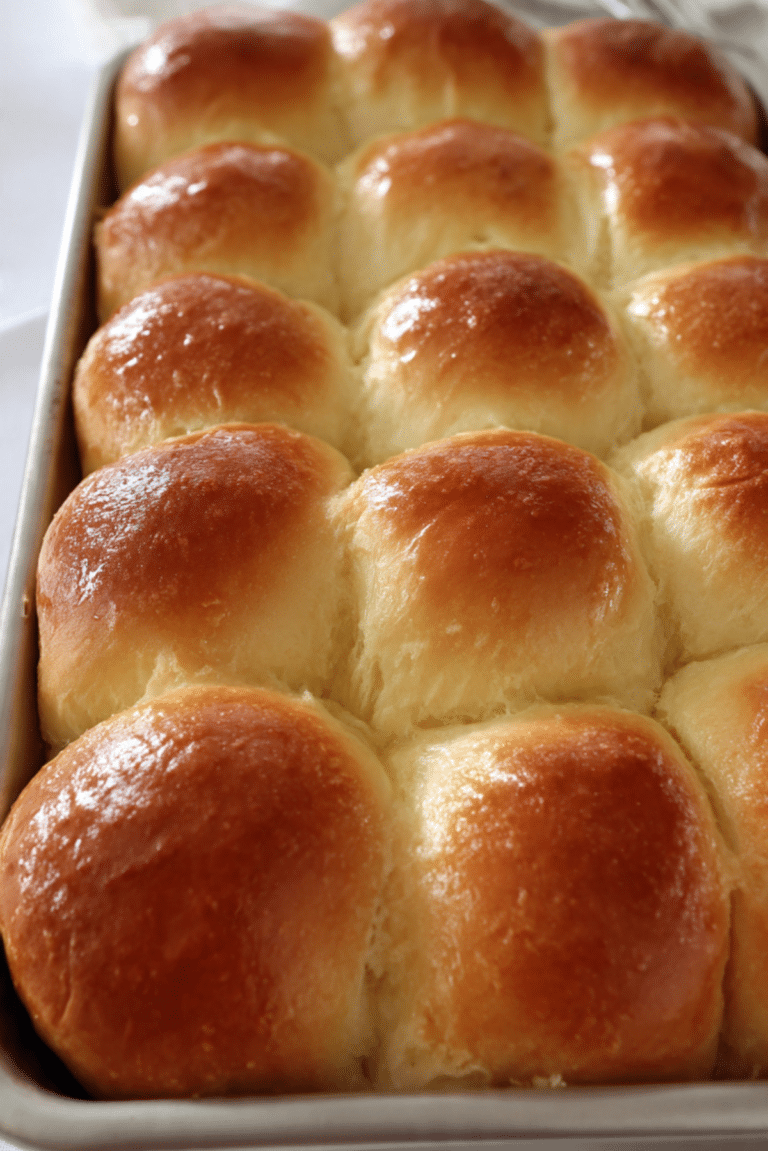
There is something almost magical about pulling a tray of freshly baked Turkish cheese pide out of the oven. The aroma of warm bread and bubbling cheese fills the kitchen in seconds, and suddenly everyone gathers around without being called. The golden crust, the soft center, and that irresistible stretch of melted cheese, trust me, you are going to love this. This one is a total game changer for cozy dinners or relaxed weekend lunches, and let me tell you, it is worth every bite.
Why This Cheesy Flatbread Wins Every Time
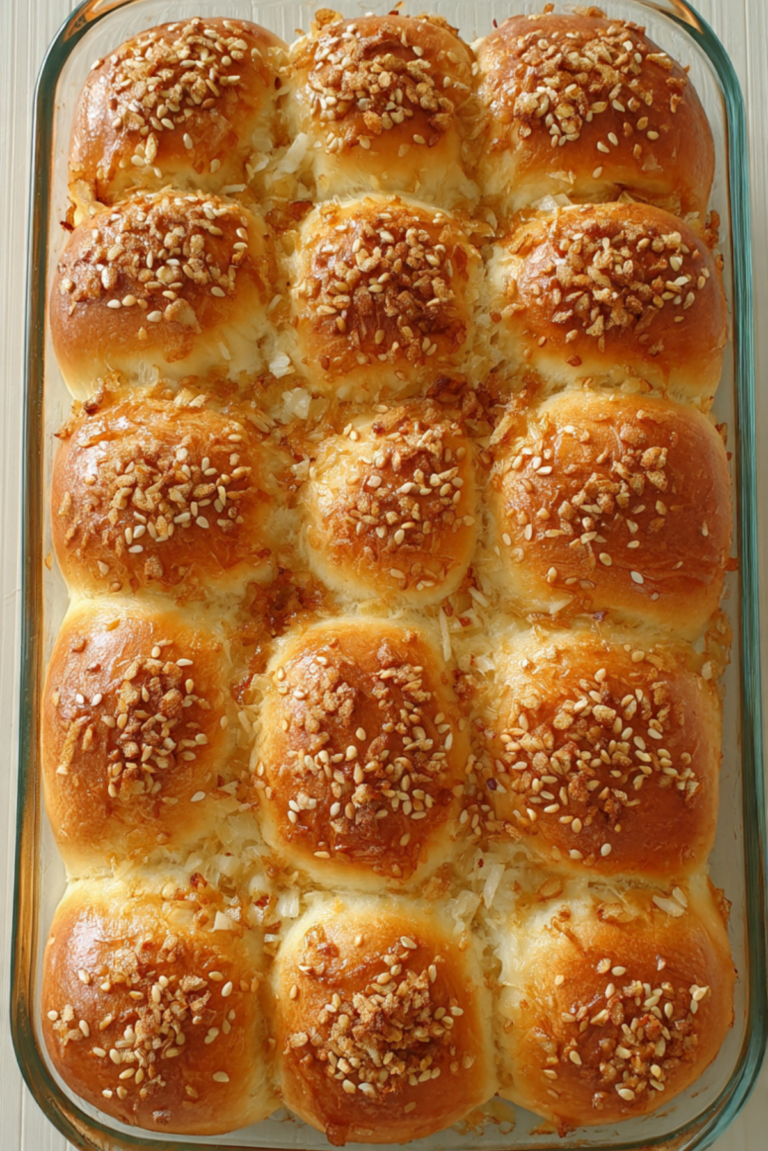
There is comfort food, and then there is this. The contrast between the crisp edges and the pillowy interior makes every bite feel special. The cheese melts into creamy pockets, slightly browned on top, giving you that rich, savory flavor that feels both simple and indulgent. It is the kind of dish that looks impressive but feels wonderfully homemade.
And now let us dive into where this beauty actually comes from, because its story is just as satisfying as its flavor.
A Taste of Turkey’s Culinary Heart
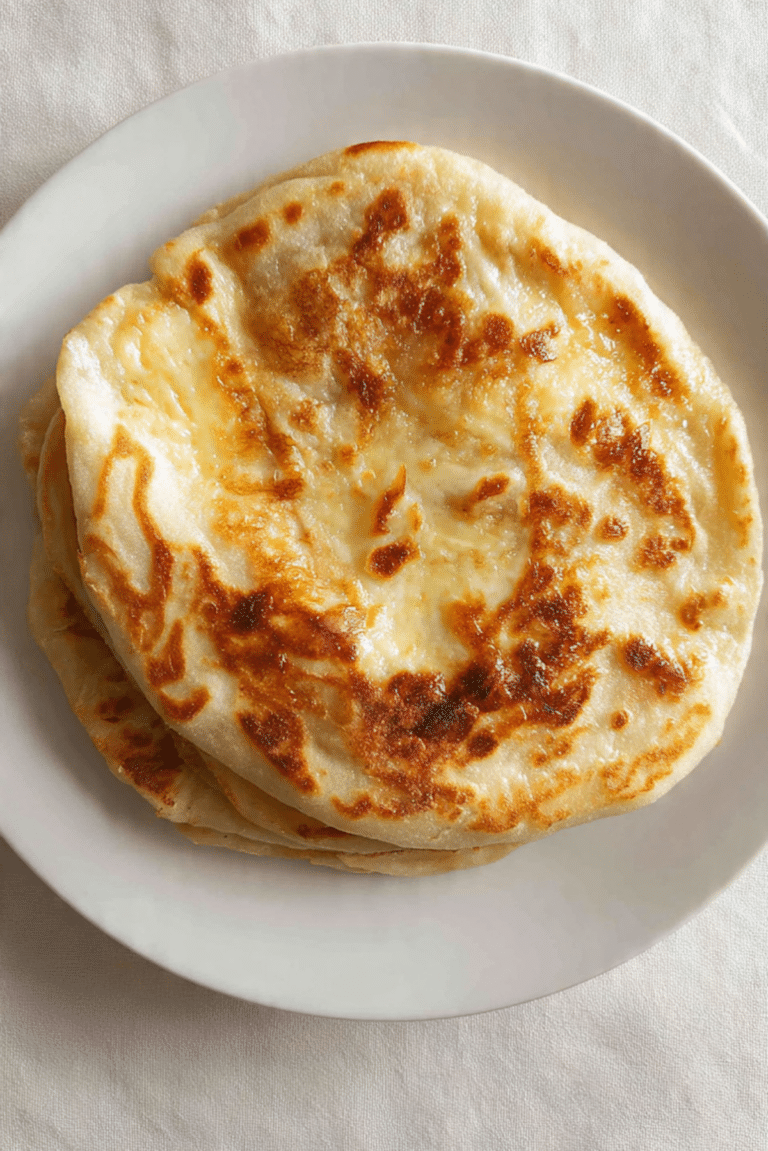
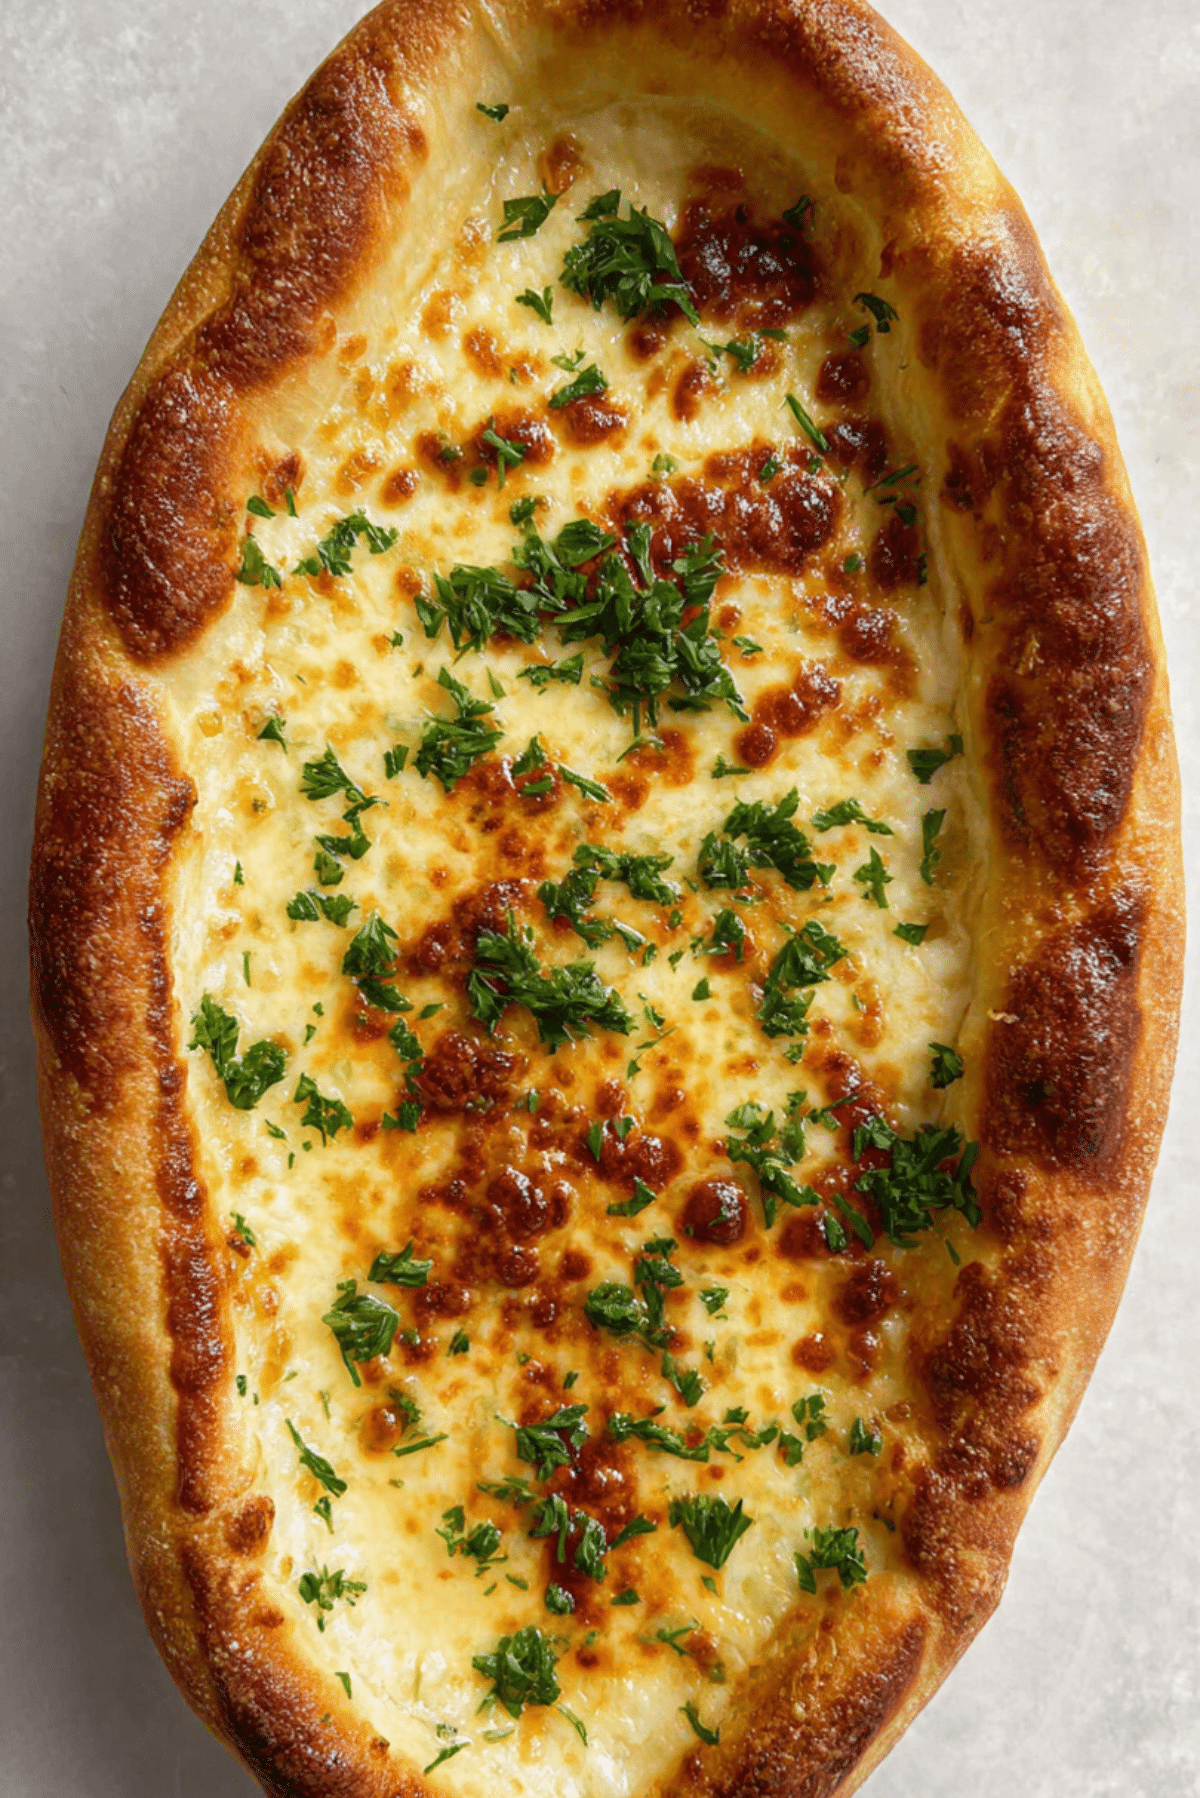
Pide is often called Turkish flatbread, but it is so much more than that. Traditionally baked in stone ovens and shaped like a small boat, it is a staple in Turkish bakeries and homes. Different regions top it with various fillings, from vegetables to minced meat, but the cheese version is one of the most beloved.
The cheese filling is typically made with Turkish cheeses like kasar or beyaz peynir. At home, we can recreate that same creamy, slightly salty flavor using accessible cheeses, and the result is just as comforting.
And now that you know its roots, let me show you why this recipe deserves a permanent place in your kitchen.
Why You Will Keep Coming Back to This Recipe
This dish is not just delicious, it is reliable and flexible, which makes it perfect for real life cooking.
Versatile: You can serve it as a main dish, a snack, or even slice it into smaller portions for gatherings. It fits almost any occasion.
Budget-Friendly: The ingredients are simple pantry staples like flour, yeast, and cheese, which makes it easy on your grocery list.
Quick and Easy: The dough comes together with basic steps, and the baking time is short, so you are not stuck in the kitchen all day.
Customizable: You can adjust the cheese blend or add herbs to match your taste.
Crowd-Pleasing: That golden crust and gooey center make it irresistible to both kids and adults.
Make-Ahead Friendly: You can prepare the dough in advance and bake when ready.
Great for Leftovers: Reheated slices taste just as good the next day.
Now let us take it up a notch with a few insider tips that make all the difference.
Pro Tips for Bakery Style Results
Making this at home is simple, but these small details will elevate it.
- Let the dough rise fully until doubled in size, this ensures a soft and airy texture.
- Use a blend of mozzarella and feta for the perfect balance of stretch and saltiness.
- Brush the edges with olive oil before baking for a deeper golden color.
- Bake on a preheated tray to help the bottom crisp up nicely.
With that in mind, let us gather the tools that will make the process smooth.
Essential Tools for Success
Before we start mixing and shaping, here is what you will need.
Mixing Bowl: For combining and kneading the dough comfortably.
Baking Sheet: A sturdy tray helps achieve even baking.
Rolling Pin: To shape the dough evenly into its classic oval form.
Pastry Brush: Perfect for brushing olive oil along the edges.
And now comes one of my favorite parts, talking about the ingredients and how each one plays its role.
Ingredients You Will Need For Turkish Cheese Pide
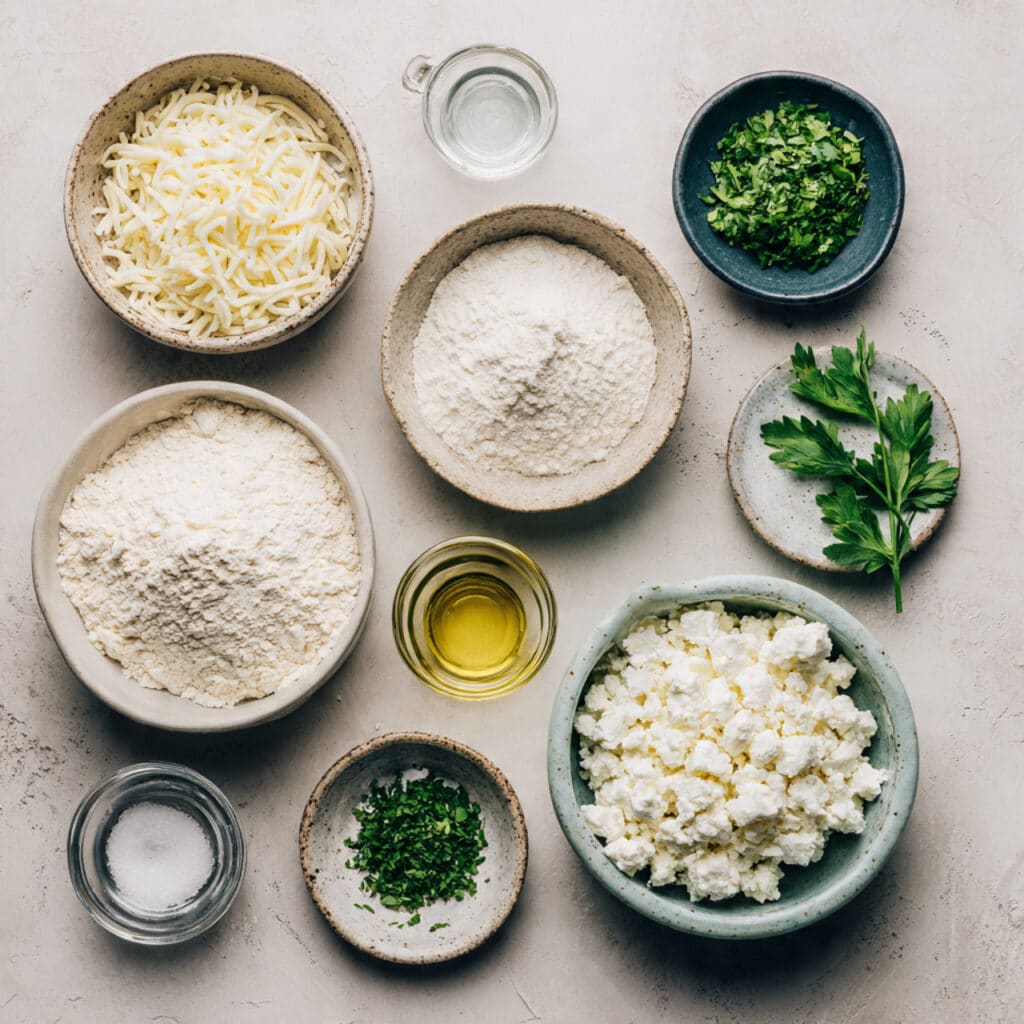
The beauty of this dish lies in its simplicity. Each ingredient works together to create that golden, cheesy masterpiece.
- All Purpose Flour: 3 cups, forms the structure of the soft and chewy dough.
- Warm Water: 1 cup, activates the yeast and brings the dough together.
- Active Dry Yeast: 2 teaspoons, helps the dough rise and become fluffy.
- Sugar: 1 teaspoon, feeds the yeast and enhances browning.
- Salt: 1 teaspoon, balances flavor in the dough.
- Olive Oil: 2 tablespoons, adds tenderness and richness.
- Mozzarella Cheese: 2 cups shredded, provides that irresistible stretch.
- Feta Cheese: 1 cup crumbled, adds a slightly salty and tangy depth.
- Fresh Parsley: 2 tablespoons chopped, brings freshness and color.
Now that we have everything ready, let us explore how flexible this recipe can be.
Easy Ingredient Swaps You Can Try
Sometimes you work with what you have, and that is perfectly fine.
Mozzarella Cheese: Can be replaced with low moisture pizza cheese.
Feta Cheese: Substitute with ricotta for a milder taste.
Fresh Parsley: Use dried oregano for a different herbal note.
With the ingredients clear, let us spotlight what truly defines this dish.
The Stars of the Show
Mozzarella Cheese: This is what gives you that beautiful cheese pull and creamy texture.
Feta Cheese: Its slight saltiness balances the richness and keeps the flavor from feeling heavy.
And now let us roll up our sleeves and get cooking.
Let Us Bake This Together
There is something deeply satisfying about shaping the dough and watching it transform in the oven. Here are the steps you are going to follow.
- Preheat Your Equipment: Preheat your oven to 400 F and place a baking sheet inside to warm up.
- Combine Ingredients: In a bowl, mix warm water, sugar, and yeast. Let it sit for 5 minutes until foamy. Add flour, salt, and olive oil, then knead until smooth.
- Prepare Your Cooking Vessel: Lightly oil a clean bowl, place the dough inside, cover, and let it rise for 1 hour until doubled.
- Assemble the Dish: Divide the dough into two portions. Roll each into an oval, pinch the edges to form a boat shape, and fill the center with mozzarella and feta.
- Cook to Perfection: Carefully transfer to the hot baking sheet and bake for 15 to 18 minutes until golden and bubbly.
- Finishing Touches: Remove from the oven and sprinkle with chopped parsley.
- Serve and Enjoy: Slice while warm and enjoy that stretchy, cheesy goodness.
The Texture and Flavor Magic
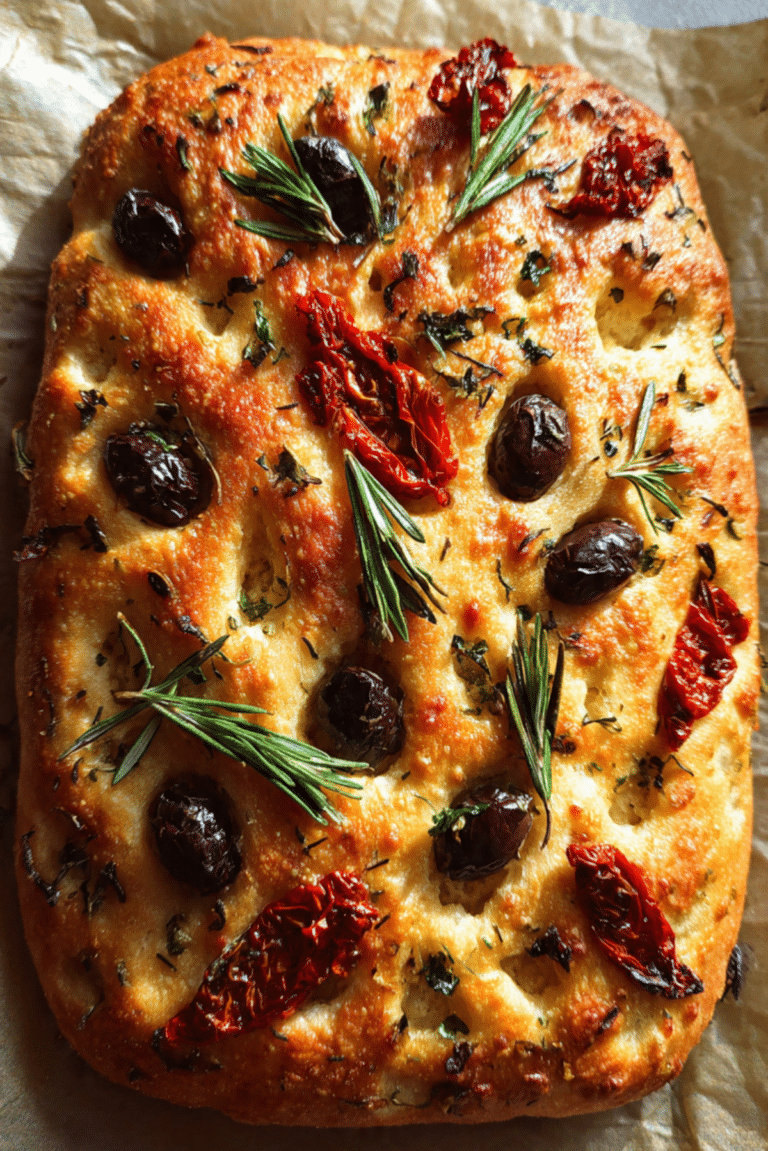
The crust turns beautifully golden and slightly crisp on the outside, while the inside stays soft and airy. The cheese melts into creamy layers with little browned spots that add a hint of nuttiness. The parsley brightens every bite, making the richness feel balanced and fresh.
Extra Cooking Tips for Best Results
A few small details can make a big difference.
- Do not overload the center with cheese, it may spill over during baking.
- Make sure your water is warm but not hot, too much heat can kill the yeast.
- Let the dough rest properly for a soft interior texture.
Common Mistakes and How to Avoid Them
Even simple recipes have small pitfalls.
- Using cold water, which prevents proper yeast activation.
- Skipping the preheated tray, which can lead to a pale bottom crust.
- Overbaking, which dries out the cheese and bread.
Nutritional Snapshot
Servings: 4
Calories per serving: 420
Note: These are approximate values.
Time Breakdown for Planning
Prep Time: 15 minutes
Cook Time: 18 minutes
Total Time: 33 minutes plus 1 hour rising time
Make Ahead and Storage Tips
You can prepare the dough a day in advance and let it rise slowly in the refrigerator. Once baked, store leftovers in an airtight container in the fridge for up to three days. Reheat in the oven at 350 F for about 8 minutes to bring back that fresh baked texture. You can also freeze baked slices and reheat directly from frozen.
Serving Ideas to Make It Special
Serve it with a crisp green salad and a squeeze of lemon for contrast. It pairs beautifully with a simple tomato and cucumber salad or a bowl of warm soup for a cozy meal.
Creative Leftover Transformations
Leftover slices can be reheated and topped with fresh herbs for a quick snack. You can also cut them into smaller pieces and serve as a party appetizer.
A Few More Helpful Tips
Brush a little extra olive oil on the crust right after baking for shine. Let it rest for a few minutes before slicing so the cheese settles slightly.
Make It Look Bakery Worthy
Sprinkle extra parsley just before serving and slice neatly for a beautiful presentation. Serve on a wooden board for that rustic touch.
Fun Variations to Try
Add sliced olives for a briny twist.
Mix in chopped spinach with the cheese for added freshness.
Sprinkle sesame seeds on the crust before baking for texture.
FAQ’s
Q1: Can I use instant yeast instead of active dry yeast?
Yes, you can mix it directly with the flour and skip the proofing step.
Q2: Can I make it gluten free?
You can try a gluten free flour blend, but texture may vary.
Q3: How do I know the dough has risen enough?
It should double in size and feel soft when gently pressed.
Q4: Can I freeze the dough?
Yes, after the first rise, wrap tightly and freeze for up to one month.
Q5: What other cheeses work well?
A mix of cheddar and mozzarella can add sharpness.
Q6: Why is my crust too hard?
It may have baked too long or the oven temperature was too high.
Q7: Can I cook this on a pizza stone?
Yes, it will create an even crispier bottom.
Q8: Do I need to brush the crust?
It is optional, but olive oil gives better color.
Q9: How thick should I roll the dough?
About half an inch thick works well.
Q10: Can I add spices?
Absolutely, a pinch of red pepper flakes adds gentle heat.
Conclusion
There is something deeply comforting about making Turkish cheese pide from scratch. From kneading the dough to watching the cheese bubble in the oven, the whole process feels rewarding. Trust me, once you try it, this will become one of those recipes you turn to again and again. It is simple, satisfying, and filled with flavor in every bite.
PrintTurkish Cheese Pide

A golden, boat-shaped Turkish cheese pide with a soft fluffy crust and a rich, gooey cheese center made from mozzarella and feta, baked until bubbly and finished with fresh parsley.
Ingredients
- 3 cups all purpose flour
- 1 cup warm water
- 2 teaspoons active dry yeast
- 1 teaspoon sugar
- 1 teaspoon salt
- 2 tablespoons olive oil
- 2 cups shredded mozzarella cheese
- 1 cup crumbled feta cheese
- 2 tablespoons chopped fresh parsley
Instructions
- Preheat oven to 400 F and place a baking sheet inside to heat.
- In a bowl, combine warm water, sugar, and yeast. Let sit for 5 minutes until foamy.
- Add flour, salt, and olive oil. Knead until smooth and elastic.
- Place dough in a lightly oiled bowl, cover, and let rise for 1 hour until doubled in size.
- Divide dough into two portions and roll each into an oval shape.
- Pinch the edges to form a boat shape and fill the center with mozzarella and feta cheese.
- Transfer carefully onto the hot baking sheet and bake for 15 to 18 minutes until golden and bubbly.
- Remove from oven, sprinkle with chopped parsley, slice, and serve warm.
Notes
- Do not overfill with cheese to prevent spilling during baking.
- Make sure the water is warm but not hot to properly activate the yeast.
- For extra golden crust, brush the edges with olive oil before baking.