Rice Pudding Cups
There’s something deeply comforting about a warm, creamy cup of rice pudding. It wraps you in nostalgia, reminds you of cozy evenings, and fills the air with the scent of sweet vanilla and cinnamon. These rice pudding cups are everything you want in a dessert soft, silky, slightly spiced, and gently sweet. Whether you enjoy them warm from the stove or chilled straight from the fridge, each spoonful delivers pure, cozy satisfaction.
Behind the Recipe
This recipe was inspired by the way my grandma used to make rice pudding slow-cooked, sweetened just right, and always served with a sprinkle of cinnamon on top. I remember watching the milk bubble gently as the rice softened, the smell of vanilla filling the kitchen. These cups are my way of honoring that memory but with a modern twist. They’re portioned individually, making them perfect for serving or storing. Trust me, you’re going to love this one.
Recipe Origin or Trivia
Rice pudding has roots that stretch across many cultures. From kheer in India to arroz con leche in Latin America, this dish has traveled far and wide. Its origins date back to ancient Asia, where rice and milk were combined for both medicinal and culinary purposes. Over time, different regions added their own spins spices in the Middle East, citrus zest in Europe, and coconut milk in Southeast Asia. This version is a comforting take that leans on classic flavors and simple ingredients.
Why You’ll Love Rice Pudding Cups
Whether you need a quick dessert or something to meal prep for the week, here’s why this recipe will win you over:
Versatile: Can be enjoyed warm or chilled, topped with cinnamon or fresh fruits.
Budget-Friendly: Made with pantry staples like rice, milk, and sugar.
Quick and Easy: Minimal steps, mostly hands-off cooking.
Customizable: Adjust sweetness, milk types, or spices to your liking.
Crowd-Pleasing: Everyone from kids to grandparents loves it.
Make-Ahead Friendly: Store in the fridge for up to 4 days.
Great for Leftovers: Tastes even better the next day as the flavors settle.
Chef’s Pro Tips for Perfect Results
Nail it every time with these simple tricks:
- Use short-grain rice for the creamiest result.
- Stir often to prevent the rice from sticking or scorching.
- Add sugar after the rice is cooked to avoid a gritty texture.
- Let it cool slightly before portioning into cups so it sets nicely.
- A touch of vanilla extract added at the end elevates the flavor.
Kitchen Tools You’ll Need
No fancy gear needed, just a few basics:
Medium Saucepan: For simmering the pudding.
Wooden Spoon or Silicone Spatula: To stir gently without breaking the rice.
Measuring Cups and Spoons: For accurate portions.
Ramekins or Small Cups: For serving the pudding in perfect portions.
Plastic Wrap or Lids: If you’re storing for later.
Ingredients in Rice Pudding Cups
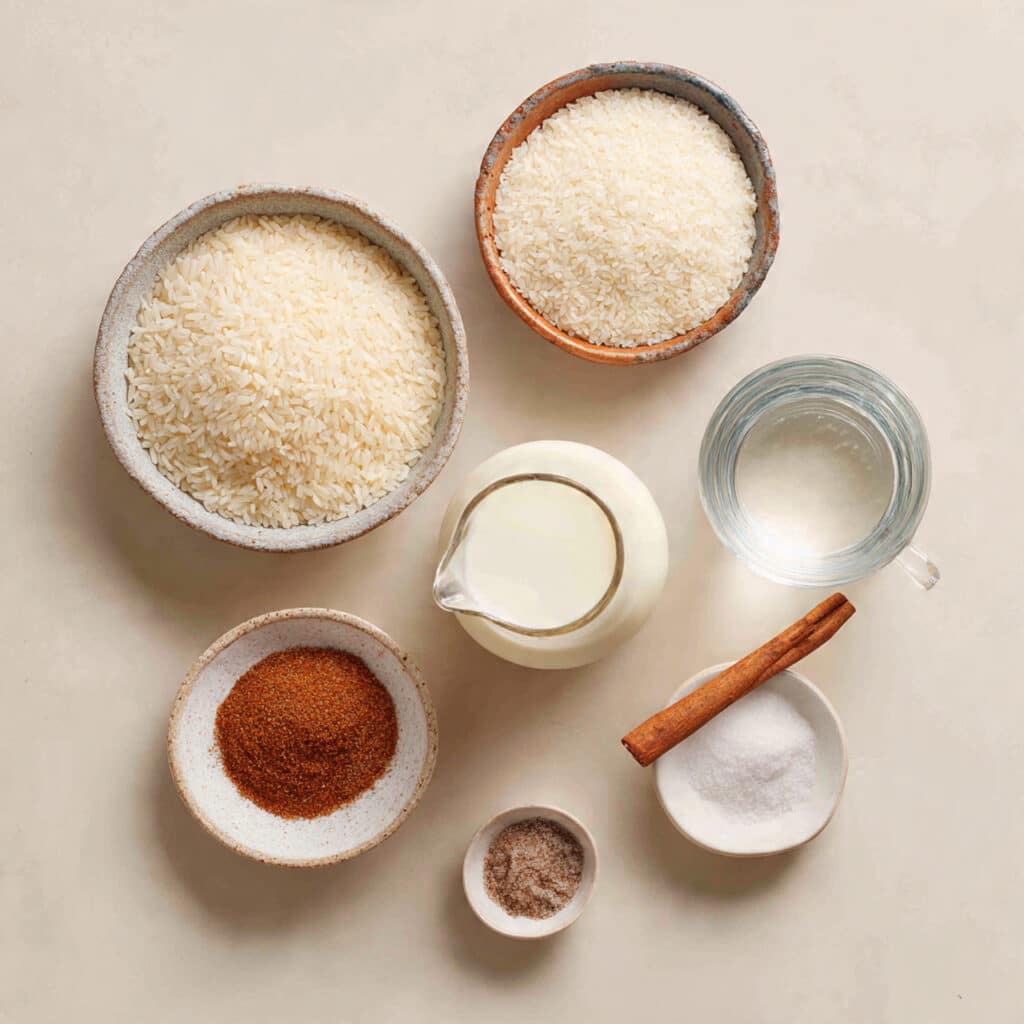
Each ingredient plays its part to create a luscious and comforting treat:
- Short-Grain White Rice: 1/2 cup Adds a soft, starchy texture perfect for pudding.
- Whole Milk: 4 cups Provides creaminess and richness.
- Granulated Sugar: 1/3 cup Sweetens the pudding just enough without overpowering.
- Vanilla Extract: 1 teaspoon Adds a warm, aromatic depth.
- Ground Cinnamon: 1/2 teaspoon Brings a subtle spice and cozy flavor.
- Salt: Pinch Enhances all the other flavors.
- Water: 1 cup Helps soften the rice before the milk is added.
Ingredient Substitutions
You can swap out a few things if needed:
Whole Milk: Use almond, oat, or coconut milk for a dairy-free option.
Granulated Sugar: Swap with honey or maple syrup for a different sweetness.
Short-Grain Rice: Arborio rice or medium grain will also work well.
Vanilla Extract: Use a vanilla bean pod if you want extra flavor depth.
Ingredient Spotlight
Short-Grain Rice: Its high starch content is what makes the pudding thick and creamy without needing eggs or thickeners.
Whole Milk: The fat in whole milk adds luxurious smoothness and body that lighter milks can’t quite replicate.
Instructions for Making Rice Pudding Cups
Making this recipe is like a relaxing kitchen ritual. Here are the steps you’ll follow:
1. Preheat Your Equipment:
No need to preheat anything, but gather all your tools and ingredients before starting.
2. Combine Ingredients:
In a medium saucepan, combine the rice, water, and a pinch of salt. Bring it to a gentle boil, then lower the heat and let it simmer uncovered until the water is mostly absorbed, about 10 minutes.
3. Prepare Your Cooking Vessel:
Once the rice is tender, add the milk and stir well. Bring it back to a simmer over low heat.
4. Assemble the Dish:
Let the mixture simmer gently, stirring often, until it thickens and the rice is fully tender, about 30–35 minutes.
5. Cook to Perfection:
Once thickened, stir in the sugar, cinnamon, and vanilla extract. Cook for another 5 minutes, then remove from heat.
6. Finishing Touches:
Let it cool slightly before spooning the pudding into cups. Sprinkle extra cinnamon or your favorite toppings if desired.
7. Serve and Enjoy:
Enjoy warm for a cozy dessert or chill in the fridge and serve cold later — either way, it’s delicious.
Texture & Flavor Secrets
The magic here lies in the starchiness of the rice and the slow simmer. As the rice cooks, it releases starch that blends with the milk to form a velvety base. The cinnamon adds warmth, the vanilla brings depth, and together they create a dessert that feels like a hug in a cup. Chilling it firms up the texture slightly, but it stays creamy and soft throughout.
Cooking Tips & Tricks
Here’s how to make it even better:
- Stir often, especially toward the end, to keep it from sticking.
- Don’t rush slow simmering builds the best flavor and texture.
- For extra richness, add a splash of cream in the final minute of cooking.
- Serve with a sprinkle of nutmeg or a drizzle of honey for a twist.
What to Avoid
Avoid these pitfalls for best results:
- Too high heat: This can scorch the milk and ruin the texture.
- Overcooking: The pudding will become too thick and dry out.
- Skipping the stirring: You’ll end up with clumps or rice stuck to the bottom.
Nutrition Facts
Servings: 6
Calories per serving: 210
Note: These are approximate values.
Preparation Time
Prep Time: 5 minutes
Cook Time: 45 minutes
Total Time: 50 minutes
Make-Ahead and Storage Tips
You can absolutely make this recipe ahead of time. In fact, the flavor gets better after a night in the fridge. Simply store the pudding in covered ramekins or containers and refrigerate for up to 4 days. If you want to serve it warm, microwave it for 30–60 seconds with a splash of milk to loosen it back up.
How to Serve Rice Pudding Cups
These are great served warm with an extra sprinkle of cinnamon or nutmeg. You could also top them with raisins, chopped nuts, or fresh berries for a fruity contrast. For a party, serve them in mini cups with tiny spoons they’re always a hit.
Creative Leftover Transformations
Got extras? Try these:
- Add a splash of milk and reheat for a cozy breakfast.
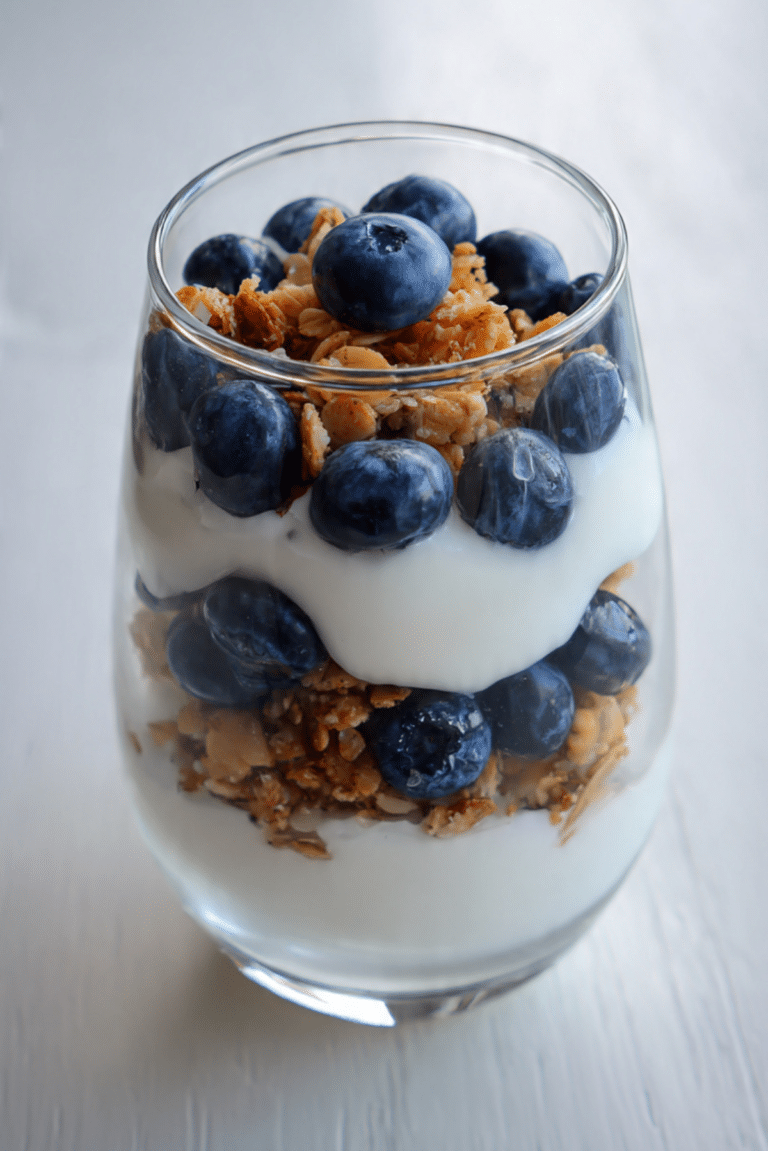
- Layer with fruit compote and whipped cream for a rice pudding parfait.
- Spoon into pastry shells for a quick rice pudding tart.
Additional Tips
- Use fresh cinnamon for best flavor older spice can be dull.
- Let the pudding cool slightly before chilling to prevent condensation.
- Want it richer? Stir in a tablespoon of butter right at the end.
Make It a Showstopper
Garnish each cup with a cinnamon stick or a few curls of dark chocolate. Serve on a rustic wooden board or a white tray with a sprinkle of powdered sugar around the edges. Presentation matters, and these little touches make all the difference.
Variations to Try
- Coconut Rice Pudding: Use coconut milk and top with toasted coconut flakes.
- Chocolate Rice Pudding: Stir in a few tablespoons of cocoa powder or melted chocolate.
- Chai-Spiced: Add cardamom, cloves, and ginger for a chai twist.
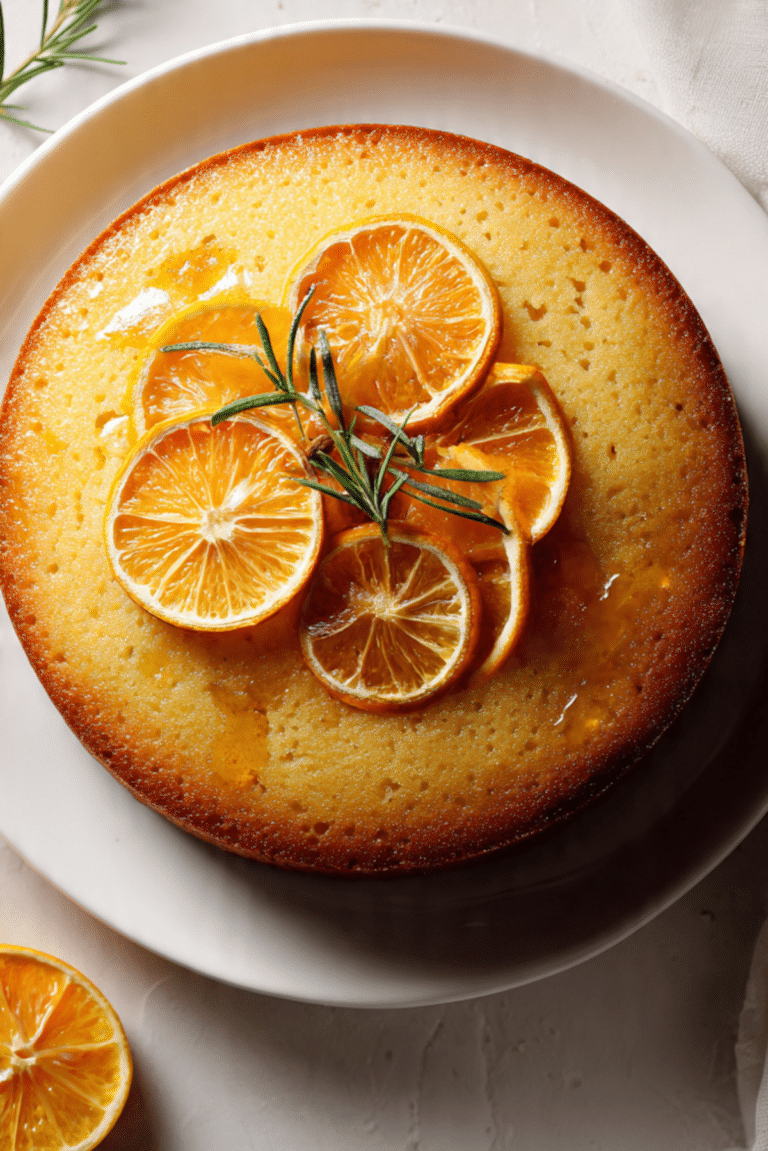
- Orange Zest: Add grated orange peel for a citrusy lift.
- Raisin & Rum (Non-alcoholic): Soak raisins in warm juice for a juicy pop of sweetness.
FAQ’s
Q1: Can I use brown rice?
A1: Yes, but it will take longer to cook and the texture will be chewier.
Q2: Can I make it dairy-free?
A2: Absolutely. Use any plant-based milk like almond or coconut.
Q3: How long does it last in the fridge?
A3: Up to 4 days in an airtight container.
Q4: Can I freeze rice pudding?
A4: It’s best enjoyed fresh, but yes, you can freeze it. Thaw and stir in some milk before reheating.
Q5: Is it gluten-free?
A5: Yes, this recipe is naturally gluten-free.
Q6: What type of rice is best?
A6: Short-grain white rice or Arborio are best for that creamy finish.
Q7: Can I reduce the sugar?
A7: Definitely. Adjust to your taste or use natural sweeteners.
Q8: How do I reheat it?
A8: Microwave with a splash of milk, or reheat gently on the stovetop.
Q9: Can I add eggs to make it richer?
A9: You can, but this version is egg-free for simplicity.
Q10: Why did my pudding turn out too thick?
A10: It likely cooked a bit too long. Stir in extra milk to loosen it up.
Conclusion
Rice pudding cups are one of those desserts that never go out of style. With their creamy texture, gentle sweetness, and cozy flavors, they’re the kind of treat that brings people together. Whether you’re serving them at a dinner party or enjoying one on your couch, they’re always a comforting and delicious choice. Let me tell you, it’s worth every bite.
PrintRice Pudding Cups

Creamy and comforting rice pudding cups made with short-grain rice, milk, and a hint of vanilla and cinnamon. Perfect for a cozy dessert or make-ahead treat.
Ingredients
- 1/2 cup short-grain white rice
- 4 cups whole milk
- 1/3 cup granulated sugar
- 1 teaspoon vanilla extract
- 1/2 teaspoon ground cinnamon
- Pinch of salt
- 1 cup water
Instructions
- In a medium saucepan, combine rice, water, and a pinch of salt. Bring to a boil, then reduce heat and simmer uncovered until water is mostly absorbed, about 10 minutes.
- Add milk to the saucepan and stir well. Simmer over low heat, stirring often, until the mixture thickens and the rice is tender, about 30–35 minutes.
- Stir in sugar, cinnamon, and vanilla extract. Cook for another 5 minutes.
- Remove from heat and let cool slightly before spooning into serving cups.
- Top with extra cinnamon if desired. Serve warm or chilled.
Notes
- Stir frequently to avoid sticking.
- Add a splash of cream at the end for extra richness.
- Store in the fridge for up to 4 days.
- Serve with berries, raisins, or nuts for variation.