Rice Pan Bread
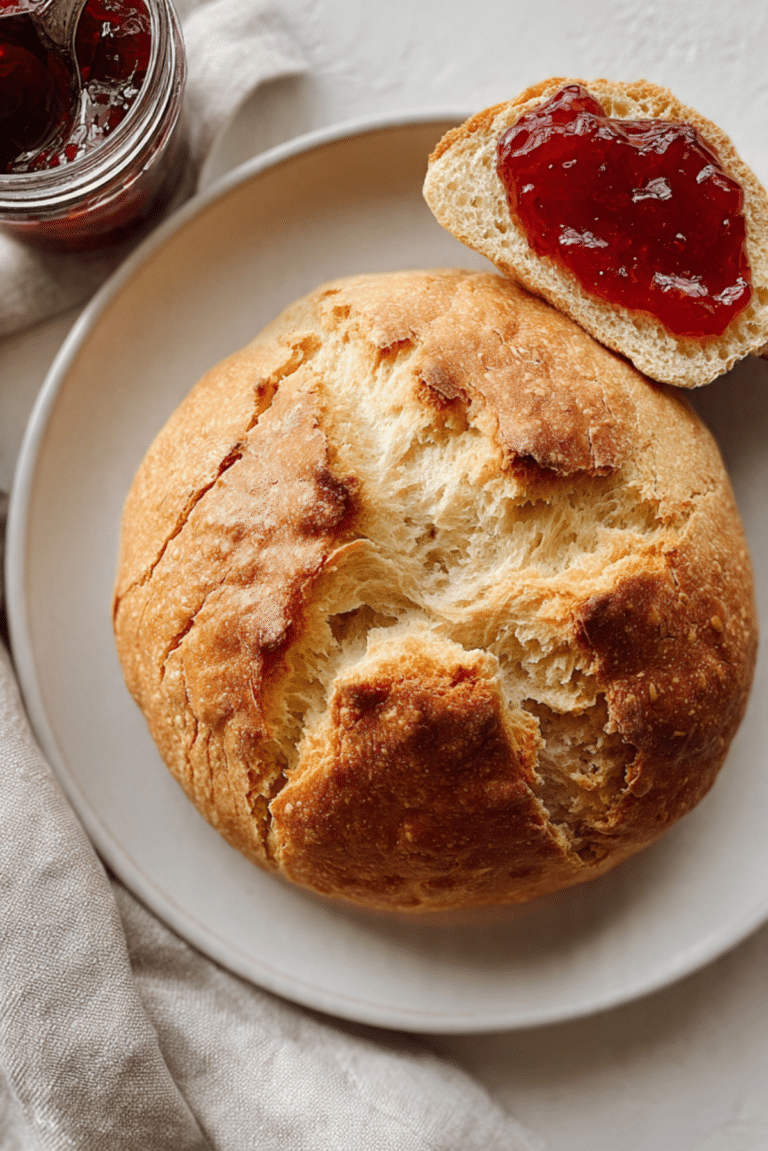
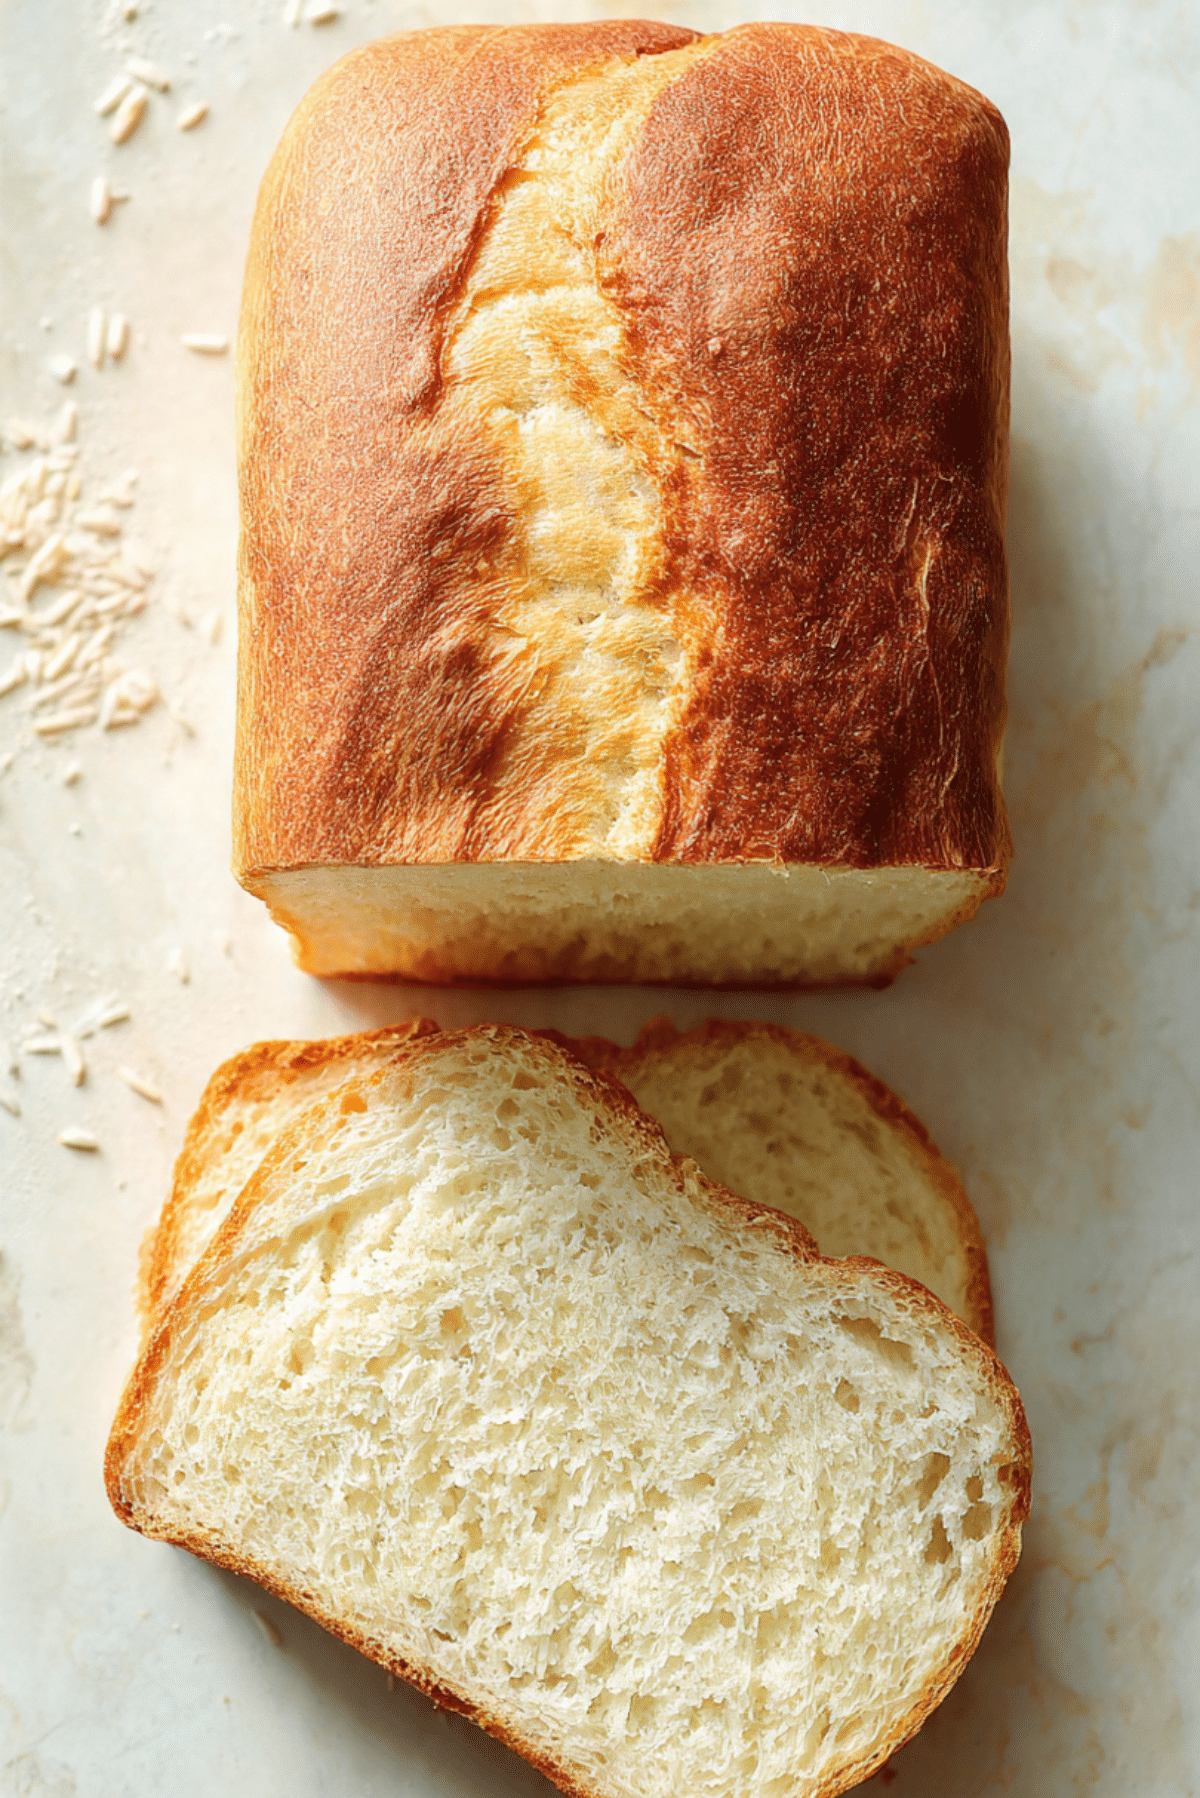
There is something deeply comforting about pulling a warm loaf from the oven, especially when it is this soft, golden rice pan bread. The scent alone fills the kitchen with a gentle sweetness, and when you slice into it, the crumb is tender, slightly moist, and beautifully airy. Trust me, you’re going to love this. It feels simple, humble, and yet every bite tastes like a little victory.
Why This Bread Feels Like a Warm Hug in Every Slice
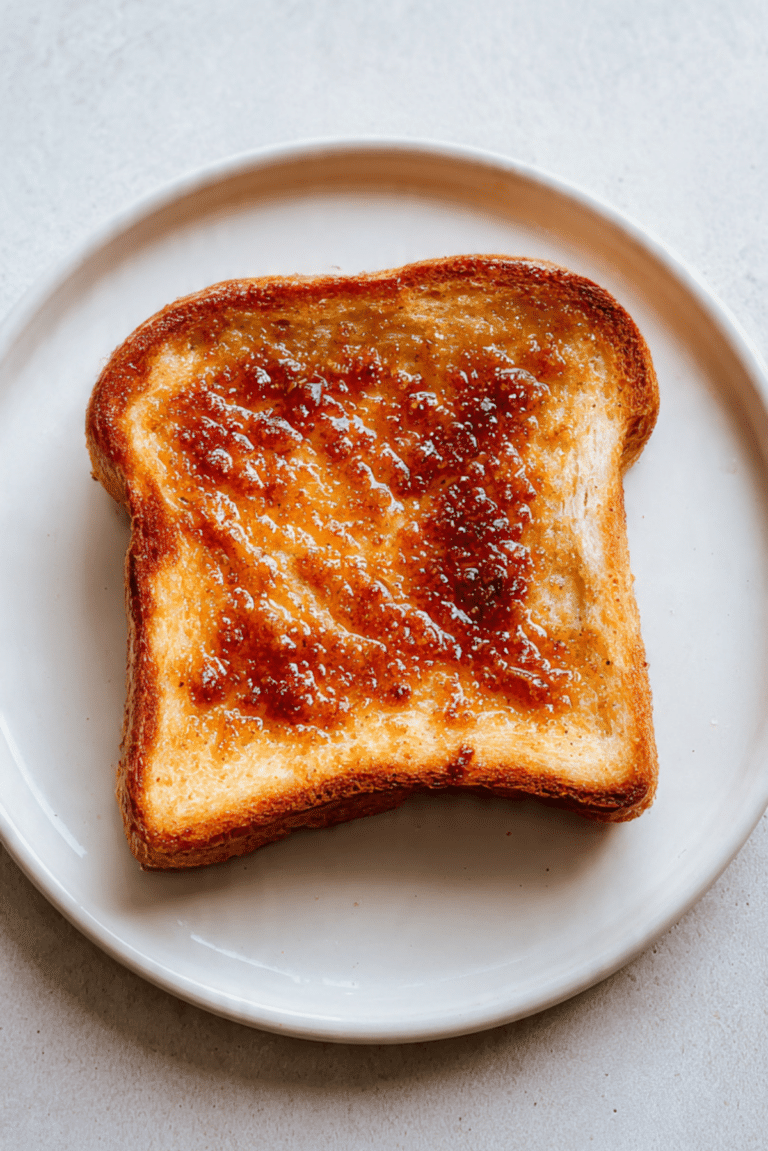
Some breads are just practical. This one feels personal. It is soft enough to enjoy on its own, sturdy enough for toast, and light enough that you keep reaching for another slice without even realizing it. The golden crust gives way to a fluffy interior that almost melts in your mouth. Let me tell you, it’s worth every bite.
A Quiet Tradition with Deep Roots
Rice based breads have been made in many parts of the world, especially in regions where rice is more common than wheat. In parts of Asia and Latin America, rice flour has long been used to create soft loaves and cakes that feel lighter than traditional wheat breads. This version blends rice flour with a few pantry staples to create something familiar yet slightly different, which makes it such a beautiful addition to your baking routine.
Why You Can Always Count on This Recipe
Before we step into the kitchen, let’s talk about why this one’s a total game changer.
Versatile: You can enjoy it plain, toasted, or topped with sweet or savory spreads. It adapts to your cravings easily.
Budget-Friendly: The ingredients are simple and affordable, most of them already waiting in your pantry.
Quick and Easy: No complicated techniques here, just straightforward steps that come together smoothly.
Customizable: You can add seeds, herbs, or even a touch of sweetness if you like.
Crowd-Pleasing: Its soft texture and mild flavor make it perfect for kids and adults alike.
Make-Ahead Friendly: Bake it in advance and store it without losing that tender crumb.
Great for Leftovers: Slightly older slices make incredible toast or bread pudding.
A Few Secrets from My Kitchen to Yours
Before we gather our tools, here are a few insider tips that make all the difference.
- Room Temperature Ingredients: Eggs and milk blend more smoothly when not cold.
- Do Not Overmix: Stir just until combined to keep the crumb soft and light.
- Check for Doneness: A golden top and a firm center mean it is ready.
- Let It Rest: Cooling slightly before slicing helps the structure settle beautifully.
The Simple Tools That Make It Effortless
You do not need anything fancy, just a few basics.
Mixing Bowl: Large enough to combine everything comfortably.
Whisk: Helps create a smooth, lump free batter.
Loaf Pan: Standard 9 by 5 inch pan works perfectly.
Spatula: Useful for scraping every bit of batter into the pan.
Oven: Preheated properly for even baking.
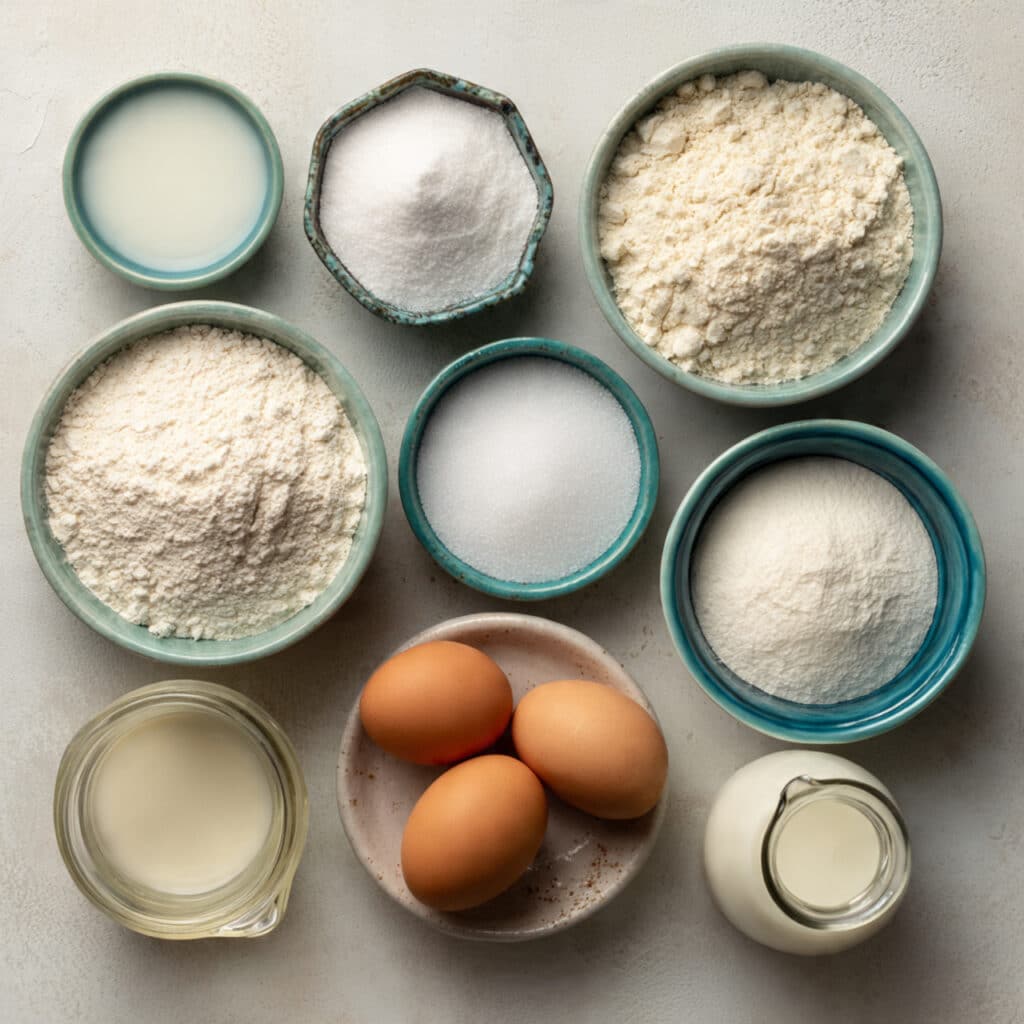
Ingredients You Will Need For This Soft Loaf
Each ingredient plays its own quiet role, and together they create that perfect slice.
- Rice Flour: 2 cups, gives the bread its signature light texture and subtle sweetness.
- All Purpose Flour: 1 cup, adds structure and balance.
- Granulated Sugar: 2 tablespoons, enhances flavor without making it overly sweet.
- Salt: 1 teaspoon, brings out all the other flavors.
- Baking Powder: 1 tablespoon, helps the loaf rise beautifully.
- Milk: 1 1/2 cups, provides moisture and tenderness.
- Eggs: 2 large, give richness and stability.
- Vegetable Oil: 1/4 cup, keeps the crumb soft and moist.
Easy Swaps If You Need Them
If you are missing something, do not worry.
Milk: Use unsweetened almond milk or oat milk.
Vegetable Oil: Melted butter works beautifully.
Granulated Sugar: Honey can be used, just reduce milk slightly.
All Purpose Flour: A gluten free blend can replace it if needed.
The Star Ingredients That Make It Special
Rice Flour: This is what gives the loaf its delicate texture and slightly sweet aroma. It keeps the bread light and almost cake like.
Eggs: They bind everything together and create that soft, structured crumb that slices so nicely.
Let’s Bake It Together
Now let’s dive into the part we have been waiting for.
- Preheat Your Equipment: Preheat your oven to 350 degrees F and lightly grease a 9 by 5 inch loaf pan.
- Combine Ingredients: In a large bowl, whisk together rice flour, all purpose flour, sugar, salt, and baking powder. In another bowl, mix milk, eggs, and vegetable oil until smooth, then gently combine wet and dry ingredients.
- Prepare Your Cooking Vessel: Pour the batter into the greased loaf pan and smooth the top with a spatula.
- Assemble the Dish: Tap the pan lightly on the counter to release any air bubbles.
- Cook to Perfection: Bake for 45 minutes or until the top is golden and a toothpick inserted in the center comes out clean.
- Finishing Touches: Allow the bread to cool in the pan for 10 minutes, then transfer to a rack to cool completely.
- Serve and Enjoy: Slice and enjoy warm or at room temperature with your favorite toppings.
The Texture and Flavor Story
As it bakes, the top turns beautifully golden while the inside stays tender and soft. The rice flour gives a delicate crumb that feels lighter than traditional bread, while the slight sweetness balances perfectly with the subtle salt. Toasted, it develops a gentle crisp edge that contrasts with the soft center, which makes every bite interesting and satisfying.
Helpful Tips for Even Better Results
If you want to take it up a notch, keep these in mind.
- Use fresh baking powder for the best rise.
- Do not open the oven too early, it can affect the structure.
- Let it cool before slicing to avoid crumbling.
Common Mistakes and How to Avoid Them
Even simple breads have small traps.
- Overmixing the batter can make it dense, so stir gently.
- Underbaking leaves the center gummy, always test with a toothpick.
- Skipping the cooling step can cause uneven slices.
Nutrition Overview
Servings: 10
Calories per serving: 210
Note: These are approximate values.
Time Breakdown
Prep Time: 10 minutes
Cook Time: 45 minutes
Total Time: 55 minutes
Storing and Making Ahead
You can bake this a day in advance and store it wrapped at room temperature for up to 3 days. For longer storage, slice and freeze in airtight bags for up to 2 months. Reheat slices in a toaster or warm oven to bring back that fresh baked softness.
Serving Ideas to Make It Shine
Serve it toasted with butter and jam for breakfast, or use it for soft sandwiches at lunch. It pairs beautifully with soups and stews, soaking up flavors without falling apart.
Turning Leftovers into Something New
Leftover slices make amazing French toast. You can also cube and toast them into croutons or use them as a base for a simple bread pudding.
Extra Little Tricks
Brush the top with a bit of milk before baking for a deeper golden color. Store it sliced for quick morning toasts. Add a sprinkle of seeds on top for extra texture.
Make It Look Bakery Worthy
Slice evenly with a serrated knife and arrange on a wooden board. A light brush of melted butter on warm slices gives it a glossy, irresistible finish.
Fun Variations to Try
- Add sesame seeds for a nutty twist.
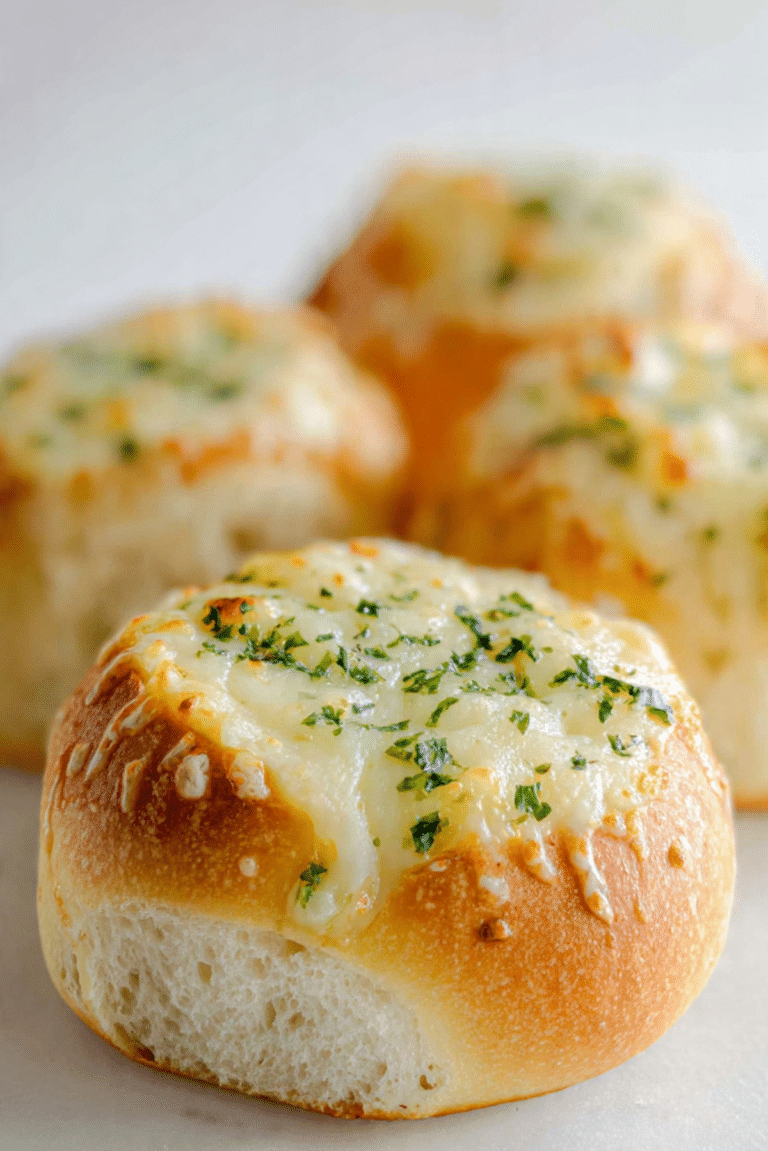
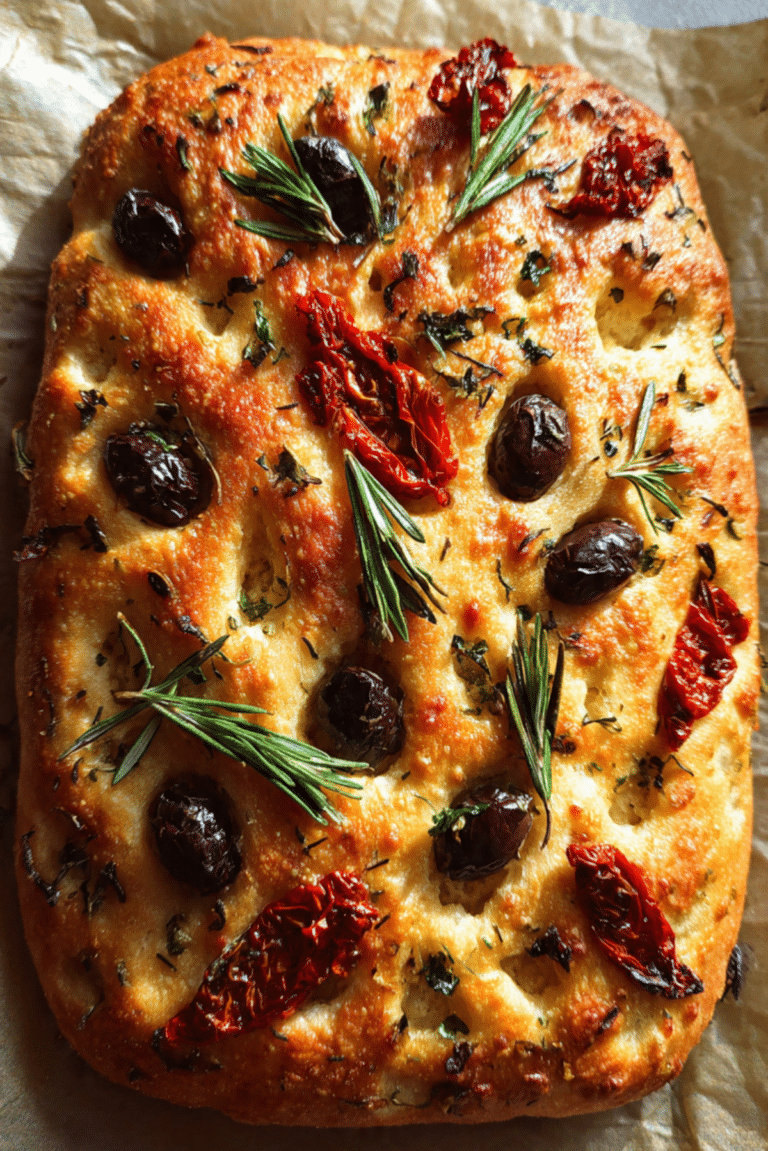
- Stir in chopped herbs for a savory touch.
- Add a handful of shredded cheese for richness.
- Mix in a tablespoon of honey for extra sweetness.
FAQ’s
Q1: Can I use only rice flour?
Yes, but the texture will be slightly more delicate and crumbly.
Q2: Can I make it dairy free?
Yes, use plant based milk as a substitute.
Q3: Why is my bread dense?
It may have been overmixed or the baking powder was not fresh.
Q4: Can I freeze the loaf whole?
Yes, wrap tightly and freeze for up to 2 months.
Q5: Can I reduce the sugar?
Yes, the bread will simply be less sweet.
Q6: What pan size works best?
A standard 9 by 5 inch loaf pan.
Q7: How do I know it is done?
Insert a toothpick in the center, it should come out clean.
Q8: Can I add flavors?
Absolutely, vanilla or citrus zest works well.
Q9: Is it good for sandwiches?
Yes, it holds fillings nicely without breaking.
Q10: Can I toast it?
Yes, and it becomes beautifully crisp on the edges.
Conclusion
Baking this rice pan bread feels like a small kitchen triumph. It is simple, comforting, and endlessly adaptable. Once you slice into that golden loaf and see the soft crumb inside, you will understand why it deserves a regular spot in your oven routine. This one is pure comfort, slice after slice.
PrintRice Pan Bread
Soft and tender rice pan bread with a light golden crust and fluffy interior, perfect for breakfast, sandwiches, or a simple warm slice with butter.
Ingredients
- 2 cups rice flour
- 1 cup all purpose flour
- 2 tablespoons granulated sugar
- 1 teaspoon salt
- 1 tablespoon baking powder
- 1 1/2 cups milk
- 2 large eggs
- 1/4 cup vegetable oil
Instructions
- Preheat oven to 350 degrees F and lightly grease a 9 by 5 inch loaf pan.
- In a large bowl, whisk together rice flour, all purpose flour, sugar, salt, and baking powder.
- In a separate bowl, mix milk, eggs, and vegetable oil until smooth.
- Pour the wet ingredients into the dry ingredients and stir gently until just combined.
- Transfer the batter into the prepared loaf pan and smooth the top.
- Tap the pan lightly on the counter to release air bubbles.
- Bake for 45 minutes or until the top is golden and a toothpick inserted in the center comes out clean.
- Let the bread cool in the pan for 10 minutes, then transfer to a wire rack to cool completely before slicing.
Notes
- Use room temperature eggs and milk for a smoother batter.
- Do not overmix to keep the texture soft and airy.
- Allow the bread to cool before slicing to prevent crumbling.