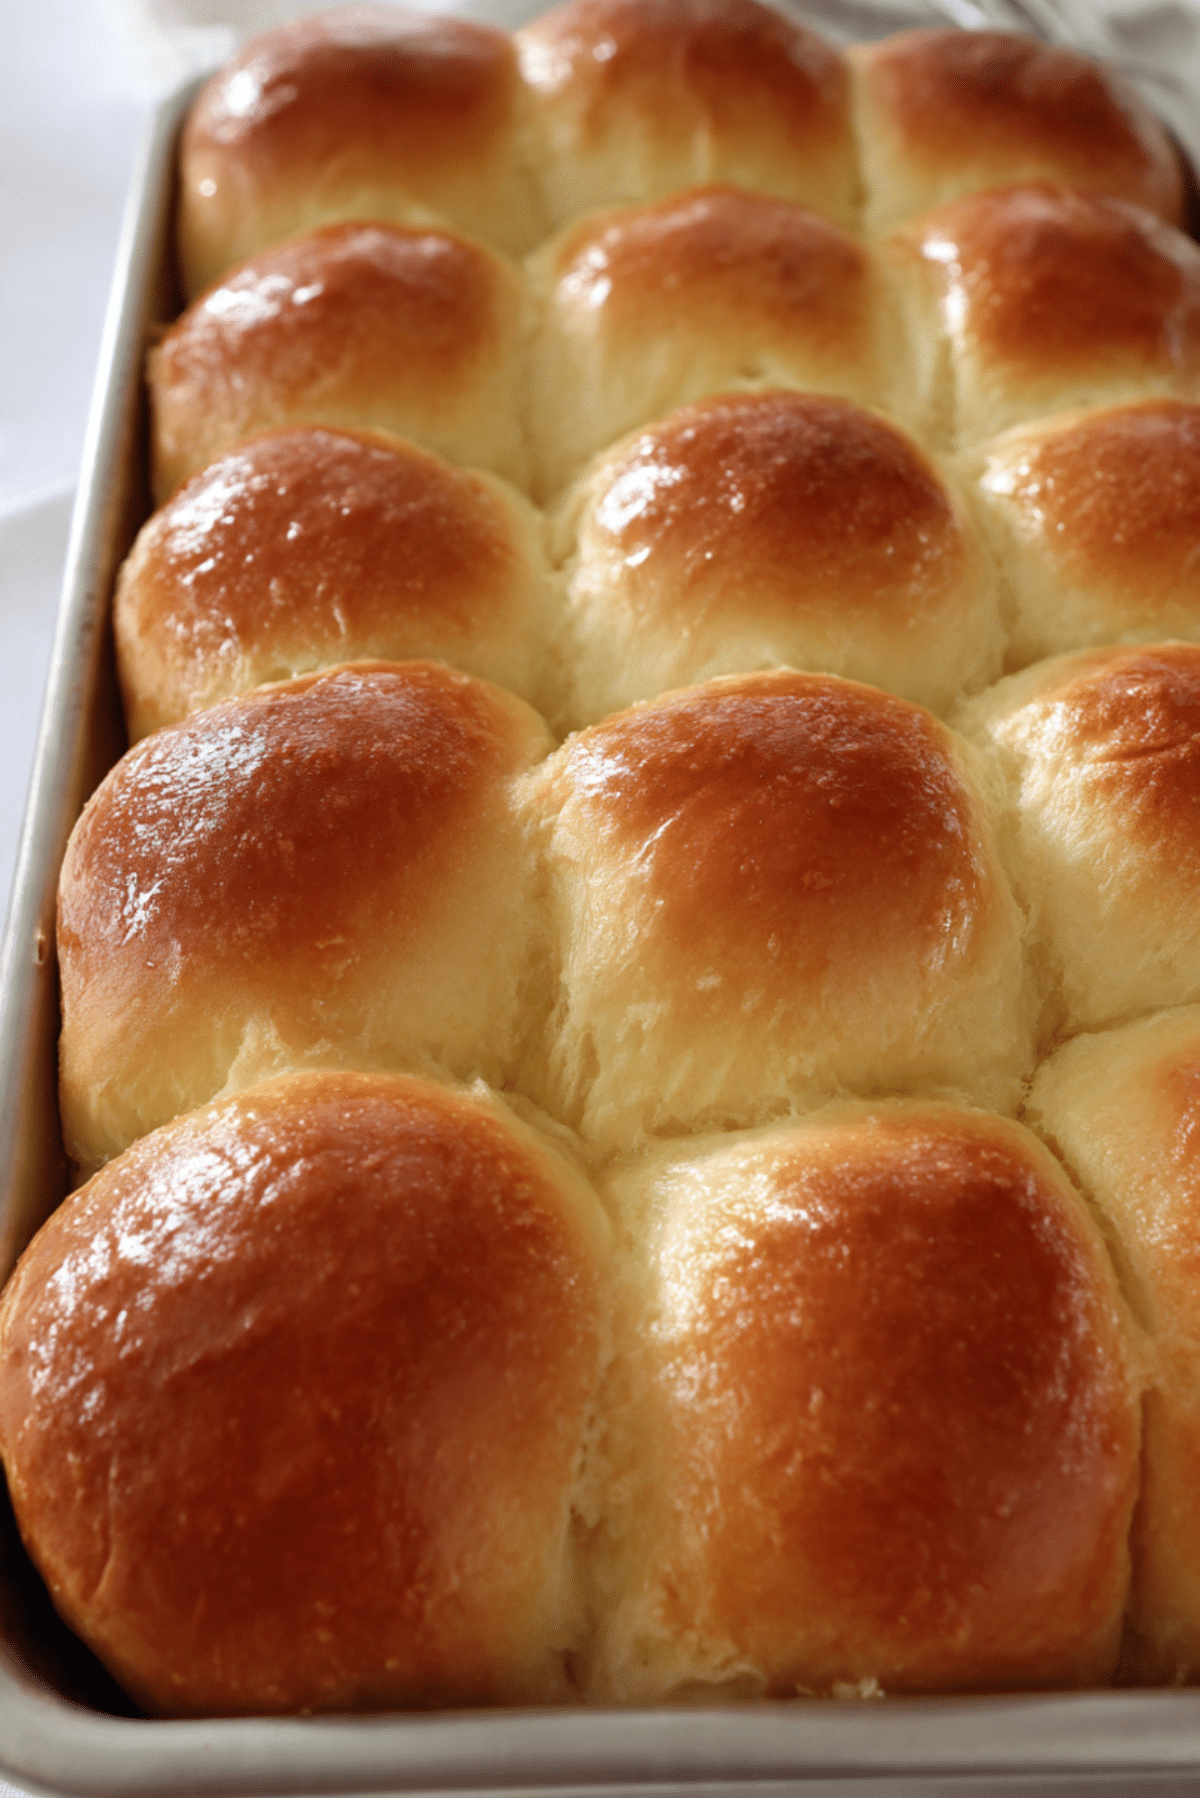
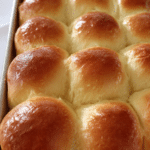
Pull-Apart Bread Rolls
There is something almost magical about setting a pan of warm, golden pull-apart bread rolls on the table. The tops are lightly glossy, the sides hug each other closely, and the smell, oh the smell, is pure comfort. The moment someone reaches in and tears one free, steam escapes and you see that soft, pillowy crumb inside. Trust me, you are going to love this. This one is the kind of baking project that fills your kitchen with warmth and makes everyone wander in asking when they can grab one.
Why These Soft Rolls Deserve a Spot on Your Table
Freshly baked bread has a way of turning an ordinary meal into something special. These rolls are tender, fluffy, and lightly buttery, with just the right hint of sweetness. They pull apart effortlessly, which makes them perfect for sharing at family dinners, holiday spreads, or even a cozy Sunday lunch. Let me tell you, it is worth every bite.
A Little Story Behind These Classic Dinner Rolls
Soft dinner rolls have long been a staple in home kitchens around the world. From Sunday suppers in the countryside to festive holiday feasts, bread rolls have always symbolized comfort and togetherness. In many homes, baking them from scratch is almost a ritual. The simple combination of flour, yeast, milk, and butter transforms into something that feels far more special than the sum of its parts. And now let us dive right into why this version is so reliable.
What Makes This Recipe So Reliable and Loved
There is a reason these rolls quickly become a go to in so many kitchens.
Versatile: They pair beautifully with soups, roasted meats, salads, or simply a smear of butter and jam.
Budget-Friendly: The ingredients are basic pantry staples, which means no fancy shopping trip required.
Quick and Easy: The steps are straightforward and beginner friendly, even if you are new to working with yeast.
Customizable: You can brush them with garlic butter, sprinkle sesame seeds on top, or keep them plain and classic.
Crowd-Pleasing: Their soft texture and gentle flavor appeal to both kids and adults.
Make-Ahead Friendly: The dough can be prepared in advance and baked fresh when needed.
Great for Leftovers: They make incredible mini sandwiches the next day.
Pro Tips From My Kitchen to Yours
Before we start mixing, here are a few insider tips that make a real difference.
- Use warm milk, not hot, since too much heat can affect the yeast.
- Let the dough rise in a draft free spot for the best fluffy texture.
- Do not rush the second rise, it helps create that airy crumb.
- Brush with melted butter right after baking for extra softness.
Essential Tools for Perfect Rolls
Having the right tools makes everything smoother.
Mixing Bowl: Large enough to allow the dough to double in size.
Measuring Cups and Spoons: Accuracy matters in baking.
Stand Mixer or Wooden Spoon: Either works, just ensure the dough is well combined.
Baking Pan: A rectangular or square pan keeps the rolls close so they bake up tall and soft.
Kitchen Towel: To cover the dough while it rises.
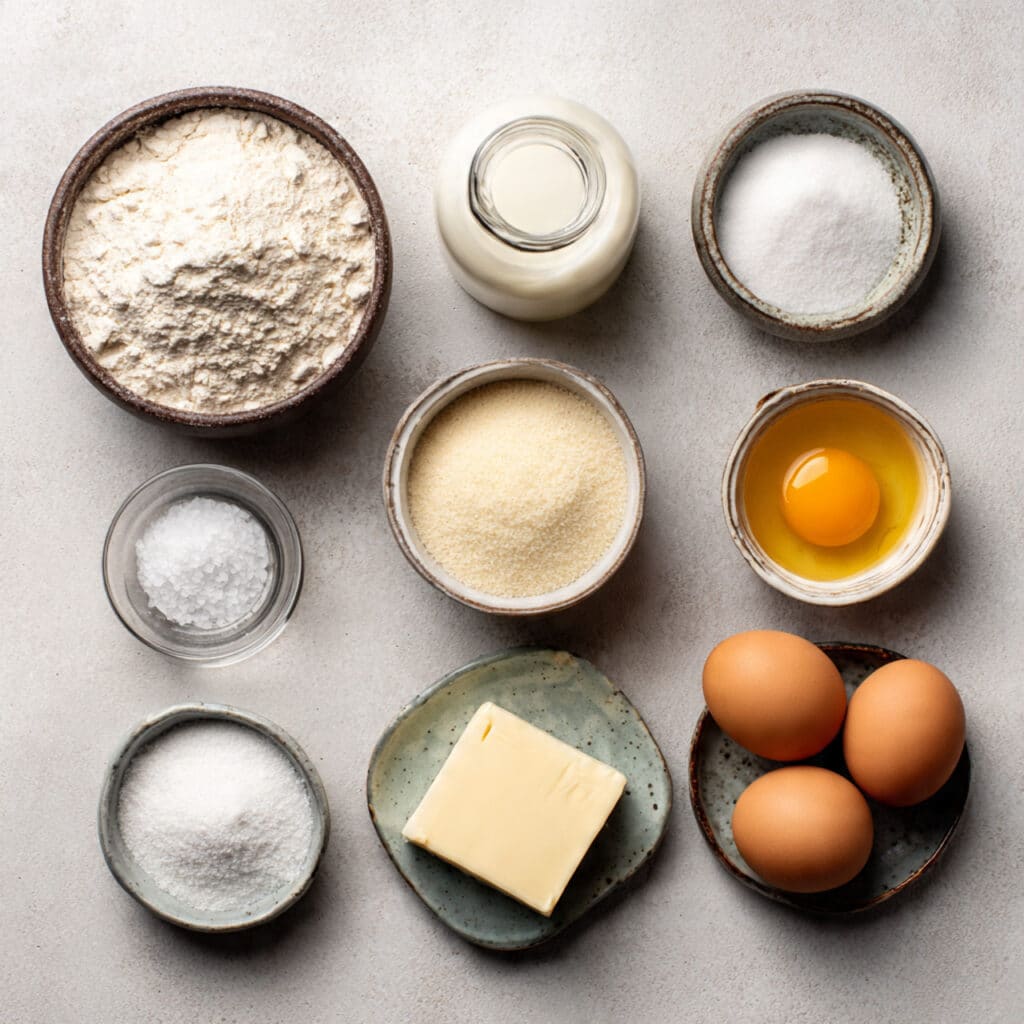
Ingredients You Will Need For These Soft Pull-Apart Bread Rolls
The beauty of this dough lies in its simplicity. Each ingredient plays a gentle but important role in building flavor and structure.
- All-Purpose Flour: 4 cups, provides structure and softness.
- Warm Milk: 1 cup, activates the yeast and adds richness.
- Active Dry Yeast: 2 1/4 teaspoons, helps the dough rise and become fluffy.
- Granulated Sugar: 1/4 cup, lightly sweetens and feeds the yeast.
- Unsalted Butter: 1/4 cup melted, adds moisture and flavor.
- Large Eggs: 2, bring richness and help with structure.
- Salt: 1 teaspoon, enhances all the flavors.
Simple Ingredient Swaps If Needed
Sometimes you work with what you have, and that is perfectly fine.
All-Purpose Flour: Bread flour for slightly chewier texture.
Whole Milk: 2 percent milk works well too.
Unsalted Butter: Salted butter, just reduce added salt slightly.
Granulated Sugar: Honey in equal amount for a subtle floral sweetness.
Spotlight on Key Ingredients
Active Dry Yeast: This is what gives the rolls their lift and airy crumb. Make sure it is fresh for best results.
Unsalted Butter: It keeps the rolls tender and adds that rich aroma when baking.
Let Us Bake Together
Now comes the fun part, bringing everything together.
- Preheat Your Equipment: Preheat your oven to 350 degrees Fahrenheit and lightly grease your baking pan.
- Combine Ingredients: In a large bowl, mix warm milk, sugar, and yeast. Let sit for 5 minutes until slightly foamy. Add melted butter, eggs, and salt, then gradually mix in flour until a soft dough forms.
- Prepare Your Cooking Vessel: Transfer the dough to a lightly floured surface and knead for about 8 minutes until smooth. Place back into a greased bowl and cover with a towel.
- Assemble the Dish: Let the dough rise for about 1 hour or until doubled in size. Punch it down gently, divide into 12 equal pieces, shape into balls, and place them in the prepared pan.
- Cook to Perfection: Cover again and let rise for 30 minutes. Bake for 20 minutes or until golden brown on top.
- Finishing Touches: Brush the warm rolls with a little melted butter for a soft glossy finish.
- Serve and Enjoy: Let them cool slightly, then pull apart and serve warm.
The Magic of Texture and Flavor
As they bake, the tops turn golden while the inside stays pillowy and soft. The butter melts into the crumb, creating a tender bite with just a hint of sweetness. The edges where the rolls touch stay extra soft, which is my favorite part.
Helpful Tips for Even Better Results
A little attention goes a long way.
- Let the dough rise fully for maximum fluffiness.
- If the tops brown too quickly, loosely cover with foil.
- Use room temperature eggs for smoother mixing.
Common Mistakes and How to Avoid Them
Even simple bread can have a few tricky spots.
- Adding flour too quickly, which can make the rolls dense. Add gradually.
- Skipping the second rise, which affects texture.
- Using milk that is too hot, which can affect yeast activity.
Nutritional Snapshot
Servings: 12
Calories per serving: 210
Note: These values are approximate.
Time Breakdown for Success
Prep Time: 20 minutes
Cook Time: 20 minutes
Total Time: 1 hour 40 minutes
Make Ahead and Storage Tips
You can prepare the dough the night before and let it rise slowly in the refrigerator. Baked rolls can be stored in an airtight container at room temperature for up to 2 days. For longer storage, freeze them and reheat in a warm oven until soft again.
Serving Ideas You Will Love
Serve them with hearty soups, roasted chicken, or as sliders filled with your favorite sandwich fillings. They are also wonderful simply split open with butter melting inside.
Reinventing Leftovers
Turn leftover rolls into mini breakfast sandwiches, bread pudding, or toasted garlic bread for pasta night.
Extra Tips for Success
Brush with honey butter for a sweet twist. Sprinkle with flaky salt before baking for a subtle crunch. Keep them covered after baking to maintain softness.
Make Them Shine on the Table
Arrange them in a rustic basket lined with a clean kitchen towel. A light brush of butter right before serving makes them glisten beautifully.
Fun Variations to Try
- Add minced garlic and parsley for savory rolls.
- Mix in shredded cheese for a richer flavor.
- Top with sesame or poppy seeds before baking.
- Swirl in a little cinnamon and sugar for a sweet version.
FAQ’s
Q1: Can I make the dough by hand?
Yes, simply mix and knead with a wooden spoon and your hands.
Q2: Can I freeze the dough?
Yes, freeze after shaping and thaw before the second rise.
Q3: How do I know when they are done?
They should be golden brown and sound slightly hollow when tapped.
Q4: Can I use instant yeast?
Yes, you can mix it directly with the dry ingredients.
Q5: Why are my rolls dense?
They may need more rising time.
Q6: Can I make them dairy free?
Use plant based milk and butter alternatives.
Q7: How should I reheat them?
Warm in a 300 degree Fahrenheit oven for about 5 minutes.
Q8: Can I double the recipe?
Absolutely, just use a larger pan.
Q9: Do they need to be refrigerated?
Not if eaten within two days.
Q10: Can I shape them differently?
Yes, you can form them into knots or smaller rolls.
Conclusion
Baking pull-apart bread rolls at home is one of those small kitchen victories that feels incredibly rewarding. The aroma, the golden tops, and that soft interior make it a true comfort classic. Once you try it, you will see just how simple and satisfying homemade bread can be. And honestly, there is nothing better than pulling one apart while it is still warm.
PrintPull-Apart Bread Rolls
Soft, fluffy pull-apart bread rolls with a lightly golden top and tender interior, perfect for family dinners, holidays, or cozy meals at home.
Ingredients
- 4 cups all-purpose flour
- 1 cup warm milk
- 2 1/4 teaspoons active dry yeast
- 1/4 cup granulated sugar
- 1/4 cup unsalted butter, melted
- 2 large eggs
- 1 teaspoon salt
Instructions
- Preheat oven to 350 degrees Fahrenheit and lightly grease a baking pan.
- In a large bowl, combine warm milk, sugar, and yeast. Let sit for 5 minutes until slightly foamy.
- Add melted butter, eggs, and salt. Gradually mix in flour until a soft dough forms.
- Knead the dough on a lightly floured surface for about 8 minutes until smooth.
- Place dough in a greased bowl, cover, and let rise for 1 hour or until doubled in size.
- Punch down the dough, divide into 12 equal pieces, and shape into balls.
- Arrange the dough balls in the prepared baking pan. Cover and let rise for 30 minutes.
- Bake for 20 minutes or until golden brown on top.
- Brush warm rolls with a little melted butter before serving.
Notes
- Ensure the milk is warm, not hot, to properly activate the yeast.
- Allow both rises to complete fully for the softest texture.
- If tops brown too quickly, loosely cover with foil while baking.