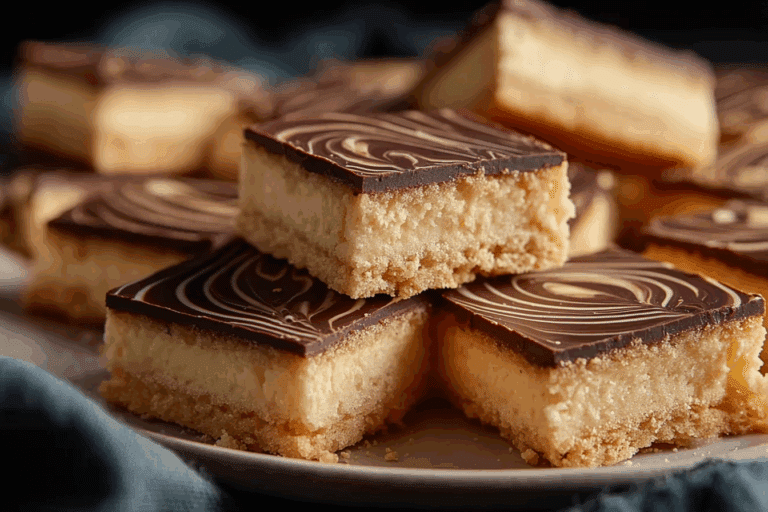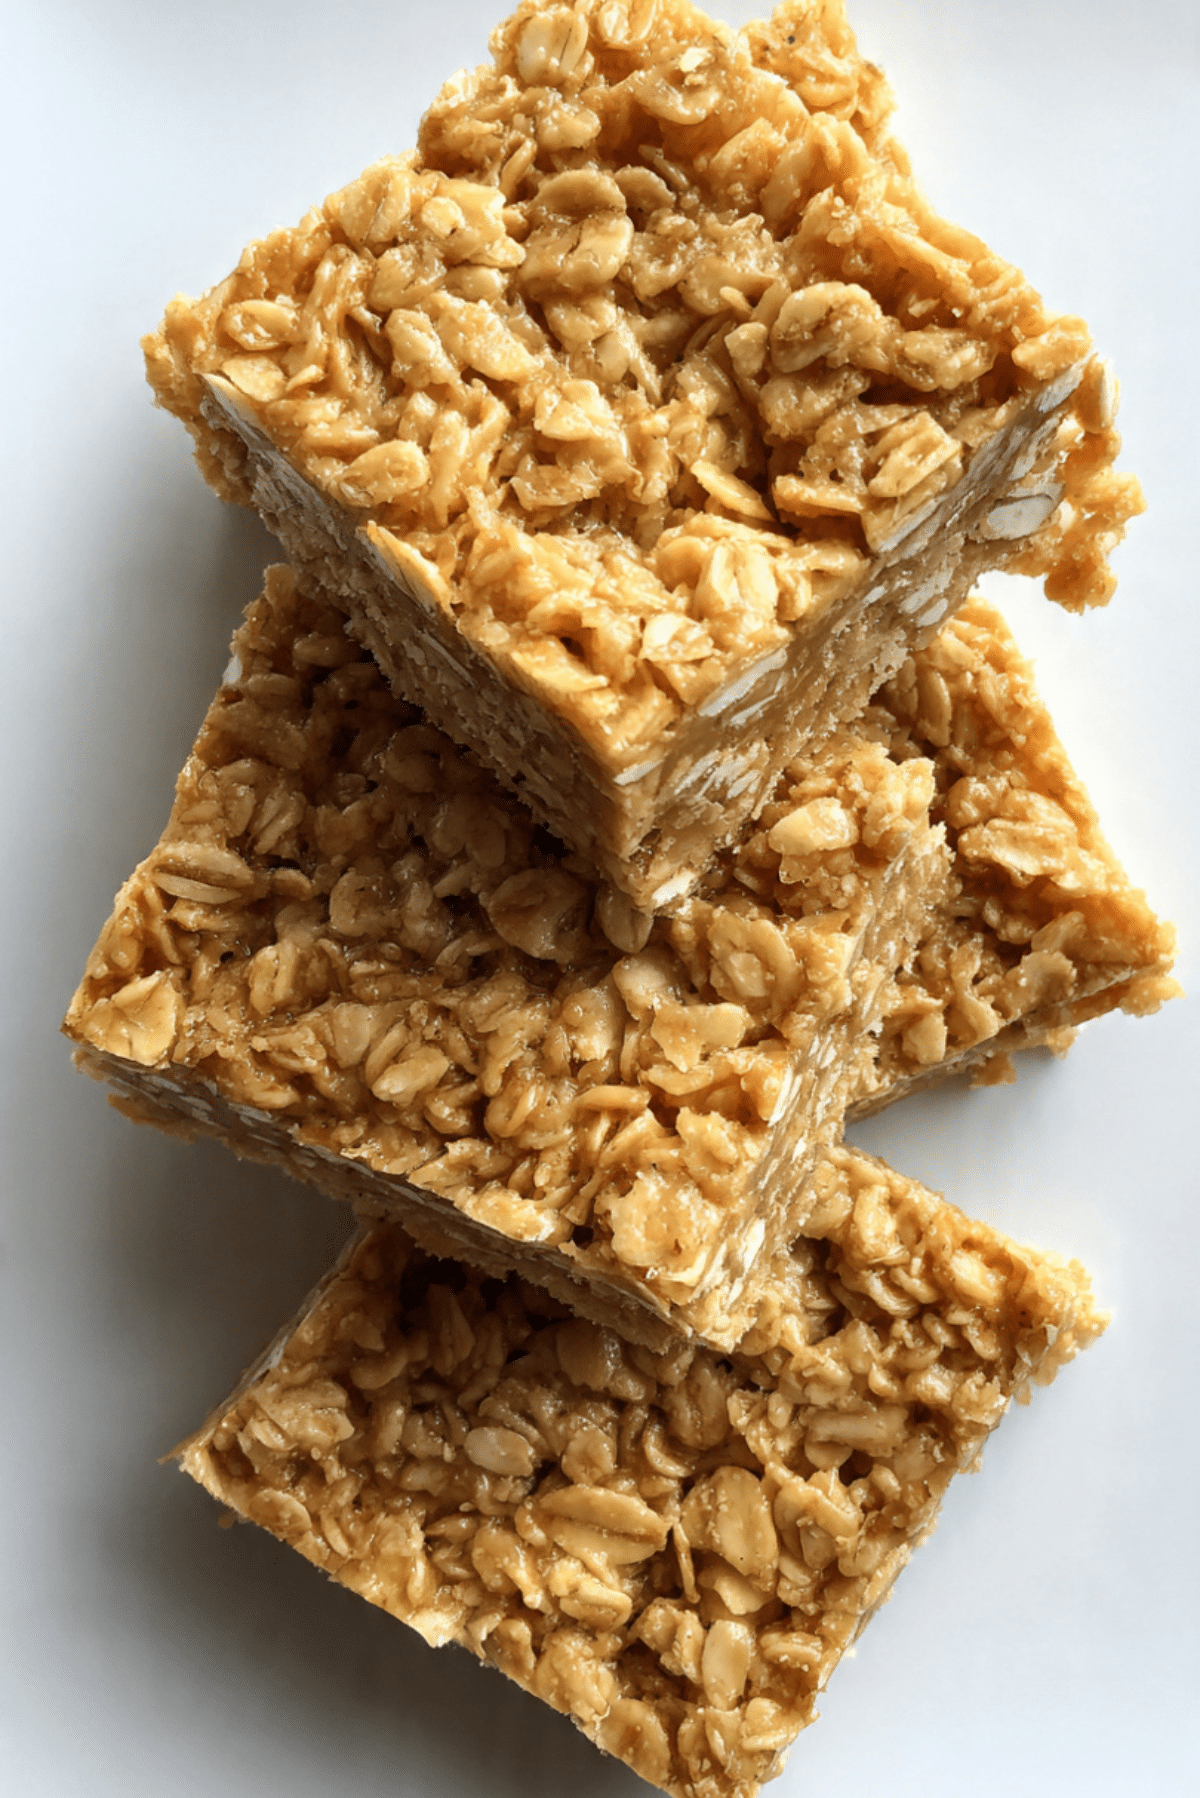
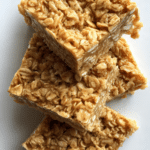
Peanut Butter Oat Bars
There’s something deeply comforting about the scent of warm oats and peanut butter drifting through the kitchen. These peanut butter oat bars are chewy, golden, and just the right amount of sweet. Whether you’re packing them into a lunchbox, grabbing one as a quick breakfast, or pairing it with a mug of coffee in the afternoon, every bite brings a cozy, nutty hug of flavor and texture. Trust me, these bars are the kind of recipe you’ll want to keep on repeat.
Behind the Recipe
This recipe was born out of a craving for something simple, satisfying, and homemade. I remember rummaging through the pantry on a lazy Sunday afternoon and realizing I had just enough oats and peanut butter to whip up a treat. No mixer, no fancy ingredients, just a bowl, a spoon, and the smell of childhood memories baking in the oven. That first batch didn’t last a day, and ever since, it’s become a go-to for anyone who walks through my kitchen.
Recipe Origin or Trivia
Peanut butter oat bars might seem modern, but their roots go way back. Oat-based desserts have long been a staple in Scottish and Irish kitchens, where oats were abundant and nourishing. When peanut butter became popular in the early 20th century in the US, creative home bakers began incorporating it into everything from cookies to bars. These chewy wonders are a fusion of hearty oats and rich peanut butter, blending traditions from both sides of the Atlantic.
Why You’ll Love Peanut Butter Oat Bars
There’s a lot to love here, and these bars check all the boxes for flavor, convenience, and versatility.
Versatile: Snack, breakfast, dessert these bars fit into any time of day.
Budget-Friendly: Made with pantry staples you probably already have on hand.
Quick and Easy: Minimal prep and just one bowl. Ready in under 30 minutes.
Customizable: Add chocolate chips, dried fruits, or a drizzle of honey for a twist.
Crowd-Pleasing: Kids, teens, adults everyone loves them.
Make-Ahead Friendly: Prepare them in advance and keep them in the fridge all week.
Great for Leftovers: They stay chewy and delicious even days later.
Chef’s Pro Tips for Perfect Results
Want to make sure your oat bars come out perfect every single time? Here’s what I’ve learned along the way.
- Use natural peanut butter with no added sugar or oil for the best texture and flavor.
- Don’t overbake. They should look slightly underdone when you take them out. They’ll firm up as they cool.
- Line your baking dish with parchment paper to make removing and slicing super easy.
- Let them cool completely before cutting, or they’ll crumble.
- Press firmly when transferring the mixture into the pan to ensure even bars.
Kitchen Tools You’ll Need
You don’t need much to make these bars just the basics.
Mixing Bowl: For combining all the ingredients.
Spatula or Wooden Spoon: To mix and press the dough into the pan.
8×8 Inch Baking Dish: The perfect size for thick, chewy bars.
Parchment Paper: Helps with easy removal and cleaner slicing.
Measuring Cups and Spoons: For accuracy.
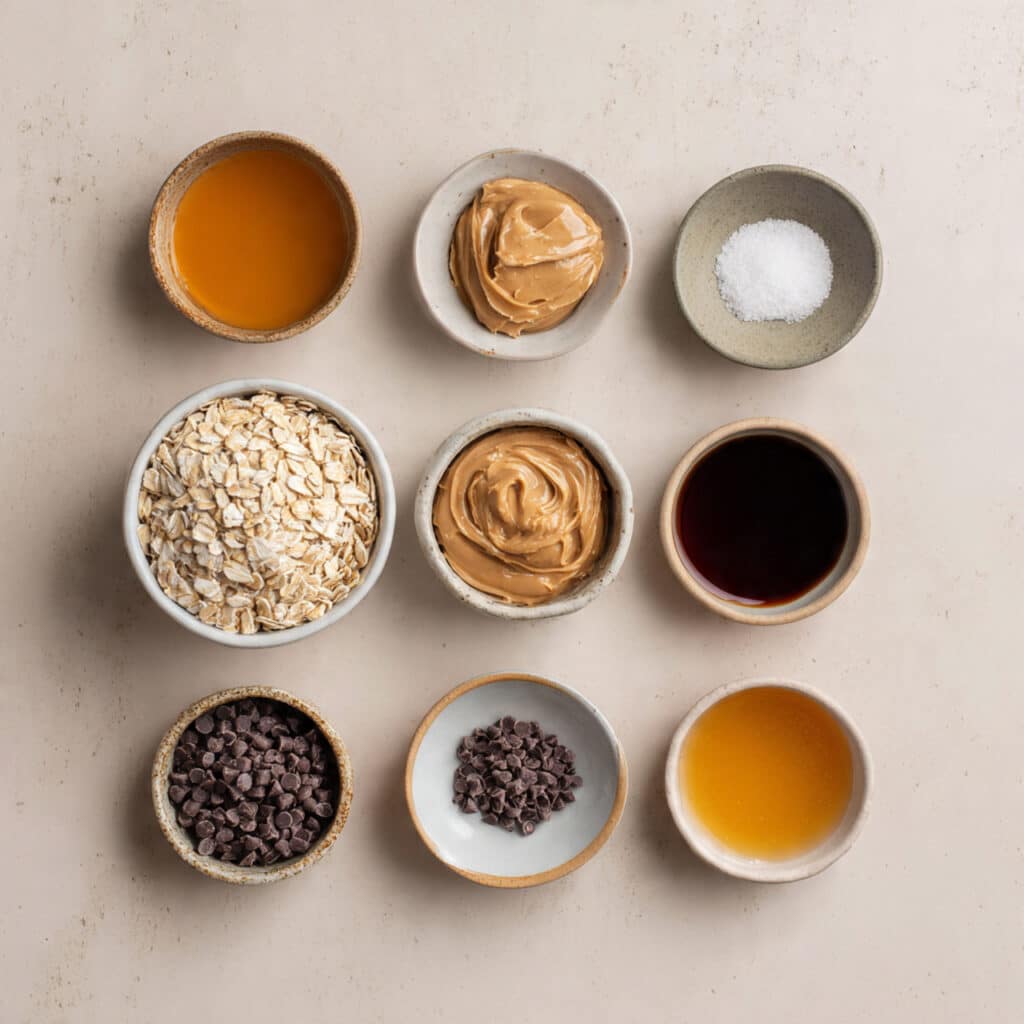
Ingredients in Peanut Butter Oat Bars
These ingredients work together like a dream, creating chewy, nutty bars with just the right amount of sweetness.
- Rolled Oats: 2 cups. Brings hearty texture and holds everything together.
- Peanut Butter: 1 cup. Adds richness and that nutty flavor we all love.
- Honey or Maple Syrup: 1/2 cup. Natural sweetness and helps bind the bars.
- Vanilla Extract: 1 teaspoon. Enhances all the flavors with warmth.
- Salt: 1/4 teaspoon. Balances the sweetness perfectly.
- Mini Chocolate Chips (optional): 1/2 cup. A little extra indulgence, if you like.
Ingredient Substitutions
Missing something or want to make a swap? Here are some easy switches.
Peanut Butter: Almond or cashew butter.
Honey or Maple Syrup: Agave syrup or brown rice syrup.
Rolled Oats: Quick oats (bars will be softer).
Mini Chocolate Chips: Chopped nuts or dried cranberries.
Ingredient Spotlight
Rolled Oats: These oats give the bars structure, chew, and that classic wholesome vibe.
Peanut Butter: Creamy, rich, and packed with protein, peanut butter makes these bars taste like a treat while keeping them filling.
Instructions for Making Peanut Butter Oat Bars
Alright, let’s get baking. Here are the simple steps to follow for the perfect batch every time.
1. Preheat Your Equipment:
Preheat your oven to 350°F and line an 8×8 baking dish with parchment paper.
2. Combine Ingredients:
In a large mixing bowl, stir together the peanut butter, honey or maple syrup, vanilla extract, and salt until smooth. Add in the oats and mix well. Fold in chocolate chips if using.
3. Prepare Your Cooking Vessel:
Press the mixture evenly into the prepared baking dish, making sure to press it down firmly so the bars hold their shape.
4. Assemble the Dish:
Smooth out the top with the back of a spoon or spatula so it’s even all over.
5. Cook to Perfection:
Bake for 15 to 18 minutes, or until the edges just begin to turn golden.
6. Finishing Touches:
Remove from the oven and let cool completely in the pan.
7. Serve and Enjoy:
Once cooled, lift out using the parchment paper and cut into squares or bars.
Texture & Flavor Secrets
The magic lies in the contrast between the soft chew of the oats and the creamy smoothness of the peanut butter. A tiny bit of salt adds a pop of flavor that enhances the natural sweetness. And if you choose to add chocolate chips, they melt just slightly in the warm bars, adding pockets of gooey delight.
Cooking Tips & Tricks
Here are a few quick nuggets of wisdom that’ll make the process even smoother:
- Use room temperature peanut butter so it mixes easily.
- Add a pinch of cinnamon for extra warmth.
- Store leftovers in the fridge for firmer bars and longer shelf life.
- Double the recipe and freeze half for later.
What to Avoid
Let’s steer clear of these common mistakes:
- Don’t overbake. They’ll dry out quickly.
- Avoid using steel-cut oats. They don’t soften properly for bars.
- Don’t skip lining the pan. You’ll thank yourself later when lifting them out.
- Resist cutting too soon. Warm bars fall apart.
Nutrition Facts
Servings: 12
Calories per serving: 230
Note: These are approximate values.
Preparation Time
Prep Time: 10 minutes
Cook Time: 18 minutes
Total Time: 28 minutes
Make-Ahead and Storage Tips
These bars are perfect for prepping ahead. You can store them in an airtight container on the counter for up to 3 days or pop them in the fridge for up to a week. Want to keep them even longer? Freeze them in layers with parchment between for up to 2 months. Just thaw at room temperature before serving.
How to Serve Peanut Butter Oat Bars
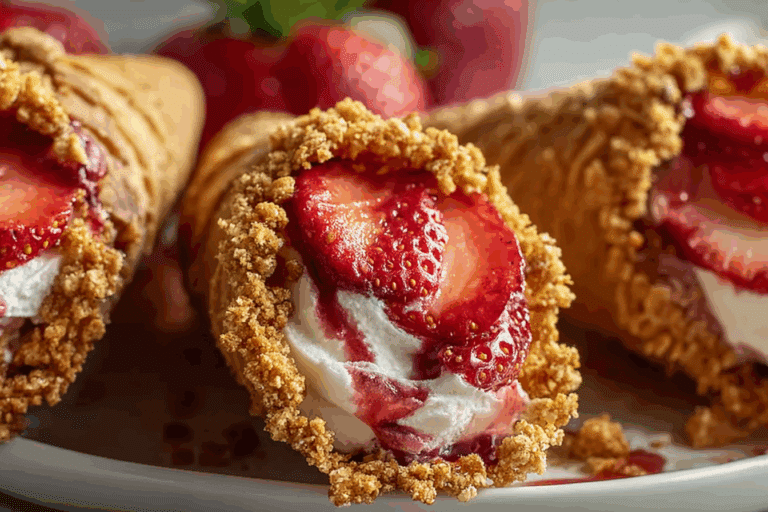
These bars are great on their own, but you can dress them up too. Drizzle with melted chocolate, crumble over yogurt, or sandwich them with banana slices for a snack that hits all the notes.
Creative Leftover Transformations
Turn leftover bars into something new with these ideas:
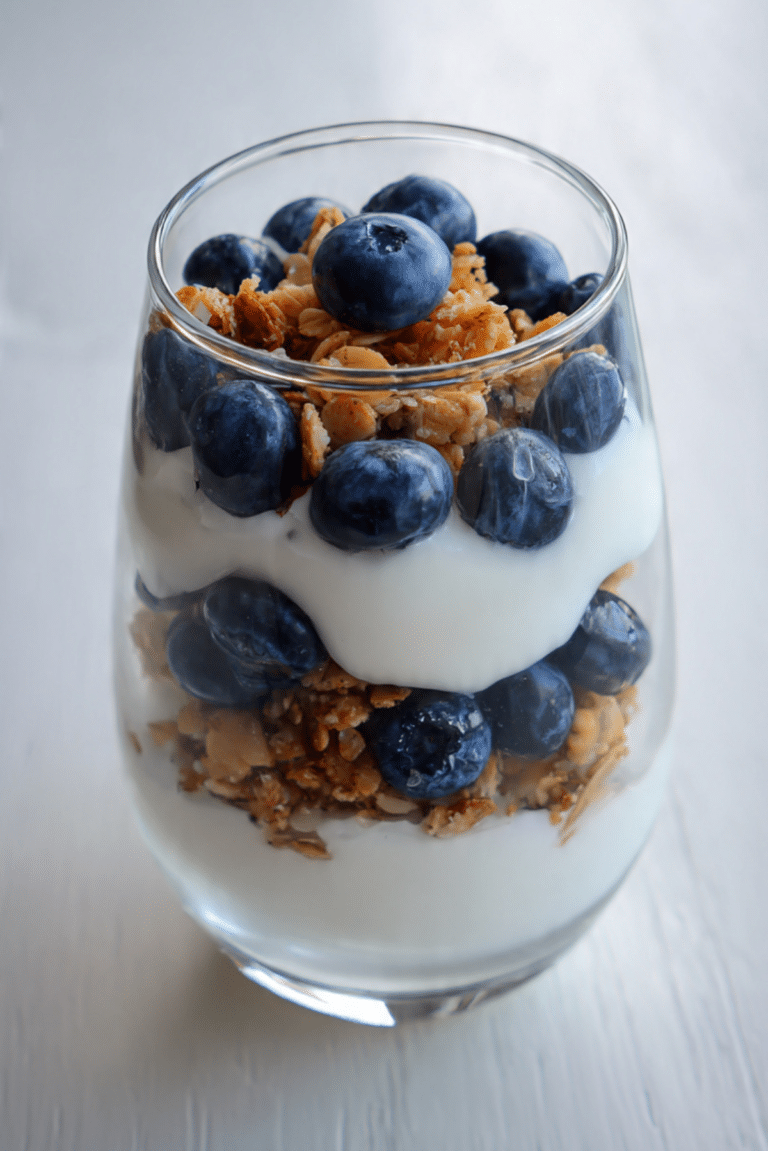
- Crumble and layer into a parfait with yogurt and berries.
- Dice and mix into pancake batter for an oaty twist.
- Blend with a bit of milk for a thick oat smoothie.
Additional Tips
If you want to boost the nutrition, toss in chia seeds or flaxseeds. Want a crunchier texture? Add chopped almonds or walnuts. For a dessert feel, top with a light glaze of melted dark chocolate.
Make It a Showstopper
Presentation is everything. Stack them on a rustic wooden board, drizzle lightly with extra peanut butter or chocolate, and add a sprinkle of sea salt. They’ll look as good as they taste.
Variations to Try
- Banana Peanut Bars: Add 1 mashed banana for extra moisture.
- Coconut Twist: Mix in shredded coconut for a tropical vibe.
- Protein Boost: Add a scoop of vanilla protein powder to the mix.
- No-Bake Version: Skip the oven and chill instead.
- Cinnamon Raisin: Add raisins and a teaspoon of cinnamon for a nostalgic twist.
FAQ’s
Q1: Can I use crunchy peanut butter?
Yes, it adds a nice bit of texture if you like a little crunch.
Q2: Are these gluten-free?
If you use certified gluten-free oats, absolutely.
Q3: Can I make these vegan?
Yes, use maple syrup instead of honey and vegan chocolate chips.
Q4: Can I double the recipe?
Totally! Use a 9×13 inch pan and adjust the baking time slightly.
Q5: What if I don’t have parchment paper?
Grease your pan well with coconut oil or butter, but parchment makes it easier.
Q6: Can I make this without an oven?
Yes, try a no-bake version by pressing into the pan and refrigerating until firm.
Q7: Are they freezer-friendly?
Absolutely. Wrap tightly and freeze up to 2 months.
Q8: How do I make them sweeter?
Add a bit more honey or a handful of chocolate chips.
Q9: Can I make them nut-free?
Try sunflower seed butter as a substitute.
Q10: Can kids help with this recipe?
Definitely. It’s easy and mess-friendly, perfect for little hands.
Conclusion
These peanut butter oat bars are the kind of treat that feel like a little gift from your kitchen every time you grab one. Simple to make, endlessly customizable, and full of comforting flavor, they’re a recipe you’ll return to again and again. Go ahead, give them a try. I promise, it’s worth every bite.
PrintPeanut Butter Oat Bars
Chewy, nutty, and lightly sweet, these peanut butter oat bars are the perfect grab-and-go snack or breakfast treat. Made with simple pantry staples and ready in under 30 minutes.
Ingredients
- 2 cups rolled oats
- 1 cup peanut butter
- 1/2 cup honey or maple syrup
- 1 teaspoon vanilla extract
- 1/4 teaspoon salt
- 1/2 cup mini chocolate chips (optional)
Instructions
- Preheat your oven to 350°F and line an 8×8 baking dish with parchment paper.
- In a large bowl, mix the peanut butter, honey or maple syrup, vanilla extract, and salt until smooth.
- Stir in the oats until fully combined, then fold in the chocolate chips if using.
- Press the mixture evenly into the prepared baking dish and smooth out the top.
- Bake for 15 to 18 minutes, or until the edges are lightly golden.
- Let cool completely before removing from the pan and slicing into bars.
Notes
- Use natural peanut butter for best results.
- Let the bars cool before slicing to avoid crumbling.
- Store in the fridge for firmer texture.
- Freeze for up to 2 months, layered between parchment paper.