Olive Thyme Bread
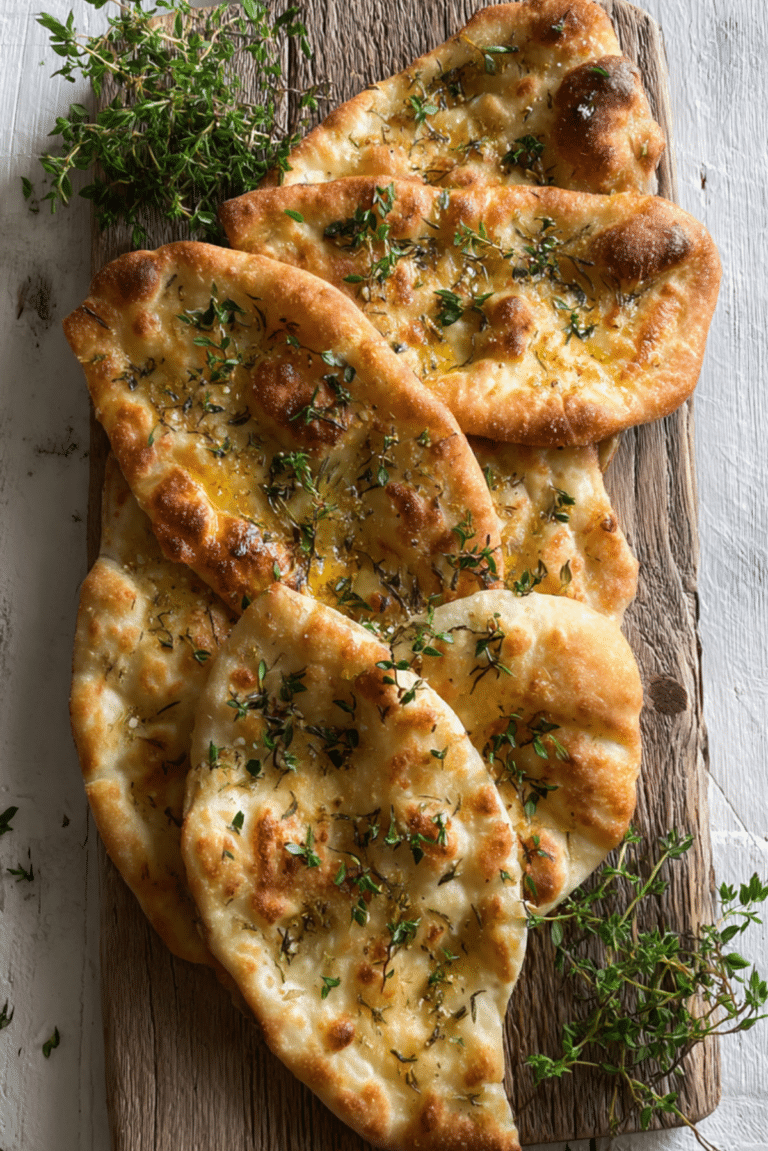
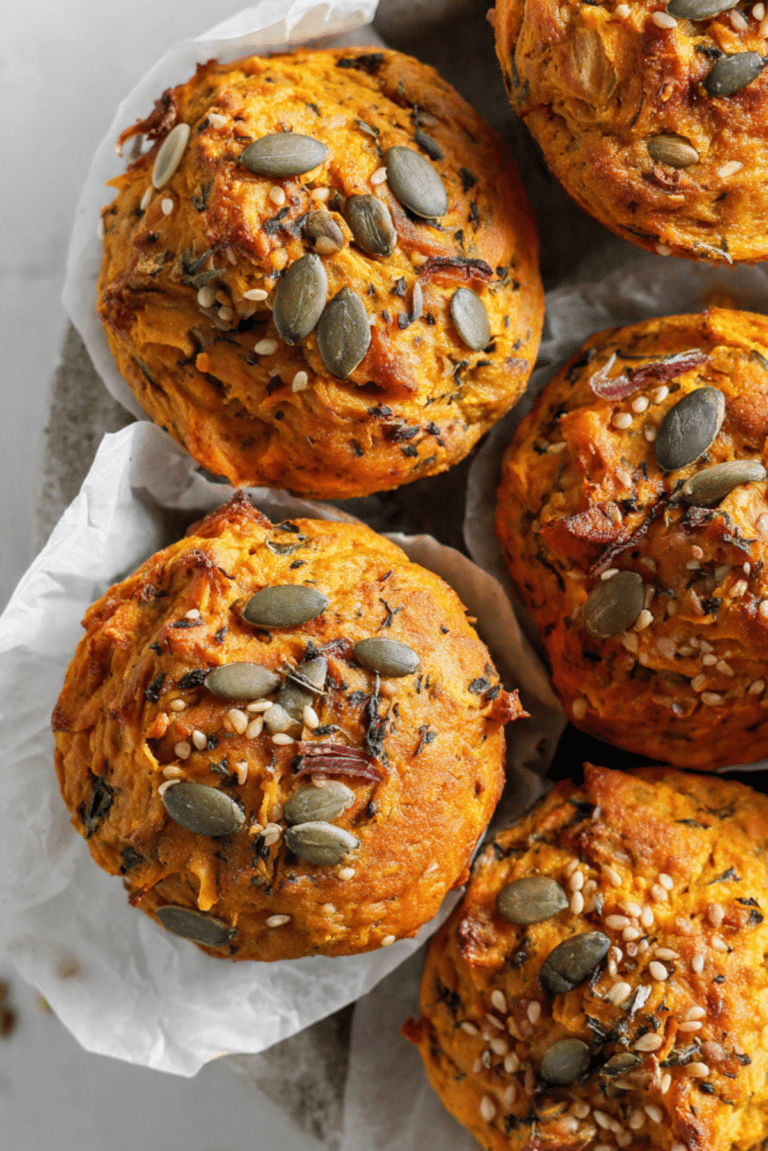
There is something almost magical about pulling a warm loaf from the oven, especially when the kitchen smells like fresh herbs and golden crust. Olive thyme bread is one of those simple pleasures that feels rustic and comforting at the same time. The crackly crust, the tender crumb dotted with briny olives, and that subtle whisper of thyme, trust me, you’re going to love this. It is the kind of bread that turns an ordinary afternoon into something special.
Why This Rustic Loaf Wins Every Time
What makes this loaf so unforgettable is the balance. The olives bring little bursts of saltiness, the thyme adds an earthy aroma, and the bread itself is soft inside with a lightly crisp exterior. Each slice feels hearty yet tender, and it pairs beautifully with soups, salads, or just a drizzle of olive oil. Let me tell you, it’s worth every bite.
A Little Taste of Mediterranean Inspiration
This bread draws its heart from Mediterranean kitchens where olives and herbs are everyday staples. In coastal regions, home bakers often fold olives into dough for added richness and depth. Thyme grows wild in many of these areas, which makes it a natural companion. Combining these two ingredients in a rustic loaf feels like bringing a bit of sun drenched countryside right into your own kitchen.
Why You Can Always Count on This Recipe
Before we dive deeper, let me share why this one deserves a permanent spot in your baking rotation.
Versatile: It works beautifully as a side for soups, a base for sandwiches, or simply toasted with butter.
Budget-Friendly: Flour, yeast, olives, and herbs are simple ingredients that create something extraordinary.
Quick and Easy: The steps are straightforward, even if you are new to bread baking.
Customizable: You can swap olives or adjust herbs to suit your taste.
Crowd-Pleasing: The aroma alone draws people into the kitchen.
Make-Ahead Friendly: The dough can rest overnight in the refrigerator for deeper flavor.
Great for Leftovers: Slightly stale slices make incredible croutons or toast.
Insider Secrets for Bakery Style Results
Now that you are excited, let’s talk technique.
- Use warm water, not hot, so the yeast activates without being damaged.
- Let the dough rise in a draft free spot for consistent fermentation.
- Do not overwork the dough after adding olives, gentle folding keeps the crumb airy.
- Bake until deeply golden, that color equals flavor.
- Tap the bottom of the loaf, if it sounds hollow, it is ready.
Kitchen Tools That Make It Easy
Before we move forward, gather your tools so everything flows smoothly.
Large Mixing Bowl: For combining and proofing the dough comfortably.
Wooden Spoon or Dough Scraper: Helps mix and fold without overworking.
Measuring Cups and Spoons: Accuracy keeps the texture consistent.
Baking Sheet or Dutch Oven: Ensures even heat distribution.
Clean Kitchen Towel: For covering the dough while it rises.
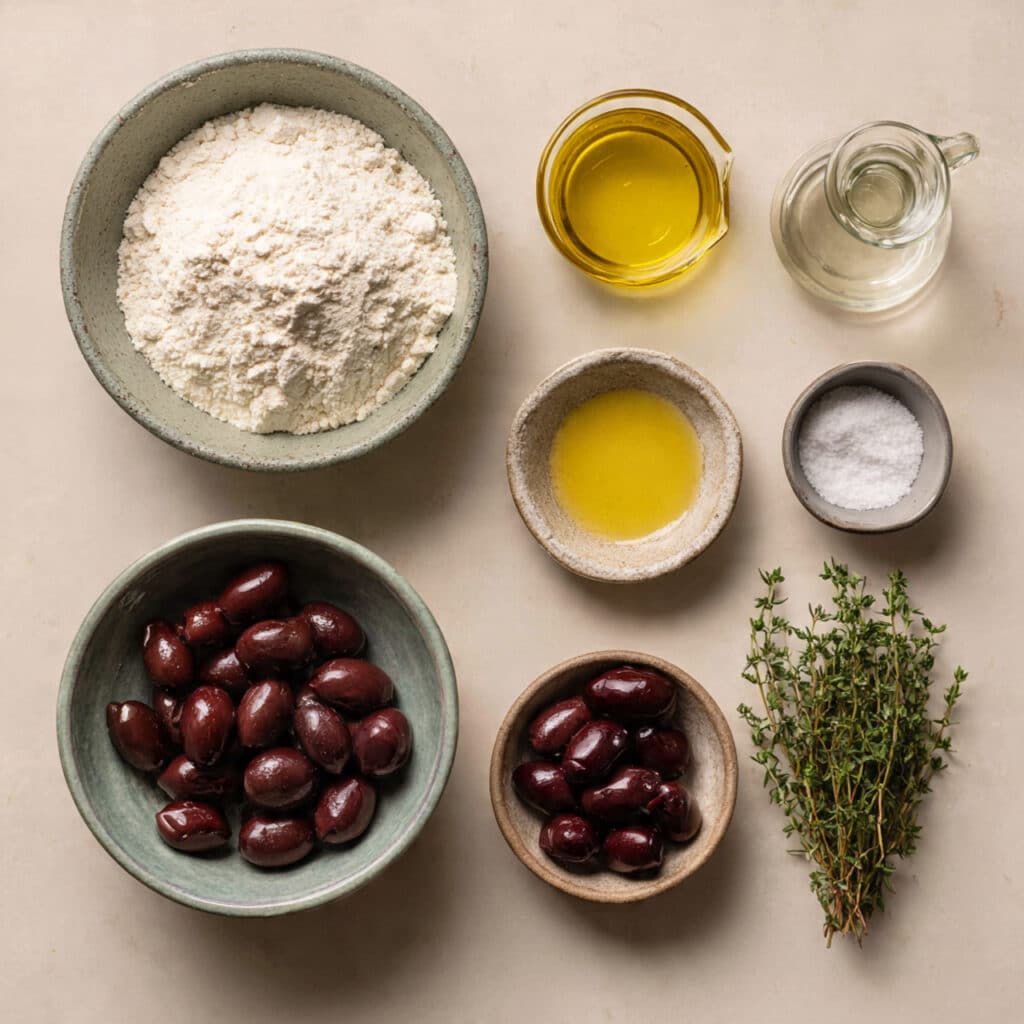
Ingredients That Build Flavor and Texture
And now let’s dive into what brings this loaf to life. Each ingredient plays a quiet but important role.
- All Purpose Flour: 3 1/2 cups, about 440 grams. Forms the structure and gives the loaf its tender crumb.
- Warm Water: 1 1/4 cups, about 300 milliliters. Activates the yeast and hydrates the flour.
- Active Dry Yeast: 2 1/4 teaspoons, 1 packet. Helps the dough rise and become airy.
- Olive Oil: 2 tablespoons. Adds softness and subtle richness.
- Salt: 1 1/2 teaspoons. Enhances flavor and balances the olives.
- Pitted Kalamata Olives: 1 cup, roughly chopped. Provide briny bursts in every bite.
- Fresh Thyme Leaves: 1 tablespoon, finely chopped. Infuses earthy herbal notes.
Flexible Swaps If You Need Them
If you are missing something, do not worry.
Kalamata Olives: Black olives or green olives work well.
Fresh Thyme: Use 1 teaspoon dried thyme if fresh is unavailable.
All Purpose Flour: Bread flour can be used for a slightly chewier texture.
Spotlight on Flavor Heroes
Let’s pause for a second and appreciate the stars of the show.
Kalamata Olives: Their deep purple color and bold, tangy flavor create contrast in both taste and appearance.
Fresh Thyme: Subtle yet fragrant, it ties the loaf together with a warm, earthy aroma.
Let’s Bake This Beauty Together
Now comes the fun part, rolling up your sleeves and bringing everything together.
- Preheat Your Equipment: Preheat your oven to 400 degrees Fahrenheit, which is 200 degrees Celsius, and line a baking sheet with parchment paper.
- Combine Ingredients: In a large bowl, mix warm water and yeast. Let sit for 5 minutes until slightly foamy. Stir in olive oil, salt, and flour until a soft dough forms. Fold in olives and thyme gently.
- Prepare Your Cooking Vessel: Lightly oil a bowl, place the dough inside, and cover with a towel.
- Assemble the Dish: Let the dough rise for 1 hour or until doubled. Shape into a round loaf and place on the prepared baking sheet.
- Cook to Perfection: Bake for 30 minutes or until golden brown and hollow sounding when tapped underneath.
- Finishing Touches: Let the bread cool on a rack for at least 20 minutes before slicing.
- Serve and Enjoy: Slice thickly and serve with olive oil or alongside your favorite meal.
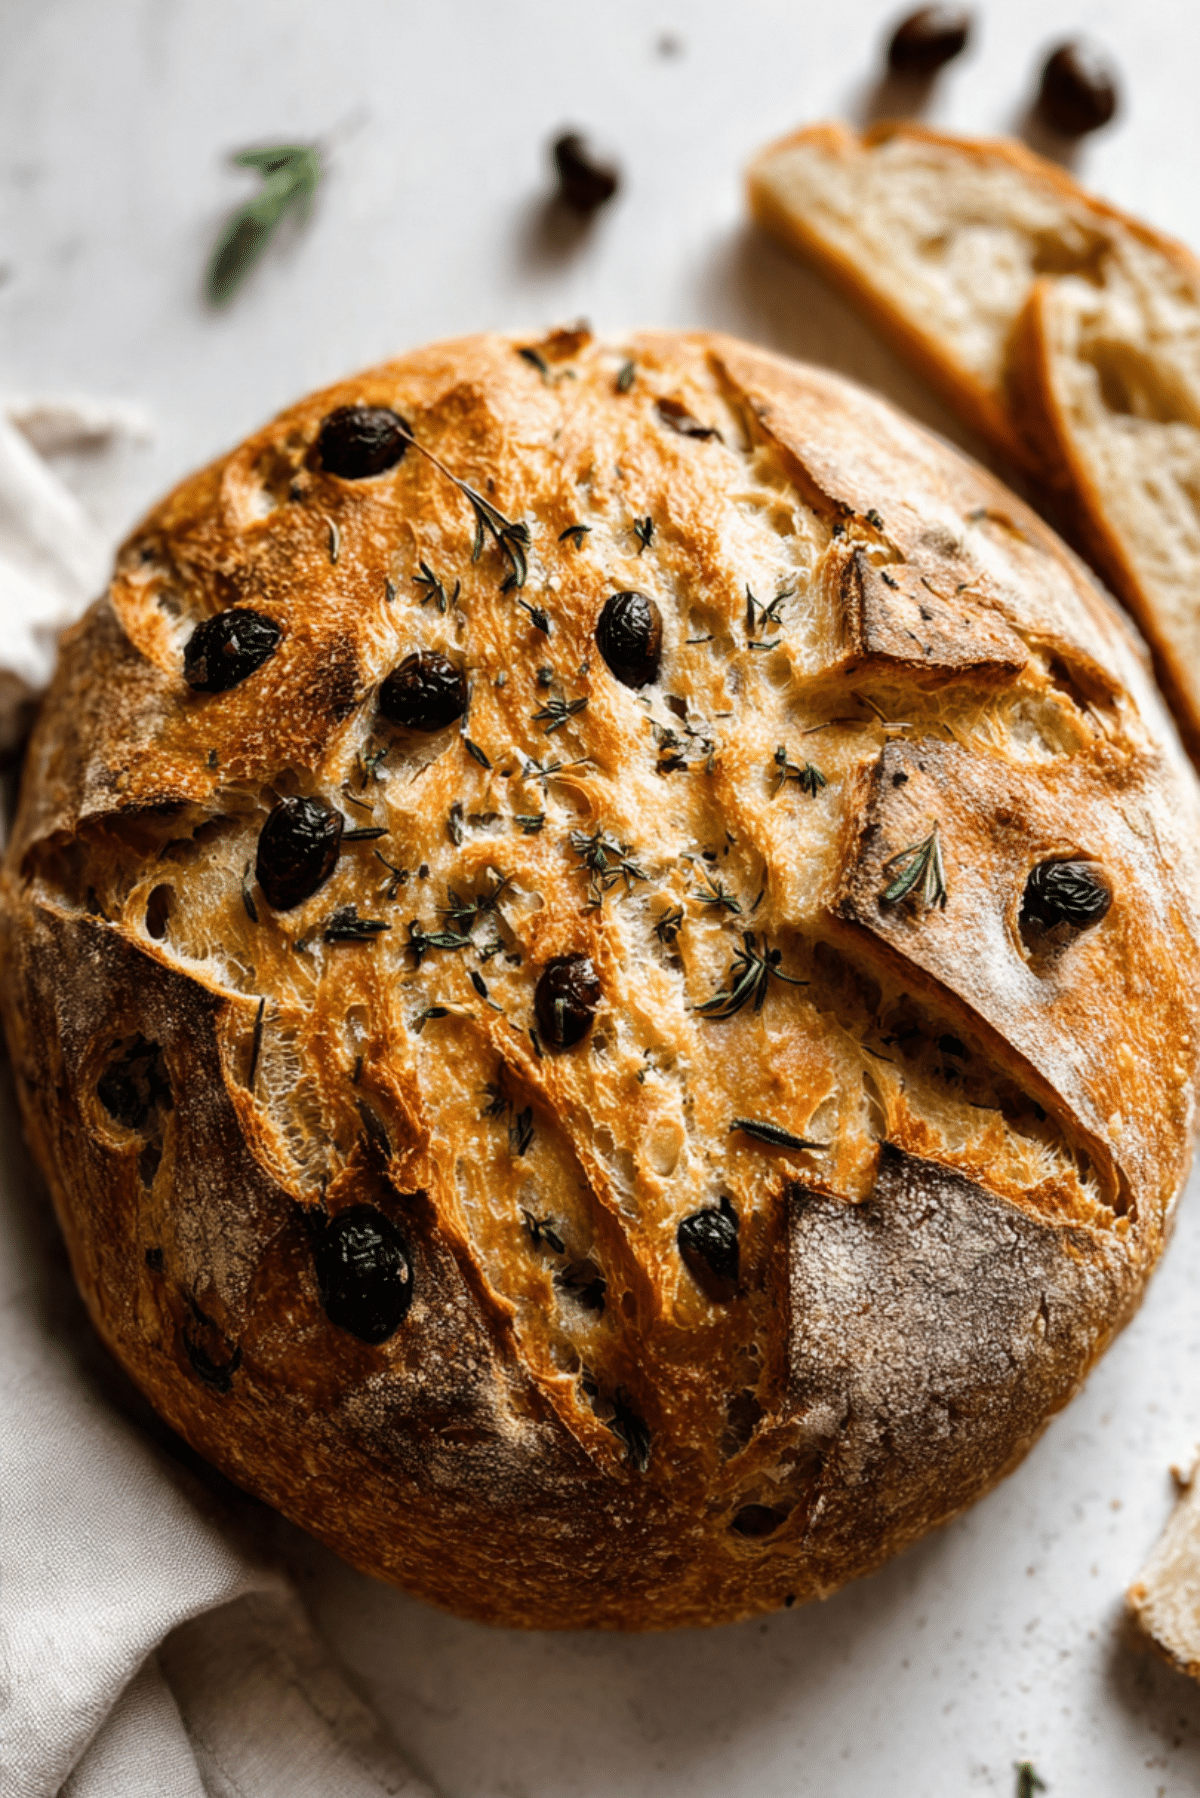
The Texture and Flavor Journey
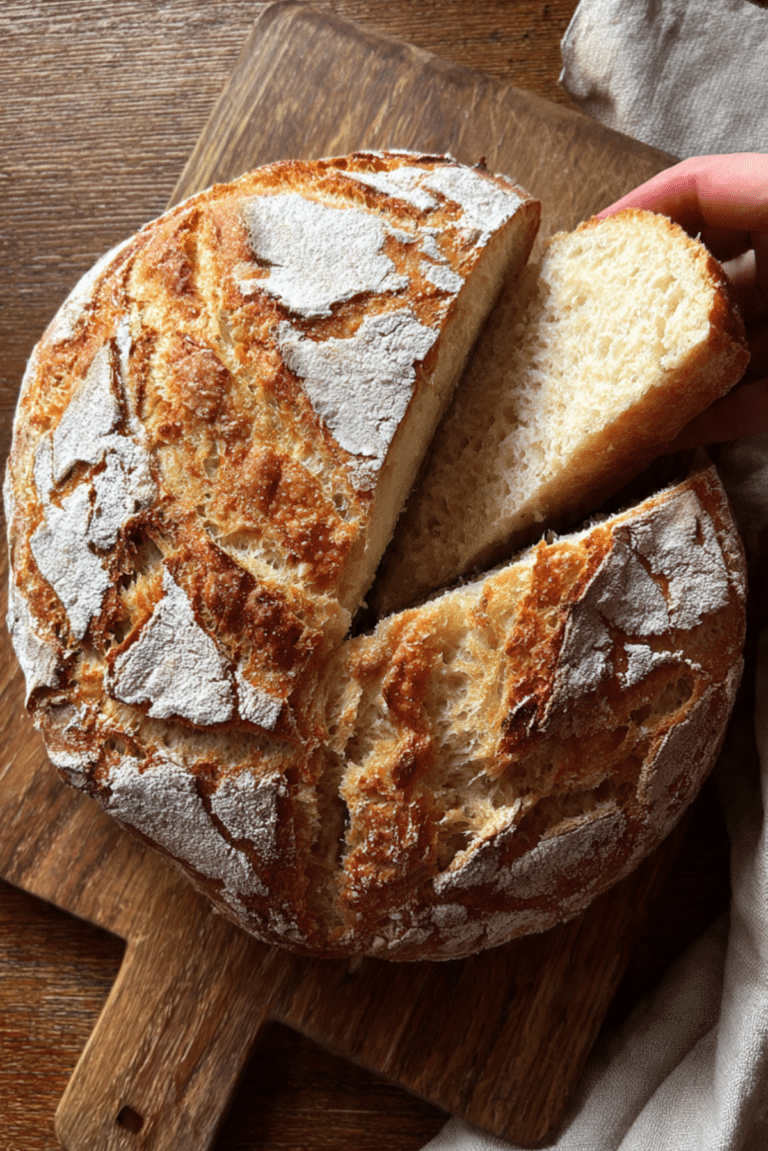
As it bakes, the crust develops a light crispness while the inside stays tender and airy. The olives soften slightly, releasing their savory juices into the dough. Thyme perfumes the loaf gently, not overpowering but always present. Every bite gives you contrast, soft crumb, chewy olive bits, and a golden crust that flakes just enough.
Helpful Tips for Foolproof Baking
Even simple bread benefits from a little extra care.
- Let the dough rest fully before baking for better structure.
- Use parchment paper for easy transfer.
- If the crust browns too quickly, tent loosely with foil.
Common Mistakes and How to Avoid Them
Bread baking is forgiving, but here are a few things to watch.
- Adding too much flour can make the loaf dense, measure carefully.
- Skipping the cooling time can lead to gummy slices.
- Overmixing after adding olives can deflate the dough.
Nutrition at a Glance
Servings: 8 slices
Calories per serving: 210
Note: These values are approximate.
Time Breakdown
Prep Time: 15 minutes
Cook Time: 30 minutes
Total Time: 45 minutes
Make Ahead and Storage Guide
If you want to prepare ahead, let the dough rise slowly in the refrigerator overnight. Store baked bread at room temperature in a sealed bag for up to three days. You can freeze slices individually and reheat them in a toaster or oven until warm and fragrant again.
Serving Ideas to Elevate the Experience
Serve thick slices with a bowl of tomato soup, alongside a crisp salad, or as the base for a grilled vegetable sandwich. It also pairs beautifully with a simple plate of cheese and fresh fruit.
Creative Ways to Use Leftovers
Leftover slices can become garlicky croutons, toasted crostini, or even a savory bread pudding. Cube and toast them for salads, or brush with olive oil and grill lightly.
Extra Tips for Even Better Results
Brush the top lightly with olive oil before baking for added shine. Sprinkle a pinch of flaky salt on top for extra texture. Always let the loaf cool completely for the best slicing results.
Turn It Into a Showstopper
Score the top of the dough with a sharp knife before baking for a beautiful rustic look. Dust lightly with flour for a bakery style finish. Serve on a wooden board for that warm, inviting presentation.
Fun Variations to Try
Add sun dried tomatoes for a richer flavor. Mix in shredded mozzarella for a cheesy twist. Swap thyme for rosemary for a stronger herbal note. Incorporate roasted garlic for extra depth.
FAQ’s
Q1: Can I use instant yeast instead of active dry yeast?
Yes, you can use the same amount and skip the initial proofing step.
Q2: Can I make this loaf gluten free?
You would need a gluten free flour blend designed for yeast breads.
Q3: Why is my bread dense?
It may not have risen long enough or too much flour was added.
Q4: Can I knead this in a stand mixer?
Yes, use a dough hook on low speed for about 5 minutes.
Q5: How do I know when it is fully baked?
The crust will be golden and the bottom will sound hollow when tapped.
Q6: Can I add other herbs?
Absolutely, rosemary or oregano work beautifully.
Q7: How should I store it?
Keep it in a sealed bag at room temperature for up to three days.
Q8: Can I freeze the dough?
Yes, after the first rise, shape and freeze. Thaw before baking.
Q9: What if I do not like olives?
You can replace them with chopped sun dried tomatoes.
Q10: Can I double the recipe?
Yes, simply double all ingredients and bake two loaves.
Conclusion
Baking olive thyme bread at home feels both grounding and rewarding. The aroma alone transforms your kitchen into something cozy and welcoming. This one’s a total game changer for everyday meals or special gatherings. Give it a try, and once you slice into that golden crust, you will understand exactly why it is such a beloved classic.
PrintOlive Thyme Bread
A rustic olive thyme bread with a golden crust, tender crumb, and savory bursts of Kalamata olives and fresh thyme. Perfect for pairing with soups, salads, or enjoying warm with olive oil.
Ingredients
- 3 1/2 cups all purpose flour (440 grams)
- 1 1/4 cups warm water (300 milliliters)
- 2 1/4 teaspoons active dry yeast (1 packet)
- 2 tablespoons olive oil
- 1 1/2 teaspoons salt
- 1 cup pitted Kalamata olives, roughly chopped
- 1 tablespoon fresh thyme leaves, finely chopped
Instructions
- Preheat oven to 400 degrees Fahrenheit (200 degrees Celsius) and line a baking sheet with parchment paper.
- In a large bowl, combine warm water and yeast. Let sit for 5 minutes until slightly foamy.
- Stir in olive oil, salt, and flour until a soft dough forms.
- Gently fold in chopped Kalamata olives and fresh thyme.
- Transfer dough to a lightly oiled bowl, cover with a towel, and let rise for 1 hour or until doubled in size.
- Shape the dough into a round loaf and place on the prepared baking sheet.
- Bake for 30 minutes or until golden brown and the bottom sounds hollow when tapped.
- Cool on a rack for at least 20 minutes before slicing and serving.
Notes
- For deeper flavor, allow the dough to rise slowly in the refrigerator overnight.
- If the crust browns too quickly, loosely cover with foil during the last 10 minutes of baking.
- Store at room temperature in a sealed bag for up to three days.