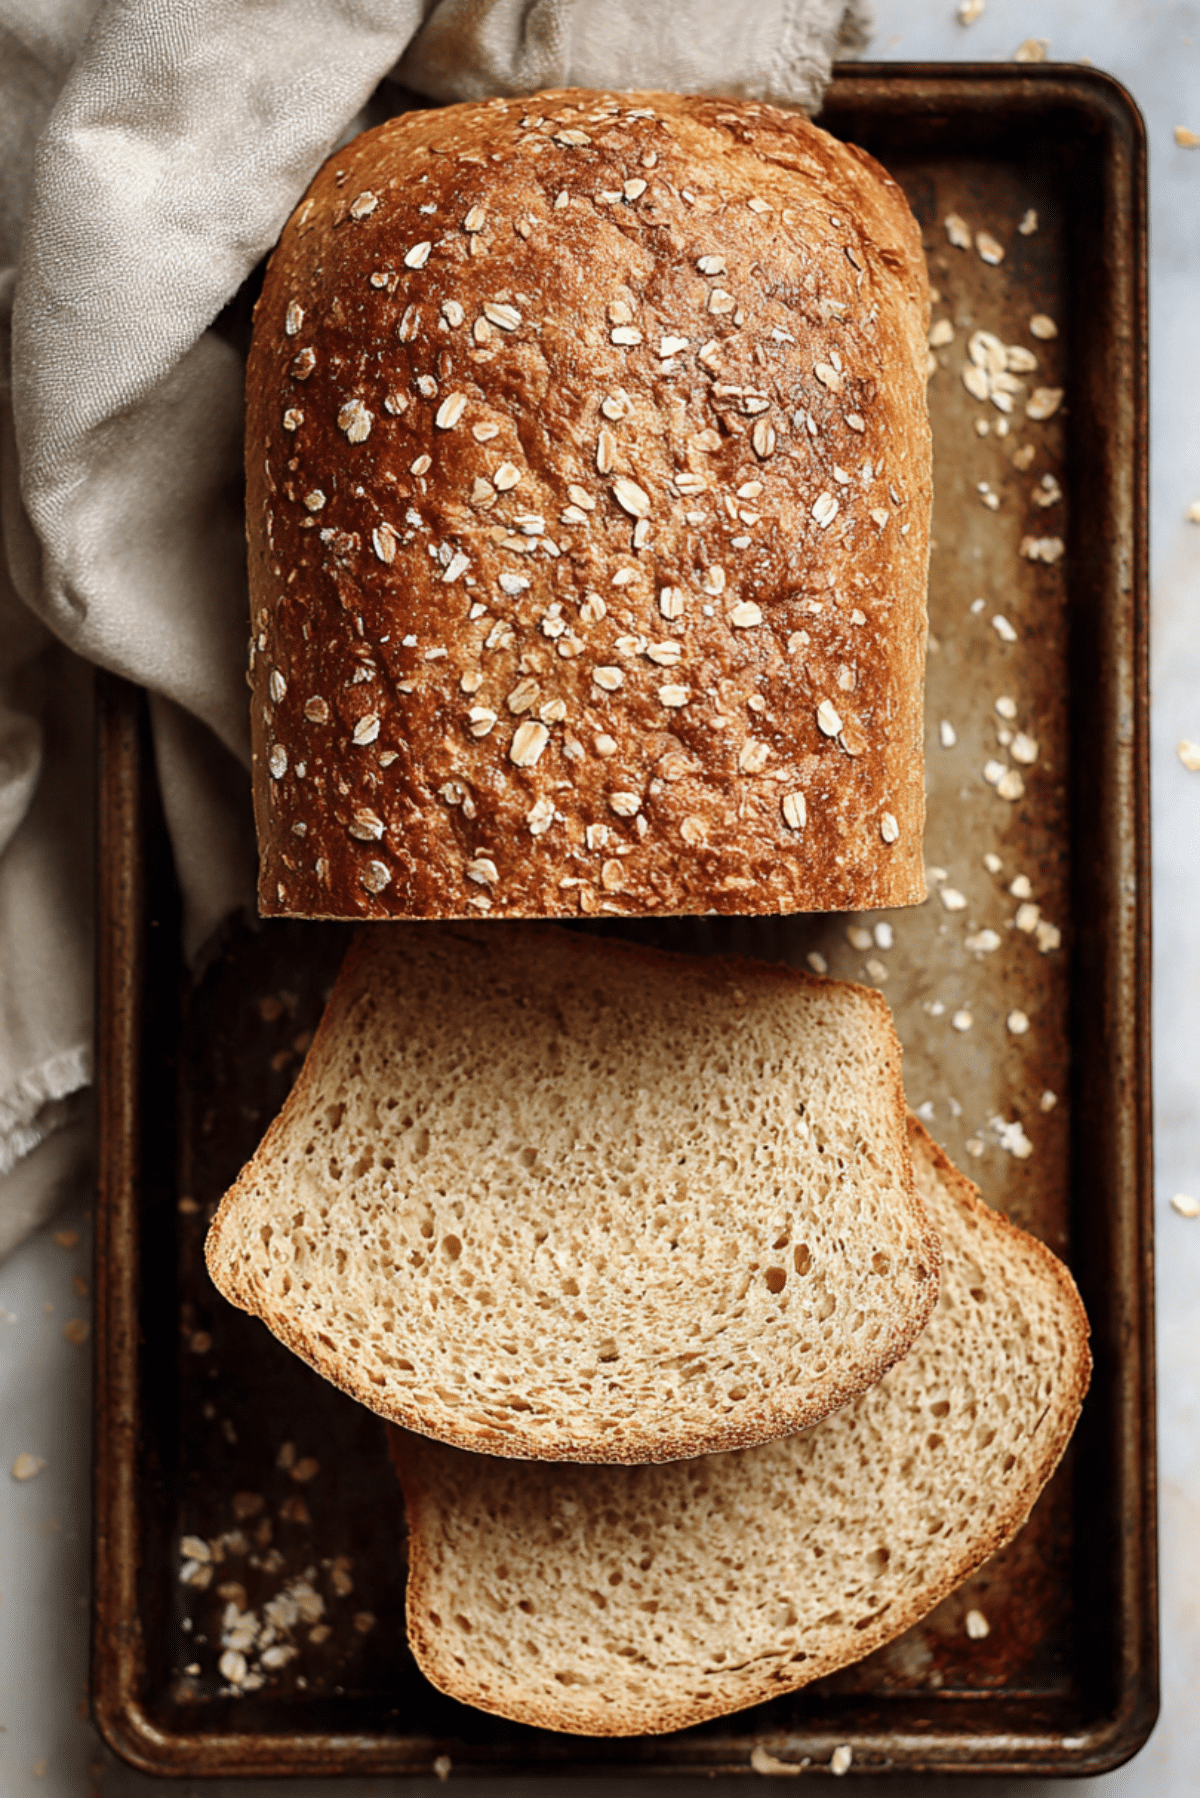
Oat Sandwich Bread
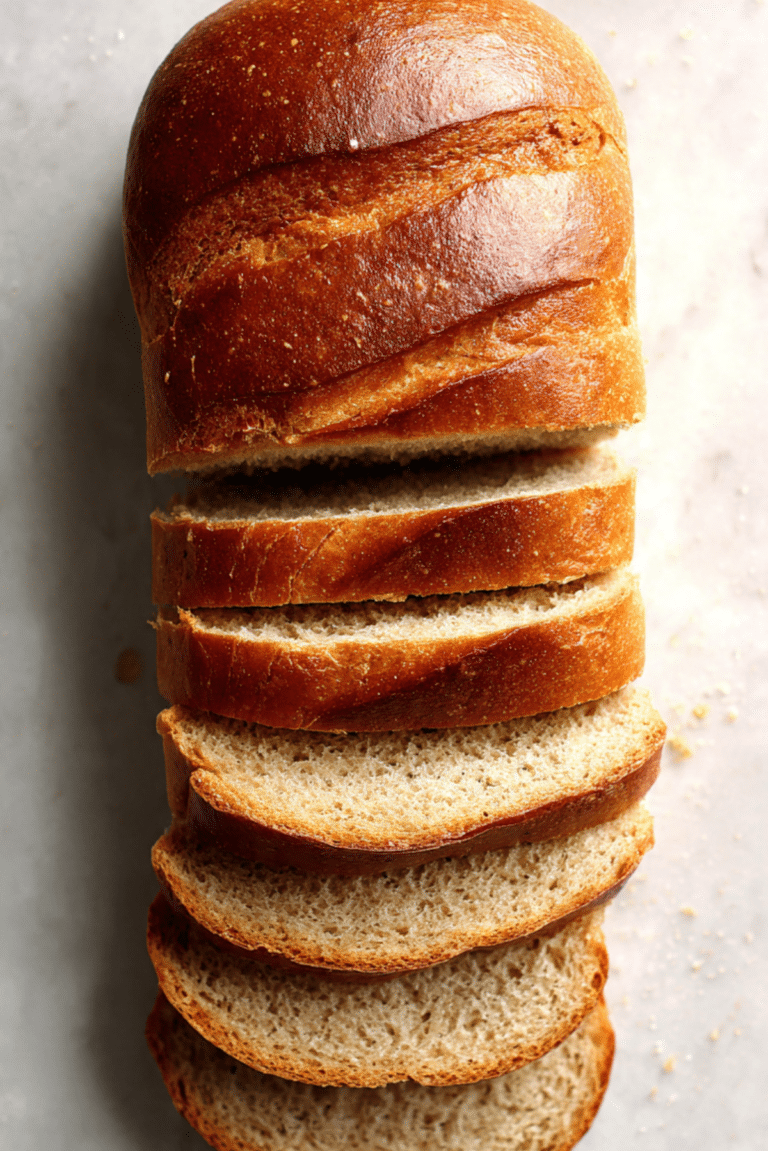
There’s just something deeply comforting about a thick, soft slice of oat sandwich bread. Maybe it’s the way it fills the kitchen with that cozy, yeasty aroma as it bakes. Or the way its warm slices hug your favorite fillings, whether sweet or savory. This bread isn’t just about making sandwiches it’s about making moments.
Behind the Recipe
This recipe was born from weekend mornings when all I wanted was something homemade, hearty, and wholesome. I’d open the pantry, spot the oats, and think, “Why not give that sandwich loaf a twist?” The result? A beautifully soft bread with just enough bite from the oats to make each slice feel special. It’s now a staple in our home, often requested and always devoured.
Recipe Origin or Trivia
Oat sandwich bread has its roots in American home baking, especially in the Northeast where oats are a pantry staple. It was often used as a nutritious alternative to white bread, offering a bit more fiber and depth. The use of rolled oats not only adds texture but also gives a slightly nutty flavor that’s perfect for both sweet and savory pairings. Plus, oats have long been a symbol of wholesome simplicity, making this loaf feel just a little more heartfelt.
Why You’ll Love Oat Sandwich Bread
This one’s a total game-changer for your everyday bread needs.
Versatile: Perfect for sandwiches, toast, or just warm with a smear of butter.
Budget-Friendly: Uses simple pantry ingredients you probably already have.
Quick and Easy: Minimal kneading and mostly hands-off proofing time.
Customizable: Add seeds, nuts, or a touch of honey for a personal twist.
Crowd-Pleasing: Its mild flavor and soft texture win over kids and adults alike.
Make-Ahead Friendly: Bake it in advance and enjoy it all week.
Great for Leftovers: Stale slices make amazing croutons or French toast.
Chef’s Pro Tips for Perfect Results
Baking bread at home might seem intimidating, but trust me, with a few tricks up your sleeve, it’s easier than you think.
- Use warm water (not hot) to activate the yeast without killing it.
- Let the oats soak briefly before mixing them into the dough for better texture.
- Don’t skip the second rise, it helps develop that airy crumb.
- Brush the top with milk or melted butter before baking for a golden, tender crust.
- Let it cool completely before slicing so the crumb sets properly.
Kitchen Tools You’ll Need
To make this loaf smooth and stress-free, here’s what you’ll need:
Mixing Bowls: For combining dry and wet ingredients.
Measuring Cups & Spoons: Accuracy matters for bread.
Loaf Pan: A standard 9×5-inch pan gives the perfect sandwich shape.
Wooden Spoon or Dough Hook: For mixing and kneading the dough.
Clean Towel or Plastic Wrap: To cover the dough while it rises.
Wire Rack: For cooling the bread evenly after baking.
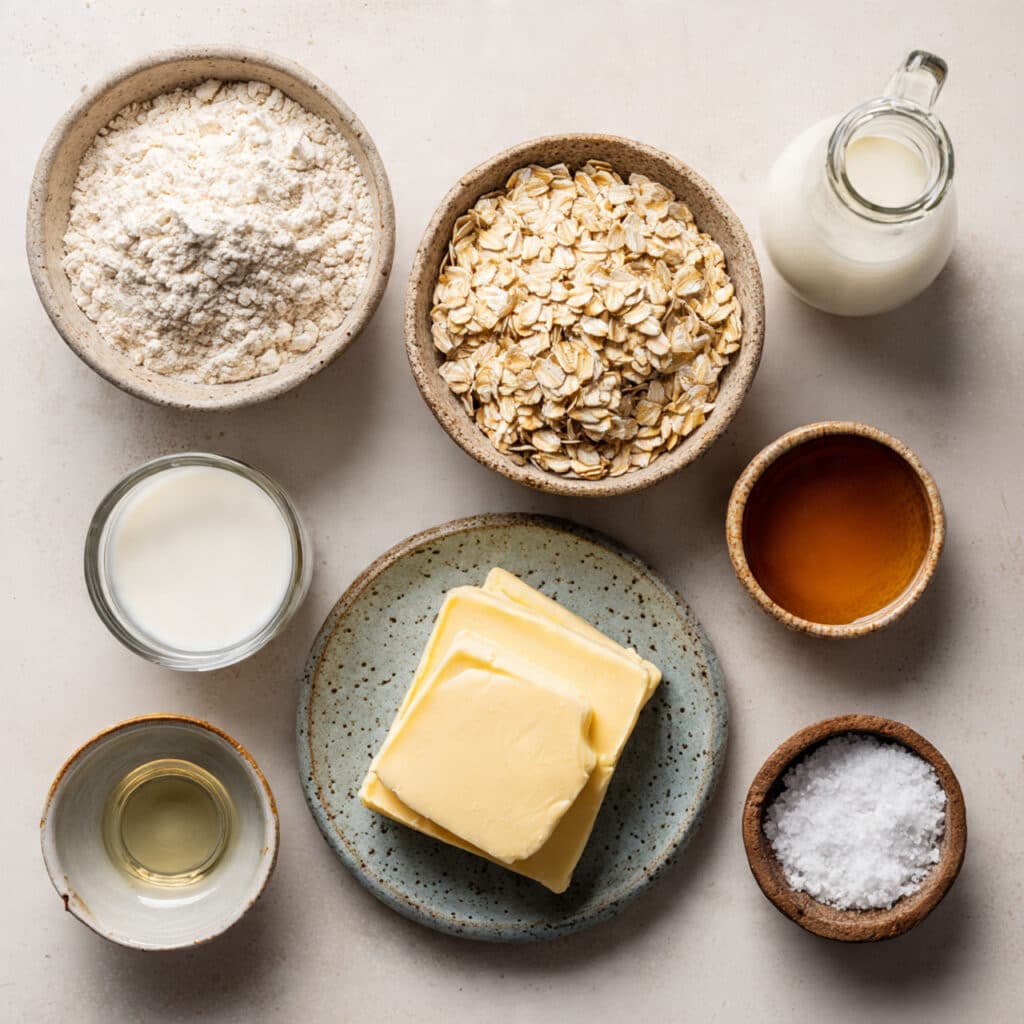
Ingredients in Oat Sandwich Bread
The magic of this bread is in how each simple ingredient works in harmony.
- All-Purpose Flour: 3 cups provides the main structure of the loaf.
- Old-Fashioned Rolled Oats: 1 cup adds chew, flavor, and a wholesome texture.
- Warm Water: 1 cup activates the yeast and hydrates the dough.
- Whole Milk: ½ cup enriches the dough for a softer crumb.
- Active Dry Yeast: 2 ¼ teaspoons gives the bread its rise.
- Honey: 2 tablespoons adds a hint of sweetness and helps feed the yeast.
- Salt: 1 ½ teaspoons enhances all the other flavors.
- Unsalted Butter: 2 tablespoons, melted adds richness and tenderness.
Ingredient Substitutions
If you’re missing a few items, don’t worry there’s room to flex.
All-Purpose Flour: Bread flour for extra chew.
Old-Fashioned Rolled Oats: Quick oats (not instant) work too.
Whole Milk: Use any plant-based milk or water.
Honey: Maple syrup or brown sugar.
Unsalted Butter: Coconut oil or olive oil.
Ingredient Spotlight
Rolled Oats: These give the bread its signature texture and slight nutty flavor, while also adding moisture and nutrition.
Honey: A natural sweetener that not only enhances flavor but also feeds the yeast for a better rise.
Instructions for Making Oat Sandwich Bread
Let’s get into the rhythm of baking soft dough, patient rising, and the reward of warm, fresh slices.
- Preheat Your Equipment:
If baking right away, preheat your oven to 375°F. Grease a 9×5-inch loaf pan and set aside. - Combine Ingredients:
In a large bowl, mix warm water, yeast, and honey. Let it sit for 5 to 10 minutes until frothy. Stir in the oats, warm milk, melted butter, and salt. Gradually add flour until a sticky dough forms. - Prepare Your Cooking Vessel:
Lightly oil a clean bowl, place the dough inside, and cover with a towel or plastic wrap. - Assemble the Dish:
Let the dough rise in a warm spot for about 1 hour or until doubled. Punch down, shape into a loaf, and transfer to the greased pan. - Cook to Perfection:
Cover again and let rise for 30 more minutes. Bake for 35 to 40 minutes or until golden brown and sounds hollow when tapped. - Finishing Touches:
Brush the warm loaf with a little melted butter for a softer crust and sprinkle a few oats on top if desired. - Serve and Enjoy:
Let the bread cool completely on a wire rack before slicing. Serve it warm, toasted, or plain it’s perfect either way.
Texture & Flavor Secrets
This bread has a soft, pillowy crumb with a gentle chew from the oats. The crust is golden and slightly crisp right after baking, especially if brushed with butter. The flavor is mild, slightly nutty, and ever-so-sweet from the honey a beautiful base for both savory and sweet toppings.
Cooking Tips & Tricks
Here’s how to keep your loaf turning out great every time:
- Don’t over-knead or the bread might turn tough.
- A warm, draft-free spot helps the dough rise faster.
- Lightly dust the top with oats before baking for extra appeal.
What to Avoid
Mistakes happen, but here’s how to dodge the common ones:
- Skipping the second rise: The loaf won’t be airy.
- Using cold milk or water: It can slow yeast activation.
- Slicing too early: Letting it cool helps maintain structure.
Nutrition Facts
Servings: 10
Calories per serving: 180
Note: These are approximate values.
Preparation Time
Prep Time: 15 minutes
Cook Time: 40 minutes
Total Time: 2 hours (includes rising time)
Make-Ahead and Storage Tips
You can absolutely bake this bread ahead of time. Once cooled, wrap it in foil or plastic wrap and store at room temperature for up to 3 days. For longer storage, slice and freeze the loaf. To reheat, pop slices in the toaster or oven and enjoy them warm and fresh again.
How to Serve Oat Sandwich Bread
Get creative with your slices. Toast them and spread with jam, layer up a sandwich with roasted veggies and hummus, or serve alongside a cozy bowl of soup. It also makes dreamy French toast when slightly stale.
Creative Leftover Transformations
Leftover oat bread never goes to waste here. Try these ideas:
- Cube and toast for rustic croutons.
- Blend into breadcrumbs for casseroles.
- Dip slices in egg batter for decadent French toast.
Additional Tips
- Add a tablespoon of flaxseed for a nutrition boost.
- For a crunchier crust, bake without brushing butter.
- You can double the batch and freeze one loaf.
Make It a Showstopper
For presentation, slice it cleanly and fan out the pieces on a wooden board. Sprinkle a few loose oats over the top and serve with a dish of whipped butter or jam. That touch of rustic charm really draws people in.
Variations to Try
- Seeded Oat Bread: Add chia, flax, or sunflower seeds for extra crunch.
- Cinnamon Raisin Version: Mix in cinnamon and raisins for a sweet breakfast loaf.
- Savory Herb Oat Bread: Add dried thyme or rosemary for a flavorful twist.
- Whole Wheat Version: Replace half the all-purpose flour with whole wheat flour.
- Cheddar Oat Loaf: Fold in shredded cheddar before shaping the loaf.
FAQ’s
Q1: Can I make this bread without a loaf pan?
A1: Yes, shape it into a round and bake on a baking sheet for a rustic style.
Q2: Can I use instant oats?
A2: Stick with rolled oats for better texture. Instant oats can make the bread dense.
Q3: How do I know the bread is done baking?
A3: Tap the bottom — if it sounds hollow, it’s ready. Or use a thermometer (190°F inside).
Q4: Is this bread freezer-friendly?
A4: Absolutely. Slice it first so you can grab a piece or two whenever you need.
Q5: Can I use a bread machine?
A5: Yes, follow your machine’s instructions and use the dough setting first.
Q6: Is this bread sweet?
A6: It has a hint of sweetness from the honey but works great for savory fillings too.
Q7: Can I add nuts?
A7: Sure. Chopped walnuts or pecans add crunch and flavor.
Q8: What if my dough is too sticky?
A8: Add a tablespoon of flour at a time until manageable but still soft.
Q9: How long does it stay fresh?
A9: About 3 days at room temperature or up to a month frozen.
Q10: Do I need to sift the flour?
A10: No sifting needed just spoon it into your measuring cup and level it off.
Conclusion
If you’ve been on the hunt for a sandwich bread that’s hearty, wholesome, and full of homemade goodness, this oat sandwich bread is it. Trust me, you’re going to love this it’s worth every bite, from the first slice to the very last toast.
PrintOat Sandwich Bread
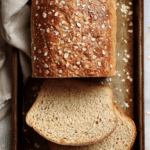
Soft, hearty oat sandwich bread with a golden crust and a tender crumb. Perfect for sandwiches, toast, or simply warm with butter.
Ingredients
- 3 cups all-purpose flour
- 1 cup old-fashioned rolled oats
- 1 cup warm water
- 1/2 cup whole milk
- 2 1/4 teaspoons active dry yeast
- 2 tablespoons honey
- 1 1/2 teaspoons salt
- 2 tablespoons unsalted butter, melted
Instructions
- In a large bowl, combine warm water, yeast, and honey. Let sit for 5–10 minutes until frothy.
- Stir in oats, milk, melted butter, and salt. Gradually add flour until a sticky dough forms.
- Place dough in an oiled bowl, cover, and let rise for 1 hour or until doubled in size.
- Punch down the dough, shape into a loaf, and place into a greased 9×5-inch loaf pan.
- Let rise again for 30 minutes. Meanwhile, preheat oven to 375°F.
- Bake for 35–40 minutes until golden and sounds hollow when tapped.
- Brush top with melted butter and let cool completely before slicing.
Notes
- Use warm, not hot water to activate the yeast properly.
- Let the oats soak briefly for a softer texture.
- For extra flavor, sprinkle oats on top before baking.
- Cool fully before slicing to prevent a gummy crumb.