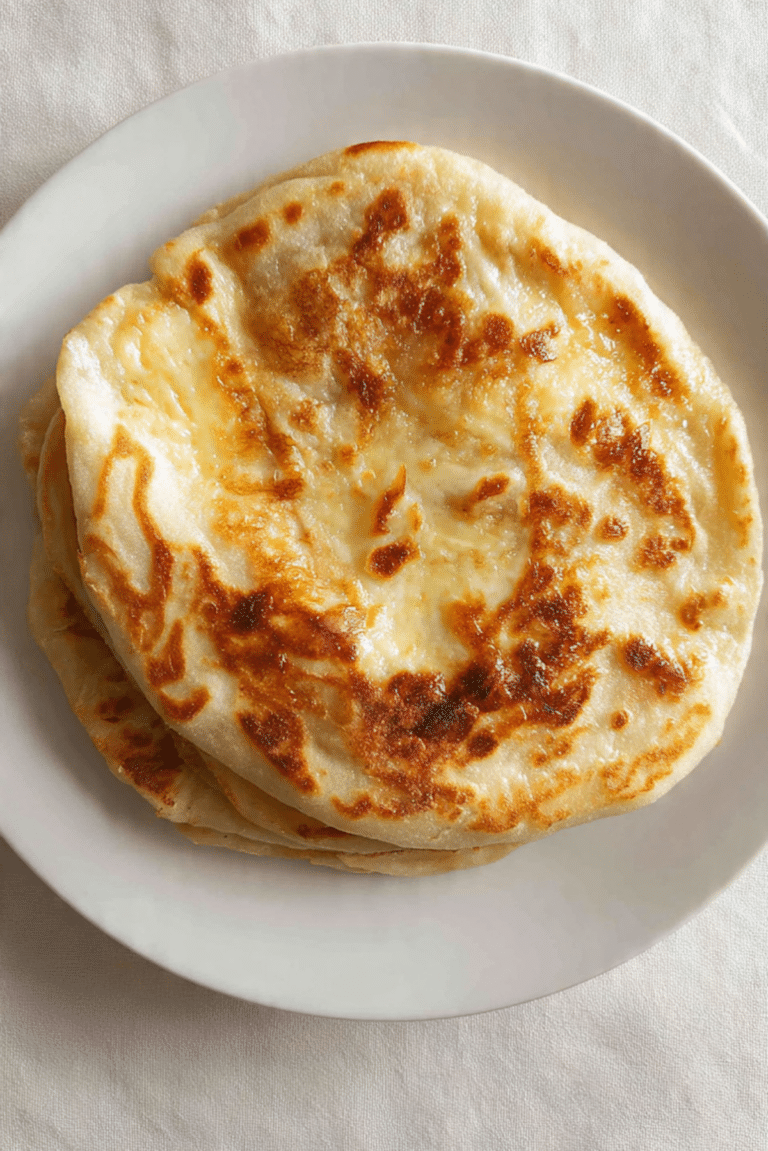
No Knead Skillet Butter Bread
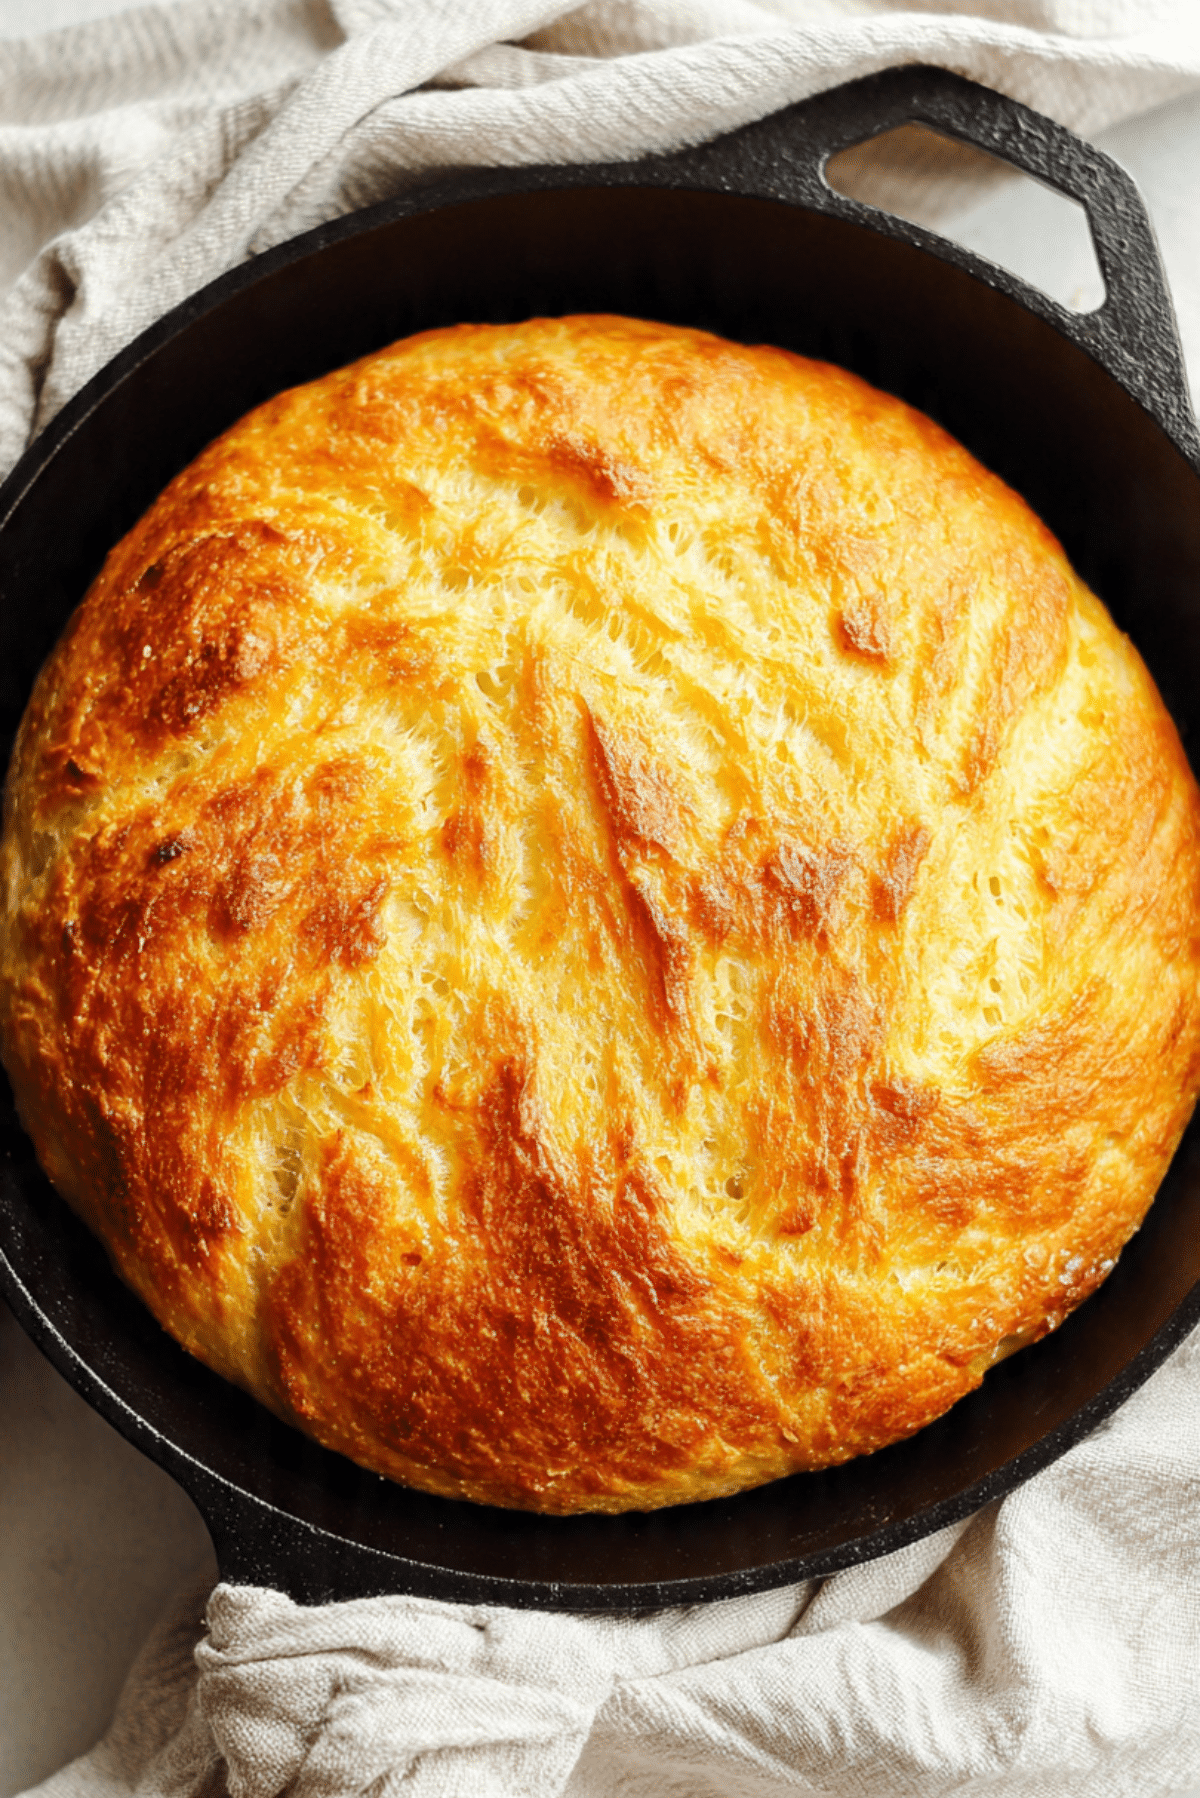
There is something deeply comforting about the smell of freshly baked bread filling your kitchen. This No Knead Skillet Butter Bread captures that magic with minimal effort and maximum flavor. With its golden crust, soft airy interior, and rich buttery finish, this rustic loaf is perfect for beginners and seasoned bakers alike. Trust me, once you try it, you will want to bake it again and again.
A Rustic Bread That Feels Effortlessly Homemade
This bread is all about simplicity. With no kneading required, the dough comes together quickly and transforms into a beautifully textured loaf as it bakes in a hot skillet. The butter creates a crisp, golden crust while the inside remains tender and fluffy, making every slice irresistible.
Whether you serve it warm with a pat of butter or alongside your favorite meal, this bread brings warmth and comfort to any table.
The Story Behind No Knead Bread
No knead bread gained worldwide popularity thanks to its approachable method and outstanding results. Introduced to home bakers as a way to achieve artisan style bread without complicated techniques, it quickly became a kitchen favorite.
Baking the bread in a skillet adds a rustic charm and enhances the crust, creating a loaf that feels both traditional and modern. It is a beautiful example of how simple ingredients can produce extraordinary results.
Why This Recipe Deserves a Spot in Your Kitchen
Versatile: Perfect as a side for soups, stews, and salads or enjoyed on its own.
Budget-Friendly: Made with pantry staples that are affordable and easy to find.
Quick and Easy: No kneading required, making it ideal for beginners.
Customizable: Add herbs, cheese, or spices to create your own variation.
Crowd-Pleasing: Loved by everyone for its soft texture and buttery flavor.
Make-Ahead Friendly: Prepare the dough in advance and bake when ready.
Great for Leftovers: Delicious toasted or turned into sandwiches the next day.
Expert Tips for Perfect Skillet Bread
- Use a hot skillet to achieve a crisp and golden crust.
- Allow the dough to rise fully for the best airy texture.
- Brush the top with melted butter for extra flavor and shine.
- Let the bread cool slightly before slicing to preserve its structure.
Essential Kitchen Tools You Will Need
Mixing Bowl: For combining the dough ingredients.
Cast Iron Skillet: Ensures even heat distribution and a beautifully crisp crust.
Wooden Spoon: Ideal for mixing the sticky dough.
Kitchen Towel: Helps cover the dough during rising.
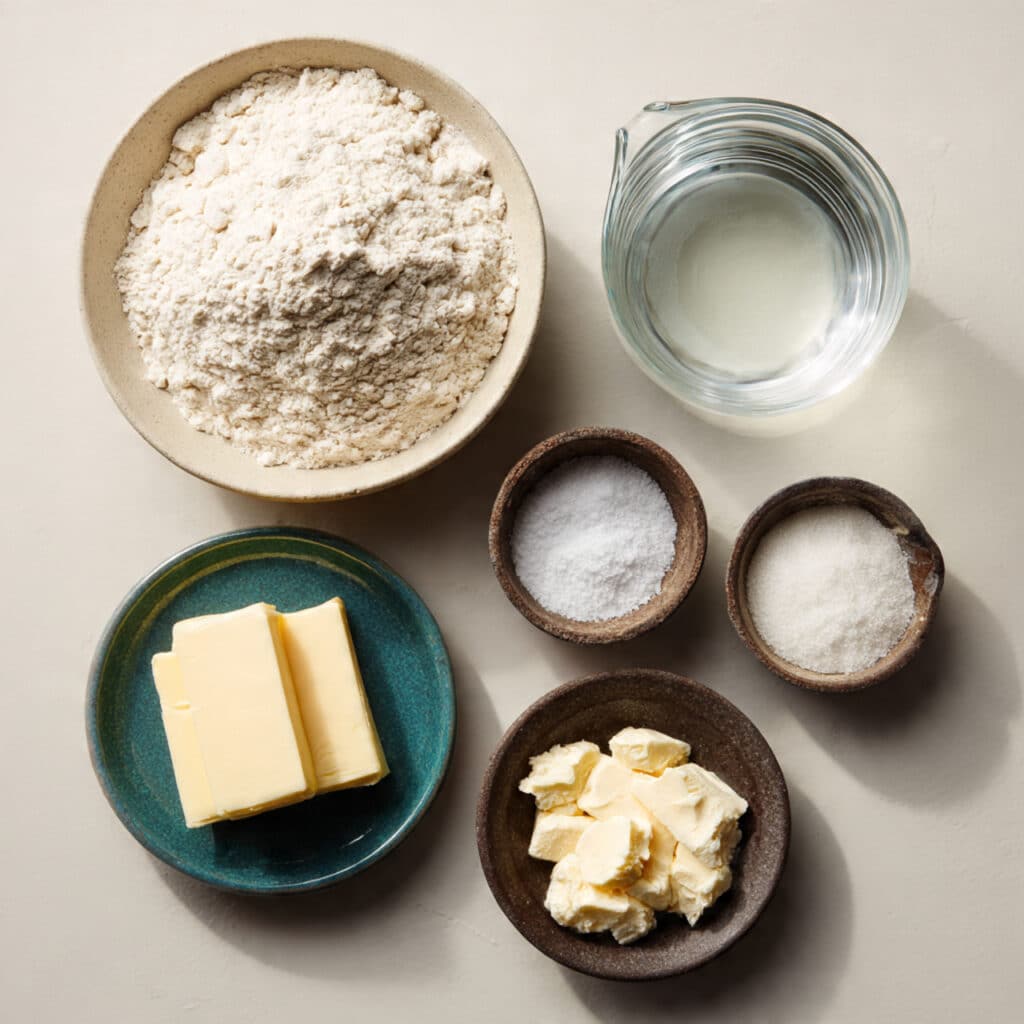
Ingredients You Will Need For No Knead Skillet Butter Bread
- All-Purpose Flour: 3 cups, provides structure and texture.
- Warm Water: 1 ½ cups, activates the yeast and hydrates the dough.
- Instant Yeast: 2 teaspoons, helps the bread rise and develop its airy crumb.
- Salt: 1 teaspoon, enhances flavor and strengthens the dough.
- Unsalted Butter: 2 tablespoons melted, creates a rich flavor and golden crust.
Simple Ingredient Substitutions
All-Purpose Flour: Bread flour for a chewier texture.
Instant Yeast: Active dry yeast, just allow extra time for rising.
Unsalted Butter: Olive oil for a slightly lighter finish.
Key Ingredients Spotlight
Instant Yeast: Provides the lift and airy texture that defines this rustic loaf.
Unsalted Butter: Adds richness and creates the signature golden crust.
Let’s Bake This Beautiful Bread
- Preheat Your Equipment: Preheat the oven to 425°F and place a cast iron skillet inside to heat.
- Combine Ingredients: In a large mixing bowl, stir together flour, instant yeast, and salt. Add warm water and mix until a sticky dough forms.
- Prepare Your Cooking Vessel: Carefully remove the hot skillet and brush it with melted butter to prevent sticking.
- Assemble the Dish: Transfer the dough into the skillet and spread gently into an even layer. Brush the top with melted butter.
- Cook to Perfection: Bake for 25 to 30 minutes until the crust is golden brown and the bread sounds hollow when tapped.
- Finishing Touches: Remove from the oven and brush with additional butter for a glossy finish.
- Serve and Enjoy: Allow the bread to cool slightly before slicing and serving warm.
Texture and Flavor Highlights
This bread boasts a crisp golden crust with a soft and airy interior that melts in your mouth. The buttery finish enhances the flavor, creating a comforting balance of richness and lightness in every bite.
Helpful Tips for Success
- Use warm, not hot, water to activate the yeast properly.
- Avoid overhandling the dough to maintain its airy structure.
- Allow the bread to cool before slicing for clean cuts.
Common Mistakes to Avoid
- Skipping the preheated skillet, which helps create the perfect crust.
- Using water that is too hot, which can deactivate the yeast.
- Cutting the bread too soon, causing it to lose its shape.
Nutrition Facts
Servings: 8
Calories per serving: 190
Note: These values are approximate.
Preparation Time
Prep Time: 10 minutes
Cook Time: 30 minutes
Total Time: 40 minutes
Make-Ahead and Storage Tips
You can prepare the dough ahead of time and let it rise in the refrigerator overnight. Store leftover bread in an airtight container at room temperature for up to two days or freeze for longer storage. Reheat slices in the oven for the best texture.
Serving Suggestions
Serve this bread warm with butter, honey, or jam for a delightful breakfast. It also pairs beautifully with soups, stews, and roasted vegetables, making it a versatile addition to any meal.
Creative Leftover Ideas
Transform leftover slices into croutons, garlic bread, or hearty sandwiches. The soft interior and crisp crust make it ideal for soaking up sauces and spreads.
Additional Tips
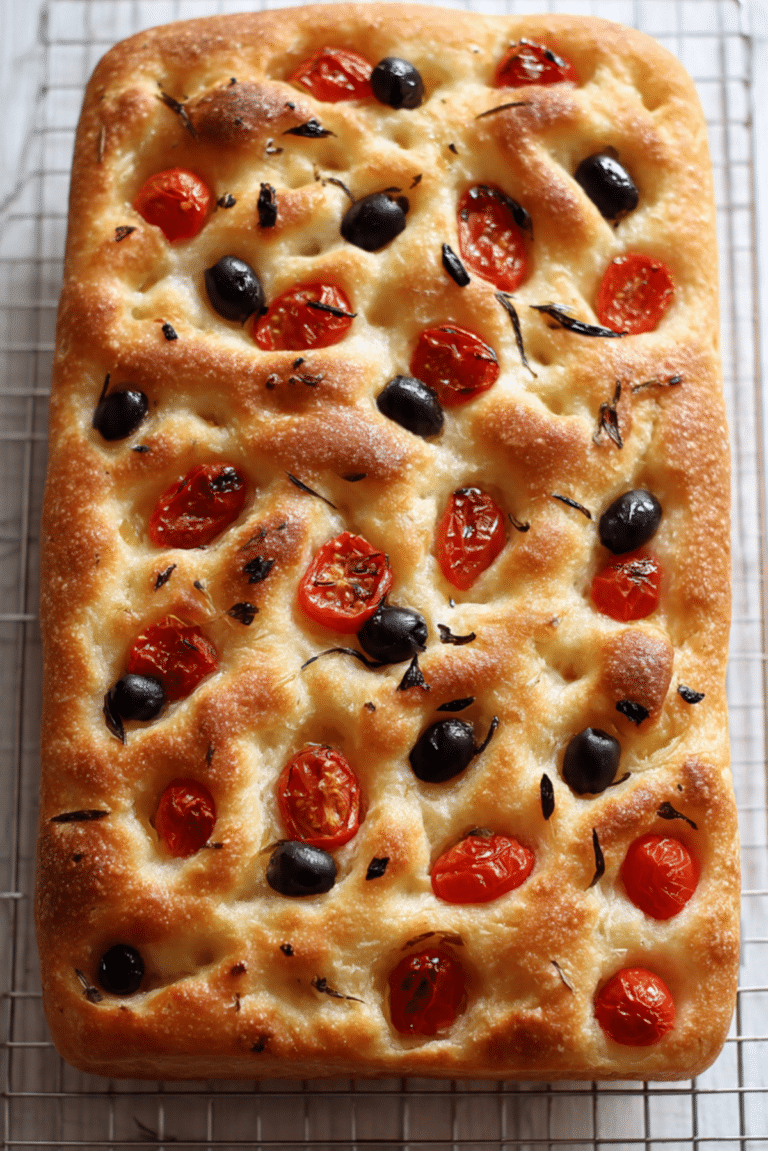
Sprinkle the top with flaky sea salt or herbs before baking for added flavor and visual appeal. A drizzle of olive oil can also enhance its rustic charm.
Make It a Showstopper
Present the bread directly in the cast iron skillet for a rustic and inviting look. Garnish with fresh herbs and serve warm for an impressive centerpiece.
Variations to Try
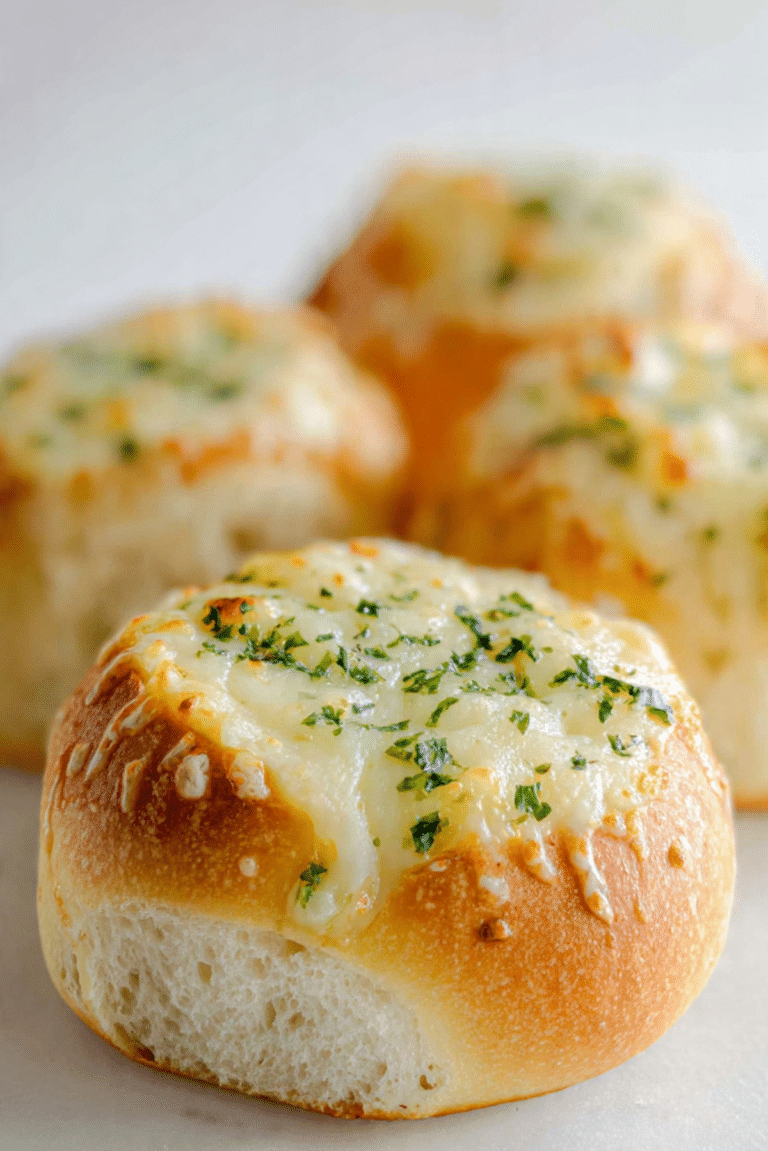
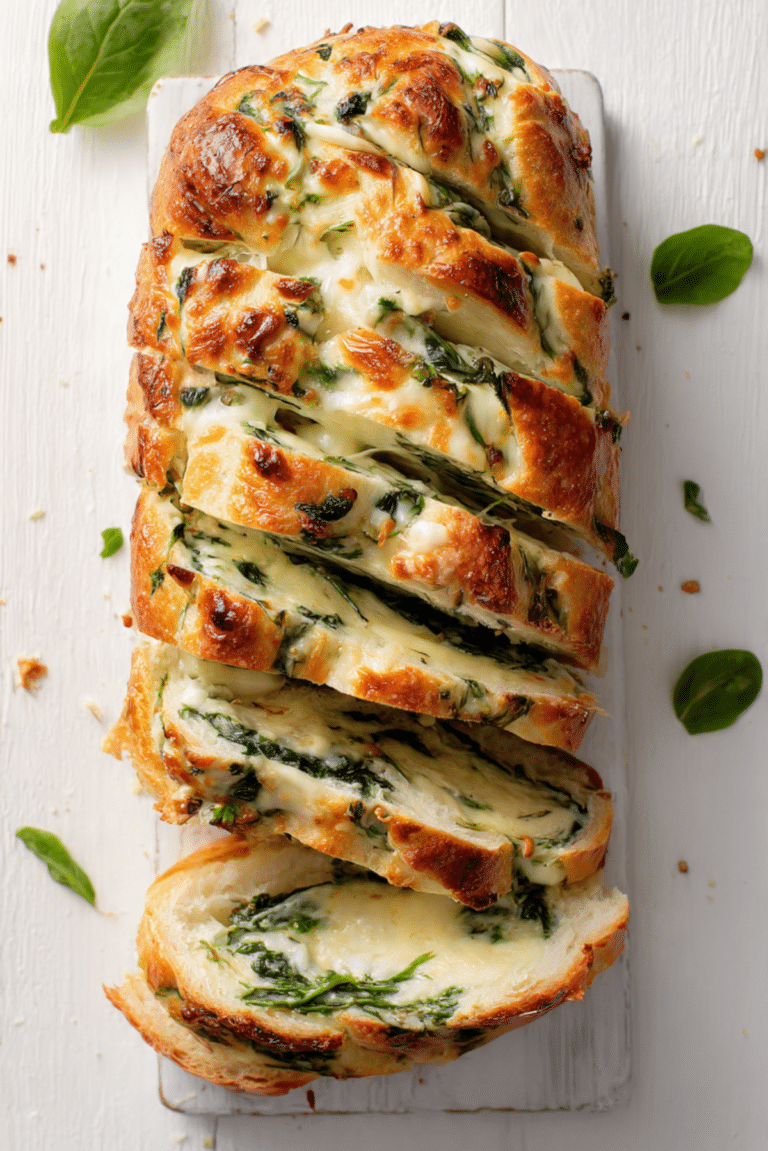
- Add shredded cheese for a savory twist.
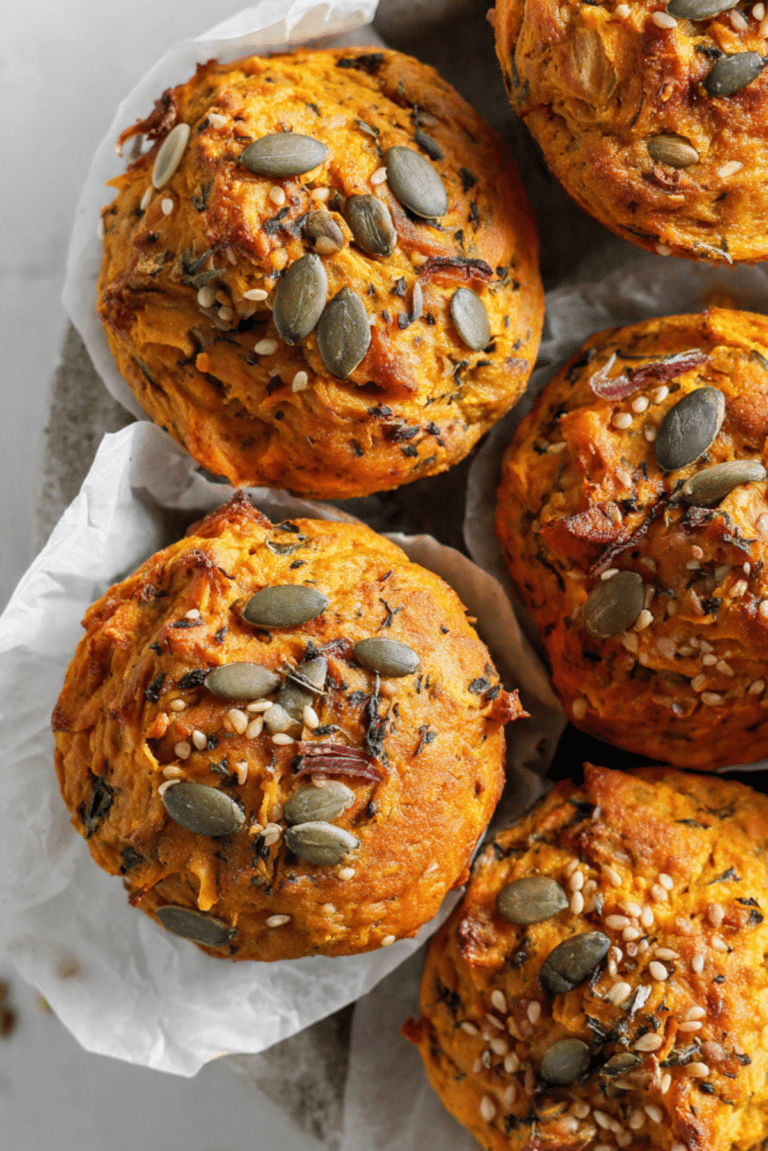
- Mix in dried herbs such as rosemary or thyme.
- Incorporate roasted garlic for deeper flavor.
- Use whole wheat flour for a heartier texture.
FAQ’s
Q1: Can I use active dry yeast instead of instant yeast?
Yes, simply dissolve it in warm water before adding to the flour.
Q2: Do I need a cast iron skillet?
A heavy oven safe skillet works best, but any oven safe pan can be used.
Q3: How do I know when the bread is done?
The crust will be golden brown, and the loaf will sound hollow when tapped.
Q4: Can I add herbs or cheese to the dough?
Absolutely, mix them in before baking for added flavor.
Q5: Can I make this bread gluten free?
Yes, use a gluten free flour blend designed for yeast breads.
Q6: How should I store leftover bread?
Keep it in an airtight container at room temperature for up to two days.
Q7: Can I freeze this bread?
Yes, wrap it tightly and freeze for up to one month.
Q8: Why is my bread dense?
This can happen if the dough did not rise long enough or the yeast was inactive.
Q9: Can I double the recipe?
Yes, but bake in two separate skillets for even cooking.
Q10: Can I use salted butter?
Yes, simply reduce the added salt slightly to balance the flavor.
Conclusion
No Knead Skillet Butter Bread is the perfect combination of simplicity and rustic charm. With its golden crust, soft interior, and rich buttery flavor, this easy bread recipe delivers bakery quality results with minimal effort. Whether you enjoy it fresh from the oven or paired with your favorite dishes, this loaf is sure to become a cherished staple in your kitchen. Give it a try and experience the joy of homemade bread made effortlessly.
PrintNo Knead Skillet Butter Bread
A rustic no knead skillet butter bread with a golden crust, soft airy interior, and rich buttery flavor, perfect for beginners and bread lovers alike.
Ingredients
- 3 cups all-purpose flour
- 1 1/2 cups warm water
- 2 teaspoons instant yeast
- 1 teaspoon salt
- 2 tablespoons unsalted butter, melted
Instructions
- Preheat oven to 425°F and place a cast iron skillet inside to heat.
- In a large bowl, mix flour, instant yeast, and salt. Add warm water and stir until a sticky dough forms.
- Carefully remove the hot skillet and brush it with melted butter.
- Transfer the dough into the skillet and spread gently into an even layer.
- Brush the top with melted butter and bake for 25 to 30 minutes until golden brown.
- Remove from the oven, brush with additional butter, and allow to cool slightly before slicing and serving.
Notes
- Use warm water, not hot, to activate the yeast.
- Preheating the skillet ensures a crisp crust.
- Allow the bread to cool slightly before slicing for best texture.