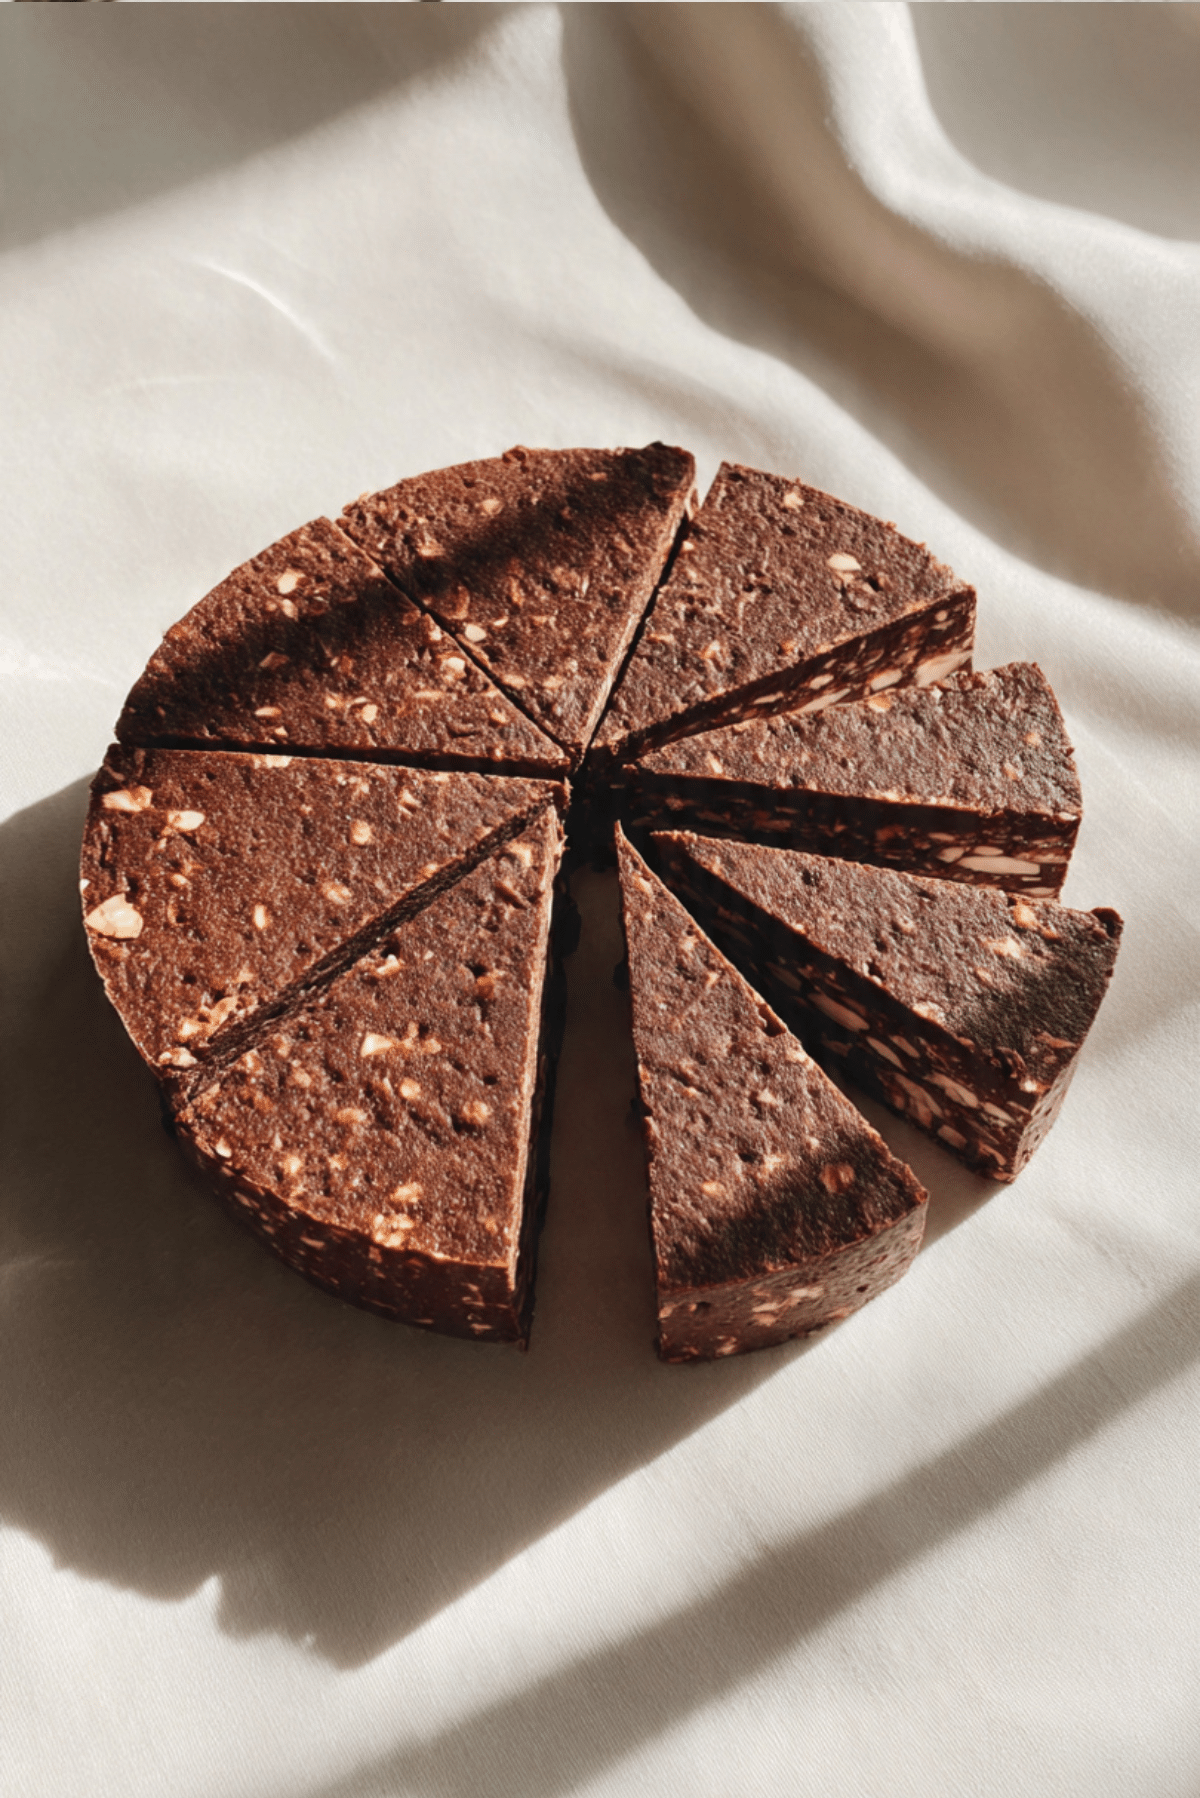
No-Bake Biscuit Cake
There is something deeply comforting about desserts that ask very little of you but give back so much. This no-bake biscuit cake is exactly that kind of treat. It is rich, chocolatey, and packed with soft yet crunchy bites that melt together in every forkful. Trust me, you’re going to love this, because it feels like a childhood memory and a cozy weekend dessert all rolled into one.
Why This Dessert Wins Hearts Every Single Time
What makes this cake special is how effortlessly it comes together while still feeling indulgent and celebratory. You do not need an oven, fancy tools, or advanced skills. You just need a bit of patience while it chills, and in return, you get a slice that looks impressive and tastes even better.
A Little Backstory Behind This Beloved Treat
This style of dessert has roots in home kitchens across Europe and the Middle East, where ovens were not always available or practical. Families relied on simple pantry ingredients like tea biscuits and cocoa to create sweets for gatherings and celebrations. Over time, it became a nostalgic favorite, passed down through generations as a reliable, no-fail dessert.
What Makes This Recipe a Keeper
This is where things really start to shine, and now let’s dive into why you will keep coming back to it.
Versatile: You can dress it up for guests or keep it simple for a quiet night treat, and it always fits the moment.
Budget-Friendly: Basic ingredients like biscuits, cocoa, and milk keep this easy on your wallet.
Quick and Easy: No baking, no complicated steps, and no stress in the kitchen.
Customizable: Add nuts, dried fruit, or extra chocolate if you feel adventurous.
Crowd-Pleasing: Kids and adults both fall for its creamy texture and chocolate flavor.
Make-Ahead Friendly: It actually tastes better after resting, which is a win for planning ahead.
Great for Leftovers: The texture holds beautifully in the fridge for days.
Pro Tips From the Kitchen
Before we get our hands messy, here are a few insider tips that make a good cake truly great.
- Let the chocolate mixture cool slightly before mixing with biscuits so they stay chunky.
- Line your pan well so unmolding is smooth and stress free.
- Chill longer if you can, patience really pays off with cleaner slices.
Tools You Will Need
You do not need much, which is part of the charm.
Mixing Bowl: Large enough to fold everything together comfortably.
Saucepan: For gently melting and combining the chocolate mixture.
Spatula: Helps scrape every bit of chocolate goodness.
Pan or Mold: A springform or loaf pan works perfectly.
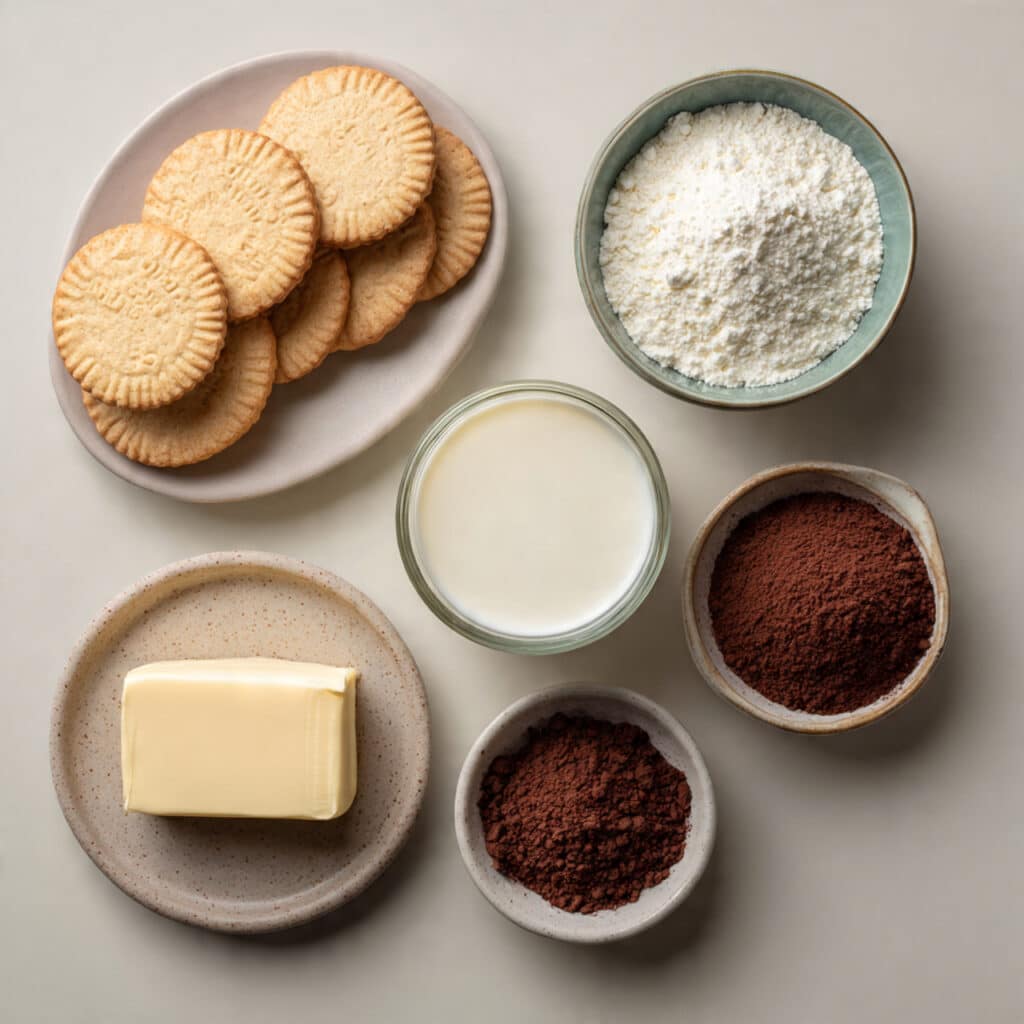
Ingredients You Will Need For This Dessert
Everything works together in harmony here, and each ingredient has a role to play.
- Plain Tea Biscuits: 300 grams, these provide structure and that classic soft crunch.
- Unsalted Butter: 120 grams, adds richness and helps everything bind.
- Whole Milk: 120 milliliters, keeps the texture smooth and creamy.
- Granulated Sugar: 100 grams, balances the cocoa with gentle sweetness.
- Unsweetened Cocoa Powder: 40 grams, brings deep chocolate flavor.
- Vanilla Extract: 1 teaspoon, rounds out the chocolate notes.
Easy Ingredient Swaps
If you are missing something, do not worry.
Plain Tea Biscuits: Digestive biscuits or similar plain cookies.
Whole Milk: Plant-based milk with a neutral flavor.
Granulated Sugar: Light brown sugar for a deeper taste.
Spotlight on Key Ingredients
Unsweetened Cocoa Powder: This is where the bold chocolate flavor comes from, so choose one you enjoy.
Plain Tea Biscuits: They soften just enough to create layers without turning mushy.
Let’s Bring It All Together
Now comes the fun part, and now let’s dive into the process step by step.
- Preheat Your Equipment: No oven needed here, simply prepare your pan by lining it with parchment paper.
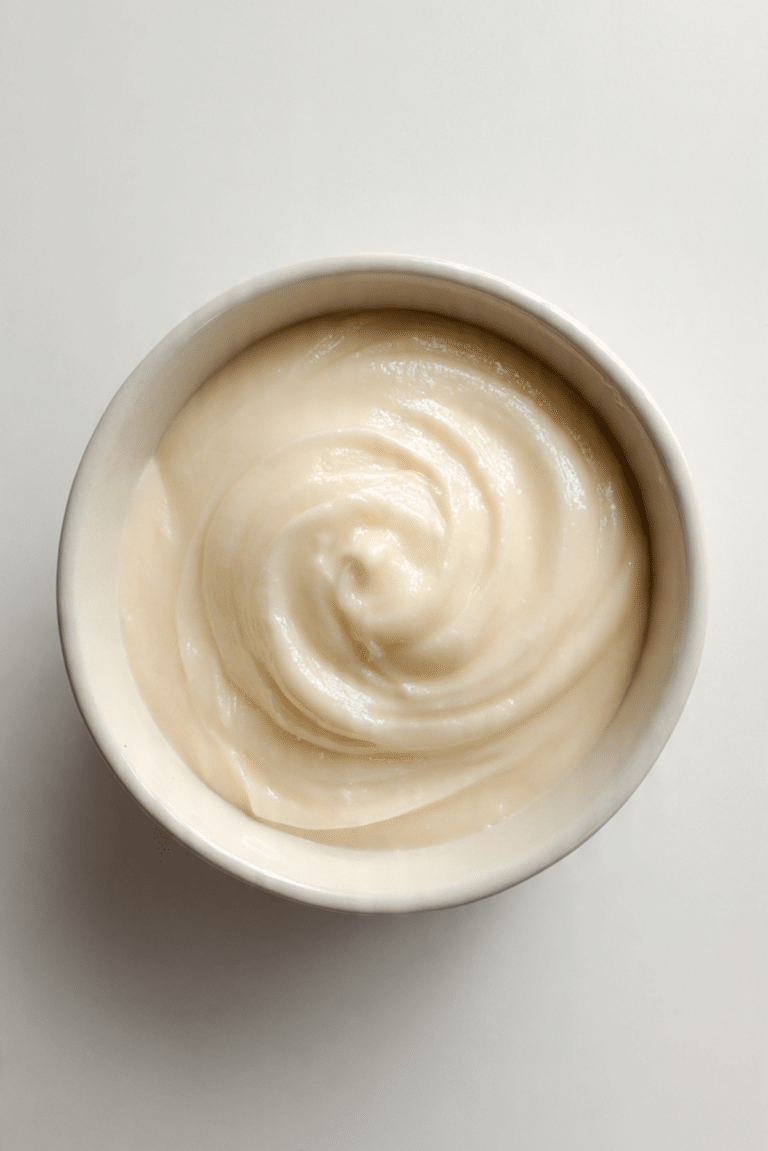
- Combine Ingredients: In a saucepan, add butter, milk, sugar, and cocoa powder, then heat gently while stirring until smooth.
- Prepare Your Cooking Vessel: Remove the pan from heat and stir in the vanilla extract.
- Assemble the Dish: Break the biscuits into chunks and fold them into the chocolate mixture until well coated.
- Cook to Perfection: Press the mixture firmly into your lined pan, smoothing the top.
- Finishing Touches: Cover and refrigerate for at least 4 hours until fully set.
- Serve and Enjoy: Slice and serve chilled for the best texture.
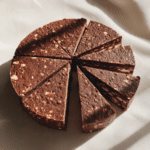
Texture and Flavor, What to Expect
Each bite gives you a soft, fudgy chocolate base with little pops of biscuit that hold their shape. The sweetness is balanced, not overpowering, and the cocoa flavor deepens as it chills. Let me tell you, it’s worth every bite.
Helpful Tips for Best Results
A few extra notes to keep things smooth.
- Press firmly to avoid crumbly slices.
- Chill overnight for the cleanest cuts.
- Wipe your knife between slices for a neat finish.
What to Avoid and How to Fix It
Even simple recipes have small pitfalls.
- Do not overheat the chocolate mixture, keep it gentle.
- Avoid crushing biscuits too finely, chunks matter.
- Do not rush the chilling time, patience is key.
Nutrition Facts at a Glance
Servings: 10
Calories per serving: Approximately 320
Note: These are approximate values.
Preparation Time Breakdown
Prep Time: 15 minutes
Cook Time: 10 minutes
Total Time: 25 minutes plus chilling
Make-Ahead and Storage Tips
This cake loves the fridge. You can make it one or two days ahead and keep it covered. Store leftovers in an airtight container for up to 5 days. Freezing is also possible, just thaw slowly in the fridge before serving.
How to Serve It
Serve slices chilled with a cup of coffee or tea. You can also add a light dusting of cocoa powder on top for a simple finish.
Creative Leftover Transformations
Leftover slices can be crumbled into parfaits with whipped cream or layered into dessert cups for a fresh twist.
Extra Little Tips
If you want sharper slices, let the cake sit at room temperature for five minutes before cutting.
Make It a Showstopper
Use a clean cake stand and garnish lightly with chocolate shavings for an elegant presentation.
Fun Variations to Try
- Add chopped nuts for crunch.
- Mix in dried fruit for contrast.
- Swirl melted chocolate on top before chilling.
- Add a hint of orange zest for brightness.
FAQ’s
1. Can I use different biscuits?
Yes, any plain, lightly sweet biscuit works well.
2. Does it need to stay refrigerated?
Yes, chilling keeps the structure firm.
3. Can I reduce the sugar?
You can slightly reduce it, but balance is important.
4. How long does it need to set?
At least 4 hours, overnight is best.
5. Can I freeze it?
Yes, wrap well and freeze up to one month.
6. Is this dessert very sweet?
It is balanced, rich but not overly sweet.
7. Can I add toppings?
Light toppings work best, like cocoa or chocolate curls.
8. What pan works best?
A springform pan makes unmolding easier.
9. Can kids help make this?
Absolutely, it is a great beginner dessert.
10. Does it travel well?
Yes, keep it chilled and it holds nicely.
Conclusion
This no-bake biscuit cake is one of those recipes you will reach for again and again. It is simple, comforting, and surprisingly impressive for how little effort it takes. This one’s a total game-changer for busy days and sweet cravings, so give it a try and enjoy every creamy, chocolatey bite.
PrintNo-Bake Biscuit Cake
A rich and chocolatey no-bake dessert made with tender biscuit pieces folded into a smooth cocoa mixture, chilled until perfectly sliceable and deeply comforting.
- Prep Time: 15 minutes
- Cook Time: 10 minutes
- Total Time: 25 minutes plus chilling
- Yield: 10 servings
- Category: Dessert
- Method: No-Bake
- Cuisine: European
- Diet: Vegetarian
Ingredients
- 300 grams plain tea biscuits
- 120 grams unsalted butter
- 120 milliliters whole milk
- 100 grams granulated sugar
- 40 grams unsweetened cocoa powder
- 1 teaspoon vanilla extract
Instructions
- Line a pan with parchment paper and set it aside.
- In a saucepan over low heat, add the butter, milk, sugar, and cocoa powder.
- Stir continuously until the mixture is smooth and fully combined.
- Remove from heat and stir in the vanilla extract.
- Break the biscuits into medium chunks and add them to the chocolate mixture.
- Gently fold until all biscuit pieces are evenly coated.
- Transfer the mixture into the prepared pan and press it down firmly.
- Smooth the top, cover, and refrigerate for at least 4 hours until set.
- Slice and serve chilled.
Notes
- For cleaner slices, wipe the knife between cuts.
- Chilling overnight gives the best texture.
- Do not crush the biscuits too finely.
Nutrition
- Serving Size: 1 slice
- Calories: 320
- Sugar: 22 g
- Sodium: 95 mg
- Fat: 18 g
- Saturated Fat: 11 g
- Unsaturated Fat: 6 g
- Trans Fat: 0 g
- Carbohydrates: 36 g
- Fiber: 2 g
- Protein: 4 g
- Cholesterol: 45 mg