Milk Vanilla Cream
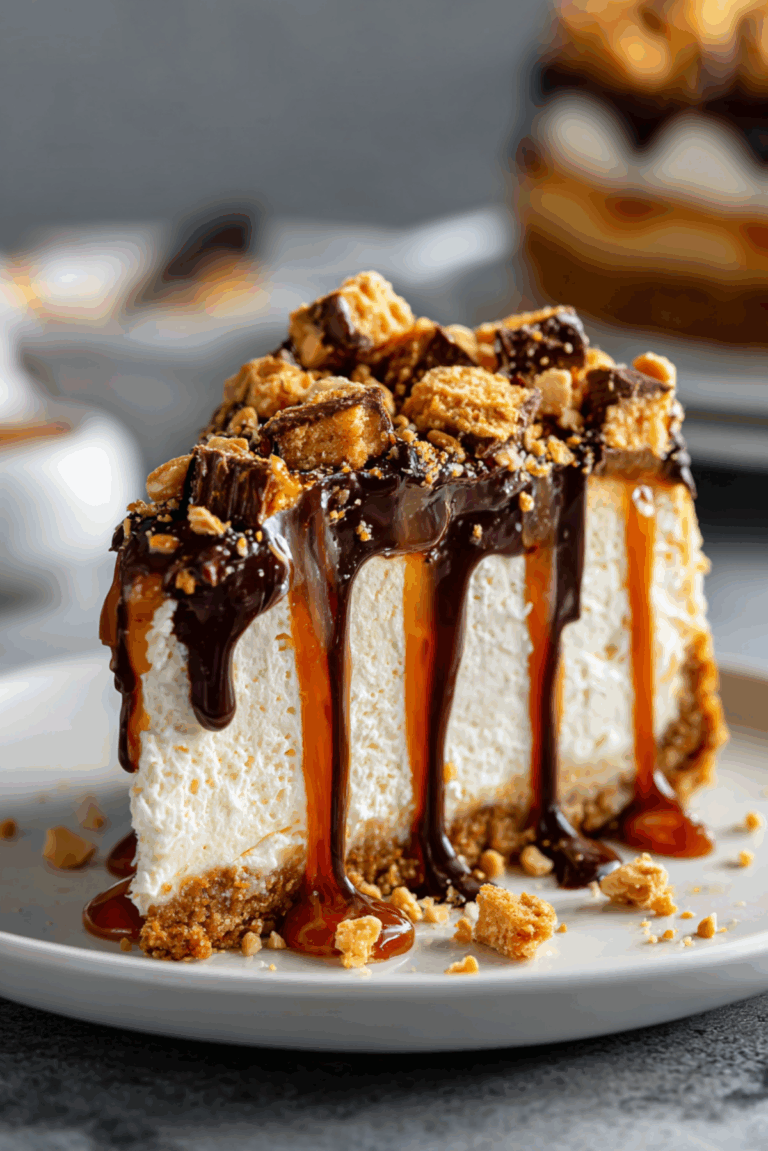
There is something so comforting about a bowl of silky milk vanilla cream sitting on the counter, just waiting to be dipped into. The scent of warm vanilla gently floating through the kitchen, the soft shine on the surface, and that first spoonful that melts instantly on your tongue. Trust me, you’re going to love this. It is simple, honest, and surprisingly elegant for something made from a handful of pantry staples.
Why This Creamy Classic Deserves a Spot in Your Kitchen
Some desserts are flashy, layered, and complicated. And then there are those quiet classics that feel like a warm hug. This milk vanilla cream falls into that second category. It is smooth, lightly sweet, and rich without being heavy. You can serve it on its own, layer it into cakes, or spoon it over fruit. This one’s a total game changer when you need something versatile and dependable.
A Sweet Little Story Behind Vanilla Cream
Vanilla custards and milk based creams have been part of home kitchens for generations. From European puddings to simple stovetop creams made by grandmothers who knew exactly when the mixture was thick enough just by the way it coated the spoon, this style of dessert has always been about comfort and simplicity. It is humble, but it carries tradition in every bite.
Why You Can Always Count on This Recipe
Before we dive into the details, let me tell you why this cream is such a keeper.
Versatile: You can use it as a filling for cakes, a topping for pies, or enjoy it straight from the bowl. It adapts beautifully to whatever dessert you are creating.
Budget-Friendly: Made with milk, sugar, cornstarch, and vanilla, it relies on simple ingredients that are easy to find and affordable.
Quick and Easy: The steps are straightforward and beginner friendly, yet the result tastes like something from a bakery.
Customizable: You can adjust sweetness, add citrus zest, or even fold in a bit of whipped cream for a lighter finish.
Crowd-Pleasing: Its smooth texture and gentle vanilla flavor appeal to both kids and adults.
Make-Ahead Friendly: It stores well in the refrigerator, making it perfect for planning ahead.
Great for Leftovers: Leftover cream can be layered into parfaits or spread between cookies for a quick treat.
Chef’s Secrets for Silky Smooth Results
Making a custard style cream is simple, but a few small details make all the difference.
- Always whisk continuously once the mixture begins to heat, this prevents lumps from forming.
- Cook over medium heat, not high, patience keeps the texture smooth.
- Add the vanilla at the end for the freshest flavor.
- Strain the cream if you want an ultra smooth finish.
- Cover the surface with plastic wrap while cooling to prevent a skin from forming.
Kitchen Tools That Make It Effortless
You do not need fancy equipment, just a few reliable basics.
Medium Saucepan: Ensures even heat distribution while cooking the cream.
Whisk: Essential for blending and preventing lumps.
Measuring Cups and Spoons: Accuracy keeps the texture perfect.
Heatproof Bowl: For cooling the cream properly.
Fine Mesh Strainer: Optional, but great for an extra silky result.
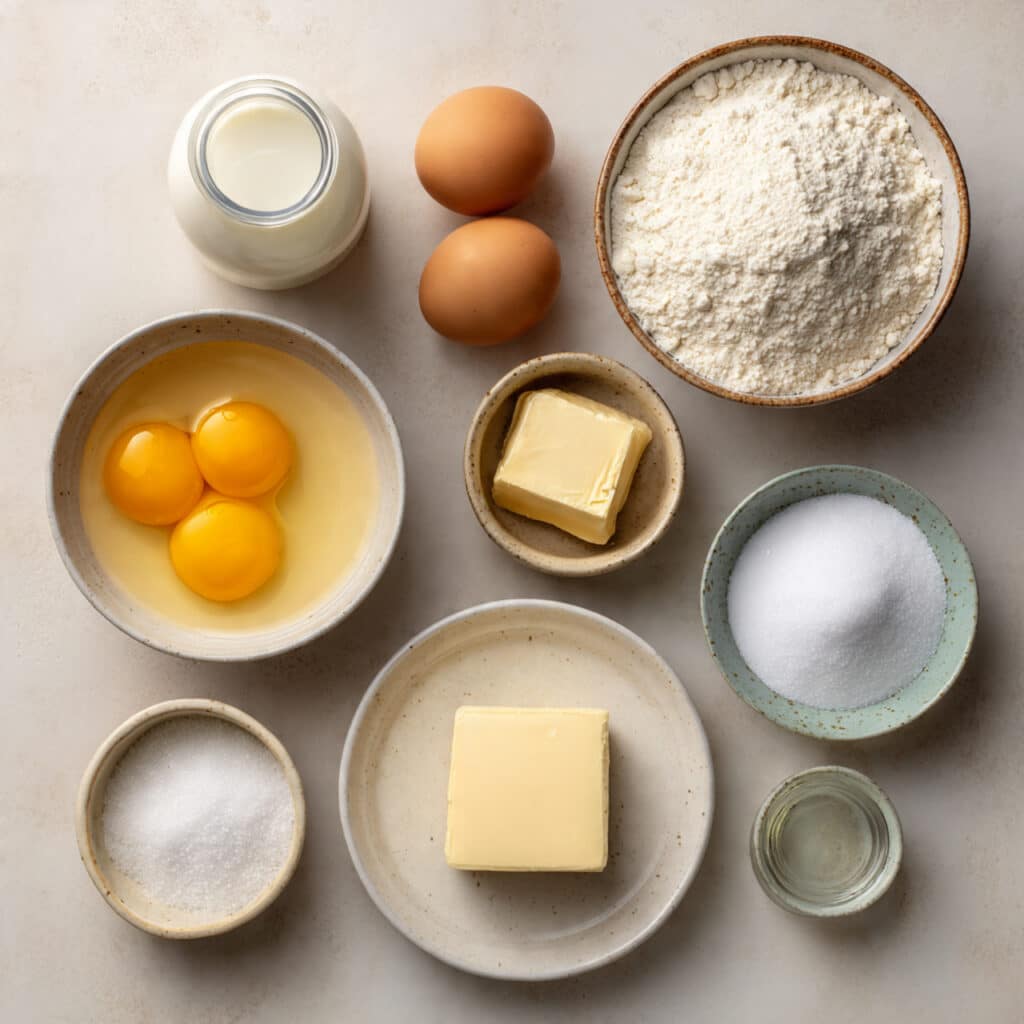
The Simple Ingredients That Create Magic
It is amazing how a few ingredients can transform into something this luxurious.
- Whole Milk: 2 cups, the base that gives body and creaminess.
- Granulated Sugar: 1/2 cup, adds gentle sweetness without overpowering.
- Cornstarch: 3 tablespoons, thickens the cream to that perfect spoonable texture.
- Egg Yolks: 2 large, provide richness and a smooth custard feel.
- Pure Vanilla Extract: 2 teaspoons, brings warmth and aroma.
- Unsalted Butter: 1 tablespoon, stirred in at the end for a glossy finish.
- Pinch of Salt: Just a small pinch, enhances all the flavors.
Flexible Swaps If You Need Them
Sometimes you work with what you have, and that is perfectly fine.
Whole Milk: You can use 2 percent milk, though the cream will be slightly lighter.
Granulated Sugar: Coconut sugar can work, though it will deepen the color.
Cornstarch: Arrowroot powder can be used in the same amount.
Butter: Can be skipped if you want a lighter texture.
Spotlight on the Star Flavors
Pure Vanilla Extract: This is the heart of the recipe. A good quality vanilla makes the aroma irresistible and the flavor deep and comforting.
Egg Yolks: They give the cream its rich mouthfeel and help create that luscious, custard like consistency.
Let’s Make This Silky Dream Together
Now let’s dive into the process and bring everything together.
- Preheat Your Equipment: There is no oven needed, but set your saucepan on the stove and gather all ingredients measured and ready.
- Combine Ingredients: In a bowl, whisk the egg yolks, sugar, cornstarch, and salt until smooth and pale.
- Prepare Your Cooking Vessel: Pour the milk into the saucepan and warm it over medium heat until it is hot but not boiling.
- Assemble the Dish: Slowly pour some of the warm milk into the egg mixture while whisking constantly, then return everything to the saucepan.
- Cook to Perfection: Cook over medium heat, whisking continuously, until the mixture thickens and gently bubbles. This usually takes 5 to 7 minutes.
- Finishing Touches: Remove from heat, stir in the butter and vanilla extract until fully incorporated and glossy.
- Serve and Enjoy: Pour into a bowl, cover the surface, and let it cool before serving chilled or slightly warm.
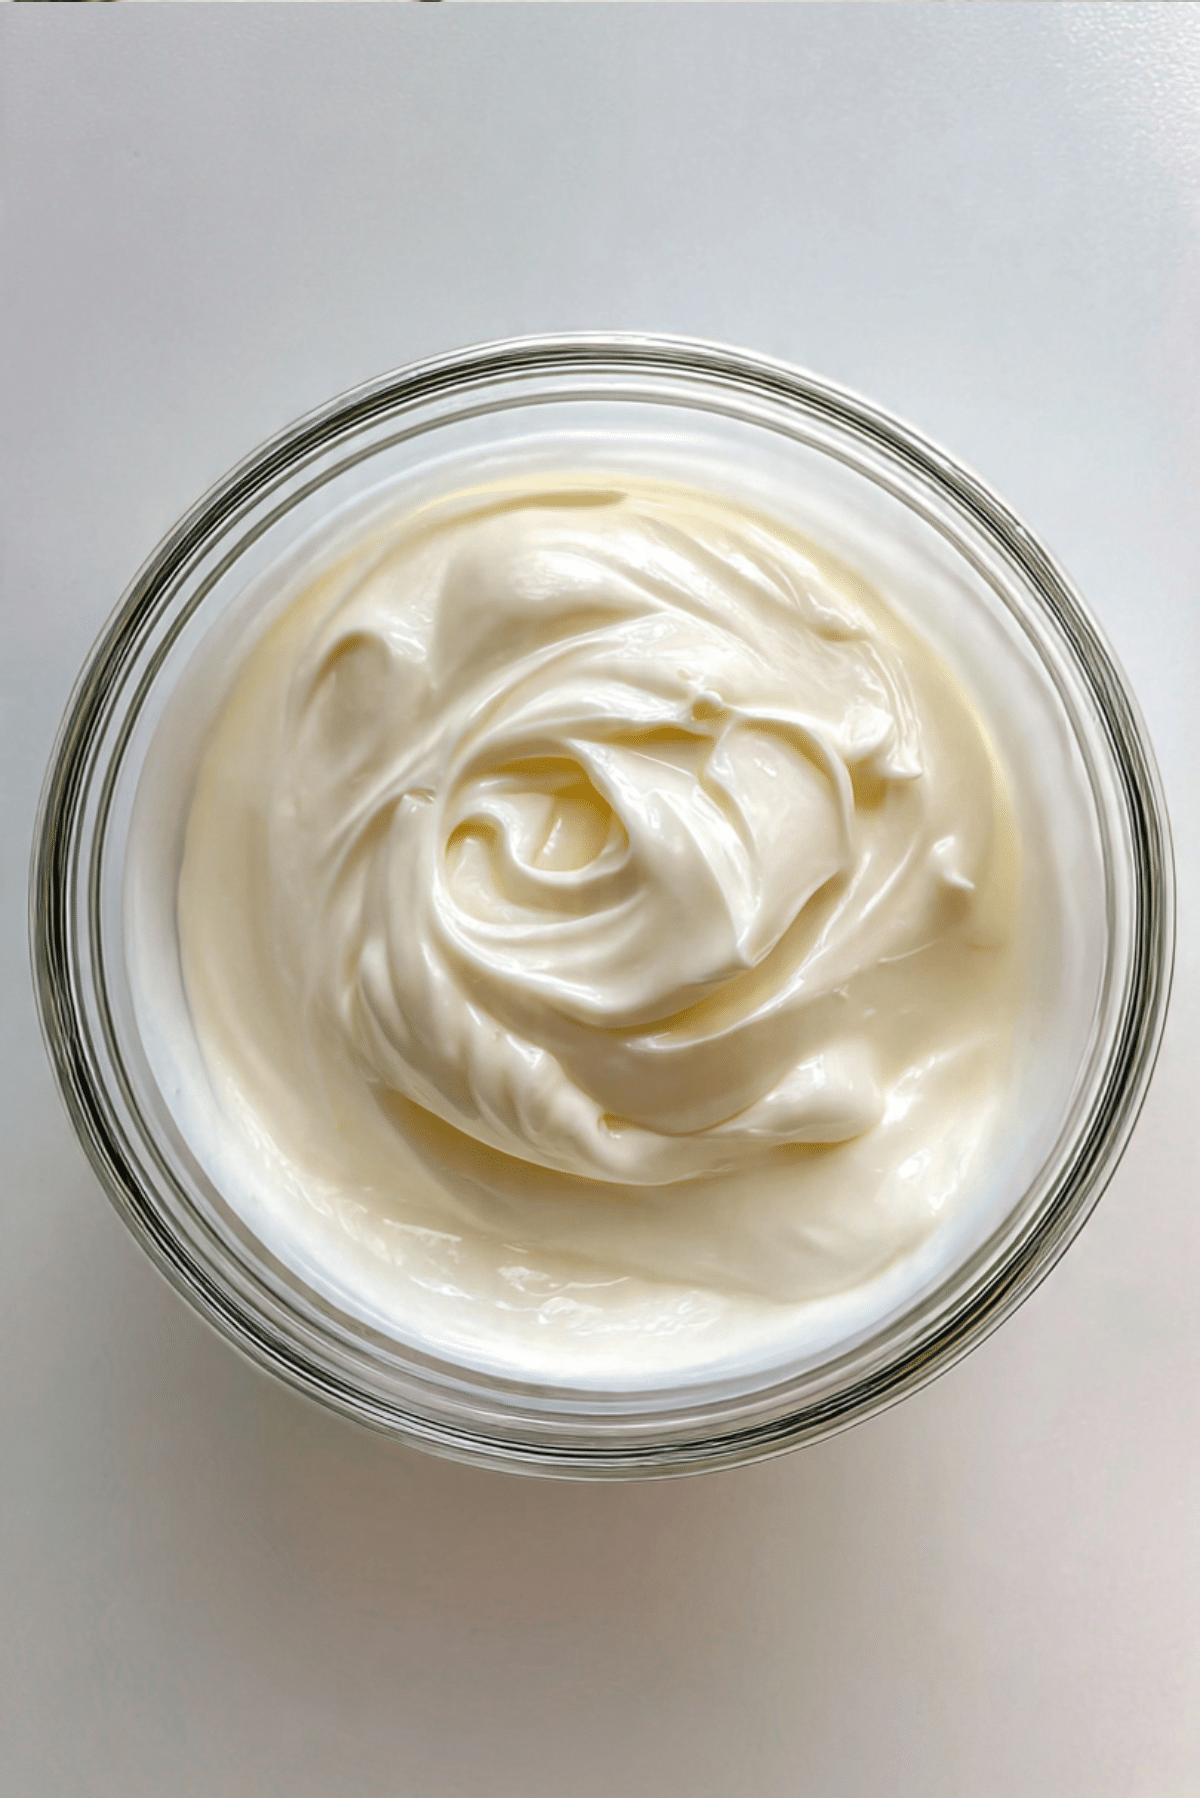
The Texture and Flavor Journey
As it cooks, you will notice the mixture transform from thin and milky to thick and velvety. The aroma of vanilla rises gently, and the sugar softens the dairy notes into something smooth and comforting. Once cooled, the cream sets into a spoonable, silky dessert that feels rich but not heavy.
Helpful Tips for Foolproof Results
A few friendly reminders before you start.
- Whisk constantly once the mixture thickens to avoid lumps.
- Do not let it boil aggressively, gentle bubbling is enough.
- Chill for at least 2 hours for the best texture.
Mistakes to Watch Out For
Even simple recipes have little traps, but they are easy to avoid.
- Cooking on high heat can cause curdling, keep it moderate.
- Skipping the whisking can lead to lumps, stay attentive.
- Forgetting to cover while cooling can create a skin on top.
Nutrition Snapshot
Servings: 4
Calories per serving: Approximately 210
Note: These are approximate values.
Time Breakdown
Prep Time: 10 minutes
Cook Time: 10 minutes
Total Time: 20 minutes
Make It Ahead and Store It Right
This cream actually benefits from a little chill time. You can prepare it up to two days in advance and keep it refrigerated in an airtight container. If it thickens too much, simply whisk it gently before serving. Freezing is not recommended, as the texture may change once thawed.
Serving Ideas to Elevate Every Spoonful
Serve it layered with fresh berries for a light dessert. Spoon it into tart shells for quick custard tarts. Or use it between cake layers for a soft, creamy filling. Let me tell you, it is worth every bite when paired with sliced strawberries.
Reinventing Leftovers in the Sweetest Way
Leftover cream can become a parfait with granola and fruit. You can also fold it into whipped cream for a lighter mousse style dessert. Spread it over pancakes or waffles for a breakfast twist.
Extra Tips for Even Better Results
For a deeper flavor, let the milk gently infuse with a split vanilla bean before cooking. Always taste and adjust sweetness while it is still warm. And remember, simple ingredients deserve careful attention.
Turn It Into a Showstopper
Serve the cream in small glass jars topped with fresh berries and a mint leaf. The pale ivory color looks beautiful against vibrant fruit. A little dusting of cocoa powder can also add contrast and elegance.
Fun Variations to Try
- Add lemon zest for a bright citrus twist.
- Stir in melted dark chocolate for a chocolate vanilla blend.
- Fold in whipped cream for a lighter, airy texture.
- Add a spoonful of fruit puree for a flavored cream.
FAQ’s
Q1: Can I make this without eggs?
Yes, you can increase the cornstarch slightly and omit the egg yolks, though the texture will be less rich.
Q2: Why did my cream turn lumpy?
It was likely cooked too quickly or not whisked enough. Straining can fix minor lumps.
Q3: Can I use plant based milk?
Yes, but the texture may be thinner depending on the milk used.
Q4: How thick should it be?
It should coat the back of a spoon and hold soft peaks when cooled.
Q5: Can I reduce the sugar?
Yes, but keep in mind the sweetness balances the milk and vanilla.
Q6: Is it gluten free?
Yes, since it uses cornstarch instead of flour.
Q7: Can I serve it warm?
Absolutely, it is delicious both warm and chilled.
Q8: How long does it last in the fridge?
Up to two days in an airtight container.
Q9: Can I pipe it into pastries?
Yes, once fully chilled it pipes beautifully.
Q10: Can I double the recipe?
Yes, just use a larger saucepan and whisk thoroughly.
Conclusion
Milk vanilla cream proves that simple ingredients can create something truly special. Smooth, fragrant, and comforting, it fits into so many desserts and always delivers that gentle sweetness we all crave. Give it a try in your kitchen, and enjoy every silky spoonful.
PrintMilk Vanilla Cream
A silky smooth milk vanilla cream made with simple pantry ingredients, gently cooked to create a rich, glossy, spoonable dessert that is perfect on its own or as a filling for cakes and pastries.
Ingredients
- 2 cups whole milk
- 1/2 cup granulated sugar
- 3 tablespoons cornstarch
- 2 large egg yolks
- 2 teaspoons pure vanilla extract
- 1 tablespoon unsalted butter
- Pinch of salt
Instructions
- In a bowl, whisk together the egg yolks, granulated sugar, cornstarch, and pinch of salt until smooth and pale.
- Pour the whole milk into a medium saucepan and warm over medium heat until hot but not boiling.
- Slowly pour some of the warm milk into the egg mixture while whisking constantly to temper it.
- Return the mixture to the saucepan and cook over medium heat, whisking continuously.
- Continue cooking for 5 to 7 minutes until the cream thickens and begins to gently bubble.
- Remove from heat and stir in the unsalted butter and pure vanilla extract until fully incorporated and glossy.
- Pour into a bowl, press plastic wrap directly onto the surface, and let cool before serving chilled or slightly warm.
Notes
- Whisk constantly while cooking to prevent lumps.
- Do not let the mixture boil aggressively to avoid curdling.
- Chill for at least 2 hours for best texture.
- If needed, strain through a fine mesh sieve for extra smoothness.