Milk Vanilla Cake
There’s something irresistibly comforting about a slice of milk vanilla cake. The moment it hits the table, the soft aroma of vanilla and the delicate sweetness invite you in like a warm hug. It’s the kind of cake that doesn’t try too hard to impress yet completely steals the show once you take a bite. Moist, fluffy, and kissed with creamy goodness, this cake is simple elegance in dessert form.
Behind the Recipe
This cake reminds me of quiet Sunday afternoons growing up. My mom would whisk together simple ingredients, and by the time cartoons were over, the house smelled like heaven. The first slice always went to whoever helped clean up, and I made sure I got my turn. This milk vanilla cake is a nod to those easy days when joy came from a forkful of something sweet and homemade.
Recipe Origin or Trivia
While vanilla might seem like a basic flavor today, it once was rare and precious. Originating from the orchids of Mesoamerica, vanilla was first used by the Totonac people before being introduced to Europe. The combination of milk and vanilla has long been a staple in European baking, creating cakes that are light yet rich, perfect for celebrations or everyday treats.
Why You’ll Love Milk Vanilla Cake
Here’s why this cake deserves a spot in your baking rotation:
Versatile: Whether for birthdays or casual brunches, this cake fits every occasion.
Budget-Friendly: Made with pantry staples, it’s affordable without sacrificing flavor.
Quick and Easy: No fancy equipment or skills needed, just mix, bake, and enjoy.
Customizable: Add a fruit filling, swap the frosting, or even turn it into cupcakes.
Crowd-Pleasing: Its classic flavor is a favorite among kids and adults alike.
Make-Ahead Friendly: Bake it a day early and let the flavors deepen overnight.
Great for Leftovers: Stays moist for days, making it perfect for nibbling later.
Chef’s Pro Tips for Perfect Results
Getting this cake just right isn’t hard, but here are a few things that will help:
- Use room temperature ingredients so everything mixes smoothly.
- Don’t overmix the batter. Just combine until no streaks remain.
- Use full-fat milk for a richer texture and taste.
- Let the cake cool completely before frosting to avoid melting.
- If you want an extra moist crumb, brush the layers with warm milk before assembling.
Kitchen Tools You’ll Need
Before we start baking, make sure you have these handy:
Mixing Bowls: For combining wet and dry ingredients separately.
Electric Mixer: To whip the batter to fluffy perfection.
Measuring Cups and Spoons: Precision matters, especially in baking.
Cake Pans (8-inch): Two round pans to create those perfect layers.
Cooling Rack: Allows your cake to cool evenly after baking.
Offset Spatula: For smooth, clean frosting application.
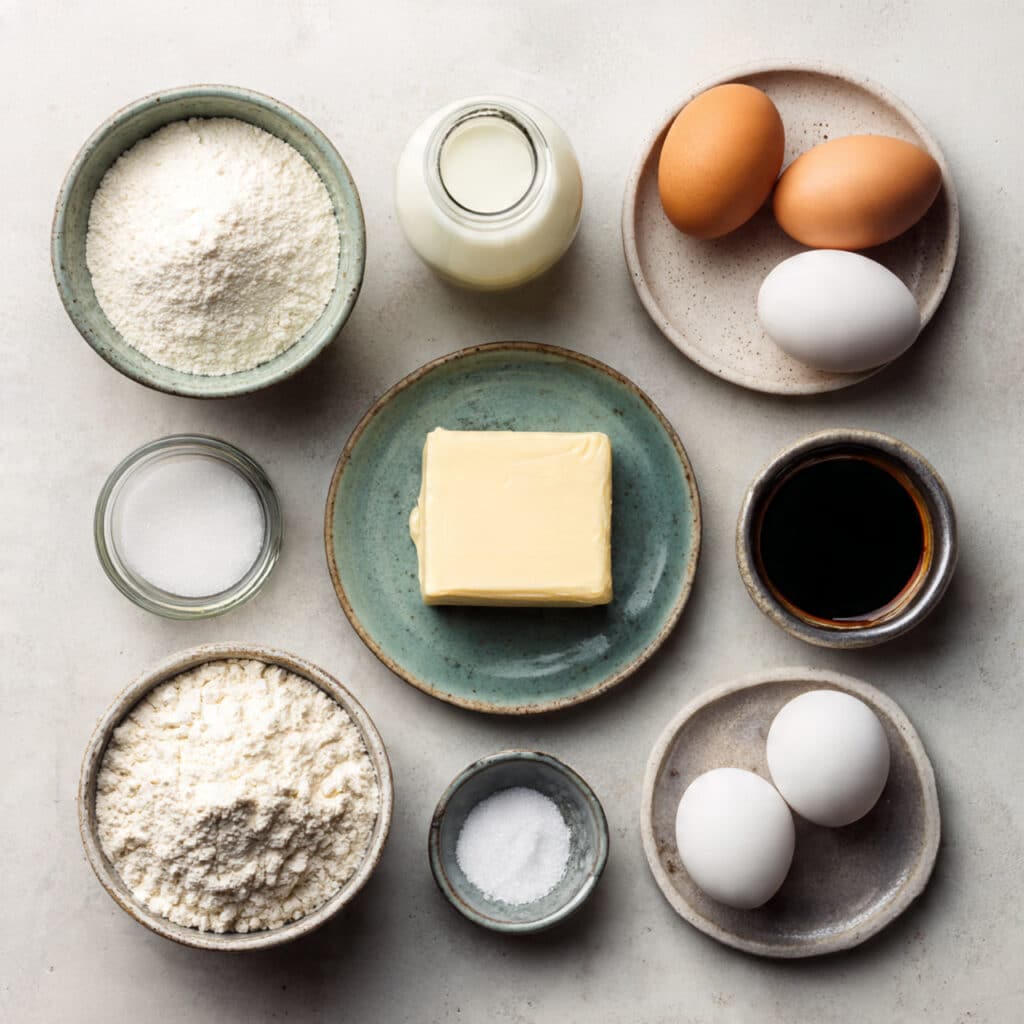
Ingredients in Milk Vanilla Cake
This cake is all about harmony, with each ingredient playing a gentle, delicious role. Here’s what you’ll need:
- All-Purpose Flour: 2 ½ cups. It forms the base and gives structure to the cake.
- Granulated Sugar: 1 ¾ cups. Adds sweetness and keeps the texture tender.
- Unsalted Butter: 1 cup (softened). Gives richness and that melt-in-your-mouth feel.
- Whole Milk: 1 cup. Keeps the crumb moist and brings out the vanilla flavor.
- Eggs: 4 large. They provide structure and help the cake rise beautifully.
- Vanilla Extract: 2 teaspoons. The star of the show, adding sweet floral notes.
- Baking Powder: 2 ½ teaspoons. Helps the cake rise evenly.
- Salt: ½ teaspoon. Balances the sweetness and boosts overall flavor.
Ingredient Substitutions
Don’t worry if you’re out of something, here are some smart swaps:
All-Purpose Flour: Cake flour for a finer crumb.
Whole Milk: Buttermilk or oat milk for a slight twist.
Butter: Margarine or a vegan butter alternative.
Granulated Sugar: Coconut sugar or light brown sugar.
Eggs: Use applesauce or flaxseed meal for an egg-free version.
Ingredient Spotlight
Vanilla Extract: High-quality pure vanilla extract elevates the entire cake. It’s not just for aroma, it rounds out every bite with warmth and depth.
Whole Milk: This brings creaminess and moist texture. Using full-fat milk really makes a difference in richness.
Instructions for Making Milk Vanilla Cake
Let’s dive into the fun part. Follow these steps and you’ll have a beautiful, soft cake ready to share.
- Preheat Your Equipment:
Set your oven to 350°F (175°C). Grease and line two 8-inch round cake pans with parchment paper. - Combine Ingredients:
In one bowl, whisk flour, baking powder, and salt. In another, cream butter and sugar until light and fluffy. Add eggs one at a time, beating after each. Stir in vanilla. - Prepare Your Cooking Vessel:
Alternate adding dry ingredients and milk to the wet mixture, starting and ending with the dry mix. Stir just until smooth. - Assemble the Dish:
Divide the batter evenly between the pans. Tap them gently on the counter to release air bubbles. - Cook to Perfection:
Bake for 30–35 minutes or until a toothpick comes out clean. Let cool in pans for 10 minutes, then transfer to a rack. - Finishing Touches:
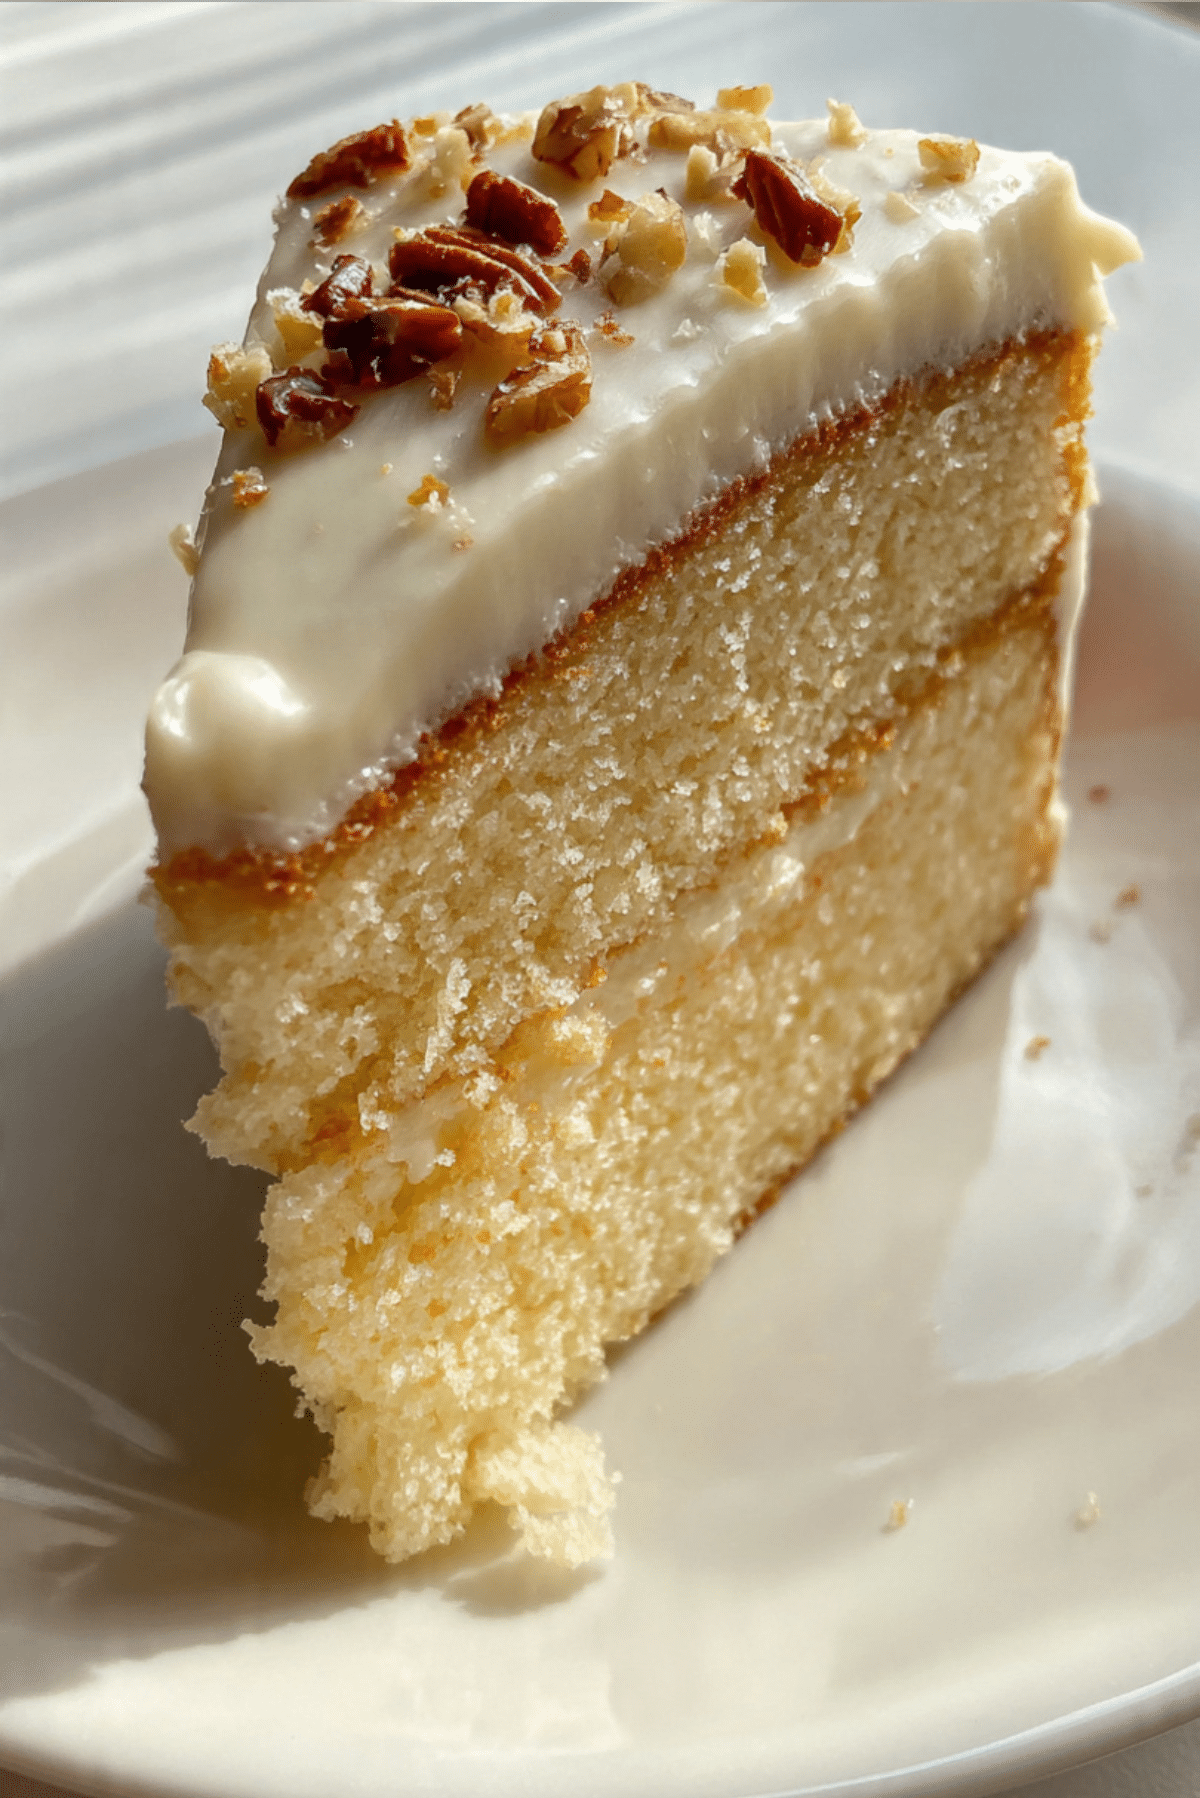
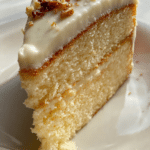
Once cool, frost with your favorite vanilla buttercream or a simple whipped cream topping. You can sprinkle chopped nuts or dried fruits on top for extra charm. - Serve and Enjoy:
Slice generously and serve with a cup of tea, coffee, or even cold milk. Watch faces light up.
Texture & Flavor Secrets
This cake is known for its fluffy yet rich crumb. The butter gives it depth while the milk keeps things light. Vanilla wraps everything in a cozy aroma, and the outer edge gets just a hint of golden crisp that adds lovely contrast.
Cooking Tips & Tricks
Keep these tips in your apron pocket:
- Let ingredients come to room temperature for even mixing.
- Don’t skip the parchment paper to avoid sticking.
- Chill the cake slightly before slicing for clean cuts.
What to Avoid
A few common slip-ups to watch out for:
- Overbaking: It’ll dry out the cake. Keep a close eye toward the end.
- Cold butter: It won’t cream properly and can affect texture.
- Rushing the cooling: Warm cake will melt your frosting, so give it time.
Nutrition Facts
Servings: 10
Calories per serving: 390
Note: These are approximate values.
Preparation Time
Prep Time: 20 minutes
Cook Time: 35 minutes
Total Time: 55 minutes
Make-Ahead and Storage Tips
This cake is perfect for making ahead. Bake the layers a day in advance and wrap tightly. You can freeze unfrosted layers for up to 2 months. Store frosted cake in the fridge for 3–4 days. Let it come to room temperature before serving for the best texture.
How to Serve Milk Vanilla Cake
Serve with whipped cream and fresh berries for a bright contrast. A drizzle of caramel or chocolate sauce can turn it into a showstopper. It’s also perfect alongside tea or espresso for a cozy treat.
Creative Leftover Transformations
Turn leftover slices into:
- Cake parfaits layered with fruit and cream
- Cake pops with a quick frosting mix
- Toasted cake cubes for a sweet trifle base
Additional Tips
- Sift the dry ingredients for a lighter cake.
- Add a pinch of cinnamon or nutmeg for a warm twist.
- Brush layers with sweetened milk to intensify moisture.
Make It a Showstopper
Decorate with edible flowers or a dusting of powdered sugar for an elegant look. A glossy glaze or light ganache adds shine and drama, especially when garnished with fruit or nuts.
Variations to Try
- Berry Vanilla Cake: Fold in fresh raspberries or blueberries.
- Chocolate Swirl: Add a chocolate ripple by swirling cocoa batter through.
- Coconut Milk Cake: Replace milk with coconut milk for a tropical vibe.
- Almond Vanilla Cake: Use almond extract for a nutty twist.
- Layered Cream Cake: Add jam or cream between layers for surprise flavor.
FAQ’s
Q1: Can I use a different size pan?
Yes, you can use a 9×13 pan or turn it into cupcakes. Adjust baking time accordingly.
Q2: Can I freeze this cake?
Absolutely. Wrap the unfrosted layers tightly and freeze for up to 2 months.
Q3: What frosting works best?
Classic vanilla buttercream or whipped cream both pair wonderfully.
Q4: How do I know when it’s done?
Insert a toothpick in the center. If it comes out clean, it’s ready.
Q5: Can I make this dairy-free?
Yes, substitute plant-based milk and butter alternatives.
Q6: What’s the best way to store it?
Keep it covered at room temp for 1 day or refrigerate up to 4 days.
Q7: Can I reduce the sugar?
You can reduce slightly, but too much will affect moisture.
Q8: Can I use self-rising flour?
It’s not recommended since the recipe already includes baking powder.
Q9: How do I make it extra moist?
Brush layers with warm milk or simple syrup before frosting.
Q10: Is it okay to add lemon zest?
Yes, it adds a fresh twist and complements vanilla beautifully.
Conclusion
Whether it’s a celebration or just a craving, this milk vanilla cake is a slice of joy you’ll want to return to again and again. Trust me, you’re going to love this. It’s soft, sweet, and totally worth every bite. Now go on, grab your whisk and let’s bake something beautiful.
PrintMilk Vanilla Cake
Soft, fluffy, and rich with vanilla flavor, this milk vanilla cake is a comforting classic. Perfect for celebrations or everyday cravings, it delivers a tender crumb and sweet aroma in every bite.
Ingredients
- 2 ½ cups all-purpose flour
- 1 ¾ cups granulated sugar
- 1 cup unsalted butter (softened)
- 1 cup whole milk
- 4 large eggs
- 2 teaspoons vanilla extract
- 2 ½ teaspoons baking powder
- ½ teaspoon salt
Instructions
- Preheat your oven to 350°F (175°C). Grease and line two 8-inch round cake pans with parchment paper.
- In a bowl, whisk together the flour, baking powder, and salt.
- In a separate large bowl, cream the butter and sugar until light and fluffy. Beat in the eggs one at a time, then stir in the vanilla extract.
- Alternate adding the dry ingredients and milk into the butter mixture, beginning and ending with the dry ingredients. Mix until just combined.
- Divide the batter evenly between the prepared pans and gently tap them on the counter to release air bubbles.
- Bake for 30–35 minutes or until a toothpick inserted into the center comes out clean.
- Cool the cakes in the pans for 10 minutes before transferring to a wire rack to cool completely.
- Frost with vanilla buttercream or whipped cream once cooled. Add toppings like chopped nuts or dried fruit if desired.
Notes
- Use room temperature ingredients for better mixing and texture.
- Don’t overmix the batter to keep the cake light and tender.
- You can make this a day in advance for better flavor development.
- Store frosted cake in the fridge and bring to room temperature before serving.