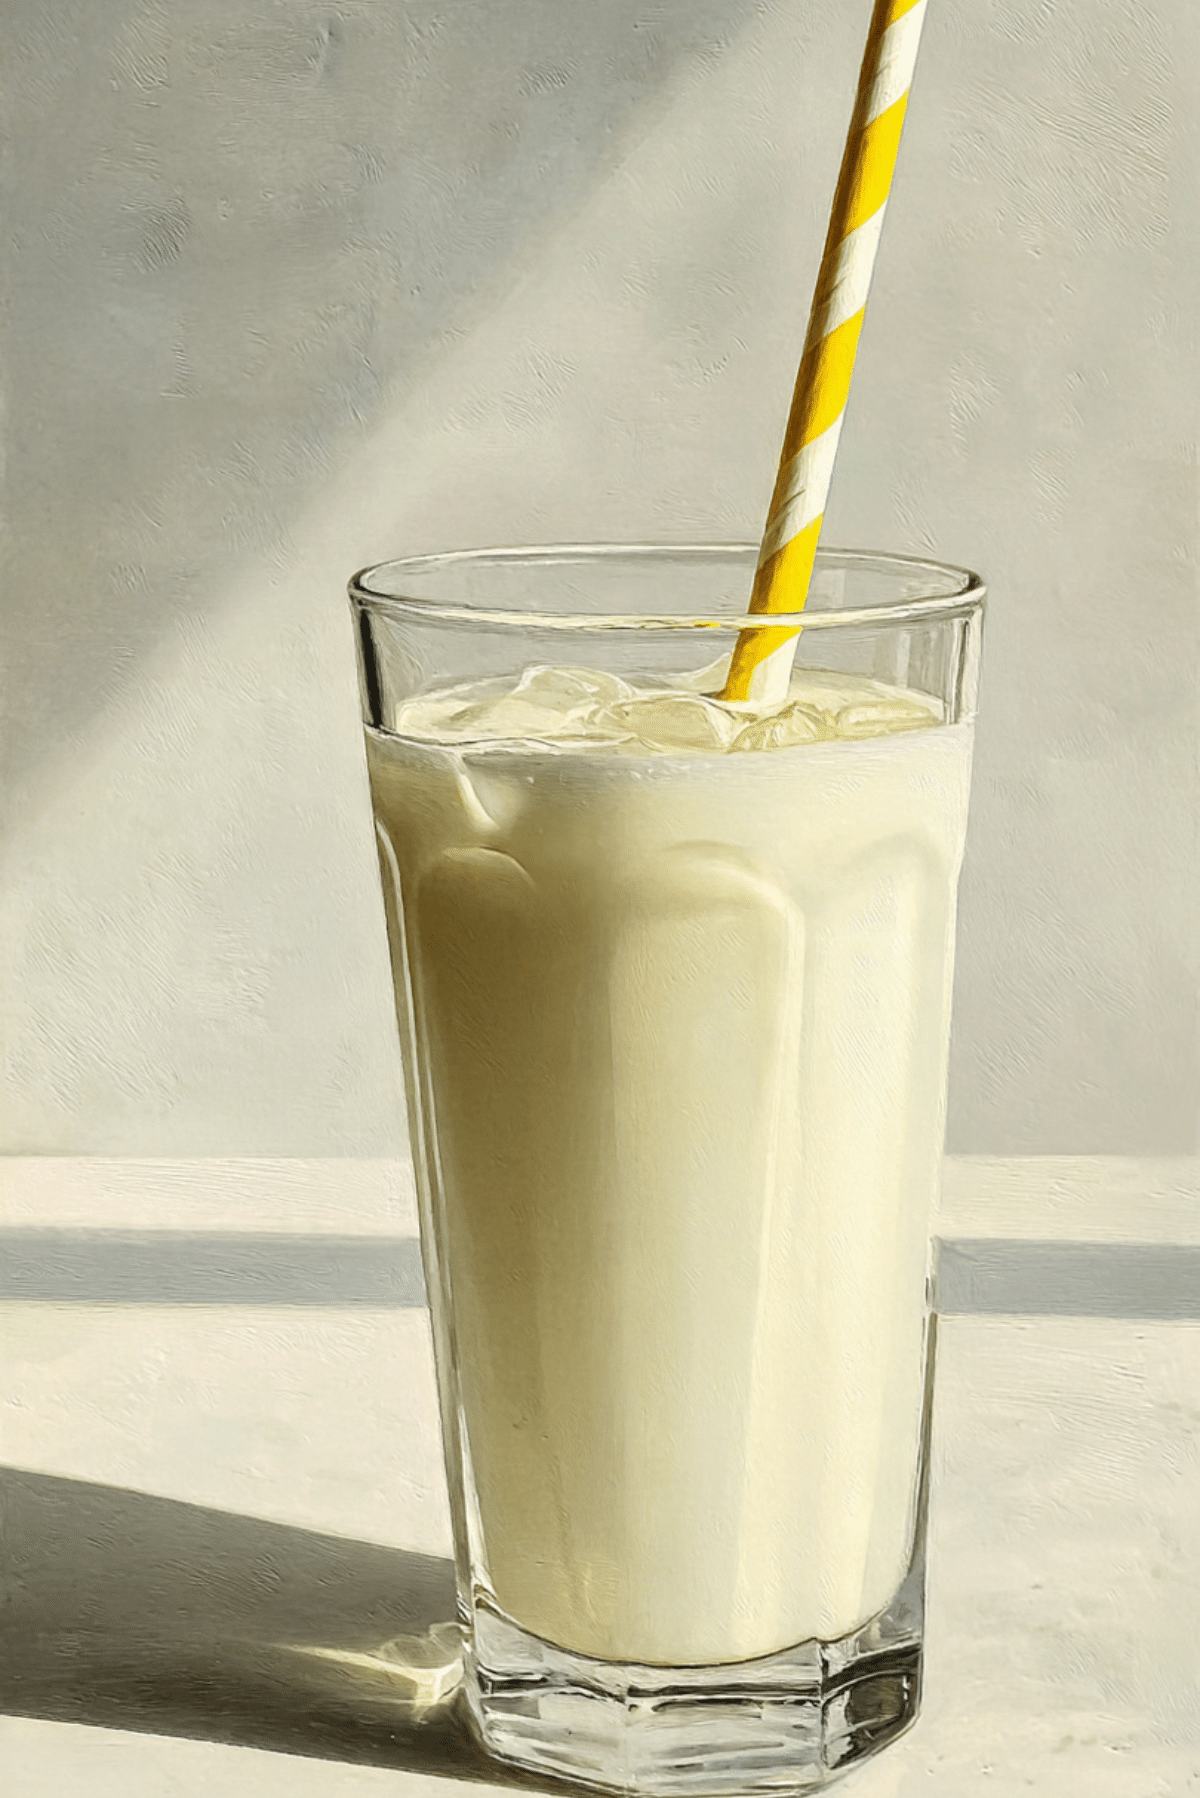
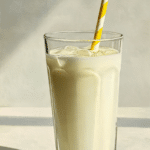
Iced Vanilla Milk
When the sun is high and you’re in need of something cool, comforting, and incredibly easy, iced vanilla milk steps up like an old friend. With its silky texture, subtle sweetness, and that unmistakable hint of vanilla, this drink brings a sense of calm to even the busiest day. Whether sipped in the morning or as a refreshing afternoon pause, it’s one of those simple pleasures that always hits just right.
Behind the Recipe
The inspiration for this chilled treat came from childhood summers when anything cold felt like magic. Iced vanilla milk was one of those go-to drinks Grandma used to whip up in seconds, always with a generous splash of love and a sprinkle of nostalgia. It was never just about quenching thirst. It was a moment of stillness in the heat, a small indulgence we’d linger over before heading back outside.
Recipe Origin or Trivia
While this recipe feels cozy and familiar, its roots stretch across cultures. Versions of sweetened milk drinks can be found from Mexico’s horchata to India’s chilled masala milk. Vanilla milk, in particular, gained popularity in the early 1900s as an alternative to sodas and shakes at diners and soda fountains. Its appeal lies in its balance sweet, smooth, and endlessly customizable.
Why You’ll Love Iced Vanilla Milk
It’s not just refreshing. It’s a mood-lifter, a dessert-in-a-glass, and a quick fix all rolled into one.
Versatile: Enjoy it on its own, use it as a base for milkshakes, or spike it with espresso for a vanilla iced latte twist.
Budget-Friendly: Just a handful of pantry staples and you’re ready to go.
Quick and Easy: Done in under five minutes. No fancy tools required.
Customizable: Adjust the sweetness, milk type, or even the vanilla flavor to suit your mood.
Crowd-Pleasing: Great for all ages—kids love it, and adults sneak second glasses.
Make-Ahead Friendly: Mix the base and chill until ready to pour over ice.
Great for Leftovers: Use leftover vanilla milk in baking or oatmeal for a flavor boost.
Chef’s Pro Tips for Perfect Results
Want that café-quality taste at home? Here’s what I’ve learned over the years:
- Use chilled milk: It keeps the ice from melting too fast and watering down your drink.
- Pure vanilla extract wins: Avoid artificial flavoring for that clean, aromatic vanilla flavor.
- Sweeten while stirring: Dissolve sugar or syrup into a bit of warm water before mixing it in for an even blend.
- Try vanilla syrup: For an extra smooth touch and slightly richer taste.
- Top with whipped cream: A dollop of whipped cream turns this into a dessert-like treat.
Kitchen Tools You’ll Need
You won’t need much for this one, just a few simple items:
Tall Glass: To serve your iced milk in style.
Spoon or Stirrer: For mixing the vanilla and sweetener evenly.
Measuring Spoons: Accuracy matters when working with strong flavors like vanilla.
Ice Cube Tray: Always have fresh ice ready for the perfect chill.
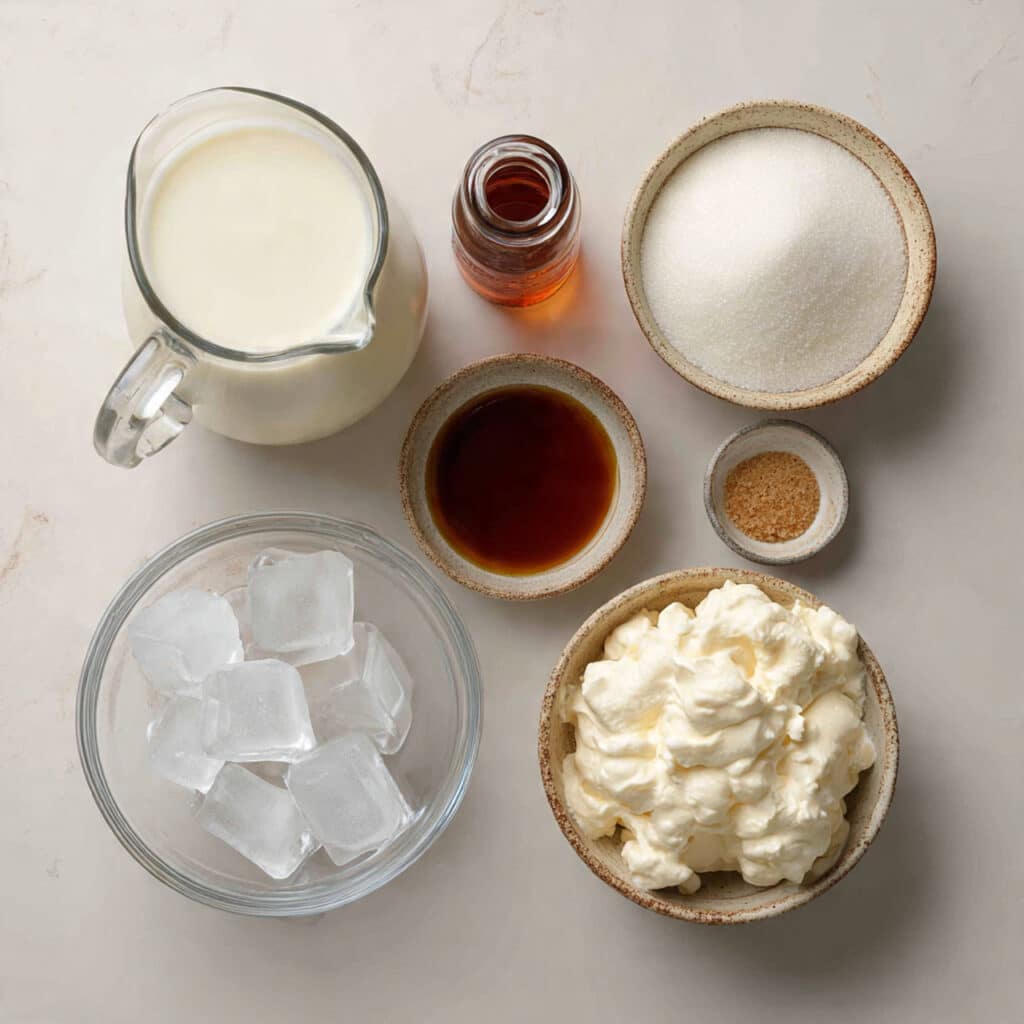
Ingredients in Iced Vanilla Milk
Let’s break down what makes this drink beautifully simple and satisfying.
- Whole Milk: 1 cup – Gives the drink a creamy, rich body that holds up well over ice.
- Pure Vanilla Extract: 1 teaspoon – The hero of the recipe, bringing warmth and aromatic depth.
- Granulated Sugar or Maple Syrup: 1 tablespoon – Adds just enough sweetness to balance the milk and vanilla.
- Ice Cubes: 1 cup – Essential for that refreshing, chilled experience.
- Optional Whipped Cream: a dollop on top – Adds a fun, indulgent finish if you’re feeling fancy.
Ingredient Substitutions
Make it your own without losing the charm.
Whole Milk: Almond milk, oat milk, or coconut milk.
Vanilla Extract: Vanilla bean paste or scraped vanilla bean.
Sugar or Maple Syrup: Honey, agave, or a sugar-free sweetener.
Whipped Cream: Coconut whipped topping for a dairy-free option.
Ingredient Spotlight
Pure Vanilla Extract: This isn’t just about flavor it’s aroma therapy in a teaspoon. The subtle complexity of real vanilla transforms this drink from basic to unforgettable.
Whole Milk: Its creamy consistency and natural sweetness create the perfect backdrop for the vanilla to shine.
Instructions for Making Iced Vanilla Milk
This recipe is as easy as it gets, but every step counts in creating that ideal sip.
1. Preheat Your Equipment:
Not needed for this chilled recipe just make sure your glass is clean and ready to go.
2. Combine Ingredients:
In a small bowl or pitcher, mix the vanilla extract and sweetener into the milk. Stir until fully blended and smooth.
3. Prepare Your Cooking Vessel:
In this case, simply grab a tall glass and fill it with fresh ice cubes.
4. Assemble the Dish:
Pour the vanilla milk mixture over the ice, letting it chill instantly and swirl together beautifully.
5. Cook to Perfection:
No cooking here, but give it one last gentle stir to mix the layers.
6. Finishing Touches:
Top with whipped cream if desired, and maybe a light dusting of cinnamon for flair.
7. Serve and Enjoy:
Pop in a fun straw, find a cozy spot, and take that first creamy, cool sip.
Texture & Flavor Secrets
The magic of this drink lies in its silky texture and light sweetness. The milk is smooth and cool, the vanilla adds depth and warmth, and the touch of sweetness wraps it all together. If you top it with whipped cream, it melts just slightly into the drink, adding a velvety mouthfeel that lingers pleasantly.
Cooking Tips & Tricks
Here are a few ways to elevate your iced vanilla milk:
- Use flavored ice cubes (like milk + vanilla frozen ahead) to avoid watering it down.
- Chill your glass in the freezer for 10 minutes before pouring.
- Add a pinch of cinnamon or nutmeg for an extra layer of flavor.
What to Avoid
Avoid these common slip-ups to keep your drink perfect every time:
- Using artificial vanilla, which can taste flat or chemical.
- Skipping the stir uneven sweetener makes for unpleasant sips.
- Over-icing, which dilutes the flavor quickly.
Nutrition Facts
Servings: 1
Calories per serving: 170
Note: These are approximate values.
Preparation Time
Prep Time: 3 minutes
Cook Time: 0 minutes
Total Time: 3 minutes
Make-Ahead and Storage Tips
You can prep the vanilla milk ahead of time and store it in the fridge for up to 3 days. Just give it a good stir before serving. Avoid adding the ice until you’re ready to drink to keep it from getting diluted.
How to Serve Iced Vanilla Milk
Serve it in a tall glass with a straw for that classic café look. Want to make it a dessert? Add a scoop of vanilla ice cream and turn it into a float. It also pairs beautifully with cookies, muffins, or even toast for a light breakfast treat.
Creative Leftover Transformations
If you’ve got extra, try these fun uses:
- Blend with frozen bananas for a quick vanilla smoothie.
- Pour into popsicle molds and freeze for a simple summer treat.
- Use it as a base for overnight oats or chia pudding.
Additional Tips
- Always go for high-quality vanilla. It’s worth the small splurge.
- A dash of sea salt can enhance the flavor even more.
- Let kids customize theirs with chocolate chips or fruit swirls.
Make It a Showstopper
Presentation matters, even for simple drinks. Use a clear glass to show off the creamy color, top with a swirl of whipped cream, and sprinkle just a pinch of cinnamon or cocoa powder. A bright straw or reusable stirrer adds that final, fun touch.
Variations to Try
- Iced Vanilla Coffee Milk: Add a shot of espresso or strong brewed coffee.
- Spiced Vanilla Milk: Stir in a dash of cinnamon and nutmeg.
- Chocolate Vanilla Milk: Mix in a bit of chocolate syrup for a twist.
- Protein Boosted Version: Add vanilla protein powder before shaking.
- Vanilla Chai Milk: Replace some of the milk with chilled chai tea.
FAQ’s
Q1: Can I use non-dairy milk?
Yes, almond, oat, or soy milk all work well and bring their own subtle flavors.
Q2: Is this recipe kid-friendly?
Absolutely. Kids love it, and you can adjust the sweetness to their taste.
Q3: Can I make it sugar-free?
Yes, use a sugar-free syrup or stevia-based sweetener.
Q4: How long does it last in the fridge?
Up to 3 days, just shake or stir before serving.
Q5: Can I make it ahead for a party?
Definitely. Mix a large batch and store it chilled, then pour over ice when serving.
Q6: What if I don’t have vanilla extract?
Try vanilla bean paste or scrape the seeds from a vanilla pod.
Q7: Can I turn it into a smoothie?
Yes, blend it with ice and banana or yogurt for a creamier drink.
Q8: Is it okay to heat this milk?
Sure! It turns into a cozy vanilla steamer if warmed gently.
Q9: Can I use flavored syrups?
Yes, vanilla syrup or even hazelnut or caramel syrup works beautifully.
Q10: Can I use flavored ice cubes?
Absolutely. Try freezing some milk with vanilla for extra-rich cubes.
Conclusion
There’s something wonderfully nostalgic and comforting about iced vanilla milk. It’s simple, soothing, and always hits the spot. Whether you’re making it for yourself or sharing it with loved ones, it’s a reminder that the best treats are often the easiest to make. Trust me, this one’s a total game-changer.
PrintIced Vanilla Milk
Cool, creamy, and lightly sweet, this iced vanilla milk is the perfect refreshing treat for any time of day. Made with just a few pantry staples, it’s quick, customizable, and totally comforting.
Ingredients
- 1 cup whole milk
- 1 teaspoon pure vanilla extract
- 1 tablespoon granulated sugar or maple syrup
- 1 cup ice cubes
- Optional: Whipped cream for topping
Instructions
- In a small bowl or pitcher, combine the milk, vanilla extract, and sweetener. Stir until well blended.
- Fill a tall glass with fresh ice cubes.
- Pour the vanilla milk mixture over the ice.
- Stir gently to mix the layers evenly.
- Top with whipped cream if desired and enjoy immediately.
Notes
- Use chilled milk to prevent the ice from watering down your drink.
- Try vanilla syrup for a smoother, richer flavor.
- Add a pinch of cinnamon or nutmeg for a little extra spice.