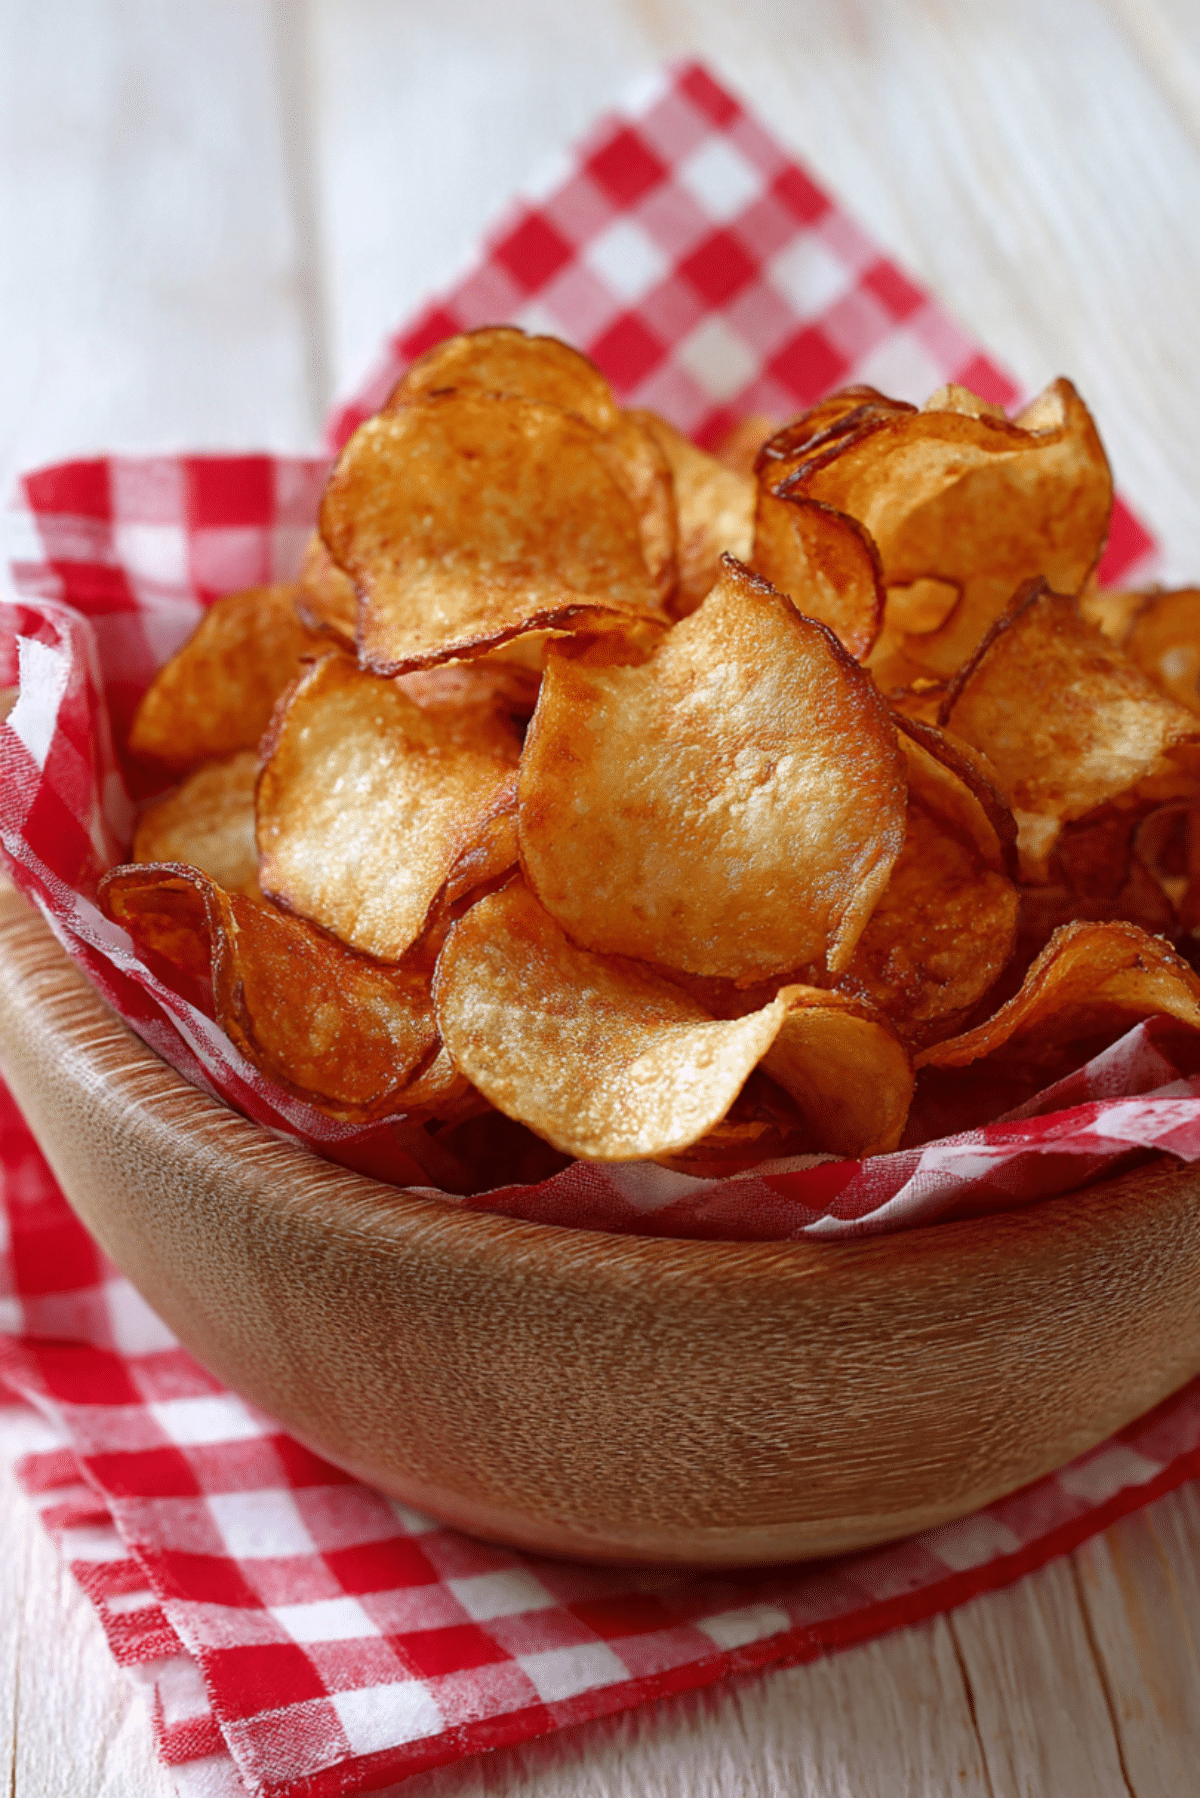
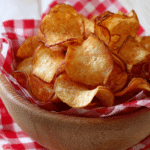
Homemade Potato Chips
There’s something magical about the first crunch of a freshly made potato chip. It’s light yet crispy, simple yet satisfying. These homemade potato chips bring that joy right to your kitchen, with nothing more than a handful of pantry staples and a craving for something salty, crispy, and golden. Once you try these, trust me, you’ll wonder why you ever bought a bag.
Behind the Recipe
This recipe takes me right back to summer afternoons in my grandmother’s kitchen. She didn’t believe in shortcuts when it came to snacks. If we wanted chips, we made them from scratch. I can still hear the sizzle of sliced potatoes hitting the oil and the way she’d toss them with salt the second they came out, warm and perfectly crisp. That little ritual is what inspired this recipe, and every bite still carries that homemade heart.
Recipe Origin or Trivia
Potato chips have a bit of a fun legend attached to their origin. The most popular story dates back to 1853 in Saratoga Springs, New York, when a chef named George Crum created them out of frustration with a diner who kept sending his fried potatoes back for being too thick. Crum sliced them paper-thin, fried them until they were crunchy, and a snack icon was born. Today, they’ve evolved into countless flavors and styles, but the homemade version still reigns supreme for freshness and flavor.
Why You’ll Love Homemade Potato Chips
It’s not just the crunch that makes these special. Here’s why they’re worth every slice and sizzle:
Versatile: Whether you like them lightly salted, smoky with paprika, or even with a hint of vinegar, the flavor is entirely up to you.
Budget-Friendly: A few potatoes and oil go a long way in creating a giant bowl of crispy chips.
Quick and Easy: Once your oil is hot, it’s just a few minutes from raw to golden crisp.
Customizable: Play with seasoning blends or use different potatoes for unique textures.
Crowd-Pleasing: Serve them at parties, BBQs, or just family movie night and watch them disappear.
Make-Ahead Friendly: Store them in an airtight container and they stay crispy for days.
Great for Leftovers: Got leftover potatoes? Slice and fry. Nothing goes to waste.
Chef’s Pro Tips for Perfect Results
Getting that perfect crunch and golden hue is all in the details:
- Use a mandoline for uniform slices so they cook evenly.
- Soak the potato slices in cold water for at least 30 minutes to remove starch and improve crispness.
- Dry the slices thoroughly before frying to avoid soggy chips or dangerous oil splatter.
- Keep the oil temperature steady around 350°F for best results.
- Season immediately after frying while the chips are still warm and slightly oily.
Kitchen Tools You’ll Need
Before you start frying, gather a few essentials:
Mandoline or Sharp Knife: For paper-thin, even slices.
Large Bowl: To soak and rinse the potato slices.
Clean Kitchen Towels or Paper Towels: For drying the slices thoroughly.
Heavy-Bottomed Pot or Deep Fryer: To maintain a steady oil temperature.
Slotted Spoon or Spider Strainer: For safely removing chips from hot oil.
Wire Rack or Paper-Lined Tray: To cool the chips and let excess oil drain.
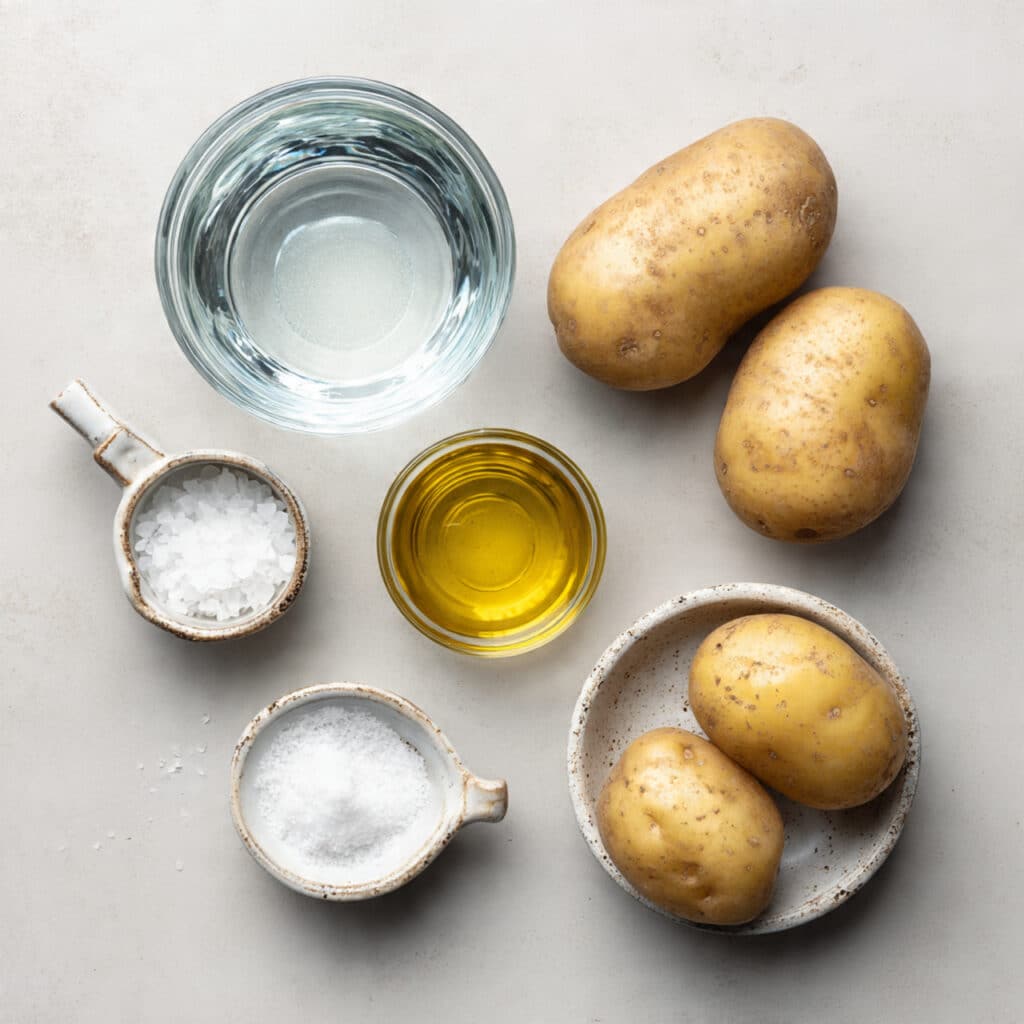
Ingredients in Homemade Potato Chips
With just a few ingredients, each one plays a key role in bringing flavor and texture:
- Russet Potatoes: 2 large, peeled or unpeeled, thinly sliced. These starchy potatoes are perfect for crisping.
- Cold Water: Enough to soak the potatoes. Removes excess starch for better crunch.
- Salt: To taste. Brings out flavor and enhances the potato’s natural goodness.
- Vegetable Oil: For frying, about 4 cups. Choose one with a high smoke point like canola or sunflower.
Ingredient Substitutions
Don’t worry if you’re missing a thing or two. Here are some easy swaps:
Russet Potatoes: Yukon Gold or red potatoes for a slightly different texture.
Vegetable Oil: Use peanut oil or sunflower oil for a clean fry.
Salt: Try garlic salt, smoked salt, or sea salt for variation.
Ingredient Spotlight
Russet Potatoes: Known for their high starch and low moisture content, they fry up beautifully golden and crispy.
Vegetable Oil: A neutral, high-smoke-point oil like canola ensures your chips cook evenly without overpowering the flavor.
Instructions for Making Homemade Potato Chips
Making homemade chips feels like a small adventure in your kitchen. Here’s the step-by-step guide:
- Preheat Your Equipment:
Heat vegetable oil in a deep pot to 350°F. Use a thermometer if you can to keep it steady. - Combine Ingredients:
Peel and thinly slice the potatoes using a mandoline or sharp knife. Soak slices in cold water for 30 minutes, then drain and rinse again. - Prepare Your Cooking Vessel:
Dry the potato slices thoroughly using towels. Wet slices will make the oil splatter. - Assemble the Dish:
Set up a wire rack or paper towel-lined tray next to your stove for draining chips. - Cook to Perfection:
Fry the potato slices in small batches for 2–3 minutes until golden brown and crisp. Stir occasionally to avoid sticking. - Finishing Touches:
Remove with a slotted spoon and let drain. While still hot, sprinkle with salt or your favorite seasoning blend. - Serve and Enjoy:
Let them cool just slightly, then dig in while they’re still warm and crisp.
Texture & Flavor Secrets
The magic here lies in contrast. Each chip should be whisper-thin with a crisp outer bite and just the faintest chew in the center. That addictive saltiness clings to the warm surface, while the natural earthiness of the potato shines through. A good chip sings with simplicity.
Cooking Tips & Tricks
Here’s how to elevate your chip game:
- Slice the potatoes as thin as possible for maximum crisp.
- Use a thermometer to maintain consistent oil temperature.
- Don’t overcrowd the pot. Fry in small batches for even cooking.
- Season immediately after frying to help flavors stick.
What to Avoid
A few easy mistakes can turn your chips soggy or greasy. Let’s dodge them:
- Overcrowding the oil. This lowers the temperature and softens the chips.
- Not drying potatoes enough. Wet slices = soggy chips and dangerous splatter.
- Frying at too low or too high temps. Either leads to chewy or burnt results.
Nutrition Facts
Servings: 4
Calories per serving: 240
Note: These are approximate values.
Preparation Time
Prep Time: 40 minutes
Cook Time: 15 minutes
Total Time: 55 minutes
Make-Ahead and Storage Tips
Homemade chips are best fresh, but they can be prepped ahead too. Soak and dry your potato slices earlier in the day and store them in the fridge until ready to fry. After frying, let them cool completely before storing in an airtight container for up to 3 days. To refresh them, pop in a 350°F oven for a few minutes.
How to Serve Homemade Potato Chips
Go classic with a side of ketchup or ranch, or serve them alongside burgers and hot dogs for a BBQ vibe. For a twist, try dipping them in aioli or pairing them with a sandwich or wrap for added crunch.
Creative Leftover Transformations
Chips getting soft? Here’s how to bring them back to life:
- Toss them in the oven for 5 minutes at 350°F to regain crunch.
- Crush them up to use as a topping for casseroles or mac and cheese.
- Add to a sandwich for a bold texture surprise.
Additional Tips
- Try flavored salts like truffle, smoked, or lemon zest salt.
- Experiment with paprika, garlic powder, or even cinnamon sugar for a sweet twist.
- Use a salad spinner to help dry the slices quicker before frying.
Make It a Showstopper
Present your chips in a brown paper cone, lined with parchment for a rustic touch. Or use a small wooden bowl or basket with gingham paper for that cozy, picnic-style flair. A few sprigs of rosemary or a sprinkle of flaky salt can make it pop.
Variations to Try
- Spicy Chips: Add cayenne or chili powder for heat.
- Vinegar Chips: Toss with a little malt vinegar right after frying.
- Cheesy Chips: Dust with finely grated Parmesan while still hot.
- Herb Chips: Sprinkle with rosemary or thyme for a garden-fresh twist.
- Sweet Chips: Try sweet potatoes with cinnamon and sugar for dessert-style chips.
FAQ’s
Q1: Can I bake these instead of frying?
Yes, just slice thin, coat lightly in oil, and bake at 400°F, flipping halfway.
Q2: How do I make them extra crispy?
Soaking in cold water and drying thoroughly is key. Fry in small batches.
Q3: Can I reuse the frying oil?
Yes, strain it and store in a cool place for 1–2 more uses.
Q4: Are air fryers good for this?
Absolutely. Air fry at 375°F for 15–20 minutes, shaking halfway.
Q5: What’s the best potato for chips?
Russets are the classic choice for crispiness and color.
Q6: How do I store leftovers?
Cool completely and store in an airtight container at room temp.
Q7: Can I season them with something sweet?
Yes. Cinnamon sugar on sweet potatoes is a great variation.
Q8: Do I need to peel the potatoes?
Not at all. The skin adds texture and rustic charm.
Q9: What oil is best for frying chips?
Use oils with high smoke points like canola, sunflower, or peanut oil.
Q10: Why are my chips chewy?
Likely due to too thick slices or oil that wasn’t hot enough.
Conclusion
Homemade potato chips might just ruin store-bought ones for you forever. Crispy, golden, and full of flavor, they’re the kind of snack that makes you feel like a kitchen rockstar. So grab some potatoes, heat up that oil, and enjoy the simple joy of a chip that crunches just right. Let me tell you, it’s worth every bite.
PrintHomemade Potato Chips
Crispy, golden homemade potato chips made from scratch with just potatoes, oil, and salt. A simple snack that delivers the perfect crunch in every bite.
Ingredients
- 2 large Russet potatoes, thinly sliced
- Cold water, enough to soak potatoes
- Salt, to taste
- 4 cups vegetable oil, for frying
Instructions
- Heat vegetable oil in a deep pot to 350°F and maintain steady temperature.
- Peel and thinly slice potatoes using a mandoline or sharp knife. Soak in cold water for 30 minutes. Drain and rinse again.
- Dry slices thoroughly with clean towels to prevent oil splatter and soggy chips.
- Prepare a tray lined with paper towels or a wire rack for draining chips.
- Fry potato slices in small batches for 2–3 minutes until golden brown and crispy. Stir occasionally.
- Remove chips with a slotted spoon and drain. Immediately season with salt or desired spices.
- Let cool slightly before serving warm and crunchy.
Notes
- Use a mandoline for ultra-thin and consistent slices.
- Don’t overcrowd the pot to ensure even cooking.
- Try flavored salts like smoked or garlic salt for variety.
- Store cooled chips in an airtight container for up to 3 days.