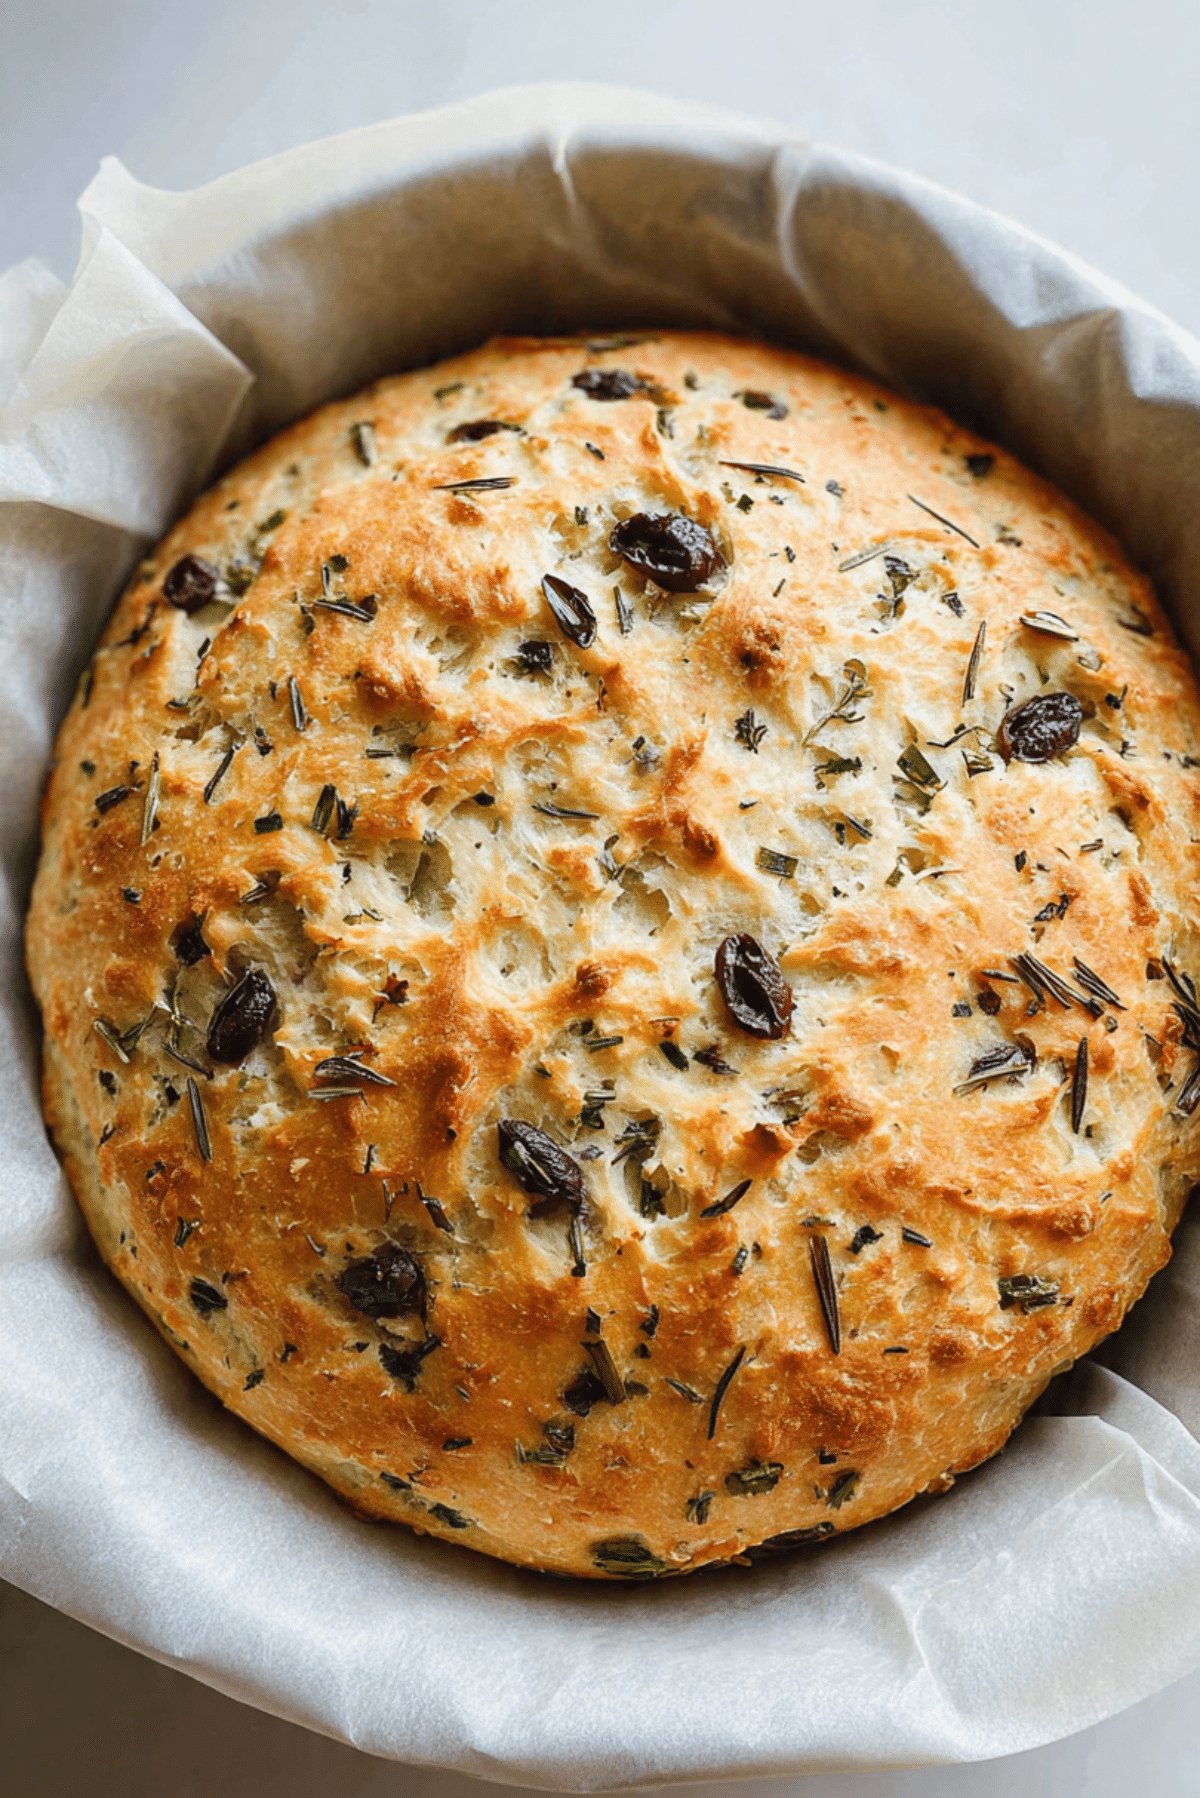
Herb Olive Bread
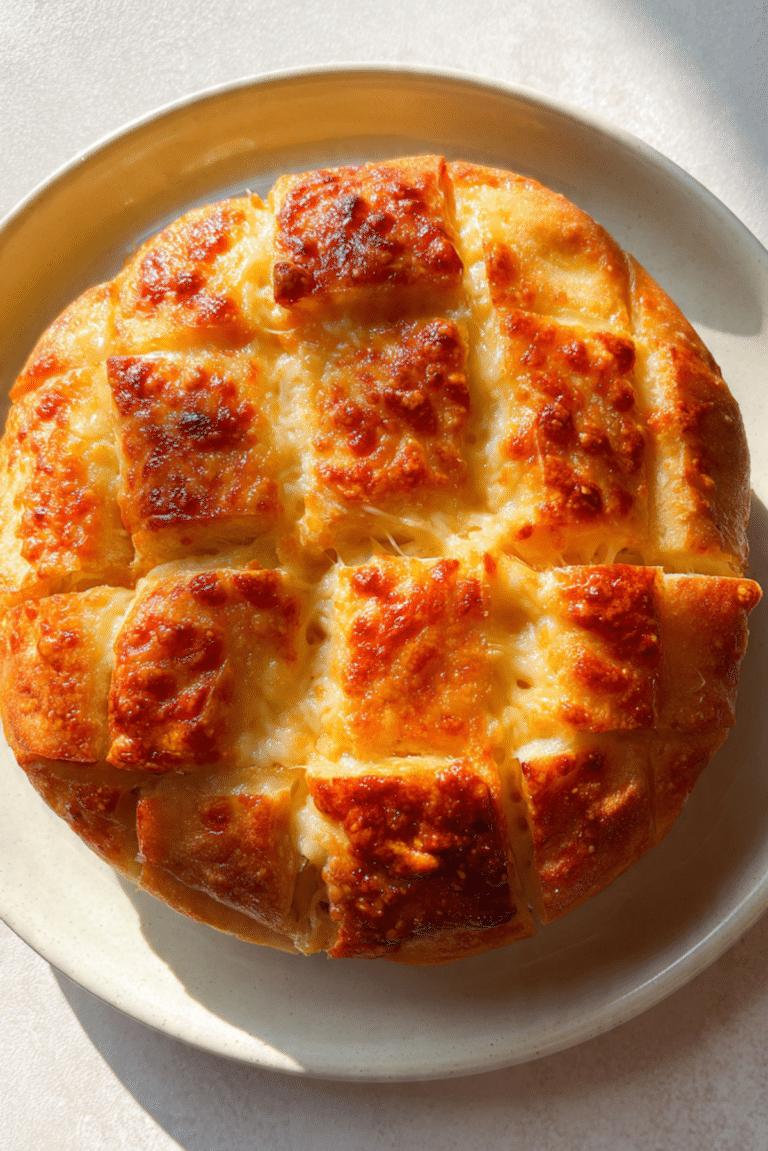
There is something incredibly comforting about pulling a golden loaf of Herb Olive Bread from the oven. The scent of warm dough, fragrant herbs, and briny olives fills the kitchen in a way that makes you pause and just breathe it in. The crust crackles softly as it cools, and you already know what is coming next, that first warm slice with a smear of butter melting into every little pocket. Trust me, you’re going to love this.
Why This Loaf Belongs in Your Kitchen
If you have ever wanted a bread that feels both rustic and a little special, this is it. It looks impressive, tastes bakery worthy, yet it is made with simple pantry ingredients. The olives add bursts of salty richness, while the herbs bring that garden freshness that makes every bite feel layered and thoughtful. This one’s a total game-changer for weeknight dinners and cozy weekends alike.
A Little Mediterranean Inspiration
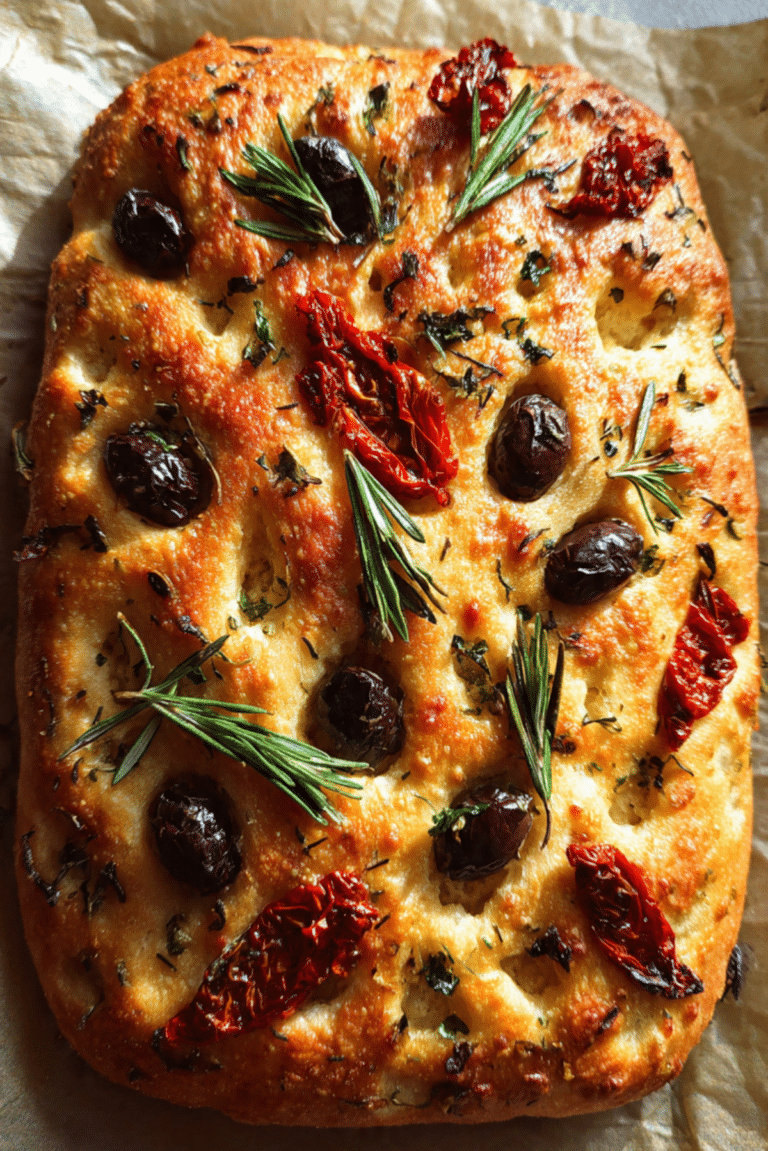
Herb and olive breads have deep roots in Mediterranean cooking, where olives are not just an ingredient but a way of life. Across Italy and parts of Southern France, rustic loaves studded with olives are served alongside soups, cheeses, and olive oil for dipping. Bakers have long folded herbs and olives into dough to stretch flavors and create something hearty and satisfying. Let me tell you, it’s worth every bite, especially when you imagine generations of home bakers doing the same simple steps in their own kitchens.
Why You Can Always Count on This Recipe
Before we roll up our sleeves, let me share why this loaf never disappoints.
Versatile: It pairs beautifully with soups, salads, pasta, or simply olive oil for dipping. You can dress it up or keep it simple.
Budget-Friendly: Flour, yeast, olives, and herbs are all affordable staples, yet the result feels luxurious.
Quick and Easy: The steps are straightforward and approachable, even if you are new to bread baking.
Customizable: You can swap herbs, adjust the olive mix, or even add a touch of garlic.
Crowd-Pleasing: That golden crust and soft, olive studded crumb win people over instantly.
Make-Ahead Friendly: The dough can be prepared ahead and refrigerated for flexibility.
Great for Leftovers: Toasted slices the next day are absolutely incredible.
Baker’s Secrets for the Best Results
Now let’s talk about those little insider tricks that make a difference.
- Let your yeast fully activate before mixing, you want it foamy and alive.
- Do not rush the rise, a slow rise builds flavor and texture.
- Drain olives very well, excess moisture can affect the dough.
- Lightly flour your hands when shaping, this keeps the dough manageable without making it dry.
Essential Tools for Success
Before we dive into the ingredients, here are the simple tools that make the process smooth.
Large Mixing Bowl: Gives the dough space to rise properly.
Wooden Spoon or Dough Scraper: Helps combine ingredients without overworking the dough.
Round Baking Pan or Dutch Oven: Encourages even baking and a beautiful crust.
Kitchen Towel: Keeps the dough covered and cozy during rising.
Ingredients That Make It Shine
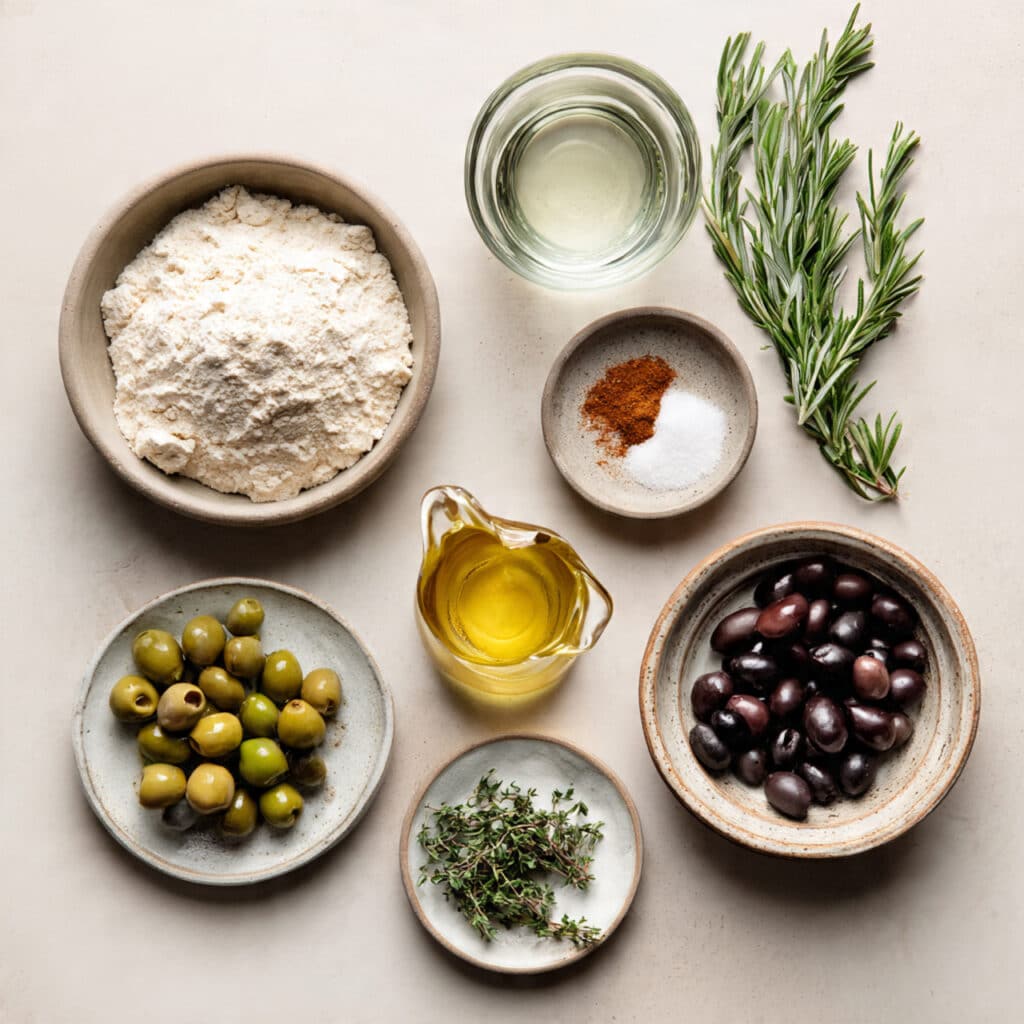
And now let’s dive into the heart of it all, the ingredients that come together in perfect harmony.
- All Purpose Flour: 3 ½ cups, 420 grams. This forms the sturdy base and gives the loaf structure.
- Warm Water: 1 ¼ cups, 300 milliliters. Activates the yeast and hydrates the flour.
- Active Dry Yeast: 2 ¼ teaspoons, 7 grams. The magic that makes the bread rise.
- Olive Oil: 2 tablespoons, 30 milliliters. Adds richness and tenderness.
- Salt: 1 ½ teaspoons, 9 grams. Enhances flavor and balances the olives.
- Mixed Green and Black Olives: 1 cup, 150 grams, chopped and well drained. Provide briny bursts throughout the loaf.
- Fresh Rosemary: 1 tablespoon, finely chopped. Brings earthy aroma.
- Fresh Thyme: 1 teaspoon, finely chopped. Adds subtle depth.
Easy Swaps If You Need Them
Sometimes you work with what you have, and that is perfectly fine.
Fresh Rosemary: Dried rosemary, use half the amount.
Fresh Thyme: Dried thyme, use half the amount.
All Purpose Flour: Bread flour for a slightly chewier texture.
Mixed Olives: Use only green or only black olives if preferred.
Spotlight on Key Flavors
Mixed Green and Black Olives: These are the heart of the loaf. Their salty tang contrasts beautifully with the soft crumb.
Fresh Rosemary: Its piney aroma perfumes the bread and ties everything together.
Let’s Bake This Beautiful Loaf
Now the fun begins. Here are the steps you are going to follow.
- Preheat Your Equipment: Preheat your oven to 400 degrees Fahrenheit, 200 degrees Celsius. Lightly oil your round baking pan or prepare your Dutch oven.
- Combine Ingredients: In a large bowl, dissolve the yeast in warm water and let it sit for 5 to 10 minutes until foamy. Stir in olive oil and salt. Gradually add flour, mixing until a soft dough forms. Fold in chopped olives, rosemary, and thyme.
- Prepare Your Cooking Vessel: If using a baking pan, ensure it is lightly oiled. If using a Dutch oven, preheat it in the oven for 20 minutes for extra crust development.
- Assemble the Dish: Knead the dough on a lightly floured surface for about 8 minutes until smooth. Shape into a round loaf and place in the prepared pan. Cover with a towel and let rise for 1 hour, or until doubled in size.
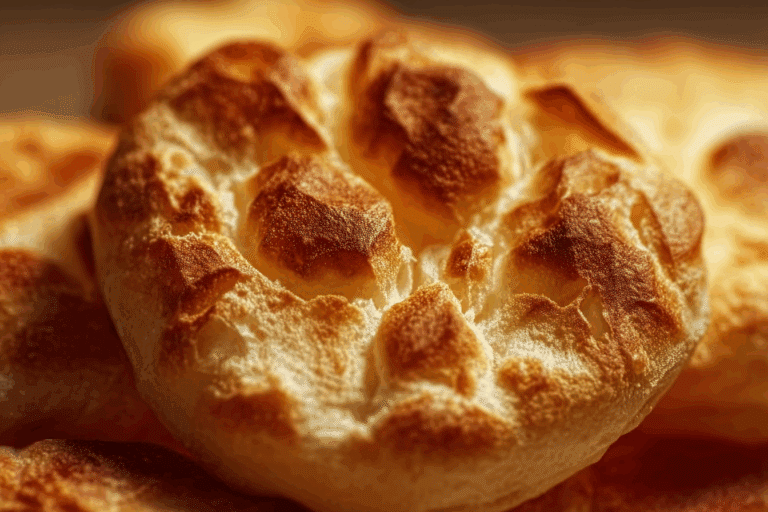
- Cook to Perfection: Bake for 30 to 35 minutes until the crust is golden brown and the loaf sounds hollow when tapped on the bottom.
- Finishing Touches: Remove from the oven and let cool on a wire rack for at least 20 minutes to set the crumb.
- Serve and Enjoy: Slice and serve warm or at room temperature with olive oil, butter, or alongside your favorite meal.
The Texture and Flavor Journey
As it bakes, the crust turns beautifully golden and slightly crisp, while the inside stays tender and airy. The olives create little pockets of savory intensity, and the herbs release their aroma into every bite. The contrast between crisp crust and soft interior is pure comfort.
Helpful Kitchen Tips for Success
Bread baking can feel intimidating, but a few small tips make it easy.
- Keep your water warm but not hot, too much heat can kill the yeast.
- If the dough feels sticky, add flour one tablespoon at a time.
- Let the loaf cool before slicing to avoid a gummy texture.
Common Mistakes to Watch Out For
It is easy to fix small missteps if you know what to look for.
- Do not skip draining the olives well, extra liquid can make the dough dense.
- Avoid overbaking, check at 30 minutes to prevent a dry crumb.
- Do not rush the rise, patience builds flavor.
Nourishing Snapshot
Servings: 8 slices
Calories per serving: 210
Note: These are approximate values.
Time Breakdown at a Glance
Prep Time: 20 minutes
Cook Time: 35 minutes
Total Time: 55 minutes
Plan Ahead and Store with Ease
You can prepare the dough the night before and let it rise slowly in the refrigerator. Once baked, store the loaf in an airtight container at room temperature for up to 2 days. For longer storage, slice and freeze in a sealed bag for up to 2 months. Reheat slices in the oven for a few minutes to revive that fresh baked texture.
Serving Ideas to Make It Special
Serve alongside tomato soup, hearty stews, or a crisp green salad. It is also wonderful with a simple plate of cheeses and roasted vegetables. A drizzle of olive oil and a sprinkle of sea salt make it shine.
Creative Leftover Transformations
Turn day old slices into savory croutons. Use it for grilled vegetable sandwiches. Toast and top with ricotta and cherry tomatoes for a quick appetizer.
Extra Tips for Even Better Flavor
A sprinkle of flaky salt on top before baking adds a pleasant crunch. You can also brush the crust lightly with olive oil right after baking for extra shine.
Make It Look Bakery Worthy
Score the top of the dough with a sharp knife before baking for a rustic look. Let it cool fully before slicing for clean, beautiful cuts.
Variations to Keep It Exciting
- Add minced garlic to the dough for a bold twist.
- Mix in sun dried tomatoes for sweetness.
- Sprinkle grated cheese on top before baking.
- Add crushed red pepper flakes for gentle heat.
FAQ’s
Q1: Can I use instant yeast?
Yes, you can. Skip the proofing step and mix it directly with the dry ingredients.
Q2: Can I make it gluten free?
You would need a gluten free flour blend designed for yeast breads, results may vary.
Q3: Why is my bread dense?
It may not have risen long enough or too much flour was added.
Q4: Can I freeze the dough?
Yes, after the first rise you can freeze it tightly wrapped for up to 1 month.
Q5: How do I know it is fully baked?
Tap the bottom, it should sound hollow.
Q6: Can I use dried herbs only?
Yes, just reduce the quantity by half.
Q7: What olives work best?
Firm green or black olives that are well drained.
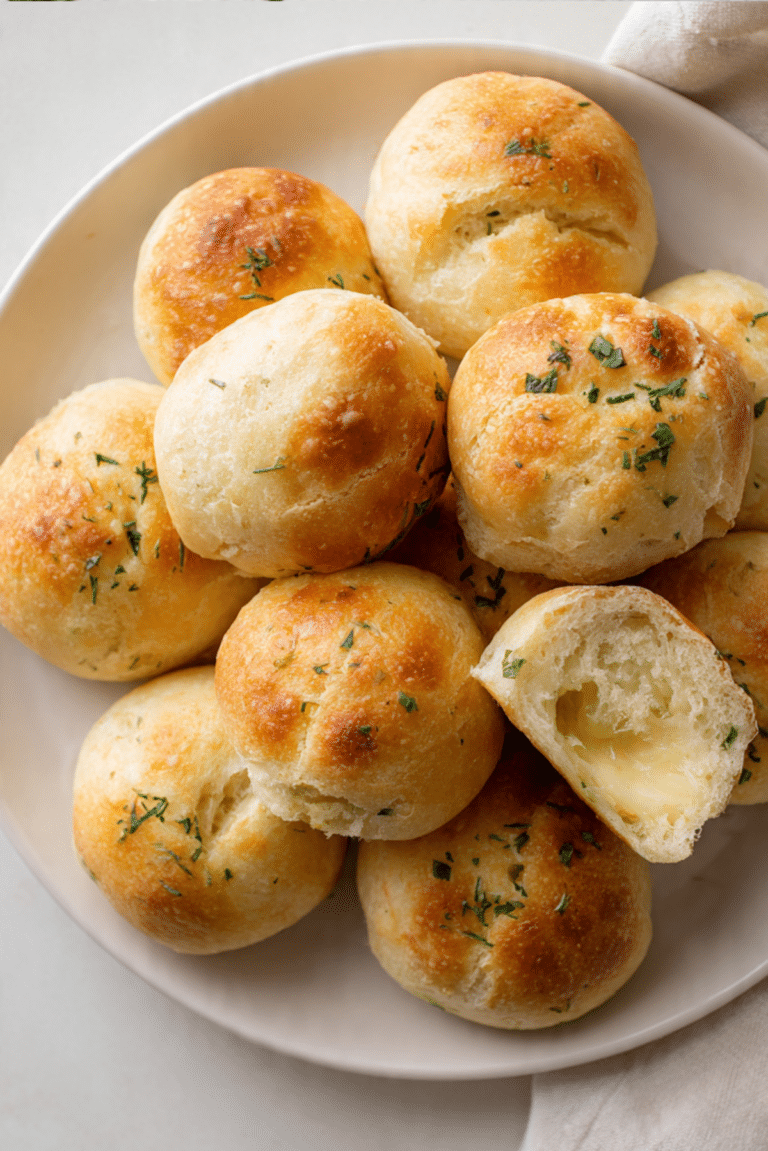
Q8: Can I shape it differently?
Absolutely, you can shape it into rolls.
Q9: Do I need a Dutch oven?
No, a regular baking pan works well.
Q10: How do I keep the crust crispy?
Store uncovered for the first few hours, then loosely wrap.
Conclusion
There is something deeply satisfying about baking your own Herb Olive Bread. The aroma, the golden crust, the soft crumb filled with olives and herbs, it all comes together in a way that feels both simple and special. Give it a try in your own kitchen, and enjoy every warm, savory slice.
PrintHerb Olive Bread
A rustic homemade bread filled with briny olives and fragrant fresh herbs, featuring a golden crust and a soft, airy crumb. Perfect for dipping, serving alongside soups, or enjoying warm with butter.
Ingredients
- 3 ½ cups (420 grams) all purpose flour
- 1 ¼ cups (300 milliliters) warm water
- 2 ¼ teaspoons (7 grams) active dry yeast
- 2 tablespoons (30 milliliters) olive oil
- 1 ½ teaspoons (9 grams) salt
- 1 cup (150 grams) mixed green and black olives, chopped and well drained
- 1 tablespoon fresh rosemary, finely chopped
- 1 teaspoon fresh thyme, finely chopped
Instructions
- Preheat oven to 400°F (200°C). Lightly oil a round baking pan or preheat a Dutch oven.
- In a large bowl, dissolve yeast in warm water and let sit for 5 to 10 minutes until foamy. Stir in olive oil and salt. Gradually add flour and mix until a soft dough forms. Fold in chopped olives, rosemary, and thyme.
- Knead the dough on a lightly floured surface for about 8 minutes until smooth and elastic.
- Shape into a round loaf and place into the prepared pan. Cover with a towel and let rise for 1 hour, or until doubled in size.
- Bake for 30 to 35 minutes until golden brown and the loaf sounds hollow when tapped on the bottom.
- Remove from oven and cool on a wire rack for at least 20 minutes before slicing.
Notes
- Drain olives thoroughly to prevent excess moisture in the dough.
- If using dried herbs, reduce the amount by half.
- For extra crust, bake inside a preheated Dutch oven.
- Allow bread to cool before slicing to maintain texture.