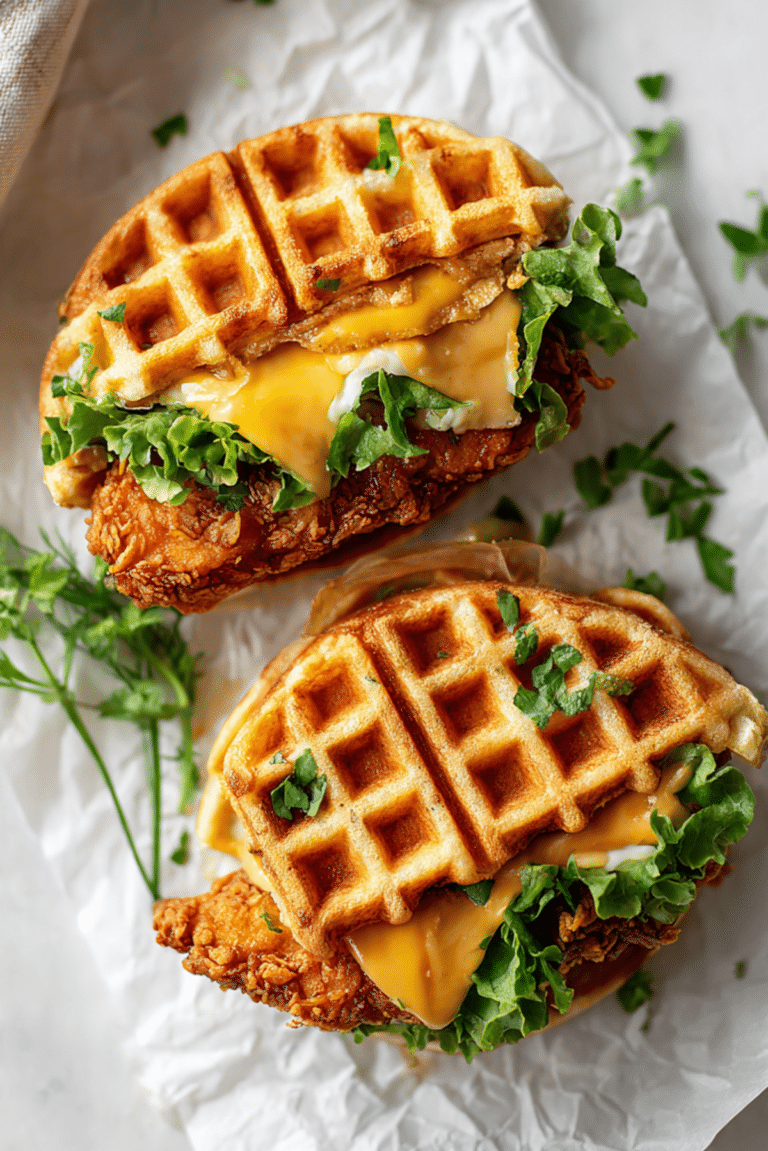
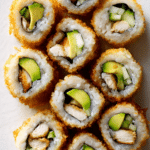
Crispy Rice Chicken Sushi Rolls (Cooked)
There is something incredibly satisfying about biting into a sushi roll that has both crunch and creaminess in perfect harmony. These Crispy Rice Chicken Sushi Rolls bring together golden, pan crisped rice and tender cooked chicken, wrapped up in layers that feel both comforting and exciting. Each bite offers that gentle crunch from the rice, followed by savory chicken and fresh vegetables that balance everything out. Trust me, you’re going to love this one.
Why These Crispy Sushi Rolls Are So Addictive
Imagine the familiar comfort of cooked chicken paired with the satisfying texture of lightly crisped rice. It is sushi, but with a warm, crunchy twist that makes it feel hearty and approachable. If raw fish is not your thing, this version is a total game changer. It is flavorful, family friendly, and surprisingly easy to make at home.
The Inspiration Behind Crispy Rice Sushi
Traditional sushi highlights vinegared rice and fresh fillings wrapped in seaweed. Over time, creative home cooks began experimenting with texture, lightly pan frying the rice layer to create a golden crust. The result is a fusion style roll that blends classic sushi technique with modern comfort food flair. It keeps the elegance of sushi while adding a bold, crispy upgrade.
Why This Recipe Works Every Time
Versatile: Perfect for lunch, dinner, or even party platters.
Budget-Friendly: Uses simple ingredients like rice, cooked chicken, and vegetables.
Quick and Easy: Once the rice is prepared, assembly comes together smoothly.
Customizable: Add different vegetables or sauces to suit your taste.
Crowd-Pleasing: The crispy texture makes these rolls exciting and satisfying.
Make-Ahead Friendly: Prepare the rice and chicken in advance for faster rolling.
Great for Leftovers: Leftover cooked chicken works beautifully in this recipe.
Chef Tips for Perfect Crispy Rice Rolls
- Use short grain sushi rice for the best sticky texture.
- Let the rice cool slightly before handling to prevent tearing the nori.
- Press the rice firmly but gently to keep the roll tight.
- Crisp the rice side in a lightly oiled pan until golden, not dark brown.
Essential Tools for Rolling Success
Bamboo Sushi Mat: Helps create tight, even rolls.
Sharp Knife: Ensures clean slices without crushing the roll.
Nonstick Skillet: Perfect for crisping the rice evenly.
Rice Cooker or Pot: Cooks the rice to tender perfection.
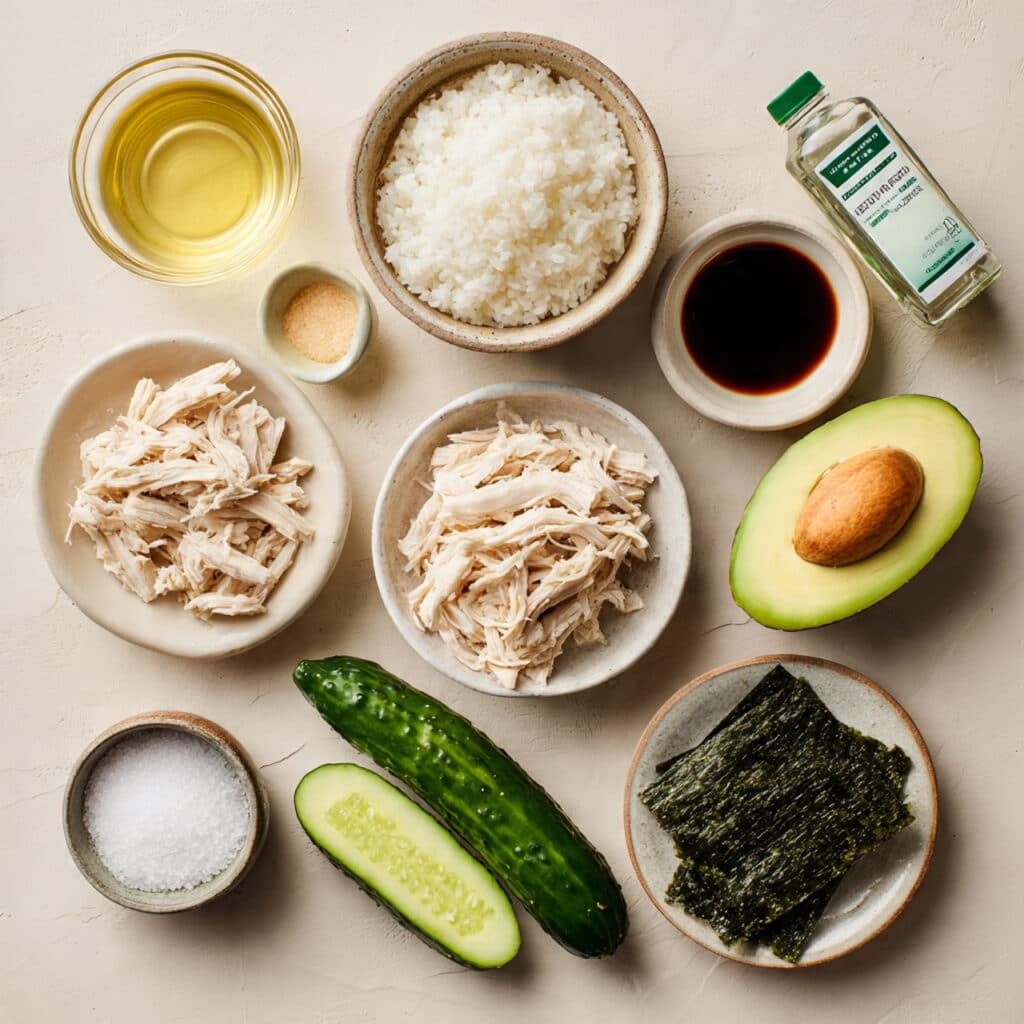
Ingredients You Will Need for Crispy Rice Chicken Sushi Rolls
These simple ingredients come together to create layers of flavor and texture.
- Sushi Rice: 2 cups uncooked, short grain rice, forms the sticky base of the rolls.
- Water: 2 1/2 cups, for cooking the rice to the right consistency.
- Rice Vinegar: 3 tablespoons, adds classic sushi flavor to the rice.
- Granulated Sugar: 1 tablespoon, balances the vinegar with subtle sweetness.
- Salt: 1 teaspoon, enhances the rice flavor.
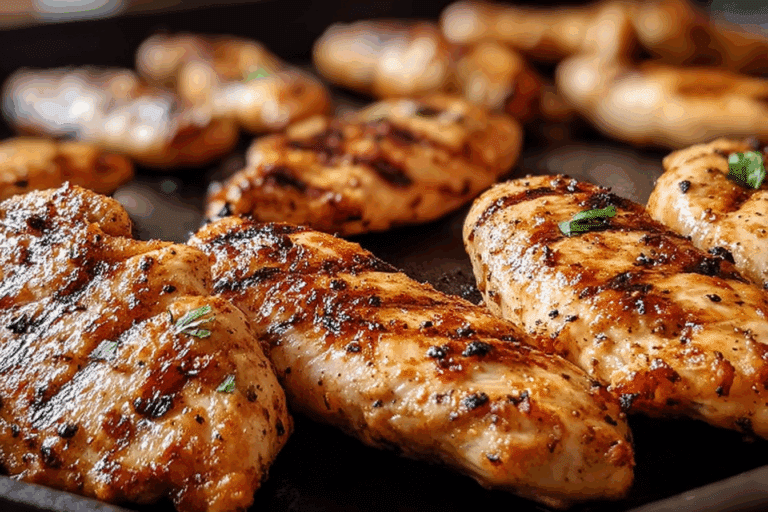
- Cooked Chicken Breast: 1 1/2 cups shredded, provides savory, tender filling.
- Avocado: 1 ripe avocado, sliced, adds creaminess.
- Cucumber: 1 small cucumber, cut into thin strips, brings freshness and crunch.
- Nori Sheets: 4 sheets, hold everything together.
- Vegetable Oil: 2 tablespoons, for crisping the rice exterior.
Simple Substitutions to Try
Cooked Chicken: Use grilled or baked chicken thighs for extra juiciness.
Avocado: Replace with thin carrot strips for extra crunch.
Cucumber: Swap with bell pepper slices for a sweet twist.
Rice Vinegar: Add a splash of lemon juice if needed in a pinch.
Spotlight on Key Ingredients
Sushi Rice: Its sticky texture allows the roll to hold together beautifully while crisping to a golden crust.
Cooked Chicken: Tender and flavorful, it makes this roll hearty and satisfying without needing raw fish.
Let’s Roll and Crisp
Now comes the fun part, assembling and transforming these ingredients into crispy perfection.
- Preheat Your Equipment: Prepare a nonstick skillet over medium heat for crisping later.
- Combine Ingredients: Rinse the sushi rice until the water runs clear. Cook with water according to package instructions. While warm, mix rice vinegar, sugar, and salt, then fold into the cooked rice gently.
- Prepare Your Cooking Vessel: Lay a nori sheet on a bamboo mat, shiny side down.
- Assemble the Dish: Spread an even layer of rice over the nori, leaving a small border at the top. Flip the sheet so rice faces down. Add shredded chicken, avocado slices, and cucumber strips along the center. Roll tightly using the mat.
- Cook to Perfection: Lightly brush the rice exterior with vegetable oil and place rice side down in the skillet. Cook for 2 to 3 minutes until golden and crispy. Turn gently to warm the other side briefly.
- Finishing Touches: Remove from heat and let rest for 2 minutes to set before slicing.
- Serve and Enjoy: Slice into even pieces with a sharp knife and serve immediately.
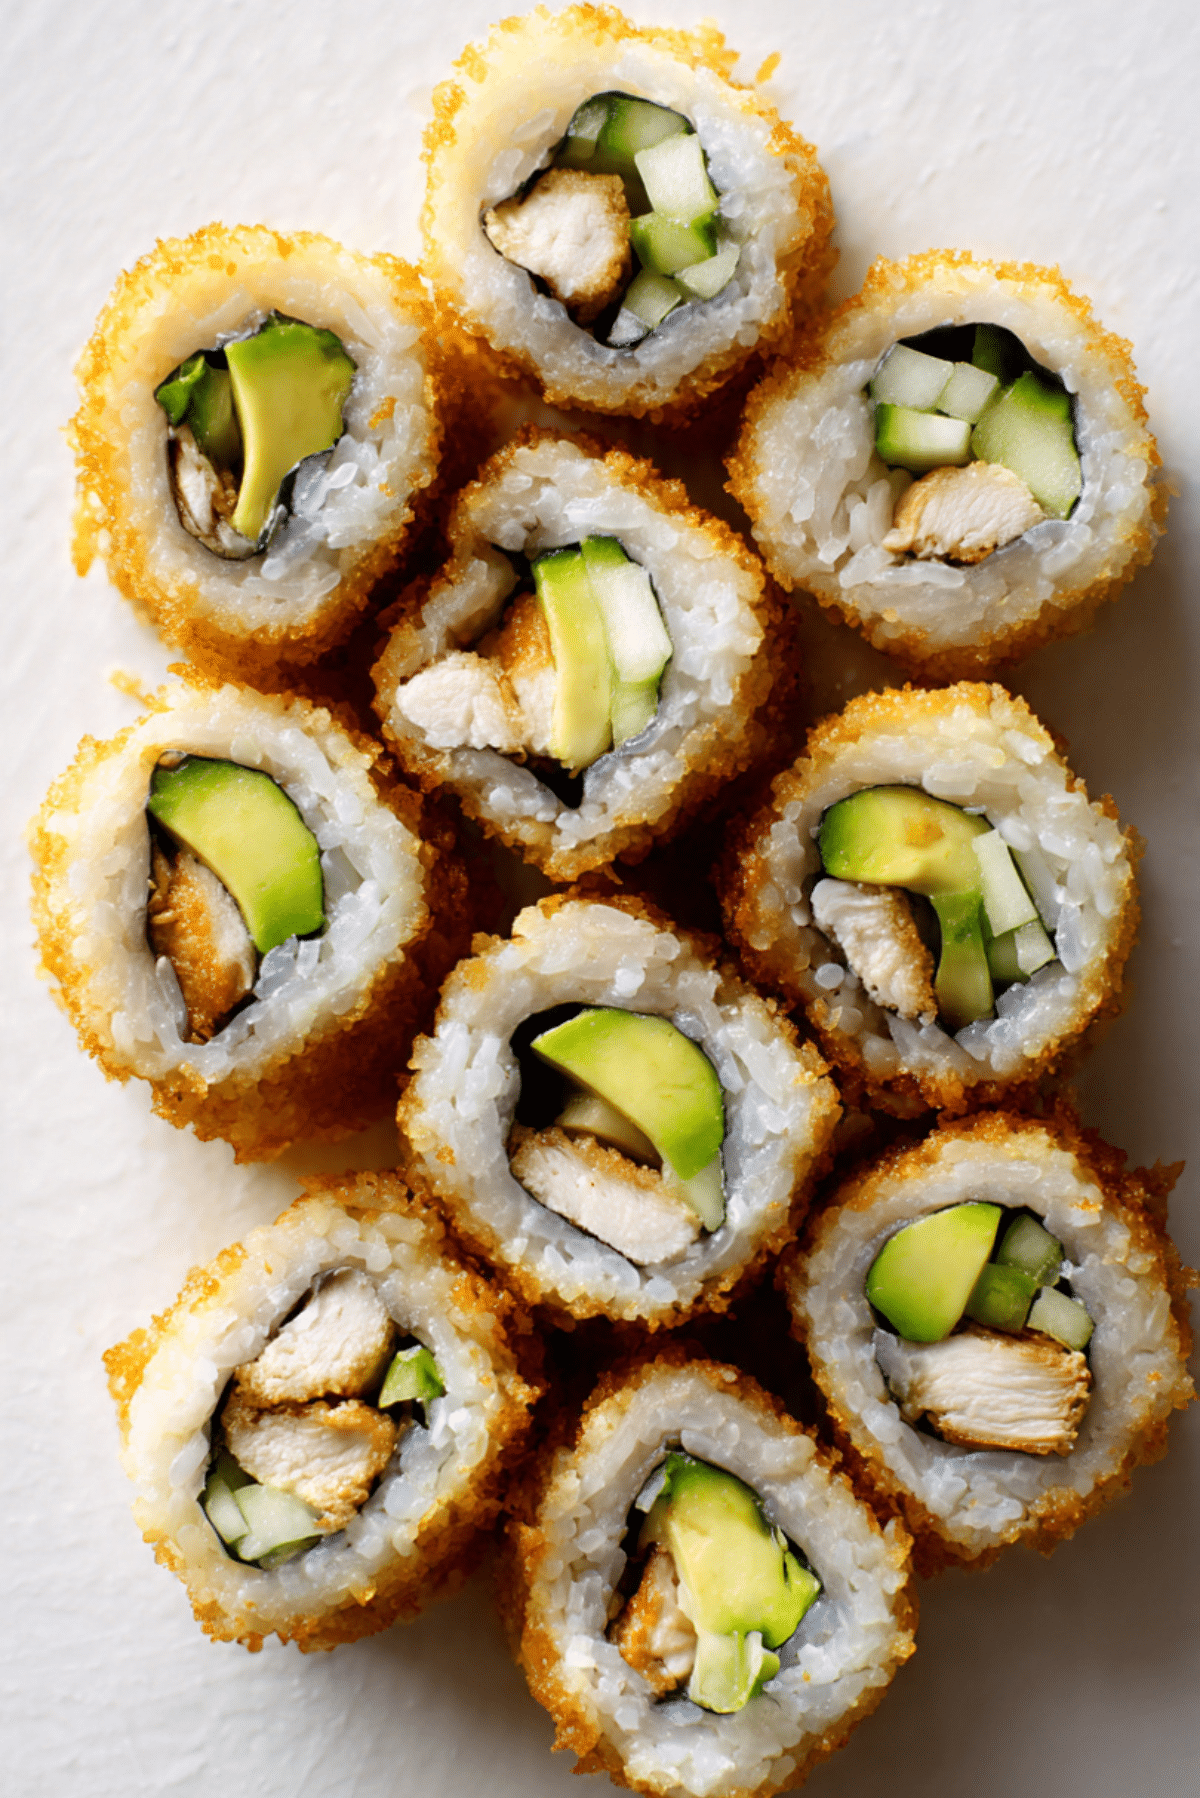
Texture and Flavor Harmony
The crisped rice adds a delicate crunch that contrasts beautifully with the tender chicken and creamy avocado. The subtle tang from the seasoned rice balances the savory filling, creating a bite that feels layered and satisfying. It is sushi with personality.
Helpful Tips for Success
- Wet your knife slightly before slicing for cleaner cuts.
- Do not overfill the roll to maintain a tight structure.
- Press gently while crisping to ensure even browning.
What to Avoid for Perfect Rolls
- Using long grain rice, which will not stick properly.
- Overcooking the rice until mushy.
- Skipping the resting time before slicing, which may cause unraveling.
Nutritional Snapshot
Servings: 4
Calories per serving: 380
Note: These values are approximate.
Preparation Time Overview
Prep Time: 20 minutes
Cook Time: 25 minutes
Total Time: 45 minutes
Make-Ahead and Storage Tips
Cook the rice and chicken ahead of time and store separately in the refrigerator for up to two days. Assemble and crisp just before serving for the best texture. Leftover rolls can be stored in an airtight container for one day, though the crispness may soften slightly. Reheat briefly in a skillet to restore some crunch.
Serving Ideas
Serve with soy sauce, pickled ginger, or a drizzle of spicy mayo. Pair with a light side salad or miso soup for a complete meal.
Creative Leftover Transformations
Chop leftover rolls and toss into a sushi style bowl with extra vegetables. You can also slice them thinner and serve as bite sized party snacks.
Extra Tips for Flavor and Freshness
Sprinkle toasted sesame seeds on the crispy rice for added texture. Add a thin layer of cream cheese for extra richness if desired.
Make It a Showstopper
Arrange the sliced rolls in a neat circle on a platter. The golden crisp exterior and vibrant green avocado create a beautiful contrast that looks as good as it tastes.
Variations to Try
- Add thin strips of cooked bell peppers for sweetness.
- Use teriyaki glazed chicken for deeper flavor.
- Add shredded carrots for extra crunch.
- Include a drizzle of spicy sauce inside the roll for heat.
FAQ’s
Q1: Can I use leftover rotisserie chicken?
Yes, it works perfectly and saves time.
Q2: Can I bake instead of pan crisping?
Pan crisping gives the best texture, but baking at 400°F for about 8 minutes can work.
Q3: How do I keep the roll tight?
Use a bamboo mat and apply firm, even pressure while rolling.
Q4: Is this recipe suitable for beginners?
Absolutely, it is approachable and forgiving.
Q5: Can I make it gluten free?
Yes, just use gluten free soy sauce when serving.
Q6: What rice works best?
Short grain sushi rice is essential for proper texture.
Q7: How do I prevent sticking when slicing?
Wet the knife slightly and wipe between cuts.
Q8: Can I add cheese?
Yes, a thin layer of cream cheese adds richness.
Q9: How do I store leftovers?
Keep in an airtight container in the refrigerator for up to one day.
Q10: Can kids enjoy this recipe?
Yes, the cooked chicken and crispy texture make it very family friendly.
Conclusion
Crispy Rice Chicken Sushi Rolls bring together crunch, creaminess, and savory flavor in a way that feels both comforting and exciting. With golden crisped rice and tender chicken wrapped in perfect layers, this dish transforms simple ingredients into something truly special. Let me tell you, it is worth every bite.
PrintCrispy Rice Chicken Sushi Rolls (Cooked)
Golden crispy rice chicken sushi rolls made with seasoned sushi rice, tender cooked chicken, creamy avocado, and fresh cucumber, pan crisped for extra texture and flavor.
Ingredients
- 2 cups uncooked short grain sushi rice
- 2 1/2 cups water
- 3 tablespoons rice vinegar
- 1 tablespoon granulated sugar
- 1 teaspoon salt
- 1 1/2 cups cooked shredded chicken breast
- 1 ripe avocado, sliced
- 1 small cucumber, cut into thin strips
- 4 nori sheets
- 2 tablespoons vegetable oil
Instructions
- Rinse the sushi rice until the water runs clear, then cook with 2 1/2 cups water according to package instructions.
- While the rice is warm, mix rice vinegar, sugar, and salt, then gently fold into the rice.
- Place a nori sheet on a bamboo mat, shiny side down, and spread an even layer of rice over it, leaving a small border at the top.
- Flip the sheet so the rice faces down, then add shredded chicken, avocado slices, and cucumber strips along the center.
- Roll tightly using the bamboo mat, pressing gently to seal.
- Brush the rice exterior lightly with vegetable oil and place rice side down in a skillet over medium heat.
- Cook for 2 to 3 minutes until golden and crispy, then turn gently and warm the other side briefly.
- Let rest for 2 minutes, then slice into even pieces and serve.
Notes
- Use short grain sushi rice for proper stickiness.
- Wet the knife slightly before slicing for cleaner cuts.
- Do not overfill the roll to maintain structure.