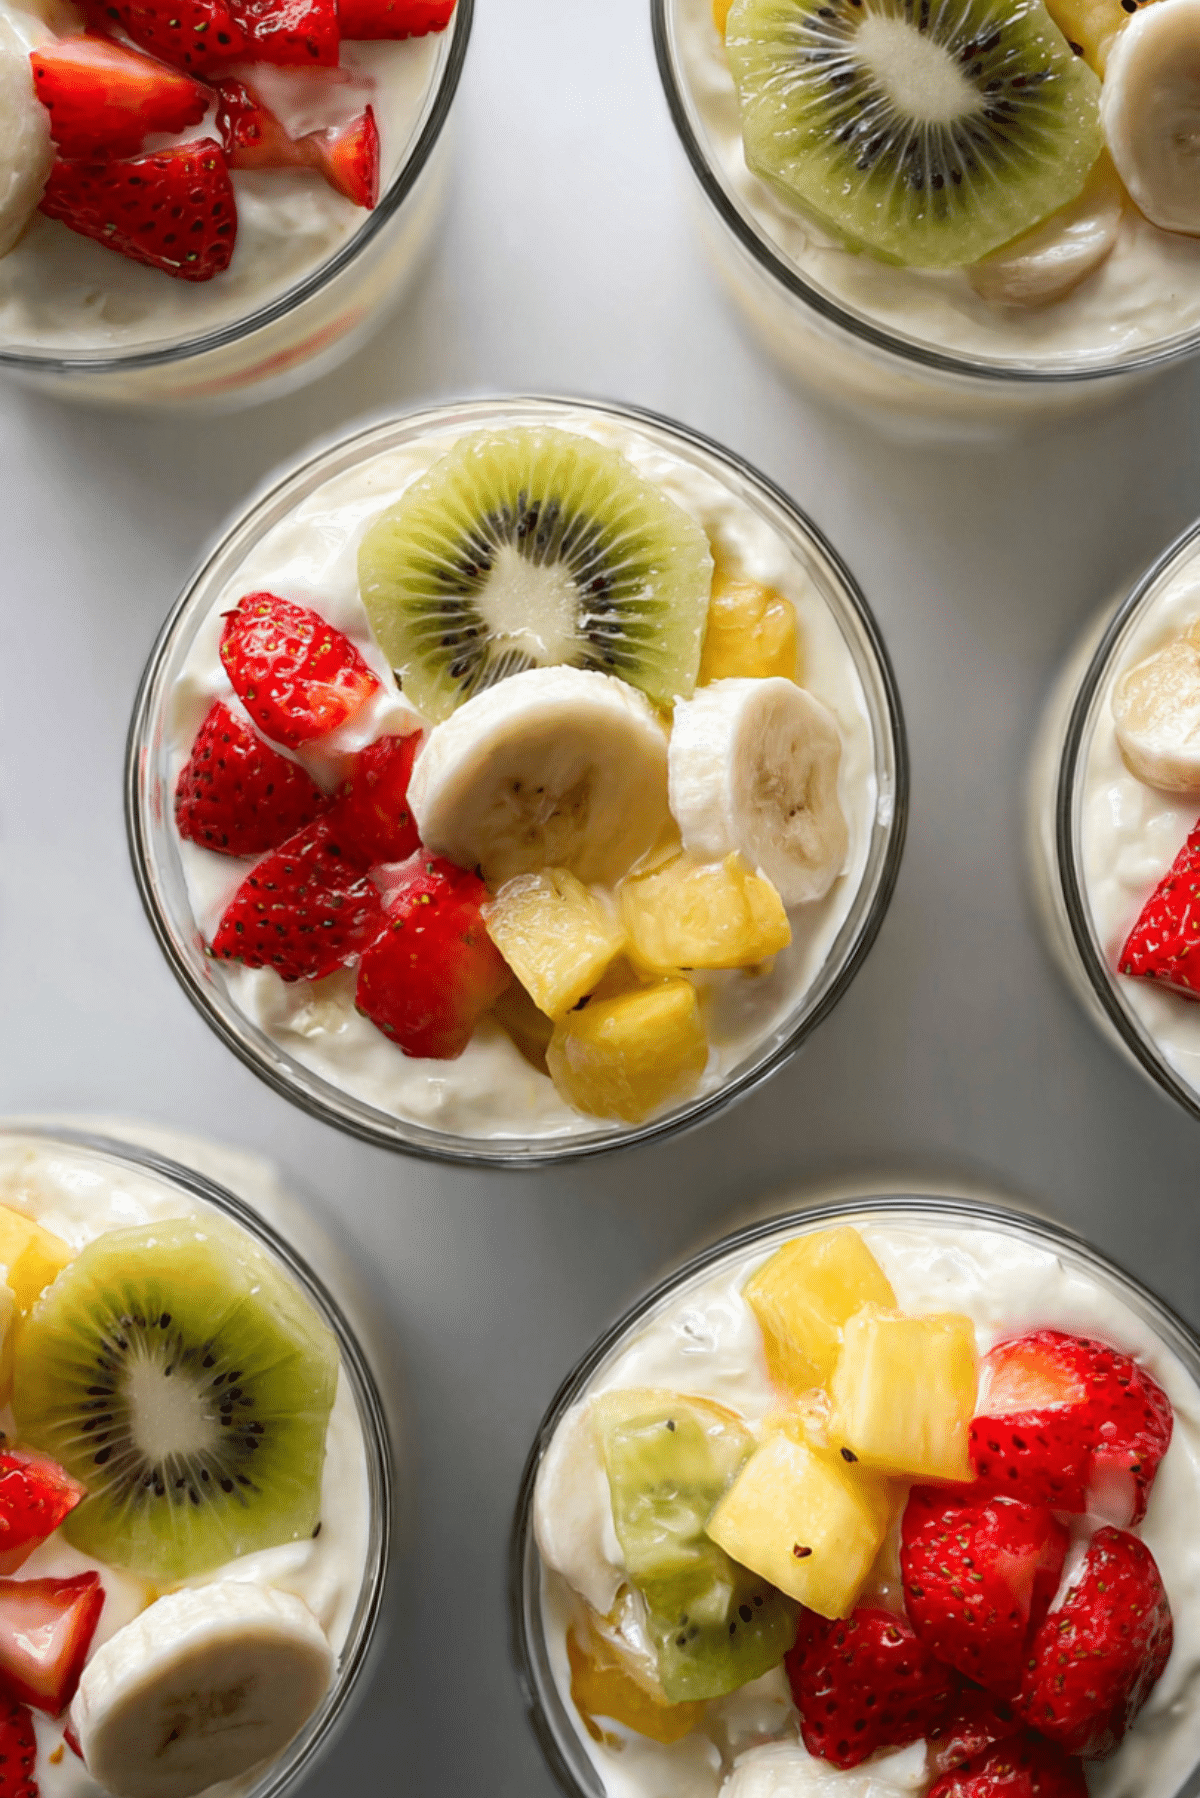
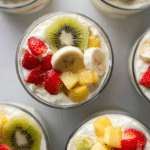
Creamy Fruit Cup
There is something quietly joyful about digging into a chilled cup layered with soft cream and fresh fruit. The colors peek through the glass, the spoon slides in easily, and every bite feels light but comforting at the same time. Trust me, you’re going to love this, it is the kind of dessert that feels special without asking much from you.
Why This Dessert Feels So Good Every Time
This is one of those treats that fits into almost any moment. It works after dinner, during a sunny afternoon break, or even as a sweet brunch addition. The balance between creamy and fresh makes each spoonful refreshing and satisfying, which is why people keep coming back for more.
A Little Background and Why It Became So Popular
Fruit and cream desserts have been around for ages, showing up in different forms across many cultures. From simple fruit and dairy combinations to layered cups served at gatherings, the idea has always been the same, highlight fresh fruit while adding a soft creamy contrast. Over time, the layered cup style became a favorite because it looks beautiful and feels personal, like a dessert made just for you.
What Makes This Recipe a Keeper
This recipe has earned its spot as a repeat favorite, and now let me tell you why it works so well.
Versatile: It fits dessert, snack time, or even a light sweet breakfast without feeling heavy.
Budget-Friendly: Simple fruits and basic dairy keep costs low while still feeling indulgent.
Quick and Easy: No baking and no waiting around, everything comes together fast.
Customizable: You can swap fruits based on the season or what you already have.
Crowd-Pleasing: The colors and flavors appeal to both kids and adults.
Make-Ahead Friendly: You can assemble it earlier and chill until serving time.
Great for Leftovers: Extra fruit or cream can easily be turned into another cup later.
Chef Tips Before You Start
Before we dive into the layers, here are a few small tips that make a big difference. Chill your cream mixture slightly before assembling, it helps the layers stay neat. Cut fruit into similar sized pieces so every bite feels balanced. And always taste your fruit first, sweetness can vary and you may want to adjust gently.
Kitchen Tools You Will Need
You do not need much to make this come together, which is part of the charm.
Mixing Bowl: For blending the cream until smooth and fluffy.
Whisk or Spoon: To combine everything evenly without overworking it.
Sharp Knife: For clean, neat fruit cuts.
Serving Cups or Glasses: Clear cups show off the beautiful layers best.
Ingredients You Will Need For This Dessert
The magic here is how simple ingredients work together in harmony, each one playing a clear role.
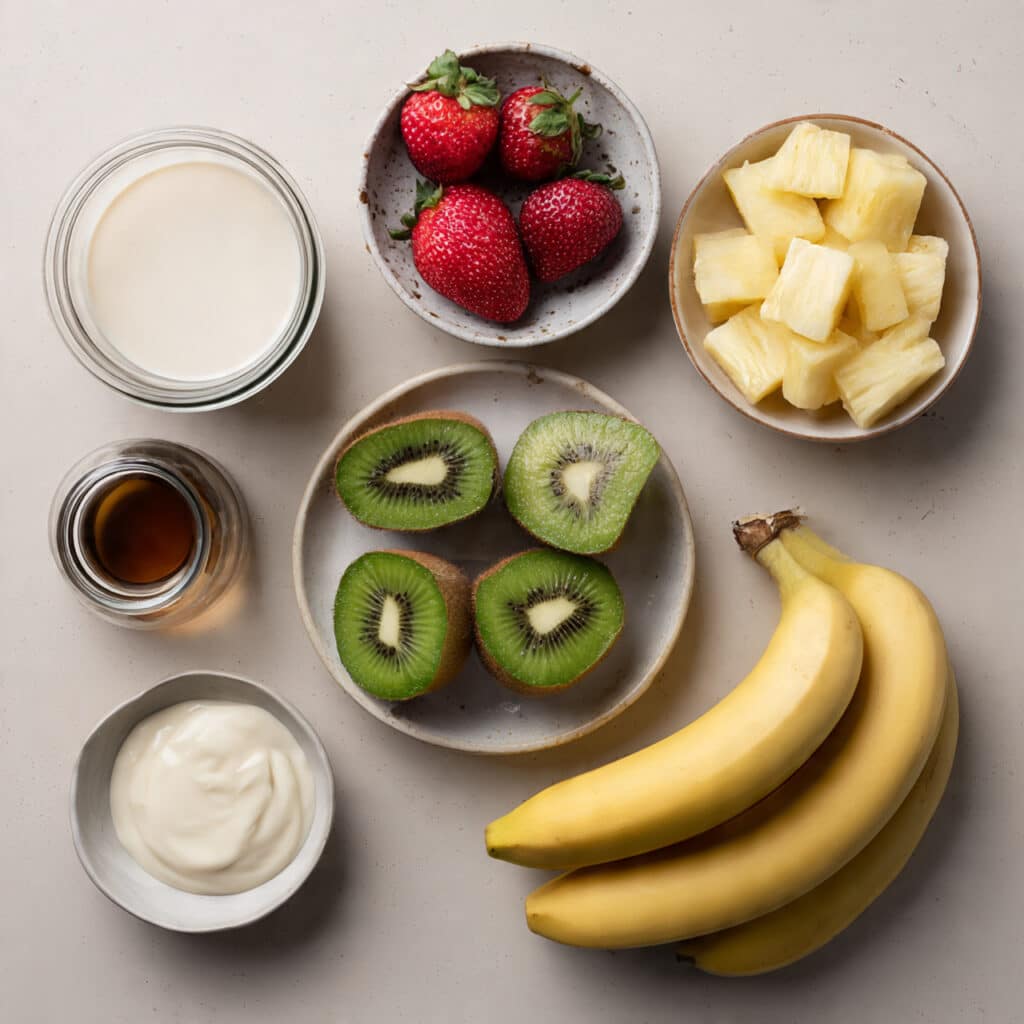
- Heavy Cream: 1 cup, whipped until soft, it creates the rich and airy base.
- Sweetened Condensed Milk: 1/2 cup, adds sweetness and a silky texture.
- Vanilla Extract: 1 teaspoon, brings warmth and rounds out the cream flavor.
- Strawberries: 1 cup, diced, for bright color and gentle sweetness.
- Kiwi: 1 cup, peeled and chopped, adds a fresh tangy note.
- Banana: 1 cup, sliced, gives softness and natural sweetness.
- Pineapple Chunks: 1 cup, small pieces, for a juicy tropical touch.
Easy Ingredient Swaps You Can Try
If you are missing something, do not worry, this recipe is forgiving.
Strawberries: Swap with raspberries or chopped peaches.
Kiwi: Mango works beautifully here.
Banana: Try pear slices for a firmer texture.
Pineapple: Use apple pieces for a milder sweetness.
Spotlight on the Star Ingredients
Sometimes a couple of ingredients deserve extra attention.
Heavy Cream: This is what gives the dessert its soft, cloud like feel and makes every bite smooth.
Fresh Fruit: The mix of textures and natural sweetness keeps the dessert light and refreshing.
Let’s Put It All Together
Now let’s dive into the fun part where everything comes together into something special.
- Preheat Your Equipment: This recipe needs no heat, but chill your serving cups in the fridge for a cleaner finish.
- Combine Ingredients: In a bowl, whisk the heavy cream, condensed milk, and vanilla until smooth and slightly thick.
- Prepare Your Cooking Vessel: Set out your chilled cups on a clean surface.
- Assemble the Dish: Start with a spoon of cream, add a layer of mixed fruit, then repeat until cups are filled.
- Cook to Perfection: There is no cooking here, just let the cups chill for 20 minutes to set slightly.
- Finishing Touches: Add a small fruit layer on top for color and freshness.
- Serve and Enjoy: Grab a spoon and enjoy every creamy, fruity bite.
Texture and Flavor Notes
What makes this dessert shine is the contrast. The cream feels smooth and rich, while the fruit brings bursts of juice and brightness. As it chills, the flavors settle and blend, making each layer taste even better than the last.
Helpful Tips for Best Results
A few gentle reminders to keep things perfect.
- Use ripe but firm fruit to avoid excess juice.
- Chill before serving for the best texture.
- Layer gently so the cream stays fluffy.
Common Mistakes and How to Avoid Them
It is simple, but a few things can trip you up.
- Overmixing the cream, which can make it too dense.
- Using overly ripe fruit that releases too much liquid.
- Skipping the chill time, which helps layers hold.
Nutrition Snapshot
Servings: 4
Calories per serving: Approximately 320
Note: These values are estimates and can vary based on fruit size and brands used.
Time Breakdown
Prep Time: 15 minutes
Cook Time: 0 minutes
Total Time: 15 minutes
Make-Ahead and Storage Advice
These cups can be made a few hours ahead and kept covered in the fridge. They are best enjoyed within 24 hours. Freezing is not recommended, as the cream texture can change once thawed.
Serving Ideas
Serve these chilled on their own, or alongside light cookies or tea. They also look lovely on a dessert table when arranged in clear glasses of different sizes.
Fun Ways to Use Leftovers
Leftover cream can be layered with granola for breakfast. Extra fruit can be blended into smoothies or spooned over yogurt.
Extra Tips for Success
Taste as you go, especially the fruit. Small adjustments make a big difference. And remember, this dessert is meant to feel relaxed and joyful, not fussy.
Make It Look Extra Special
Use clear glass cups and wipe the sides before serving. A neat presentation makes it feel bakery worthy with very little effort.
Flavor Variations to Explore
Try adding a pinch of cinnamon to the cream. Swap in berries only for a bold color theme. Or add a thin layer of crushed cookies for a bit of crunch.
FAQ’s
1. Can I make this the night before?
Yes, it keeps well overnight when covered and chilled.
2. Can I use frozen fruit?
Fresh is best, but thawed and well drained frozen fruit can work.
3. Is this dessert very sweet?
It is gently sweet, and you can reduce condensed milk slightly if needed.
4. Can I make it dairy free?
You can try coconut cream and a plant based sweetener.
5. How long does it stay fresh?
Best within one day for optimal texture.
6. Can kids help make this?
Absolutely, it is a great no bake recipe for helpers.
7. What cups work best?
Clear glass or plastic cups show the layers nicely.
8. Can I add more fruit types?
Yes, just keep the total amount balanced.
9. Does it need to be chilled before serving?
Chilling improves both texture and flavor.
10. Can I double the recipe?
Yes, it scales easily for gatherings.
Conclusion
This creamy fruit cup is simple, colorful, and quietly impressive. Let me tell you, it is worth every bite. Whether you make it for guests or just for yourself, it brings a little sweetness and comfort to the table without any stress.
PrintCreamy Fruit Cup
A light and refreshing dessert made with smooth vanilla cream layered with fresh, colorful fruit, perfect for an easy no-bake treat.
Ingredients
- 1 cup heavy cream
- 1/2 cup sweetened condensed milk
- 1 teaspoon vanilla extract
- 1 cup strawberries, diced
- 1 cup kiwi, peeled and chopped
- 1 cup banana, sliced
- 1 cup pineapple chunks
Instructions
- In a mixing bowl, combine the heavy cream, sweetened condensed milk, and vanilla extract until smooth and slightly thick.
- Prepare the fruits by washing, peeling, and cutting them into even bite-sized pieces.
- Place a spoonful of the cream mixture into the bottom of each serving cup.
- Add a layer of mixed fruit over the cream.
- Repeat the layers until the cups are filled, ending with fruit on top.
- Chill the cups in the refrigerator for about 20 minutes before serving.
- Serve cold and enjoy.
Notes
- Use ripe but firm fruit for best texture.
- Chill the dessert before serving for cleaner layers.
- You can swap fruits based on season or preference.