Cold Cheese Sandwich
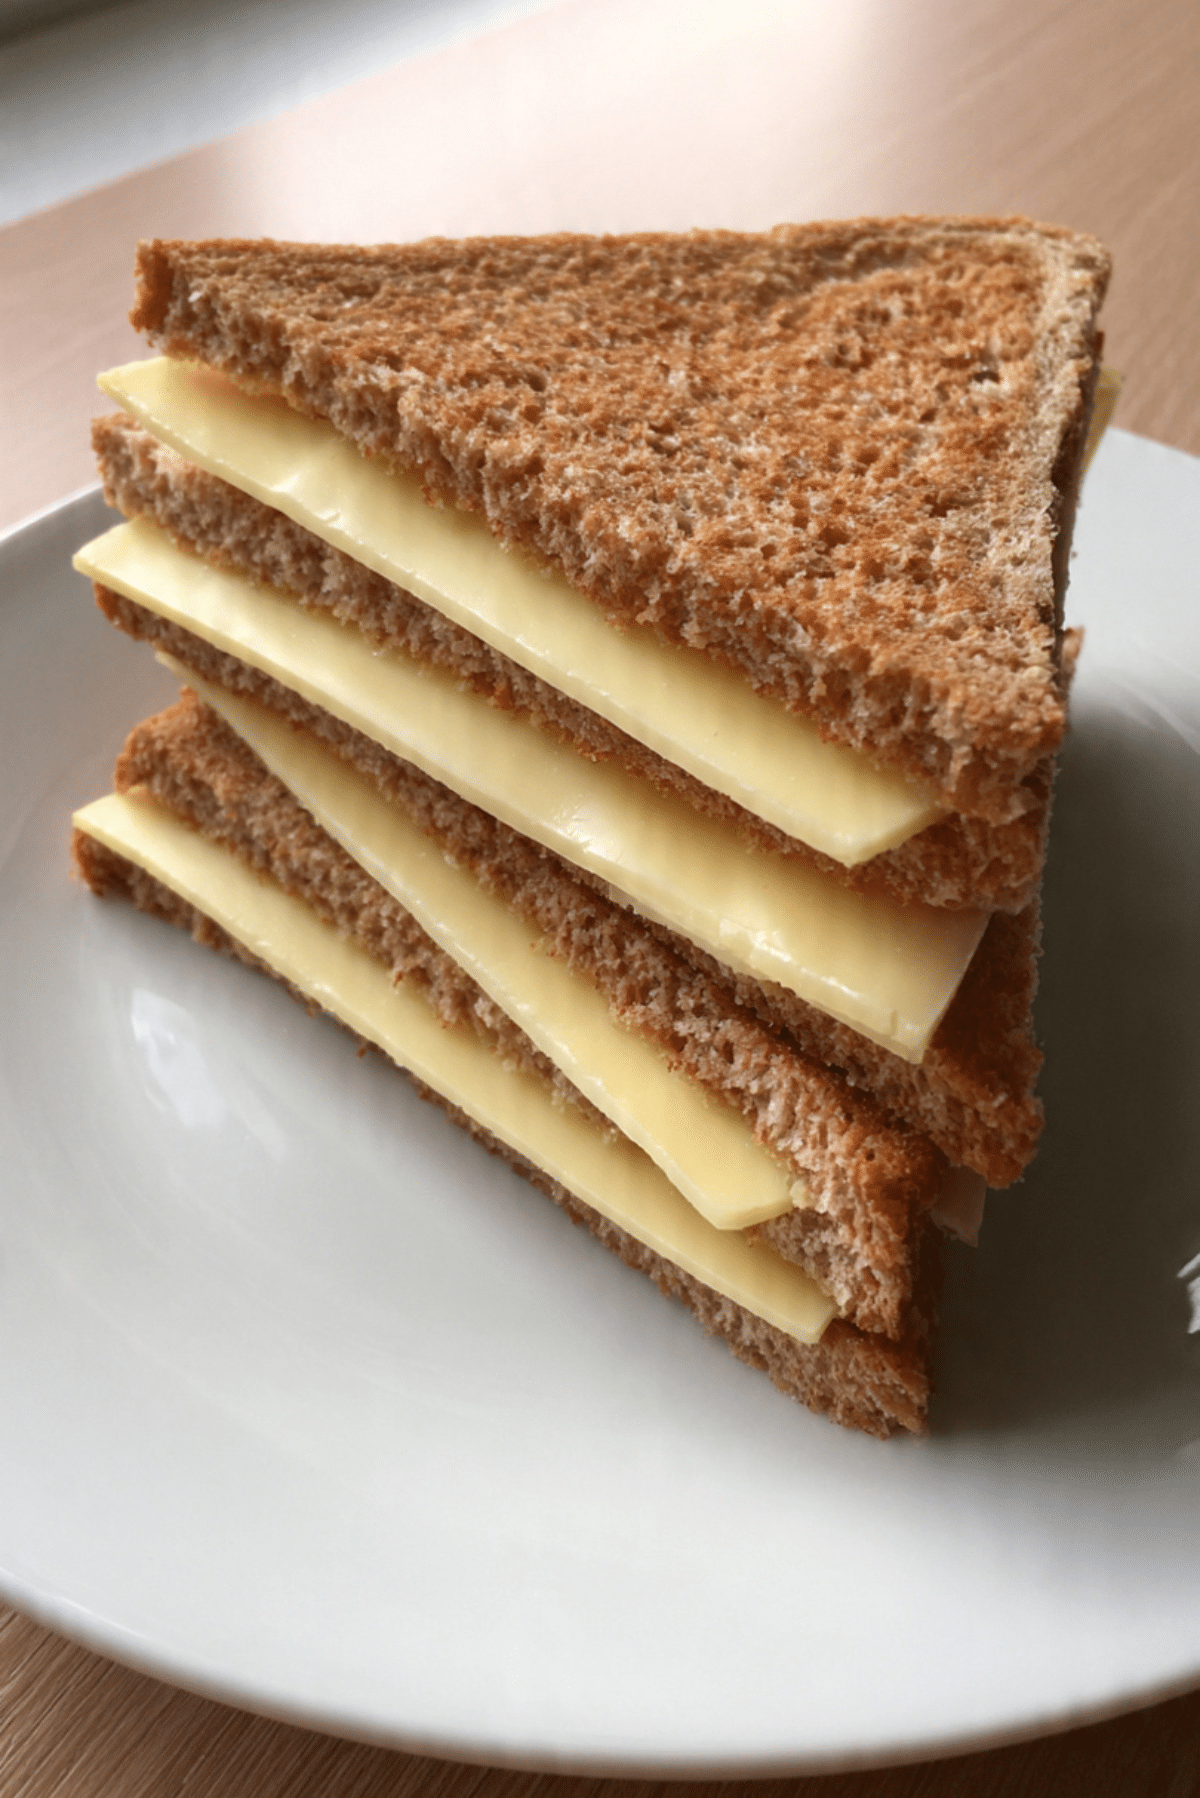
There’s something timeless about a cold cheese sandwich. It’s simple, comforting, and always hits the spot, especially on a busy afternoon when you need something quick but satisfying. The cool, creamy cheese tucked between soft slices of bread offers just the right amount of bite and richness without weighing you down. This recipe is all about that crisp first bite and the nostalgia it brings with it.
Behind the Recipe
Growing up, this was the sandwich my mom would pack into my school lunch box. No frills, just a soft hug of bread around gooey slices of cheese. We’d sometimes sneak a thin slice of tomato or a swipe of mustard in, but most days it stayed perfectly plain. It became one of those go-to snacks you crave not just for the taste but for the memories it carries.
Recipe Origin or Trivia
The cold cheese sandwich may not sound exotic, but it has its place in food culture. In many Western countries, especially the US and UK, it’s a staple in lunchboxes and cafés. It was born out of convenience, affordability, and love for dairy. Some even say it paved the way for the grilled cheese. While the grilled version may have stolen the spotlight, its cool cousin holds a loyal fanbase that swears by its simplicity.
Why You’ll Love Cold Cheese Sandwich
This humble sandwich comes with more perks than you’d expect.
Versatile: You can dress it up with veggies, herbs, or spreads, or keep it delightfully plain.
Budget-Friendly: Requires just a few inexpensive ingredients found in almost every kitchen.
Quick and Easy: No cooking needed. Just assemble and enjoy.
Customizable: Try it with different cheeses, breads, or even add some crunch with lettuce.
Crowd-Pleasing: Perfect for lunch boxes, picnics, or casual get-togethers.
Make-Ahead Friendly: Prepares well in advance and holds up nicely in the fridge.
Great for Leftovers: Easy to repurpose with a little heat or added fillings.
Chef’s Pro Tips for Perfect Results
To get the most out of your cold cheese sandwich experience, keep these tricks in mind:
- Use quality cheese: A mild cheddar or creamy gouda makes a huge difference in flavor and texture.
- Keep it cool: If packing for later, wrap it tightly and store it in a fridge or cooler bag to maintain freshness.
- Bread matters: Choose soft, fresh bread that complements the cheese rather than overpowering it.
- Optional spread: A light swipe of mayo or mustard adds a layer of moisture and zing.
- Trim the edges: For a cleaner bite and better presentation, cut the crusts off if desired.
Kitchen Tools You’ll Need
You won’t need much to create this easy classic.
Bread knife: For slicing the sandwich cleanly.
Cutting board: To build your sandwich on a clean, flat surface.
Butter knife: If you decide to add a spread.
Storage container or wrap: To keep it fresh if prepping ahead.
Ingredients in Cold Cheese Sandwich
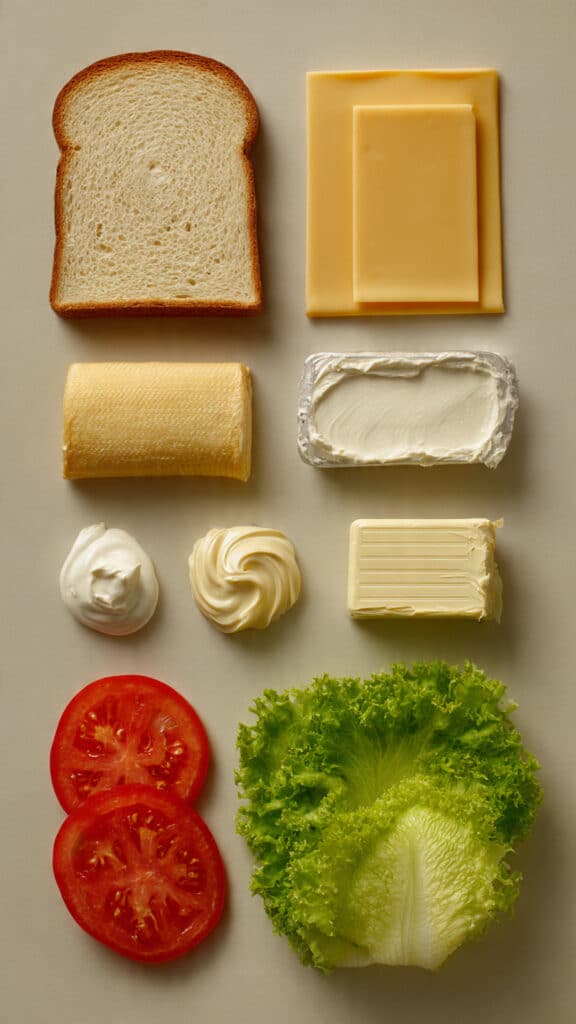
The magic of this sandwich is in its simplicity. Each ingredient works together to create a bite that’s soft, creamy, and satisfying.
- Sliced Bread: 2 slices. Acts as the soft foundation, holding everything together.
- Cheese Slices: 2 to 3 slices. Provides the rich, creamy, slightly salty flavor.
- Mayonnaise (optional): 1 tablespoon. Adds a smooth tang and moisture.
- Butter (optional): 1 teaspoon. For extra richness and softness in the bite.
- Lettuce or Tomato (optional): A few leaves or slices. Adds freshness and a mild crunch.
Ingredient Substitutions
Switch things up if needed, and make the sandwich your own.
Bread: Use whole grain, multigrain, or gluten-free.
Cheese: Swap for mozzarella, Swiss, or plant-based cheese for a vegan version.
Mayonnaise: Try Greek yogurt or hummus.
Butter: Replace with olive oil spread or skip entirely.
Lettuce/Tomato: Cucumber slices or baby spinach work too.
Ingredient Spotlight
Cheese Slices: The heart of this sandwich. Choose one that’s creamy and melts slightly at room temperature. A mild cheddar or American cheese works beautifully.
Sliced Bread: White or wheat, soft bread brings out the best in the cheese without stealing the spotlight.
Instructions for Making Cold Cheese Sandwich
Putting this sandwich together is fast and fuss-free. Here’s how to get it just right.
- Preheat Your Equipment:
No need to preheat anything for this one, just make sure your ingredients are at room temperature if you’re eating immediately. - Combine Ingredients:
Lay out the two slices of bread on a cutting board. If using spreads, lightly coat each slice with mayonnaise or butter. - Prepare Your Cooking Vessel:
Since there’s no cooking, your hands and a clean surface are your tools here. - Assemble the Dish:
Place 2 to 3 slices of cheese evenly across one slice of bread. Add lettuce or tomato if using. - Cook to Perfection:
No need to cook. Just press the second slice of bread on top gently. - Finishing Touches:
Trim the crusts if you like, and cut the sandwich diagonally for a classic look. - Serve and Enjoy:
Serve immediately or wrap tightly and refrigerate for later.
Texture & Flavor Secrets
What makes this sandwich stand out is its contrast in textures. The softness of the bread, the creamy richness of the cheese, and the light crunch from optional veggies create a satisfying mouthfeel. The flavors are mellow, creamy, and subtly salty, making every bite comfortingly familiar.
Cooking Tips & Tricks
A few handy tips can take this sandwich from basic to crave-worthy.
- Use room temperature cheese for the best texture and flavor.
- Toast the bread lightly if you want a bit more structure without going full grilled.
- Layer in fresh herbs like basil or parsley for a flavor kick.
What to Avoid
To keep your sandwich at its best, steer clear of these common mistakes.
- Skipping fresh bread: Stale bread can ruin the texture.
- Overloading with spreads: Too much can make the sandwich soggy.
- Leaving it out too long: Always refrigerate if not eating right away.
Nutrition Facts
Servings: 1
Calories per serving: 310
Note: These are approximate values.
Preparation Time
Prep Time: 5 minutes
Cook Time: 0 minutes
Total Time: 5 minutes
Make-Ahead and Storage Tips
This sandwich holds up well when made a few hours in advance. Wrap it in parchment or foil and refrigerate. It’s best eaten within a day for maximum freshness. Avoid adding wet ingredients like tomatoes if storing for long, as they can make the bread soggy.
How to Serve Cold Cheese Sandwich
Serve it with a side of crisp potato chips, a light salad, or a bowl of tomato soup for a more filling meal. It also pairs wonderfully with a cold glass of iced tea or lemonade on warm days.
Creative Leftover Transformations
Turn your leftover sandwich into something new and exciting.
- Toast It: Heat it up in a pan for a quick grilled version.
- Chop It: Cube and toss into a salad for cheesy croutons.
- Wrap It: Roll the fillings into a tortilla for a quick wrap.
Additional Tips
For even more flavor and fun:
- Add thin apple slices or a touch of honey mustard for a sweet-savory twist.
- Sprinkle a pinch of black pepper for a mild kick.
- Cut into mini triangles for party-friendly finger food.
Make It a Showstopper
Presentation counts, even for a simple sandwich. Wrap in parchment and tie with twine for a rustic lunchbox look, or slice into tiny squares and stack for a cute appetizer platter.
Variations to Try
Try switching things up with these ideas:
- Caprese Style: Add tomato slices, basil leaves, and a drizzle of olive oil.
- Spicy Kick: Add jalapeños or chili cheese.
- Pickle Pop: Slide in a few dill pickle slices for a zesty crunch.
- Vegan Version: Use plant-based cheese and mayo on whole grain bread.
- Protein Boost: Add a boiled egg slice or two.
FAQ’s
Q1: Can I use shredded cheese instead of slices?
Yes, shredded cheese works well. Just layer it evenly so it doesn’t fall out.
Q2: Is this sandwich okay for kids’ lunchboxes?
Absolutely. Just skip strong cheeses and go with something mild like cheddar.
Q3: Can I freeze a cold cheese sandwich?
It’s not ideal. The texture of cheese and bread can change. It’s best made fresh.
Q4: How do I keep it from getting soggy?
Avoid watery ingredients like tomatoes and use a thin spread layer.
Q5: What bread is best?
Soft white or wheat sandwich bread works perfectly. Avoid overly crusty breads.
Q6: Can I add meat?
Sure, but it won’t be a classic cold cheese sandwich anymore. Try thin turkey or ham.
Q7: Is it safe to eat cold?
Yes, as long as the cheese is stored properly and within its freshness window.
Q8: Can I prep this the night before?
Yes, wrap it well and refrigerate. Avoid wet toppings to keep the texture right.
Q9: How do I make it more filling?
Add extras like avocado, egg, or double up the cheese slices.
Q10: What spread goes best with it?
Mayonnaise or mustard are classic. You can also try hummus or pesto.
Conclusion
There you have it, the humble yet heartwarming cold cheese sandwich. It may be simple, but it brings a lot to the table. Whether you’re whipping it up for a quick bite, packing it for a picnic, or serving it as part of a casual brunch, trust me, it’s worth every bite.
PrintCold Cheese Sandwich

A simple, nostalgic cold cheese sandwich made with soft bread and creamy cheese slices. Perfect for quick lunches or an easy snack that brings comfort in every bite.
Ingredients
- 2 slices of sandwich bread
- 2 to 3 slices of cheese (cheddar or American)
- 1 tablespoon mayonnaise (optional)
- 1 teaspoon butter (optional)
- Lettuce or tomato slices (optional)
Instructions
- Lay out the two slices of bread on a clean cutting board.
- If using spreads, lightly coat each slice with mayonnaise or butter.
- Place the cheese slices evenly on one slice of bread.
- Add lettuce or tomato if desired.
- Top with the second slice of bread and press gently.
- Trim crusts if preferred and cut diagonally.
- Serve immediately or wrap and refrigerate for later.
Notes
- Use room temperature cheese for best flavor and texture.
- Soft, fresh bread enhances the eating experience.
- Skip watery veggies if preparing in advance to avoid sogginess.