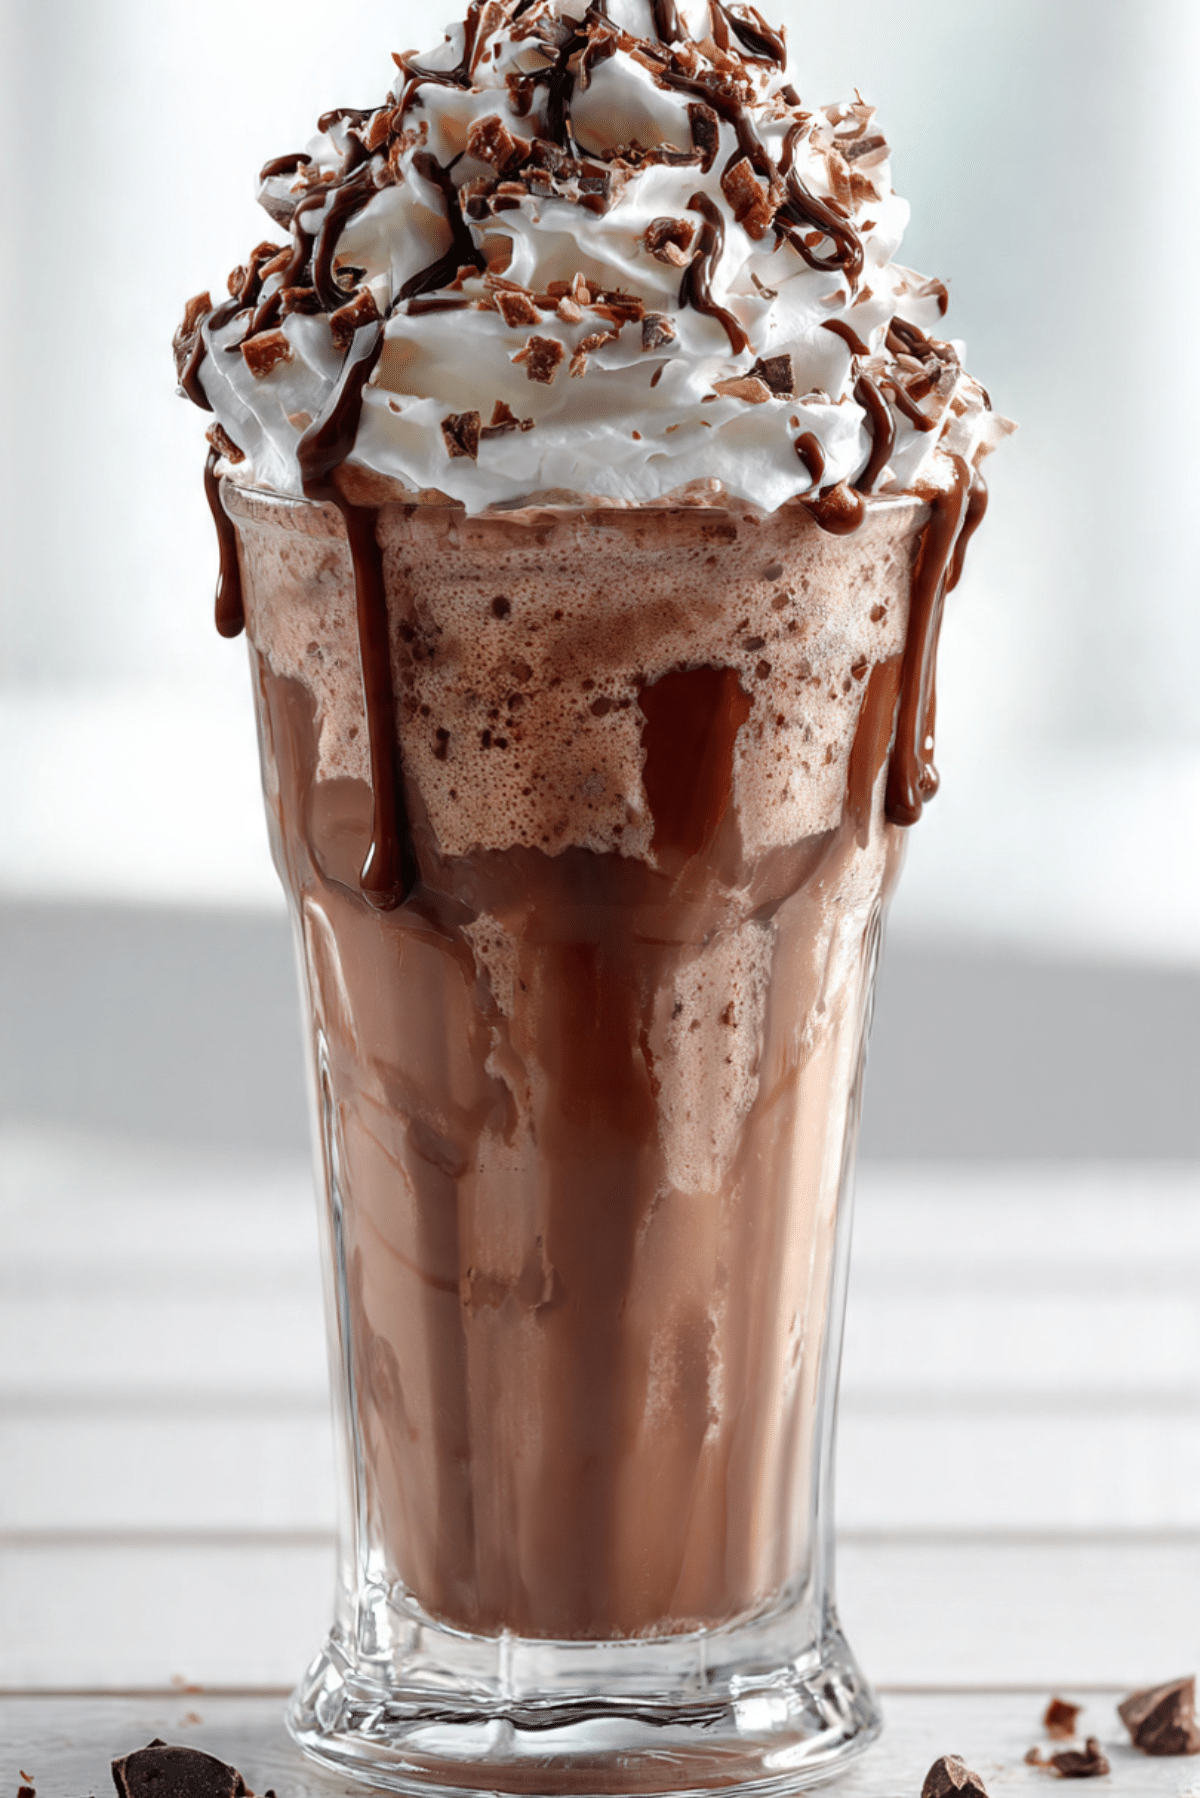
Chocolate Milkshake
There’s something truly magical about a chilled, creamy chocolate milkshake on a hot day. Thick, rich, and perfectly sweet, it wraps you in comfort like a favorite childhood memory. With every sip, you get the velvety smoothness of chocolate ice cream blended with milk and topped with whipped cream that slowly melts into the shake. Trust me, this one’s a total game-changer.
Behind the Recipe
This chocolate milkshake recipe was born out of a craving that hit me during a summer afternoon. You know the kind when it’s too hot to cook but you still want something indulgent. I opened the freezer, spotted some chocolate ice cream, and the rest is history. What started as a simple blend of ice cream and milk quickly turned into a go-to treat for family movie nights and sunny porch sittings.
Recipe Origin or Trivia
The milkshake as we know it today dates back to the early 1900s, but back then it wasn’t quite as creamy or sweet. Originally made with whiskey and eggs (wild, right?), it eventually transformed into the soda fountain classic we love now. Chocolate milkshakes in particular gained popularity with the rise of diners in the 1950s, where they became a staple of American comfort food culture.
Why You’ll Love Chocolate Milkshake
There’s more than one reason this recipe deserves a spot in your rotation:
Versatile: Whether you add cookies, caramel, or even a splash of espresso, this shake is a perfect base for all kinds of creativity.
Budget-Friendly: You likely already have the ingredients in your fridge and freezer.
Quick and Easy: Just blend and serve done in minutes.
Customizable: Use dairy-free ice cream or switch up the toppings to make it yours.
Crowd-Pleasing: Kids, teens, and adults all dive in happily.
Make-Ahead Friendly: Blend and freeze in popsicle molds for later.
Great for Leftovers: Pour extras into an ice cube tray for future frappes or smoothies.
Chef’s Pro Tips for Perfect Results
Nailing that thick and creamy consistency takes just a few insider tricks.
- Use full-fat ice cream for a richer, smoother texture.
- Chill your glass in the freezer for 10 minutes before serving.
- Add milk slowly to control thickness.
- Blend in short bursts to avoid over-melting.
- Garnish generously it’s all about the presentation.
Kitchen Tools You’ll Need
You don’t need a full barista setup to whip up this chocolate delight.
Blender: Essential for getting that smooth, creamy consistency.
Measuring Cups: For accurate milk-to-ice-cream ratios.
Tall Glasses: The classic presentation makes it feel like a treat.
Ice Cream Scoop: Makes serving neat and easy.
Spoon or Straw: For sipping and scooping every last bit.
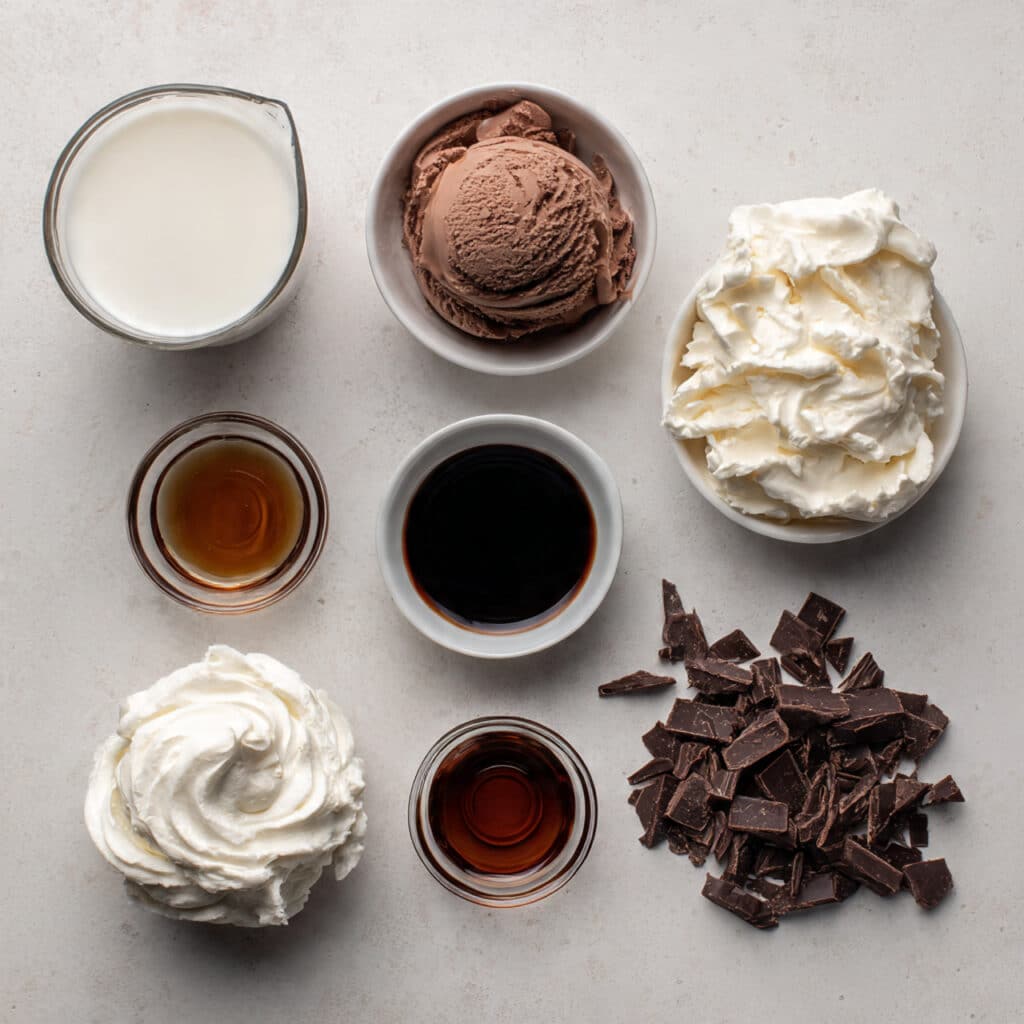
Ingredients in Chocolate Milkshake
Every ingredient in this recipe works together to create a dreamy texture and flavor.
- Chocolate Ice Cream: 3 cups. The star of the show, giving the shake its rich chocolate base.
- Whole Milk: 1 cup. Loosens up the ice cream just enough to blend while keeping it creamy.
- Chocolate Syrup: 2 tablespoons. Intensifies the chocolate flavor throughout.
- Whipped Cream: For topping. Adds airy sweetness and a fun diner-style vibe.
- Chocolate Shavings or Chips: Optional, for garnish. Adds texture and extra chocolate goodness.
- Vanilla Extract: ½ teaspoon. Rounds out and deepens the flavor.
Ingredient Substitutions
Life happens — here’s how to adapt when needed.
Whole Milk: Use almond milk or oat milk for dairy-free versions.
Chocolate Ice Cream: Try vanilla plus cocoa powder or chocolate chips.
Chocolate Syrup: Melted chocolate or Nutella works too.
Whipped Cream: Coconut whipped topping is a great dairy-free choice.
Vanilla Extract: Maple syrup or almond extract adds a unique twist.
Ingredient Spotlight
Chocolate Ice Cream: The heart and soul of this recipe, chocolate ice cream brings a creamy texture and bold cocoa flavor that defines the shake.
Whipped Cream: It’s not just a topping. It adds a cool, airy contrast that lightens every sip.
Instructions for Making Chocolate Milkshake
Let’s make this creamy chocolate fantasy come to life step by step.
- Preheat Your Equipment:
Pop your serving glasses in the freezer for 10 minutes so the milkshake stays cold longer. - Combine Ingredients:
In a blender, add 3 cups chocolate ice cream, 1 cup whole milk, 2 tablespoons chocolate syrup, and ½ teaspoon vanilla extract. - Prepare Your Cooking Vessel:
Well, in this case, your vessel is your blender. Make sure the lid is secured tightly. - Assemble the Dish:
Blend everything until smooth and creamy. Add more milk a tablespoon at a time if needed. - Cook to Perfection:
No cooking needed! Just blend for about 30–45 seconds until it’s silky smooth. - Finishing Touches:
Pour into chilled glasses. Top with whipped cream, chocolate shavings, or even a drizzle of extra syrup. - Serve and Enjoy:
Serve immediately with a straw or long spoon and enjoy that first cold, creamy sip.
Texture & Flavor Secrets
A good chocolate milkshake balances creaminess with bold flavor. The ice cream gives it body, the milk smooths it out, and the chocolate syrup boosts that deep cocoa taste. Whipped cream on top adds an airy, silky contrast, and a sprinkle of chocolate shavings brings texture with every sip.
Cooking Tips & Tricks
Little tweaks can make a big difference.
- Blend short and sweet too long makes it thin.
- For thicker shakes, add a few ice cubes before blending.
- Add a pinch of salt to deepen the chocolate flavor.
- Freeze leftover shake in popsicle molds.
What to Avoid
Avoid these common pitfalls to keep your shake delicious.
- Don’t add too much milk it can get runny fast.
- Avoid low-fat ice cream if you want a creamy texture.
- Don’t skip chilling the glass. It keeps things frosty longer.
Nutrition Facts
Servings: 2
Calories per serving: 430
Note: These are approximate values.
Preparation Time
Prep Time: 5 minutes
Cook Time: 0 minutes
Total Time: 5 minutes
Make-Ahead and Storage Tips
If you want to prep in advance, blend the shake and pour into airtight jars, then freeze. Let thaw slightly before serving and give it a quick re-blend if needed. You can also freeze the mixture into ice cube trays and re-blend later for a quick fix. Keep toppings separate until ready to serve.
How to Serve Chocolate Milkshake
Serve in a tall glass with a swirl of whipped cream, a drizzle of chocolate syrup, and a sprinkle of shavings. Add a fun straw or even a cookie on the rim for flair. Pair with a warm brownie or salty fries for the full retro diner effect.
Creative Leftover Transformations
Have some shake left over? Here’s how to remix it.
- Milkshake Popsicles: Freeze in molds for a cool snack.
- Frozen Frappe: Blend frozen cubes with a splash of coffee.
- Dessert Sauce: Pour melted leftovers over brownies or cake.
Additional Tips
- Want it extra indulgent? Add a scoop of peanut butter or Nutella to the blender.
- Double the batch for parties just blend in two rounds if needed.
- Use clear glasses for presentation so the layers and swirls show through.
Make It a Showstopper
Presentation matters. Swirl chocolate syrup along the inside of the glass before pouring the shake. Top with a mountain of whipped cream, a few chocolate curls, and even a cherry on top. Serve with a wide straw and a big smile.
Variations to Try
- Mocha Milkshake: Add a shot of chilled espresso.
- Mint Chocolate: Blend in mint extract or mint chips.
- Peanut Butter Chocolate: Add 2 tablespoons of creamy peanut butter.
- Cookies & Cream: Toss in some chocolate sandwich cookies before blending.
- Spicy Mexican Chocolate: Add a pinch of cinnamon and cayenne for a kick.
FAQ’s
Q1: Can I make this without a blender?
A1: Yes, mash the ice cream and milk with a fork and whisk until smooth, but it will be thinner.
Q2: What’s the best milk for thick shakes?
A2: Whole milk gives the best texture, but half-and-half makes it even richer.
Q3: Can I make it dairy-free?
A3: Absolutely, use plant-based milk and ice cream.
Q4: How do I thicken a too-thin milkshake?
A4: Add more ice cream or a few ice cubes and blend again.
Q5: Is it okay to use frozen milk cubes?
A5: Yes, frozen milk cubes can add thickness without watering it down.
Q6: Can I prepare it ahead of time?
A6: Yes, but it’s best served immediately. Freeze it if needed.
Q7: Can I double the recipe?
A7: Sure, just make sure your blender can handle the volume.
Q8: Why is my shake too icy?
A8: It might be over-blended or contain too many ice cubes.
Q9: Can I make this keto?
A9: Use keto-friendly ice cream, almond milk, and sugar-free syrup.
Q10: How long can it sit out?
A10: Not long it melts fast. Serve right after blending.
Conclusion
A chocolate milkshake like this doesn’t just quench your thirst it brings back memories, creates smiles, and satisfies that deep chocolate craving we all get. Whether it’s a midday treat or a midnight snack, this creamy shake is always a good idea. So go ahead, blend one up and enjoy every spoonful. You deserve it.
PrintChocolate Milkshake
A rich and creamy chocolate milkshake made with chocolate ice cream, milk, and a touch of vanilla, topped with whipped cream and chocolate shavings for the perfect indulgent treat.
Ingredients
- 3 cups chocolate ice cream
- 1 cup whole milk
- 2 tablespoons chocolate syrup
- ½ teaspoon vanilla extract
- Whipped cream (for topping)
- Chocolate shavings or chips (optional garnish)
Instructions
- Pop your serving glasses in the freezer for 10 minutes so the milkshake stays cold longer.
- In a blender, add chocolate ice cream, whole milk, chocolate syrup, and vanilla extract.
- Secure the lid and blend until smooth and creamy. Add more milk a tablespoon at a time if needed.
- Pour into chilled glasses.
- Top with whipped cream, chocolate shavings, or extra syrup if desired.
- Serve immediately with a straw or spoon and enjoy!
Notes
- Use full-fat ice cream for the creamiest texture.
- Chill glasses ahead to keep the shake cold longer.
- For thicker shakes, add less milk or a few ice cubes when blending.
- Freeze leftovers in molds for milkshake popsicles.