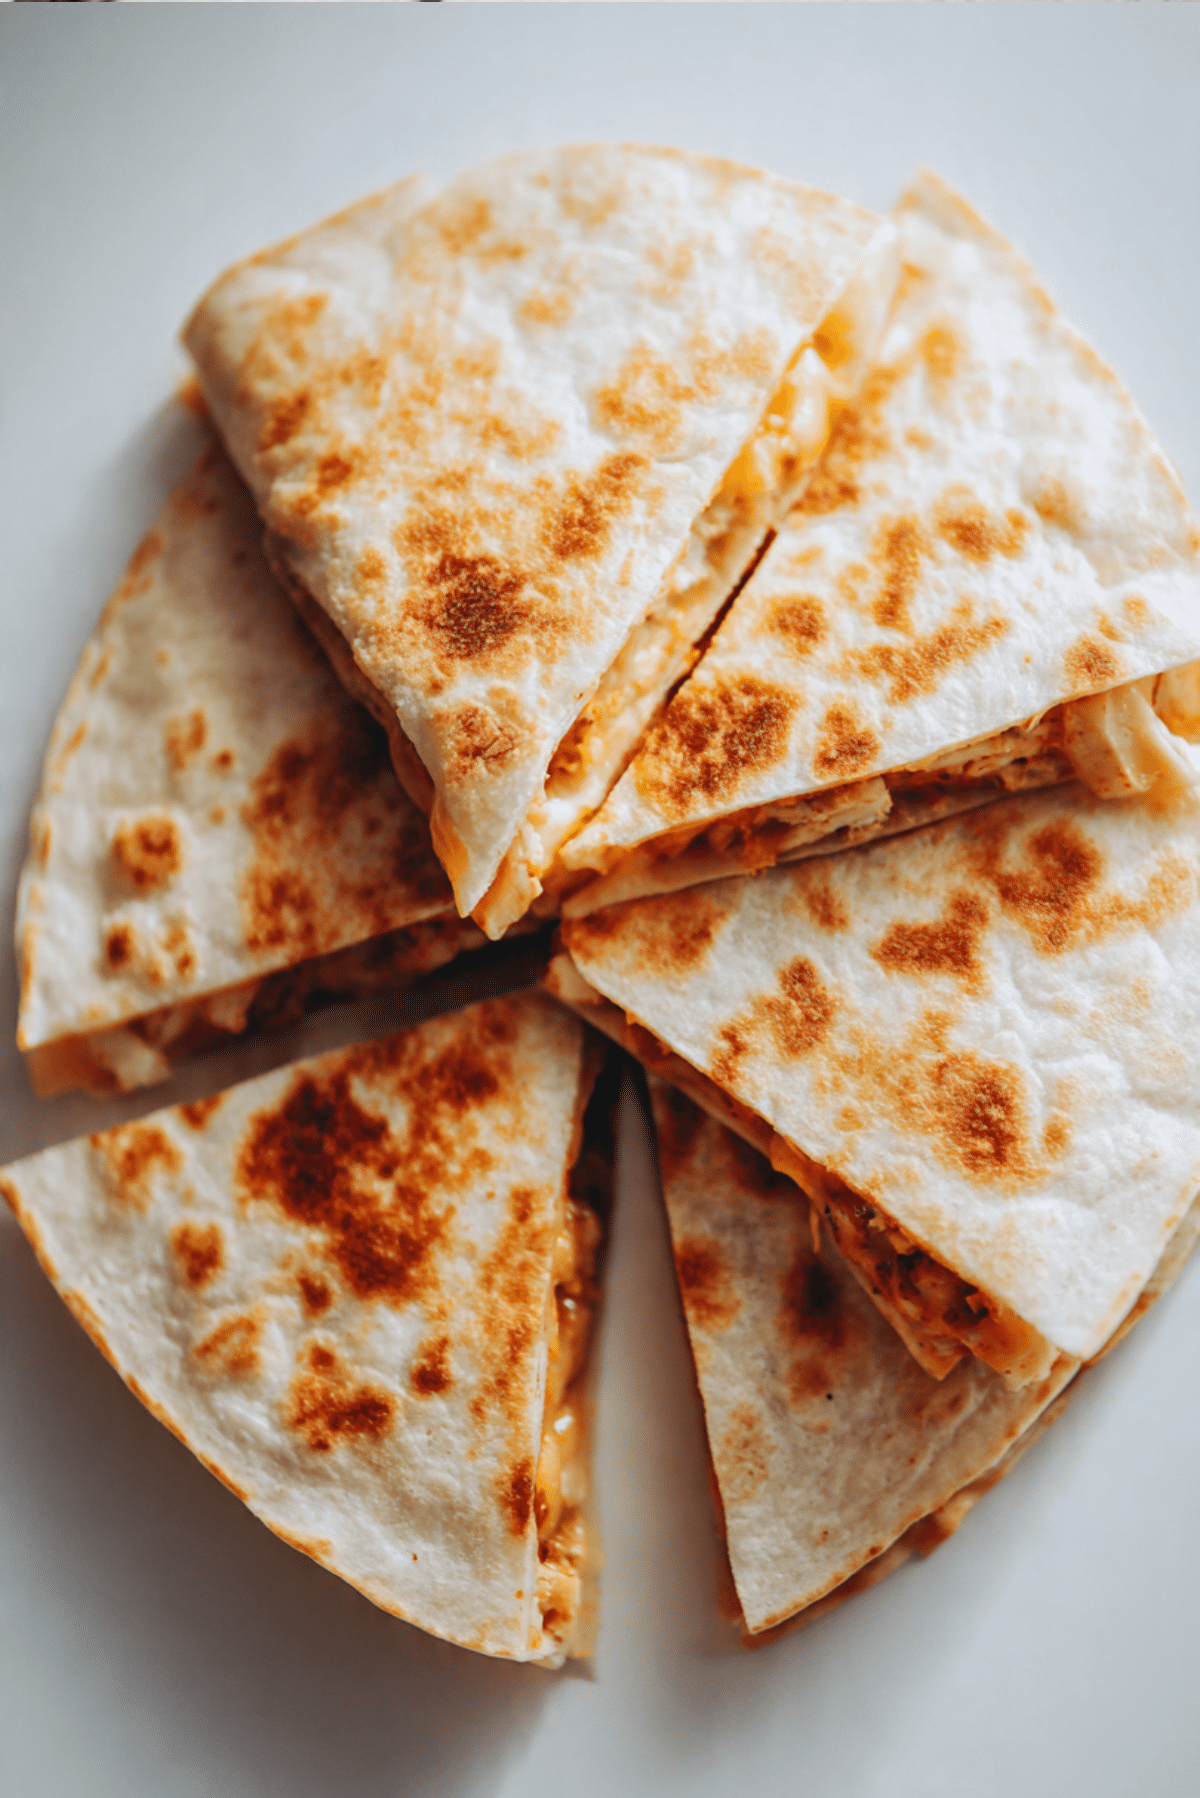
Chicken Cheese Quesadilla
There is something so comforting about biting into a warm, golden tortilla that crackles slightly before giving way to juicy chicken and melted cheese. It is simple, it is satisfying, and honestly, it never disappoints. This Chicken Cheese Quesadilla is the kind of meal that saves busy weeknights and still feels like a treat. Trust me, you are going to love this.
Why This Cheesy Classic Always Hits the Spot
Some recipes just have that magic combination of crispy outside and gooey inside. This one is a total game changer because it balances flavor, texture, and ease all in one skillet. The seasoned chicken brings savory depth, while the melted cheese wraps everything together in creamy goodness. And when that tortilla turns golden and slightly crisp, you know dinner is about to be very good.
A Little Taste of Its Roots
Quesadillas come from Mexican cuisine, where tortillas and cheese have long been staple ingredients. Traditionally, they were simple, often filled with cheese and folded over on a hot griddle. Over time, different regions added meats, vegetables, and spices, turning them into the hearty meal many of us know today. This version keeps that comforting spirit alive while making it practical for everyday cooking at home.
Why You Can Always Count on This Recipe
Before we step into the kitchen, let me tell you why this one deserves a spot in your regular rotation.
Versatile: You can serve it for lunch, dinner, or even cut into small wedges for a snack platter.
Budget-Friendly: Simple pantry spices, tortillas, chicken, and cheese make this easy on the wallet.
Quick and Easy: From start to finish, you are looking at about 30 minutes.
Customizable: Add veggies, swap cheeses, or adjust the spice level to match your taste.
Crowd-Pleasing: Kids love it, adults love it, and nobody ever complains about melted cheese.
Make-Ahead Friendly: Cook the chicken ahead of time and assemble when ready.
Great for Leftovers: Extra slices reheat beautifully in a skillet.
Pro Tips for Perfectly Crispy Results
Let me share a few insider tricks that really make a difference.
- Cook the tortilla over medium heat so it crisps without burning.
- Do not overfill, which makes flipping tricky and messy.
- Shred your own cheese for better melting.
- Let it rest for a minute before slicing so the cheese sets slightly.
Kitchen Tools That Make It Easy
You do not need much, which is part of the beauty here.
Large Skillet: Ensures even browning and enough space to flip comfortably.
Spatula: Helps press gently and flip without tearing.
Sharp Knife or Pizza Cutter: For clean, even slices.
Cutting Board: Makes slicing safer and easier.
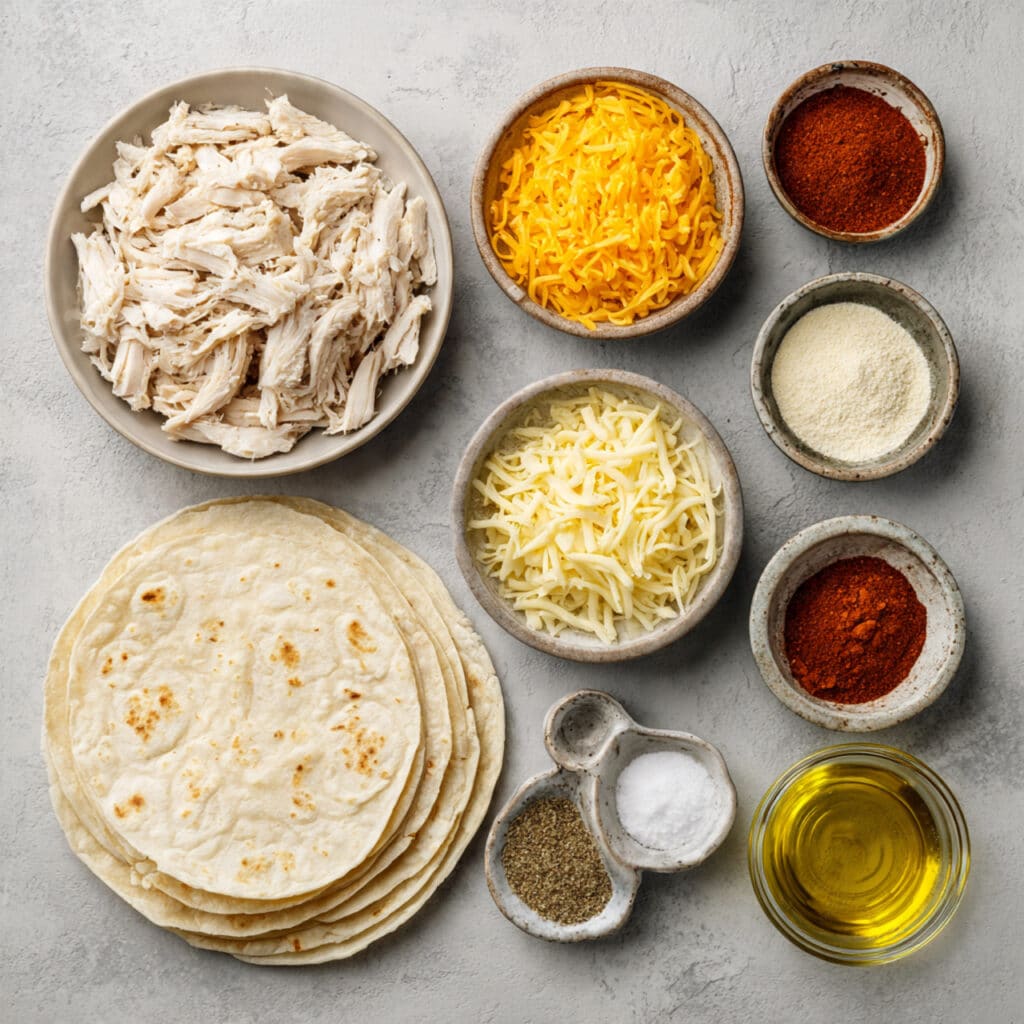
Ingredients You Will Need for This Comforting Favorite
These ingredients work together in the most delicious way.
- Cooked Chicken: 2 cups, shredded or diced. This provides the hearty, savory base.
- Shredded Cheddar Cheese: 1 1/2 cups. Melts beautifully and adds sharp flavor.
- Shredded Mozzarella Cheese: 1/2 cup. Adds extra stretch and creaminess.
- Flour Tortillas: 4 large, about 8 inches each. They crisp up perfectly in the skillet.
- Olive Oil: 2 tablespoons. Helps achieve that golden crust.
- Ground Cumin: 1/2 teaspoon. Adds warm, earthy notes.
- Paprika: 1/2 teaspoon. Brings gentle smokiness and color.
- Salt: 1/2 teaspoon. Enhances all the flavors.
- Black Pepper: 1/4 teaspoon. Adds subtle heat.
Easy Swaps If You Need Them
Cooking should feel flexible, not stressful.
Cheddar Cheese: Monterey Jack or Colby can be used instead.
Mozzarella Cheese: Use more cheddar if needed.
Olive Oil: Avocado oil works just as well.
Flour Tortillas: Whole wheat tortillas are a good alternative.
Spotlight on the Stars
Cooked Chicken: Tender and juicy, it carries the spices and gives the filling substance.
Cheddar Cheese: Sharp, creamy, and rich, it is what makes every bite irresistible.
Let Us Get Cooking
Now let us dive into the fun part. Follow these steps and you will have a crispy, melty masterpiece in no time.
- Preheat Your Equipment: Place a large skillet over medium heat and allow it to warm up evenly.
- Combine Ingredients: In a bowl, mix the cooked chicken with cumin, paprika, salt, and black pepper until evenly coated.
- Prepare Your Cooking Vessel: Add 1/2 tablespoon of olive oil to the skillet and swirl to coat the surface lightly.
- Assemble the Dish: Lay one tortilla flat in the skillet, sprinkle a layer of cheddar and mozzarella, spread a portion of the seasoned chicken evenly, then top with a bit more cheese. Place another tortilla on top and press gently.
- Cook to Perfection: Cook for about 3 to 4 minutes on one side until golden and crisp. Carefully flip and cook another 3 to 4 minutes until the cheese is melted and the second side is golden. Repeat with remaining tortillas and filling, adding oil as needed.
- Finishing Touches: Remove from the skillet and let rest for 1 minute before slicing into wedges.
- Serve and Enjoy: Serve warm while the cheese is still perfectly melty.
The Magic of Texture and Flavor
The outside turns lightly crisp and golden, while the inside stays gooey and rich. The spices bloom gently in the heat, infusing the chicken with warmth. Every bite gives you crunch first, then creamy cheese, then savory chicken. Let me tell you, it is worth every bite.
Helpful Tips for Success
- Keep the heat at medium to avoid burning the tortilla.
- Press lightly with a spatula for even browning.
- Slice with a sharp knife for clean edges.
Common Mistakes and How to Fix Them
- Overfilling the tortilla, which makes flipping difficult. Use moderate amounts.
- Cooking on high heat, which burns the outside before the cheese melts. Lower the heat.
- Skipping the resting time, which causes cheese to spill out. Let it sit briefly.
Nutrition Snapshot
Servings: 4
Calories per serving: 420
Note: These are approximate values.
Time Breakdown
Prep Time: 15 minutes
Cook Time: 15 minutes
Total Time: 30 minutes
Make Ahead and Storage Guide
You can cook the chicken up to two days in advance and store it in the refrigerator. Assembled and cooked slices can be stored in an airtight container for up to three days. Reheat in a skillet over medium heat to bring back that crisp texture. Freezing is possible, just wrap tightly and reheat directly from frozen in a covered skillet on low heat.
Serving Ideas to Complete the Meal
Serve with fresh salsa, a spoonful of sour cream, or a simple green salad. It also pairs beautifully with seasoned rice or grilled vegetables for a fuller plate.
Give Leftovers New Life
Chop leftover wedges and toss them into a salad for a crunchy topping. You can also dice them and add to scrambled eggs for a hearty breakfast.
Extra Kitchen Wisdom
A squeeze of fresh lime over the top brightens everything. Fresh chopped cilantro can add a pop of color and freshness if you like herbs.
Turn It Into a Showstopper
Slice into neat triangles and arrange in a fan shape on a platter. Sprinkle a little extra cheese on top right after cooking so it melts slightly for that irresistible look.
Fun Variations to Explore
- Add sautéed bell peppers and onions for extra sweetness.
- Use pepper jack cheese for a spicy kick.
- Swap chicken for seasoned beans for a vegetarian twist.
- Add a thin layer of refried beans before the chicken for extra richness.
FAQ’s
Q1: Can I use rotisserie chicken?
Yes, it works perfectly and saves time.
Q2: Can I bake instead of pan fry?
Yes, bake at 400 degrees Fahrenheit for about 10 minutes, flipping halfway.
Q3: How do I keep them crispy?
Reheat in a skillet instead of a microwave.
Q4: Can I make them ahead?
Yes, cook and refrigerate, then reheat in a pan.
Q5: What cheese melts best?
Cheddar and mozzarella are ideal for flavor and stretch.
Q6: Can I freeze them?
Yes, wrap tightly and freeze for up to two months.
Q7: How do I prevent sogginess?
Avoid overloading with filling and cook on medium heat.
Q8: Can I add vegetables?
Absolutely, just sauté them first.
Q9: Are whole wheat tortillas okay?
Yes, they work well and add a nutty flavor.
Q10: How do I slice cleanly?
Let it rest briefly and use a sharp knife or pizza cutter.
Conclusion
There is something truly satisfying about making a meal that feels indulgent but comes together so easily. This Chicken Cheese Quesadilla delivers crisp edges, gooey centers, and bold flavor every single time. Trust me, once you make it at home, you will wonder why you ever ordered it out. Now it is your turn to bring this comforting favorite to your table.
PrintChicken Cheese Quesadilla
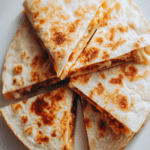
A crispy, golden tortilla filled with seasoned chicken and a blend of melted cheddar and mozzarella cheese, cooked to perfection in a skillet for a quick and satisfying meal.
Ingredients
- 2 cups cooked chicken, shredded or diced
- 1 1/2 cups shredded cheddar cheese
- 1/2 cup shredded mozzarella cheese
- 4 large flour tortillas, about 8 inches each
- 2 tablespoons olive oil
- 1/2 teaspoon ground cumin
- 1/2 teaspoon paprika
- 1/2 teaspoon salt
- 1/4 teaspoon black pepper
Instructions
- Preheat a large skillet over medium heat.
- In a bowl, mix the cooked chicken with cumin, paprika, salt, and black pepper until evenly coated.
- Add 1/2 tablespoon of olive oil to the skillet and swirl to coat.
- Place one tortilla in the skillet, sprinkle cheddar and mozzarella, spread seasoned chicken evenly, then top with a bit more cheese. Place another tortilla on top and press gently.
- Cook for 3 to 4 minutes until golden and crisp. Flip carefully and cook another 3 to 4 minutes until cheese is melted and the second side is golden. Repeat with remaining tortillas and filling, adding oil as needed.
- Remove from skillet and let rest for 1 minute before slicing into wedges.
- Serve warm and enjoy.
Notes
- Keep heat at medium to prevent burning.
- Do not overfill to make flipping easier.
- Let it rest briefly before slicing for cleaner cuts.