Banana Milkshak
Few things in life feel as comforting and nostalgic as a chilled glass of banana milkshake. With its silky texture, sweet ripe bananas, and creamy richness, this drink takes us back to carefree afternoons and sunny weekends. Whether you’re sipping it slowly through a straw or gulping it down in one go, this banana milkshake is a hug in a glass. Trust me, you’re going to love this.
Behind the Recipe
Growing up, banana milkshake was a staple in my family’s kitchen. It was the go-to solution when bananas were turning spotty or when someone needed a quick energy boost. Mom would blend it up in seconds, pour it into tall glasses, and just like that, we’d be refreshed and happy. This recipe holds that same simplicity and comfort no fuss, just pure creamy joy.
Recipe Origin or Trivia
Banana milkshake might feel like a modern classic, but versions of fruit milk drinks have been around for decades. In many tropical regions, bananas are blended into milk for a nutritious and cooling beverage. In the US, banana milkshake gained popularity in the mid-20th century, often appearing in diners and soda fountains as a wholesome treat. Today, it’s a favorite across the globe and even found its place in Korean convenience stores as a trendy flavor.
Why You’ll Love Banana Milkshak
Here’s why this recipe will become your instant favorite:
Versatile: Make it dairy-free, add protein powder, or turn it into a smoothie bowl this recipe adapts easily.
Budget-Friendly: Uses everyday ingredients you likely already have in your kitchen.
Quick and Easy: Just 5 minutes and a blender stand between you and sweet satisfaction.
Customizable: Toss in peanut butter, cinnamon, or even cocoa powder to create your own twist.
Crowd-Pleasing: From toddlers to grandparents, everyone loves a good banana milkshake.
Make-Ahead Friendly: Blend and store in the fridge for a few hours to chill and sip later.
Great for Leftovers: Overripe bananas? This is the tastiest way to use them up.
Chef’s Pro Tips for Perfect Results
If you want your banana milkshake to come out dreamy and delicious every time, here are a few tricks:
- Freeze your bananas: Using frozen bananas gives your shake a thicker, frostier texture.
- Chill your glass: Pop your serving glass in the freezer for 10 minutes before pouring for an extra cold treat.
- Use whole milk or ice cream: These add richness and body to the shake.
- Blend in stages: Start with milk and bananas, then add extras like vanilla or sweeteners.
- Adjust sweetness: Taste before you add sugar ripe bananas are often sweet enough on their own.
Kitchen Tools You’ll Need
Making this milkshake doesn’t require a fancy kitchen. Just a few basics:
Blender: Essential for a smooth, lump-free shake.
Measuring Cups: To get your ratios just right.
Tall Glasses: The best way to serve milkshakes with style.
Straw or Spoon: Because some shakes are just too thick to sip.
Ingredients in Banana Milkshak
The beauty of this recipe lies in its simplicity and harmony of just a few fresh ingredients:
- Ripe Bananas: 2 medium, peeled and sliced. The riper they are, the sweeter and more flavorful your shake will be.
- Milk: 1 cup whole milk. This is your creamy base, but feel free to use any milk you love.
- Vanilla Ice Cream: 2 scoops. Adds indulgence and the perfect milkshake texture.
- Honey or Sugar: 1 tablespoon (optional). For extra sweetness, especially if your bananas are not very ripe.
- Vanilla Extract: ½ teaspoon. Adds warmth and depth to the flavor.
- Whipped Cream: For topping. Makes your shake feel like a special treat.
- Ice Cubes: A few (optional). For a colder, frothier texture.
Ingredient Substitutions
No worries if you’re missing a thing or two. Here are easy swaps:
Whole Milk: Almond milk, oat milk, or soy milk.
Vanilla Ice Cream: Frozen yogurt or dairy-free ice cream.
Honey or Sugar: Maple syrup or agave nectar.
Whipped Cream: Coconut whipped cream for a dairy-free version.
Ingredient Spotlight
Bananas: Packed with natural sweetness, potassium, and creaminess, bananas are the star of this shake. The riper, the better.
Vanilla Ice Cream: Brings that luscious, indulgent mouthfeel and classic milkshake texture.

Instructions for Making Banana Milkshak
Alright, let’s dive into making this creamy delight. Here are the steps you’re going to follow:
1. Preheat Your Equipment:
Place your serving glass in the freezer while you prep the shake.
2. Combine Ingredients:
In a blender, add sliced bananas, milk, vanilla ice cream, vanilla extract, and sweetener if using.
3. Prepare Your Cooking Vessel:
Make sure your blender jar is clean and secure. You’ll want a tight lid to avoid spills.
4. Assemble the Dish:
Blend the mixture on high speed until everything is smooth and creamy.
5. Cook to Perfection:
No actual cooking here, but blend until the shake is thick and fluffy. If it’s too thick, add a splash more milk.
6. Finishing Touches:
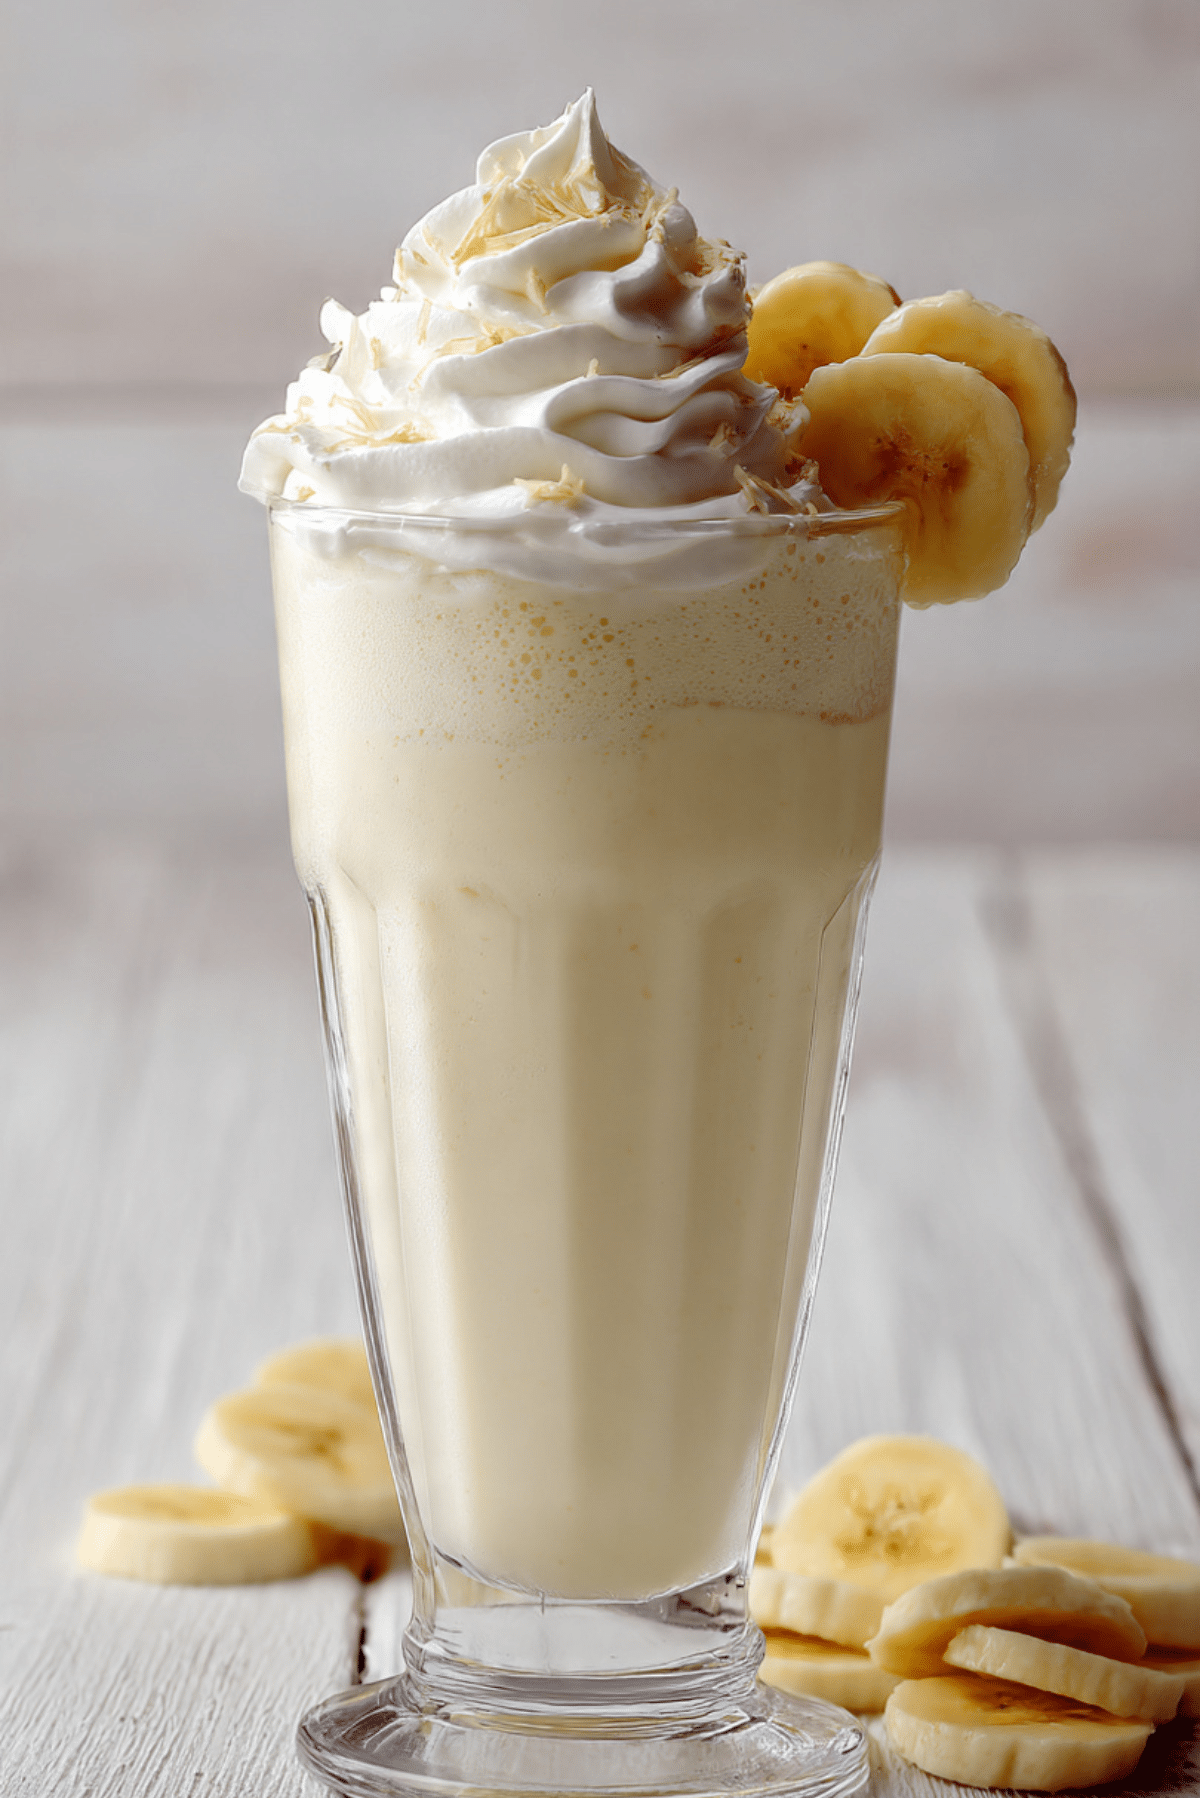
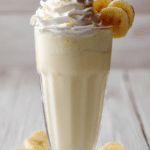
Pour into your chilled glass, top with whipped cream, and a few banana slices if you like.
7. Serve and Enjoy:
Serve immediately with a straw or spoon. Sip, smile, and repeat.
Texture & Flavor Secrets
This shake hits all the right notes creamy, cold, slightly frothy, and naturally sweet. The ripe bananas blend into a silky base while the vanilla ice cream adds that signature milkshake richness. Every sip is smooth with a light, comforting banana aroma that feels like dessert and breakfast rolled into one.
Cooking Tips & Tricks
Here’s how to make your shake even better:
- Use frozen bananas for a naturally thick shake without extra ice cream.
- Add a pinch of cinnamon for warmth.
- For extra protein, toss in a spoonful of peanut butter or a scoop of protein powder.
What to Avoid
Don’t let these common mistakes mess with your shake:
- Using underripe bananas — they lack sweetness and flavor.
- Over-blending — this can make the shake too thin.
- Skipping ice cream if you want a classic thick texture.
Nutrition Facts
Servings: 2
Calories per serving: 220
Note: These are approximate values.
Preparation Time
Prep Time: 5 minutes
Cook Time: 0 minutes
Total Time: 5 minutes
Make-Ahead and Storage Tips
This shake is best enjoyed fresh, but you can prep ahead too. Slice and freeze your bananas in portions. You can also blend the shake a few hours ahead and store it in the fridge, just give it a quick stir before serving. Avoid freezing the blended shake the texture changes once thawed.
How to Serve Banana Milkshak
Serve it in a tall chilled glass with a swirl of whipped cream and a few banana slices on top. For a diner-style vibe, pair it with a grilled cheese sandwich or some crispy fries. Or just enjoy it solo, as a sweet afternoon escape.
Creative Leftover Transformations
If you somehow end up with leftovers:
- Pour into ice cube trays and freeze. Blend later with a splash of milk.
- Turn into smoothie pops by pouring into molds and freezing.
- Add to pancake batter for banana-flavored pancakes.
Additional Tips
- Always use ripe bananas for the best flavor.
- A drop of almond extract adds a subtle nutty twist.
- Sprinkle crushed nuts or a dusting of cinnamon on top for texture and flair.
Make It a Showstopper
Presentation matters. Serve with a striped straw and a banana slice on the rim of the glass. Use a clear glass to showcase the thick, creamy layers. Don’t forget that generous whipped cream topping it takes the shake from everyday to wow.
Variations to Try
- Chocolate Banana Milkshake: Add 1 tablespoon of cocoa powder.
- Peanut Butter Banana Shake: Blend in 2 tablespoons peanut butter.
- Vegan Version: Use plant-based milk and dairy-free ice cream.
- Cinnamon Banana Shake: Add ½ teaspoon cinnamon.
- Berry Banana Blend: Toss in a handful of frozen strawberries.
FAQ’s
Q1: Can I make this without ice cream?
A1: Yes, use frozen bananas and a splash of milk for a healthier, smoothie-style version.
Q2: How do I ripen bananas quickly?
A2: Place them in a paper bag with an apple to speed up ripening overnight.
Q3: Can I use a hand blender?
A3: Absolutely, just make sure to blend until smooth.
Q4: Is this recipe kid-friendly?
A4: Totally! Kids love it, especially with fun toppings.
Q5: Can I add oats for more fiber?
A5: Sure, add 2 tablespoons of quick oats for a heartier shake.
Q6: How long does it last in the fridge?
A6: Best within 24 hours. Stir before drinking if it separates.
Q7: Can I make it sugar-free?
A7: Yes, skip the sweetener if your bananas are ripe enough.
Q8: Is this milkshake gluten-free?
A8: Yes, as long as you use gluten-free ice cream and milk.
Q9: What milk works best?
A9: Whole milk is richest, but any milk works based on your preference.
Q10: Can I turn this into a smoothie bowl?
A10: Totally! Use less milk and blend with ice, then top with granola.
Conclusion
Banana milkshake is the kind of recipe that brings smiles with every sip. It’s quick, cozy, and endlessly customizable. Whether you’re blending it up for breakfast, dessert, or just because, this simple treat is always a good idea. So grab those ripe bananas and let the blending begin!
PrintBanana Milkshak
Creamy, sweet, and nostalgic, this banana milkshake is the perfect refreshing treat made with just a few simple ingredients. Ready in minutes, it’s great for breakfast, dessert, or an afternoon pick-me-up.
Ingredients
- 2 ripe bananas, peeled and sliced
- 1 cup whole milk
- 2 scoops vanilla ice cream
- 1 tablespoon honey or sugar (optional)
- 1/2 teaspoon vanilla extract
- Whipped cream, for topping
- Ice cubes, optional
Instructions
- Place your serving glass in the freezer to chill while preparing the shake.
- Add the bananas, milk, ice cream, vanilla extract, and sweetener (if using) to a blender.
- Blend on high speed until smooth and creamy.
- If the shake is too thick, add a splash more milk and blend again briefly.
- Pour the shake into the chilled glass.
- Top with whipped cream and banana slices if desired.
- Serve immediately with a straw or spoon.
Notes
- Use frozen bananas for a thicker, frostier texture.
- Add peanut butter or cocoa powder for a flavor twist.
- Chill your glass for an extra refreshing experience.