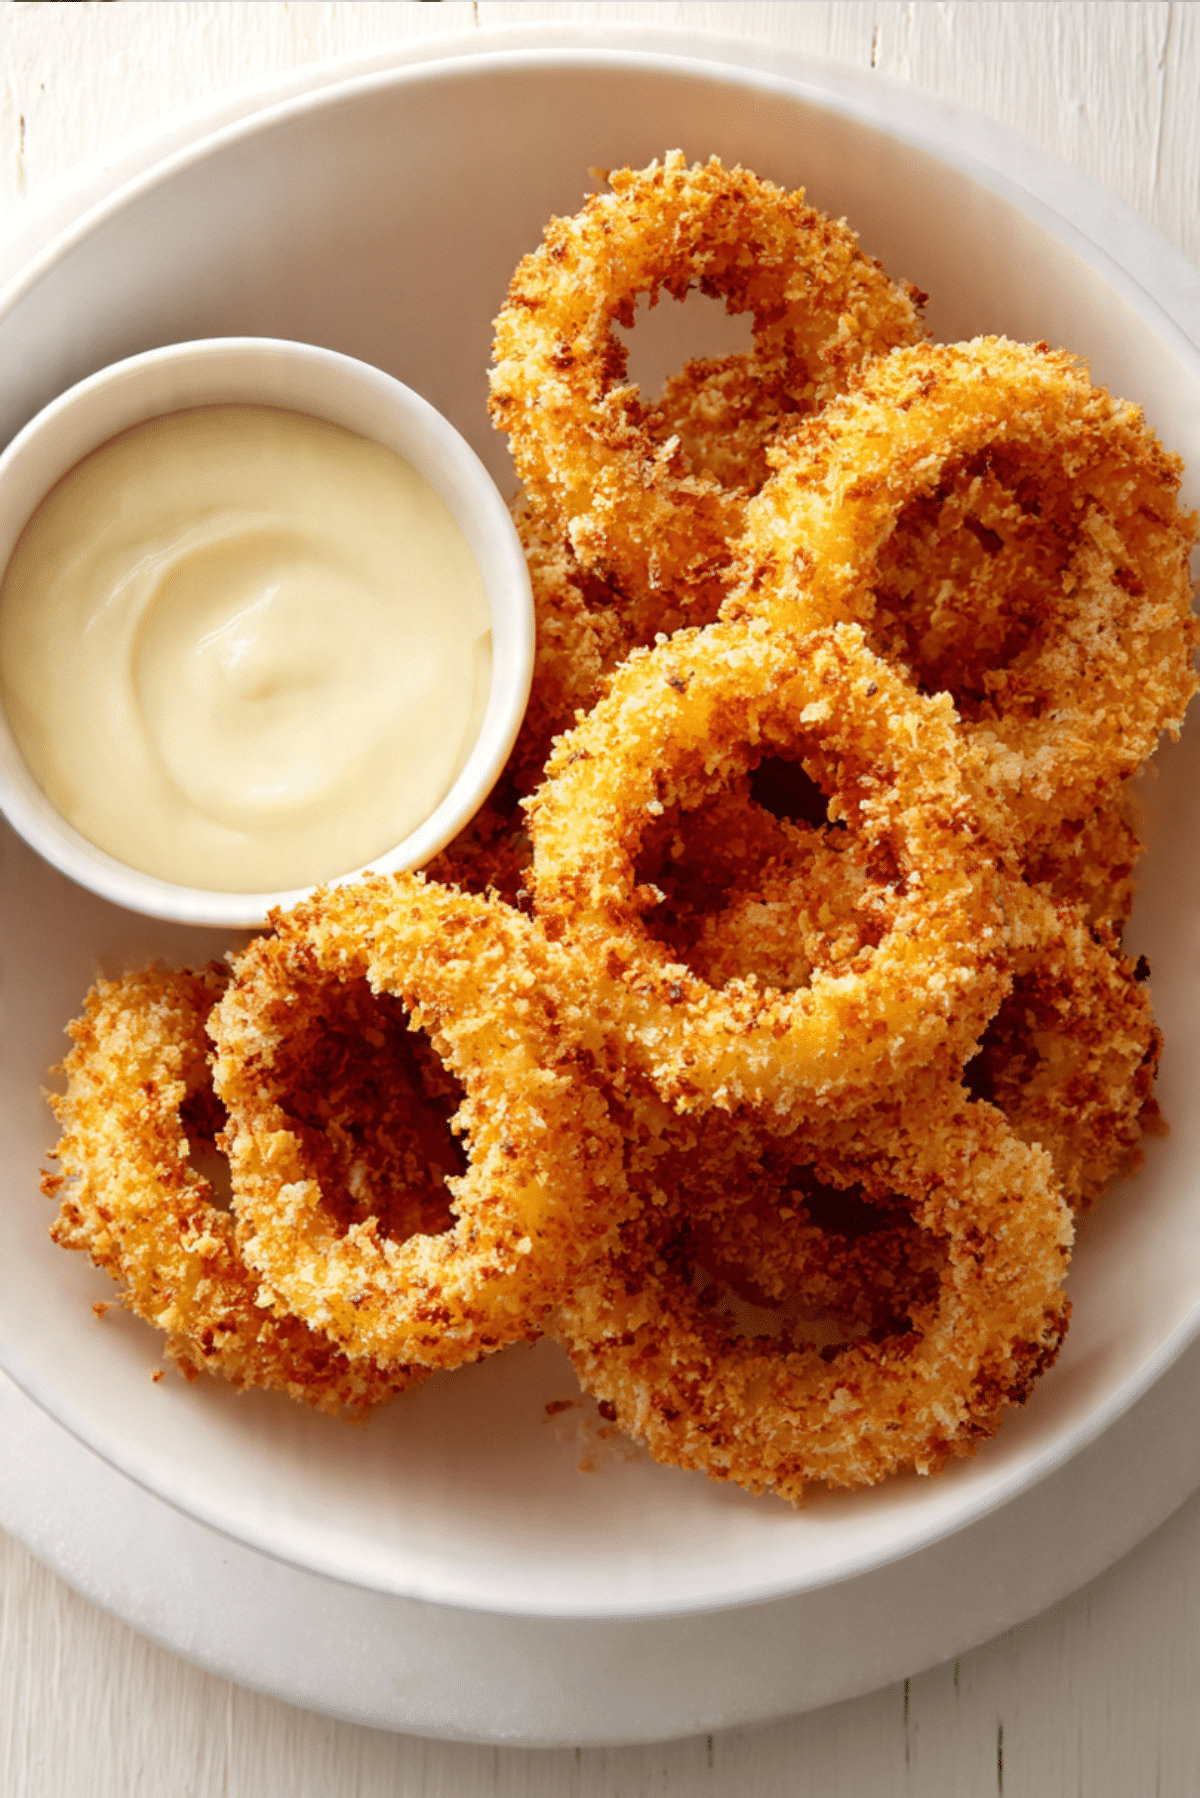
Baked Onion Rings
There is something so comforting about pulling a tray of golden onion rings out of the oven, especially when the kitchen smells warm, savory, and just a little indulgent. These baked onion rings bring that familiar crunch without the heaviness, and trust me, you are going to love how satisfying they are straight from the oven.
Why These Onion Rings Always Hit the Spot
What makes this dish special is the balance. You still get that crispy coating and tender onion inside, but everything feels lighter and more approachable. They are perfect for casual dinners, game nights, or those moments when you want something snacky that still feels homemade.
A Little Background on Onion Rings
Onion rings have been around for decades, showing up in diners, drive ins, and family kitchens alike. Traditionally fried, they became popular as a fun side dish that paired beautifully with burgers and sandwiches. Baking them is a more modern twist, keeping the spirit of the original while fitting better into everyday cooking.
Why This Recipe Just Works Every Time
Versatile: These fit right in as a snack, side dish, or even a party appetizer.
Budget-Friendly: Simple pantry ingredients and a few fresh onions go a long way.
Quick and Easy: No deep frying, no mess, just a hot oven and a baking sheet.
Customizable: You can play with spices and coatings to match your mood.
Crowd-Pleasing: Crispy, golden, and familiar flavors everyone enjoys.
Make-Ahead Friendly: Prep them earlier and bake when ready.
Great for Leftovers: They reheat well and stay tasty.
Pro Tips From the Kitchen
A few small details make all the difference here. Slice the onions evenly so they cook at the same pace. Press the coating gently so it sticks well. And do not overcrowd the pan, because space helps them crisp up beautifully.
Kitchen Tools You Will Need
Baking Sheet: Gives the rings room to bake evenly.
Mixing Bowls: Keeps the coating process organized.
Wire Rack: Helps air circulate for extra crispiness.
Tongs: Makes flipping easy and clean.
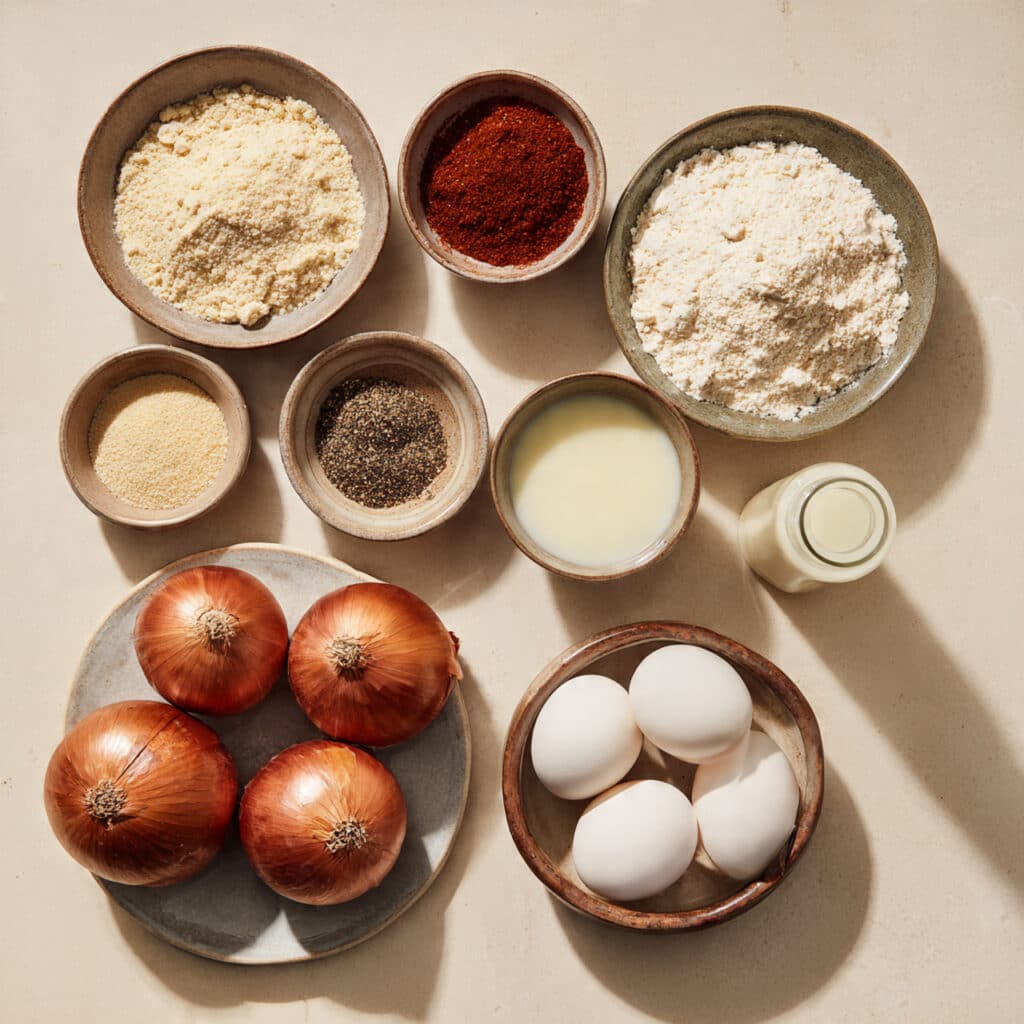
Ingredients You Will Need For This Recipe
These ingredients come together in a simple way, each one playing its part in texture and flavor.
- Large Onions: 2 large, sliced into rings, they provide sweetness and structure.
- All-Purpose Flour: 1 cup, helps the coating stick.
- Breadcrumbs: 1 cup, adds crunch and texture.
- Eggs: 2 large, beaten, bind everything together.
- Milk: 1/4 cup, loosens the egg mixture slightly.
- Salt: 1 teaspoon, enhances overall flavor.
- Paprika: 1/2 teaspoon, adds gentle warmth and color.
- Black Pepper: 1/2 teaspoon, balances the sweetness of the onions.
- Cooking Spray: As needed, helps achieve a golden finish.
Easy Ingredient Swaps
Breadcrumbs: Use panko for extra crunch.
Milk: Swap with a plant-based option if needed.
Paprika: Try garlic powder or onion powder for a twist.
Spotlight on Key Ingredients
Onions: When baked, they turn tender and slightly sweet, creating a perfect contrast with the crisp coating.
Breadcrumbs: These are what give that satisfying crunch everyone loves.
Let’s Get Cooking Together
Now let’s dive into the fun part and bring everything together step by step.
- Preheat Your Equipment: Heat your oven to 425°F and line a baking sheet with parchment paper and a wire rack.
- Combine Ingredients: Mix flour, salt, paprika, and pepper in one bowl. Whisk eggs and milk in another. Place breadcrumbs in a third bowl.
- Prepare Your Cooking Vessel: Lightly spray the wire rack with cooking spray.
- Assemble the Dish: Dip each onion ring into flour, then egg mixture, then breadcrumbs, pressing gently.
- Cook to Perfection: Arrange rings on the rack and bake for 20 minutes, flipping halfway.
- Finishing Touches: Spray lightly with cooking spray and bake 5 more minutes until golden.
- Serve and Enjoy: Serve hot with your favorite dip.
Texture and Flavor Notes
The outside turns crisp and golden while the inside stays tender and sweet. Each bite gives you crunch first, then that mellow onion flavor that makes you reach for another.
Helpful Cooking Tips
- Use a wire rack for better air flow.
- Flip halfway for even browning.
- Serve immediately for best texture.
What to Avoid
- Overcrowding the pan, which leads to soggy rings.
- Skipping the spray, since it helps browning.
- Cutting onions too thin.
Nutrition Facts Overview
Servings: 4
Calories per serving: 210
Note: These are approximate values.
Time Breakdown
Prep Time: 15 minutes
Cook Time: 25 minutes
Total Time: 40 minutes
Make-Ahead and Storage Tips
You can bread the rings a few hours ahead and refrigerate them. Store leftovers in an airtight container and reheat in the oven to bring back the crunch.
Serving Ideas
Serve alongside burgers, wraps, or as a snack with dipping sauces like yogurt based dips or classic ketchup.
Creative Leftover Ideas
Chop them up and add to wraps or salads for extra crunch and flavor.
Extra Tips for Best Results
Let the rings rest for a minute after baking so the coating sets nicely.
Make It Look Extra Special
Serve them in a wide bowl with parchment paper underneath for that casual, inviting look.
Fun Variations to Try
- Add grated cheese to the breadcrumbs.
- Use seasoned breadcrumbs for extra flavor.
- Try a spicy version with chili powder.
FAQ’s
1. Can I make these gluten free?
Yes, use gluten free flour and breadcrumbs.
2. Do they stay crispy?
They are best fresh but reheat well in the oven.
3. Can I freeze them?
You can freeze them before baking.
4. What onions work best?
Yellow or sweet onions are ideal.
5. Can I use an air fryer?
Yes, adjust cooking time slightly.
6. Why use a wire rack?
It helps air circulate for crispiness.
7. Are they kid friendly?
Absolutely, mild and crunchy.
8. Can I add herbs?
Yes, dried herbs work well.
9. Do I need oil?
Only a light spray is enough.
10. What dip pairs best?
Creamy or tangy dips work great.
Conclusion
Let me tell you, these baked onion rings are worth every bite. They are crunchy, cozy, and easy enough to make any night of the week. Once you try them, they might just become your go to snack.
PrintBaked Onion Rings
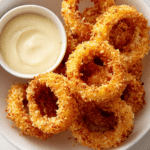
Crispy baked onion rings with a golden coating and tender center, perfect as a snack or side.
Ingredients
- 2 large onions, sliced into rings
- 1 cup all-purpose flour
- 1 cup breadcrumbs
- 2 large eggs
- 1/4 cup milk
- 1 teaspoon salt
- 1/2 teaspoon paprika
- 1/2 teaspoon black pepper
- Cooking spray as needed
Instructions
- Preheat oven to 425°F and prepare a baking sheet with a wire rack.
- Mix flour, salt, paprika, and pepper in one bowl.
- Whisk eggs and milk in another bowl.
- Place breadcrumbs in a third bowl.
- Coat onion rings in flour, then egg mixture, then breadcrumbs.
- Arrange on rack and spray lightly.
- Bake for 20 minutes, flip, then bake 5 more minutes.
- Serve hot.
Notes
- Do not overcrowd the pan.
- Serve immediately for best crunch.